Introduction - Add users
Once you have created a Business Central instance and have a company set up with data, it's time to let your users test the application. You can add users from Microsoft 365, and then implement security to determine what each user can do by using security groups or assigning individual permissions.
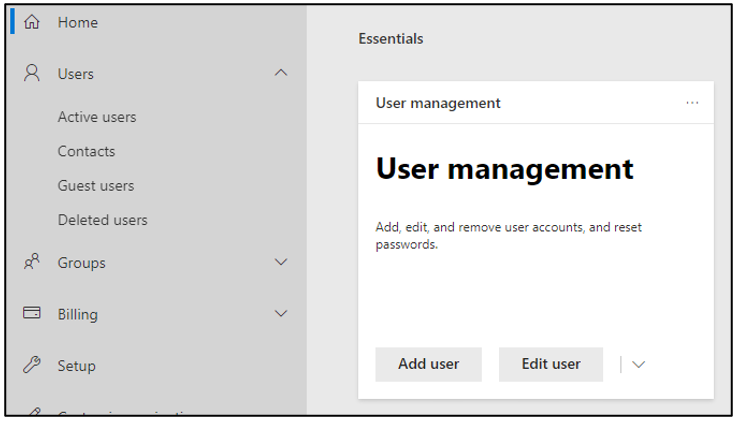
Add Users
To add users in Business Central, your company's Microsoft 365 administrator must first create the users in the Microsoft 365 Admin Center. Once users are created in Microsoft 365, they can be imported into the Users window by using the Update Users from Microsoft 365 action. Users are assigned permission sets depending on the plan assigned to the user in Microsoft 365. You can then proceed to assign permission sets to the users to define which database objects, and thereby which UI elements, they have access to, and in which companies. You can add users to user groups. This makes it easier to assign the same permission sets to multiple users.
If you are an administrator, you can add a user in Microsoft 365 by following these steps.
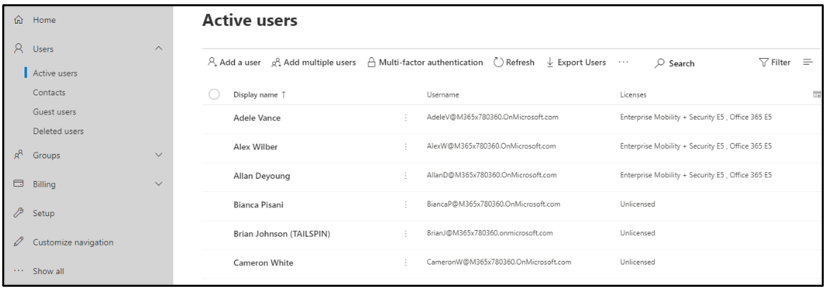
Open the Admin center.
Select Users and then Active users and select Add a user.
In the Set up the basics pane, fill in the name, username, domain, and password settings, and then select Next.
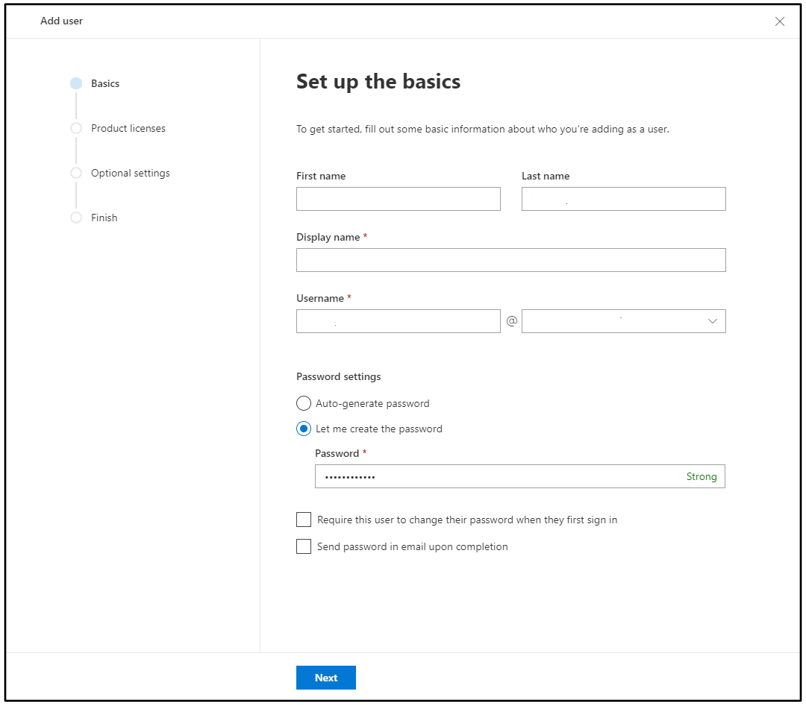
If the user's username is Jakob, and his domain is contoso.com, sign in to Microsoft 365 by typing jakob@contoso.com.
Select whether to use an auto-generated password or create your own strong password for a user. Users will need to change their password after 90 days. You can select to require the user to change their password when they first sign in. You can also decide whether you want to send the password in email when the user is added.
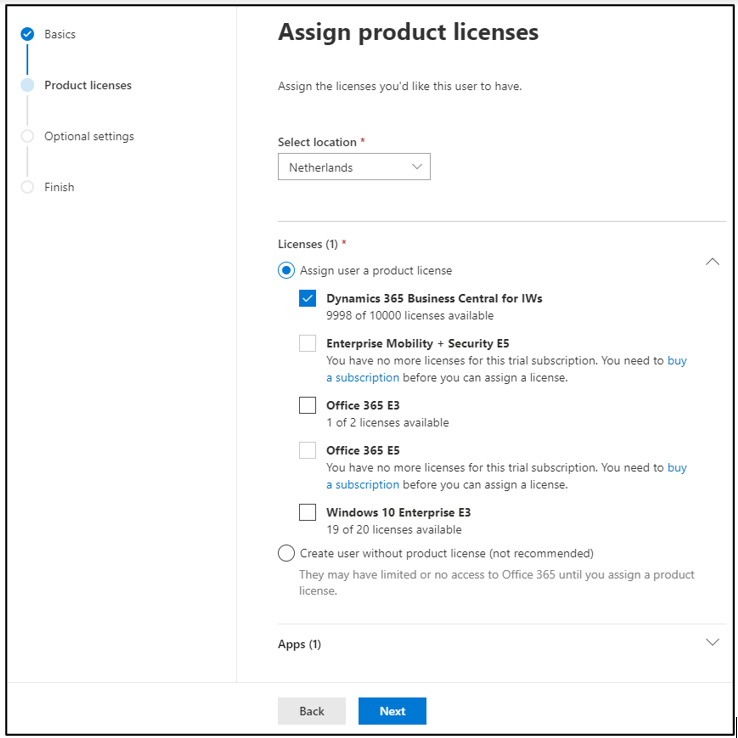
In the Assign product licenses pane, select the location and the appropriate license for the user. If you don't have any licenses available, you can still add a user and buy additional licenses. Make sure you select the Dynamics 365 Business Central for IWs license. Select Next.
In the Optional settings page, expand Roles if you want to make this user an admin, and expand Profile info if you want to add additional information about the user.
Select Next, review your new user's settings, make any changes you like, and then select Finish.
Once the user is created in Microsoft 365, you are ready to add the user to Business Central.
To add a user in Business Central follow these steps:
Select the search for page icon in the top-right corner of the page, enter Users, and then choose the related link.
Select the Get Users from Microsoft 365 action.

Any new user that has been created for your Microsoft 365 subscription will be added on the Users page.
User information is available on the user card, which is available from the Users list.
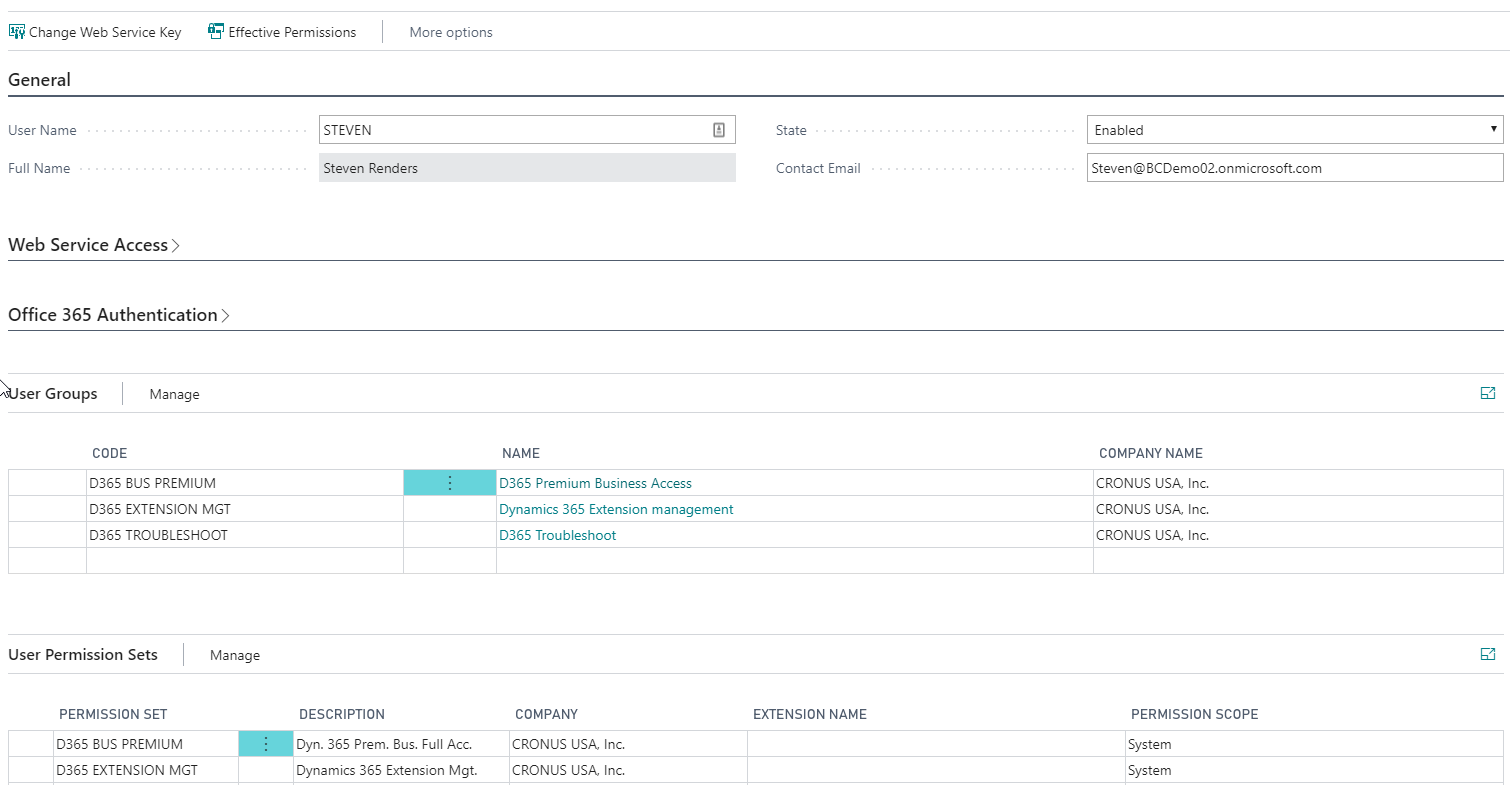
The user card provides information about the user, the groups they belong to, and their permissions.
You can enable or disable a user by using the State field. A user must be enabled to work within Business Central. If you disable a user, you will still see this user in the Users list, but that user will no longer be able to connect to the application.
You can see whether the users was created from Microsoft 365 in the Microsoft 365 Authentication tab.
You can see which companies the user has access to, and which user permission sets the user has access to.