Create a component
We want to create an application that allows a user to create bookings on a cruise to the moon. Over the course of a few exercises, you create a component for the form the user completes when creating a booking, and another to display the list of created bookings. The first component that you create will host both child components.
Install Visual Studio Code extensions
Visual Studio Code has numerous extensions in the Visual Studio Marketplace to help in your development endeavors. Here, we take advantage of two:
- Volar enables support for .vue files in Visual Studio Code.
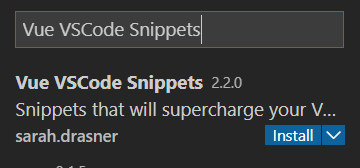
- Vue VSCode Snippets from Sarah Drasner enables snippets in Visual Studio Code.
In Visual Studio Code, open the Extensions workbench.

Enter Vue VSCode Snippets in the search box.
Select Install under Vue VSCode Snippets to install both Vue VSCode Snippets and Volar.
Create the Host component
Let's create the Host component.
In src/components, create a file named Host.vue.
In Host.vue, type vue, and then select <vue> with default.vue from the snippets menu.
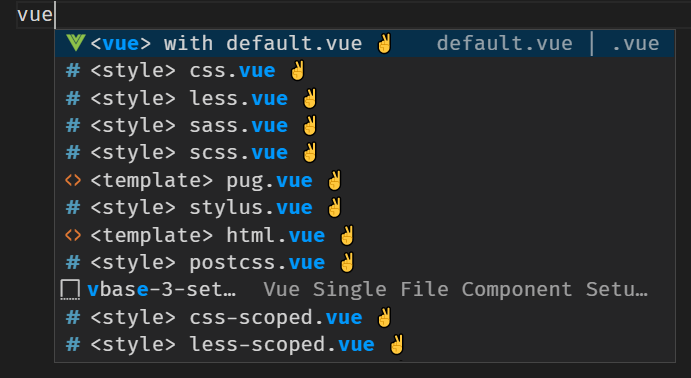
The snippet creates the default structure.
Update the script section
The snippet creates the script element for us, with export default already created. The export default command allows another component to load this component in Vue. Let's add the needed code into this section.
Inside the curly braces ({ }) of export default, add the following code to name the component, register the data, and add two comments for the future:
name: 'Host',
data() {
    return {
        cruise: {
            name: 'Cruise to the moon',
            description: 'Cruise to the moon in our luxurious shuttle. Watch the astronauts working outside the International Space Station.',
            cabins: [
                { name: 'Coach', price: 125000 },
                { name: 'Business', price: 275000 },
                { name: 'First', price: 430000 },
            ]
        },
        bookings: [
            { name: 'Sample', price: 0 }
        ]
    }
},

// TODO: Add components

// TODO: Add methods
The name field sets the name of the component. The data() part registers the cruise object as data for the component. We'll use bookings later to store a list of cruise bookings. The TODO comments serve as markers for the future.
Note
TODO comments are a great way to place notes in your code for tasks that need to be completed later.
Add the template
With the data registered, let's add the HTML to the template element to display the core information. Let's also add a couple of placeholders for the future.
Inside the template element in Host.vue, add the following HTML to display the name and description of the cruise. The HTML includes a placeholder for two components that we'll create later.
<section>
<div class="nav-bar"></div>
<h1>Relecloud Galaxy Tours</h1>

<div>
    <h2>{{ cruise.name }}</h2>
    <div>{{ cruise.description }}</div>
    <hr />

    <div class="row">
        <div>
            <!-- TODO: Add booking-form -->

        </div>
        <div>
            <!-- TODO: Add booking-list -->

        </div>
    </div>
</div>
</section>
Add the style
With the HTML created, let's add the style for our application.
Inside the style element in Host.vue, add the following CSS:
body {
    background-color: #f2f2f2;
    margin: 0, 5%;
    font-family: tahoma;
}

.row {
    display: grid;
    grid-template-columns: 1fr 1fr;
    vertical-align: middle;
    margin: 2em;
}

.button {
    background-color: #39495c;
    border-radius: 5px;
    color: white;
    text-align: center;
}

.nav-bar {
    background: linear-gradient(-50deg, #010801, #0d0d60);
    height: 60px;
    margin-bottom: 25px;
}
This CSS adds some structure and color to our application.
Set the Host component as the entry point into the application
Vue CLI creates a main.js file, which loads App.vue as the entry point into the application. We created a new component called Host for this purpose. Let's update main.js to use our component.
Open main.js and replace the contents by using the following code:
import { createApp } from 'vue'
import Host from './components/Host.vue'

createApp(Host).mount('#app')
Test the application
With our component created and the script updated, let's test the page.
Save all files by selecting File > Save all.
Return to your browser and refresh the tab that displays
http://localhost:8080.Your updated page now appears.
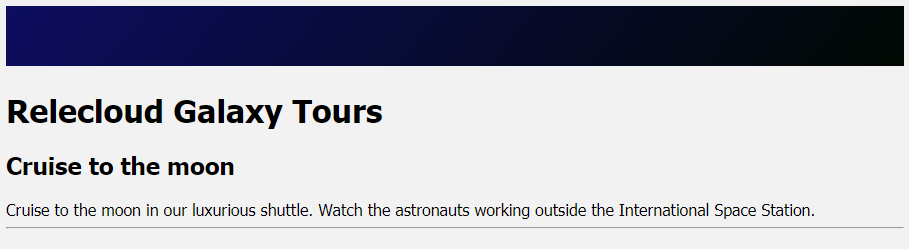
You just created your first single-file component in Vue.js!