Exercise - Create a basic project
Exercise 1: Create a basic project in Dynamics 365 Customer Voice
In this exercise, you will create your first project in Dynamics 365 Customer Voice.
Note
You can complete this exercise with or without having Dynamics 365 Sales enabled in your environment. However, if you want to complete the exercises in subsequent modules, you will need to complete these steps in an environment that also has Dynamics 365 Sales enabled.
Task 1: Create a new project
To create a new project, follow these steps:
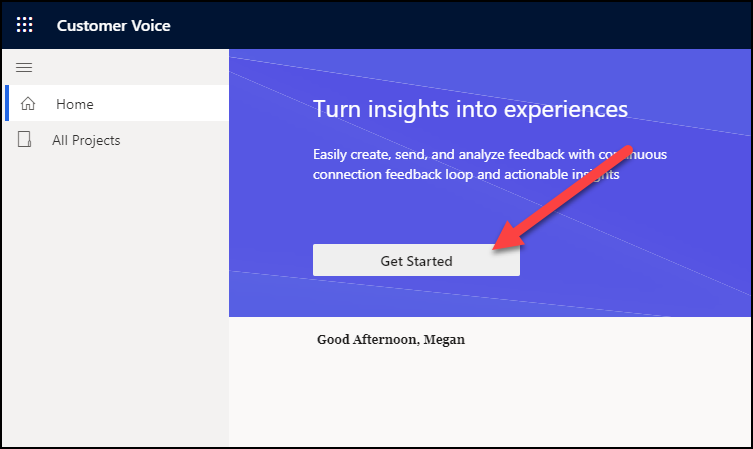
Go to Dynamics 365 Customer Voice and sign in with your credentials.
Select Get Started.
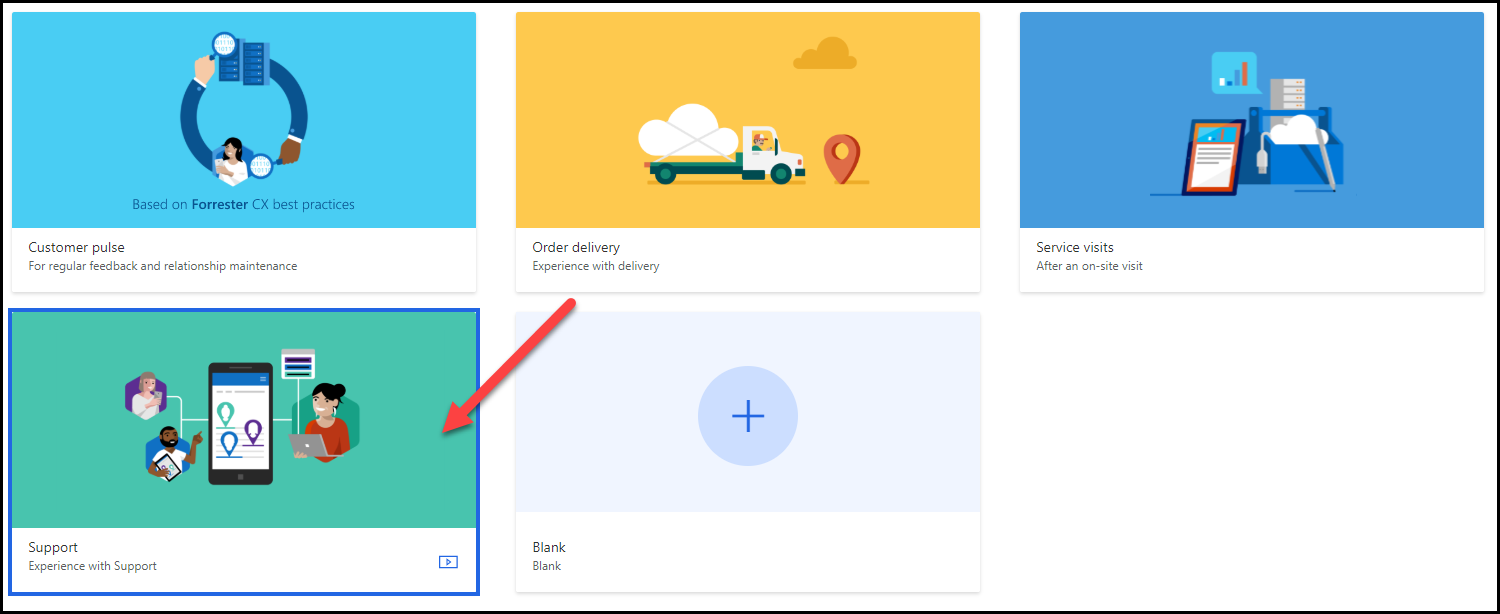
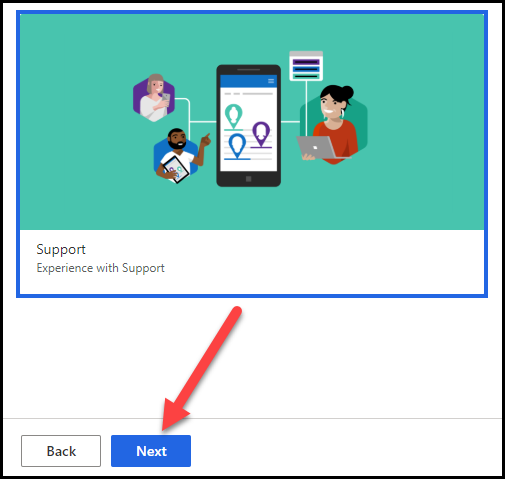
Select the Support project template.
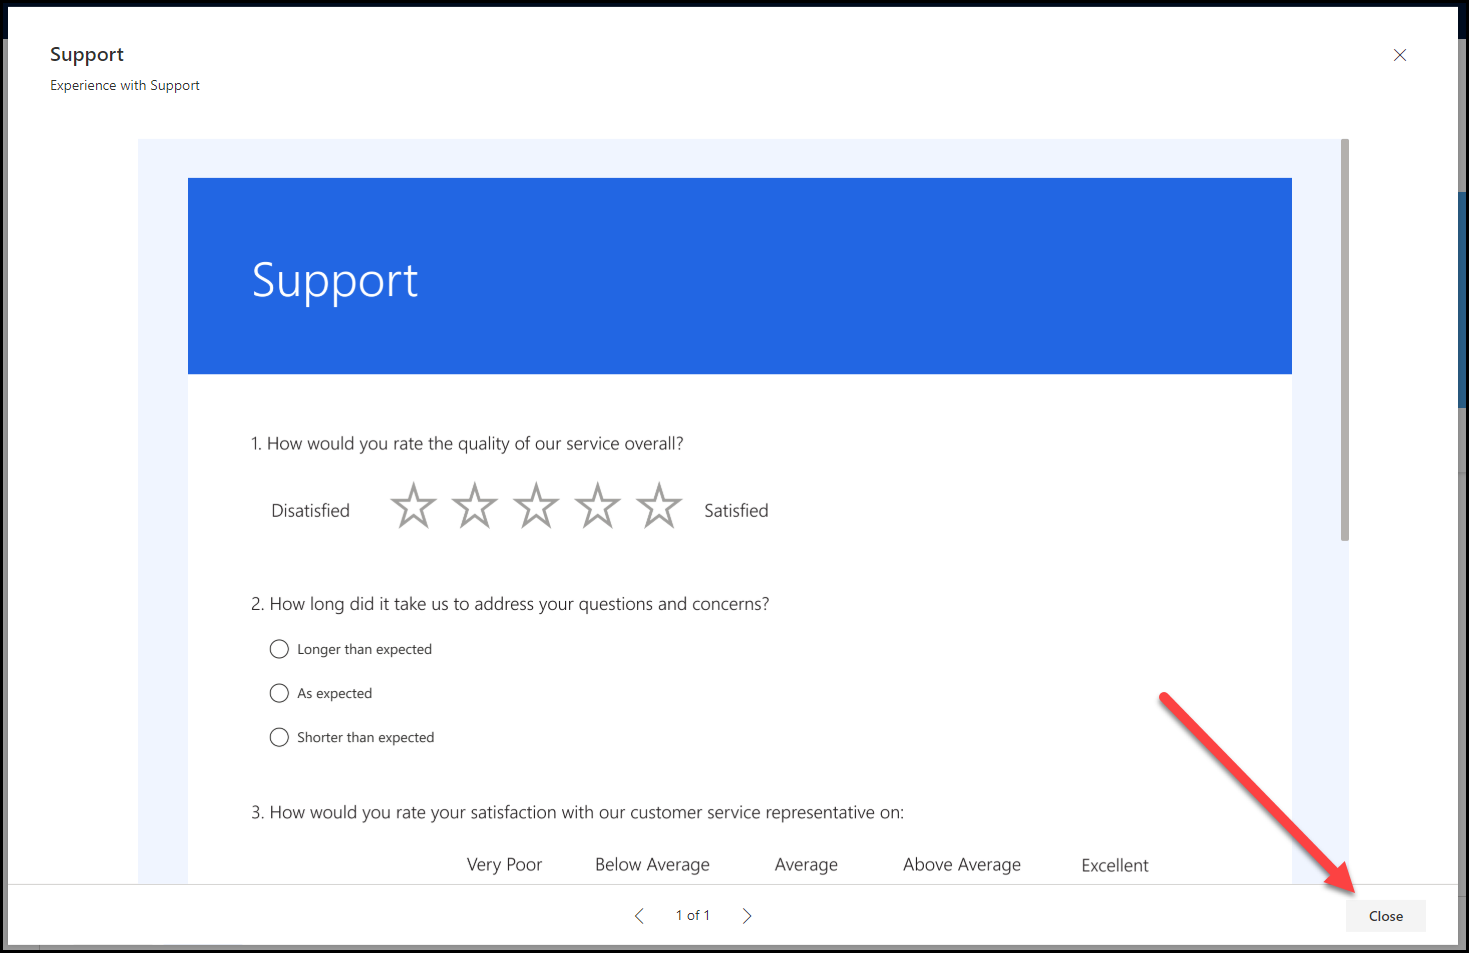
Select the Preview button.
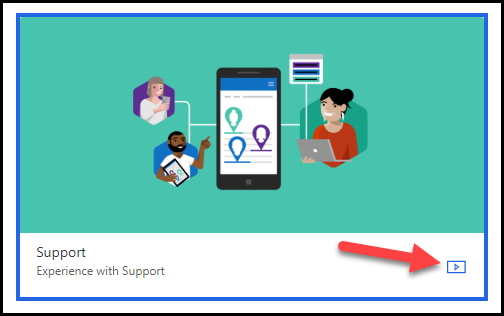
This preview will provide an overview of the survey that is associated with this project. After you have finished reviewing it, select Close.
Select the Next button to continue.
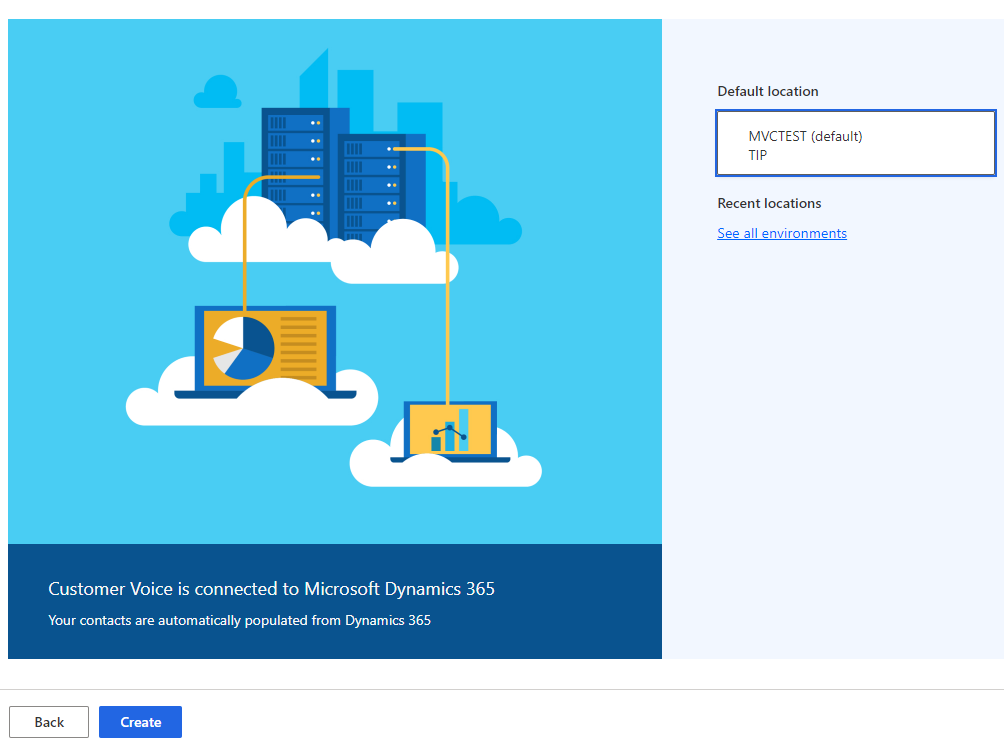
From the Where would you like to create your project? screen, you can determine which location to add your project to. Select the See all environments link.
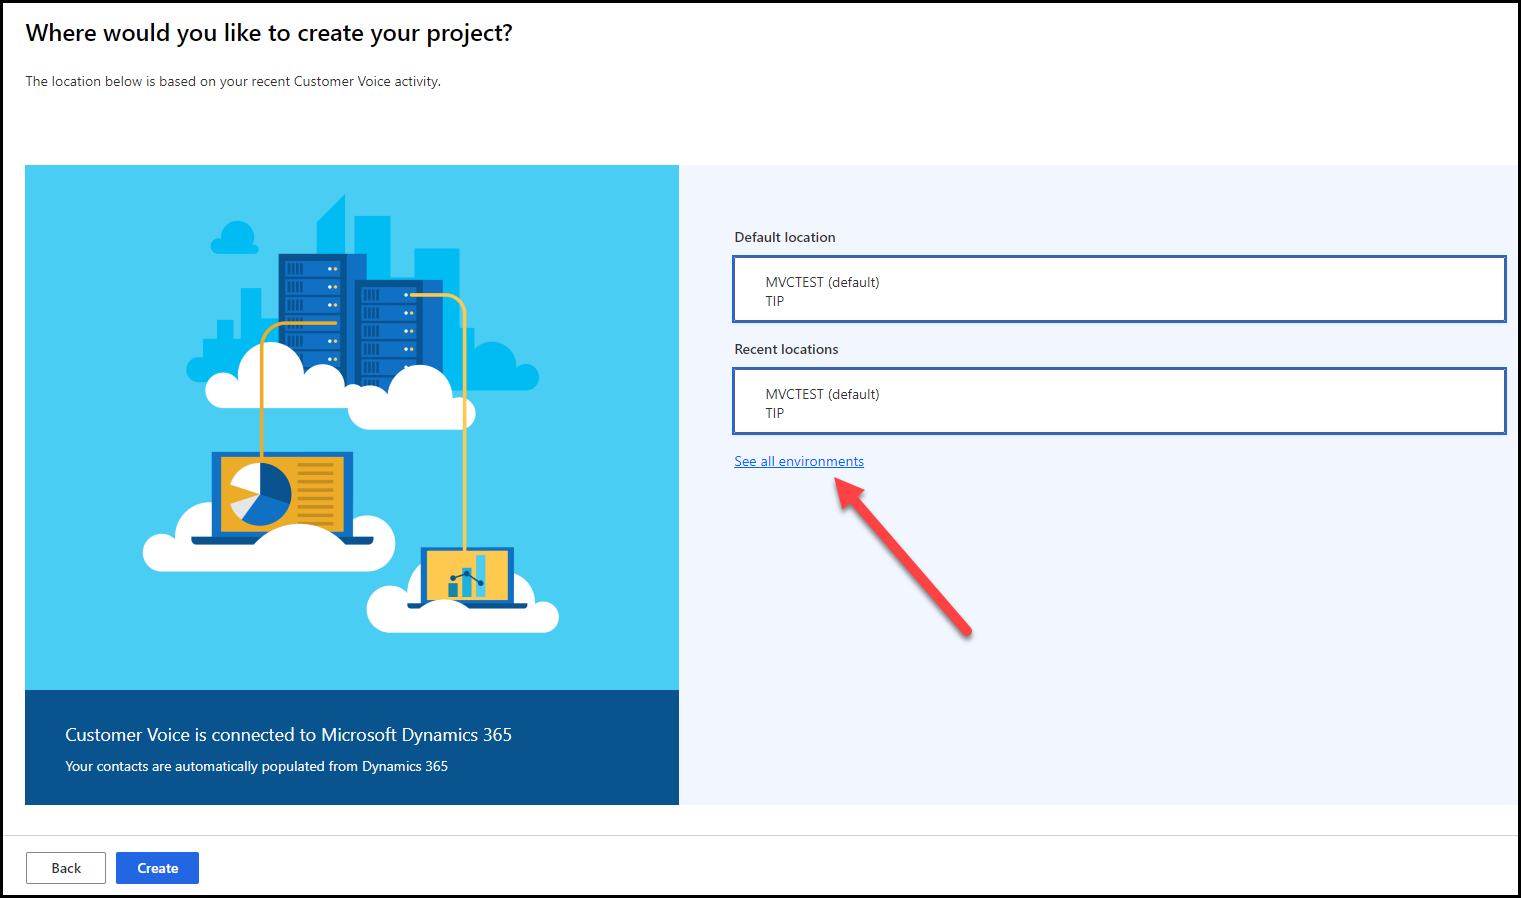
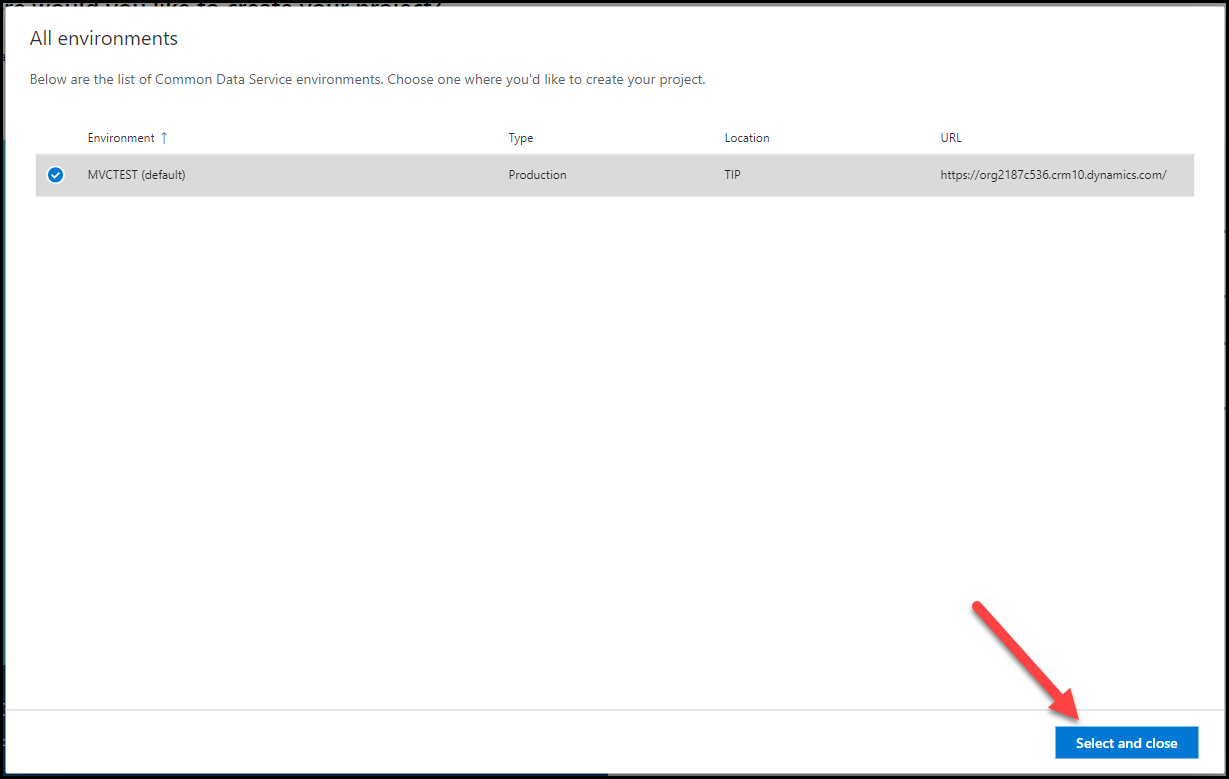
From the All environments screen, you will see a list of all Microsoft Dataverse environments that you have access to. Select the environment that you are using to complete this exercise and then select the Select and close button.
Note
As you use Dynamics 365 Customer Voice over time, the recent locations list will populate with the last environments that you have used. After this population occurs, you can select the environment directly from this list instead.

Select the Create button. If you are unable to select the button, you can confirm by using the previous step and by making sure that you have one location selected.
Exercise 2: Review project settings
In this exercise, you will learn more about the project by renaming, copying, and sharing it.
Task 1: Rename the project
In this task, you will change the name of your project.
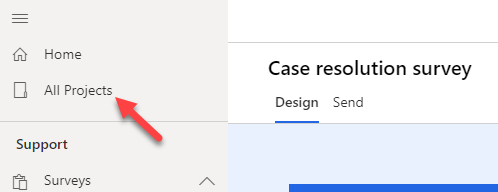
From the navigation menu, select All Projects.
Find your new project from the list and then select the ellipsis (...) next to its name.
Select Rename from the menu.

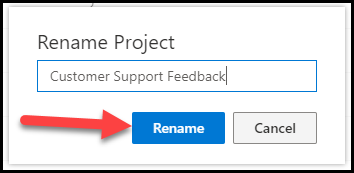
Enter Customer Support Feedback as the new name and then select Rename.
Task 2: Copy the project
In this task, you will copy your project to another environment. If you don't have more than one environment for the purpose of this exercise, you can read through the steps to gain an understanding of the functionality instead.
From the navigation menu, select All Projects.
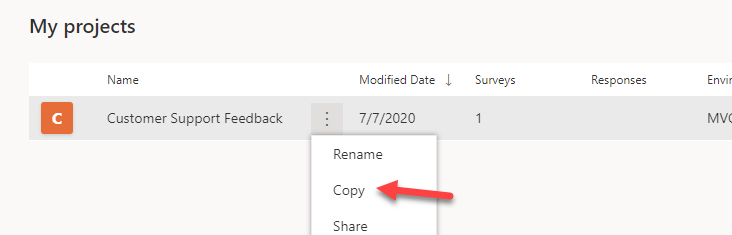
Find your new project from the list and then select the ellipsis (...) next to its name.
Select Copy from the menu.
If you have more than one location that is available to you in your environment, select a different location. If you only have one location, select that location. Select the Copy button to continue.
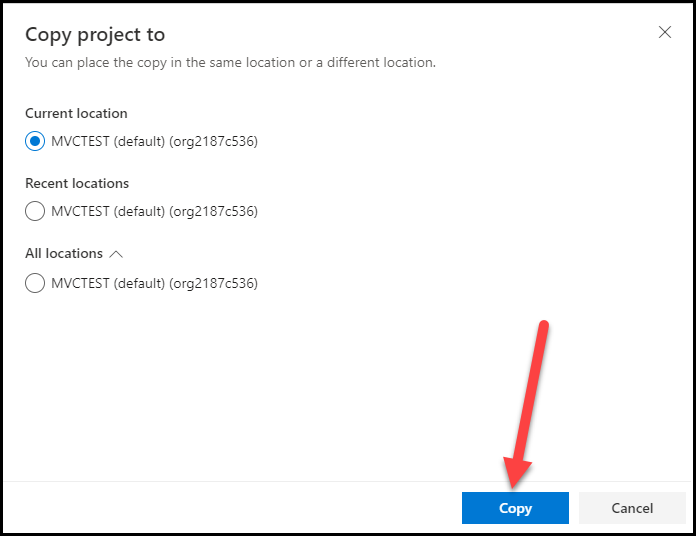
A notification will be displayed, showing that the project has been copied to the location that was specified in step 4.

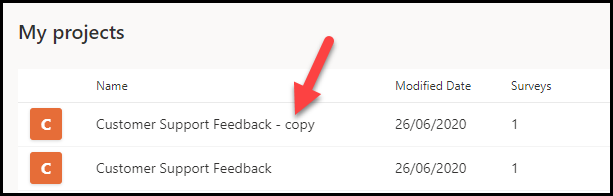
After the project has been copied, it will be listed in the location that was specified in step 4, with the word copy at the end of the name to indicate which is the new one.
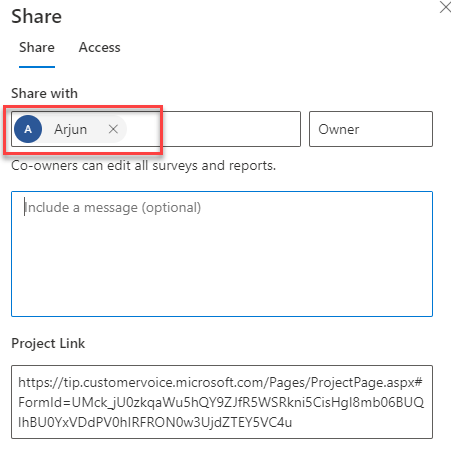
Task 3: Share the project
In this task, you will share your project with other users within the same organization. If you don't have other users whom you can share the project with for the purpose of this exercise, you can read through the steps to gain an understanding of the functionality instead.
From the navigation menu, select All Projects.
Find your new project from the list and then select the ellipsis (...) next to its name.
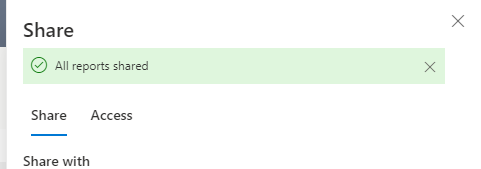
Select Share from the menu.

On the Collaborate tab, enter the name of another user to share the project with.
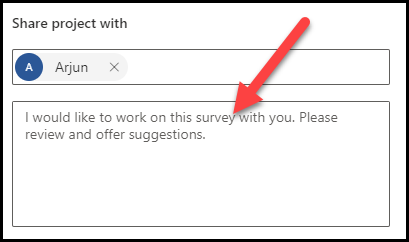
In the message box, enter I would like to work on this survey with you. Please review and offer suggestions.
Select Share in the lower part of the screen.
A notification will appear to confirm that the project was shared with the recipients that were selected in step 4.
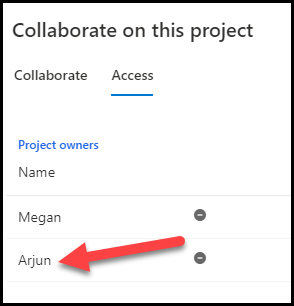
Close the Share screen and then repeat steps 2 and 3. Select the Access tab, where you can see the people who have access to the project.