Lab - Manufacturing execution
Read this first - before you start the lab!
Important
For this lab, you CANNOT sign in with your own credentials. Use the following steps to sign in to your lab environment with the correct credentials.
Ensure that you are signed in to Microsoft Learn.
Select Launch VM mode or Sign in to launch VM mode in this unit.
In the Resources tab on the lab side bar, select the T icon next to Password in the MININT box, to have the administrator password for the Virtual Machine entered for you.
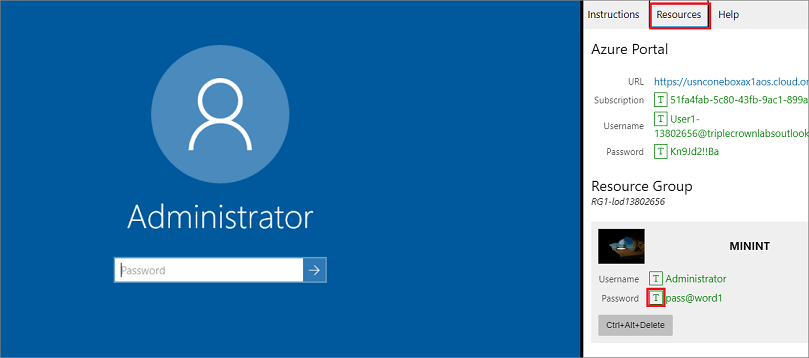
Select Enter.
Microsoft Edge will open. Wait for it to navigate to the Sign in page for finance and operations.
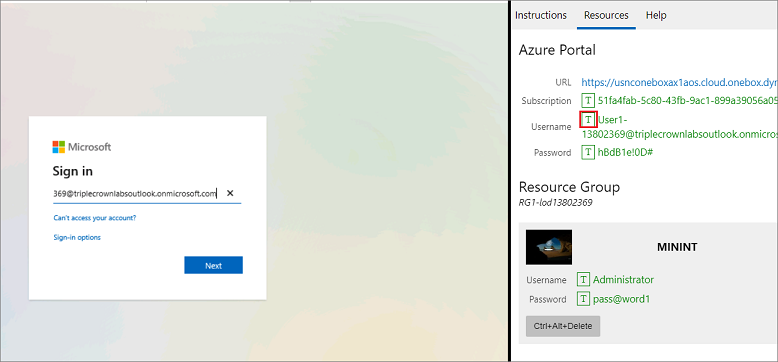
On the Microsoft Sign in page in finance and operations, place your mouse cursor into the Username field.
On the Resources tab of the lab side bar, below the Azure portal heading, select the T icon next to Username, then press Enter.
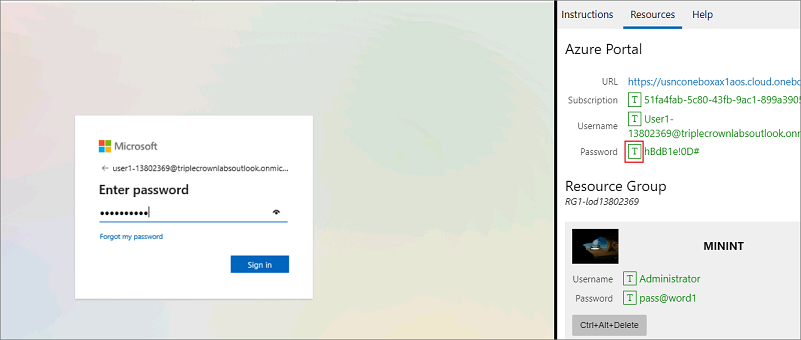
Your mouse cursor will now be in the Password page.
On the Resources tab of the lab side bar, below the Azure portal heading, select the T icon next to select Password, then press Enter.
Don't stay signed in or store the password on the virtual machine.
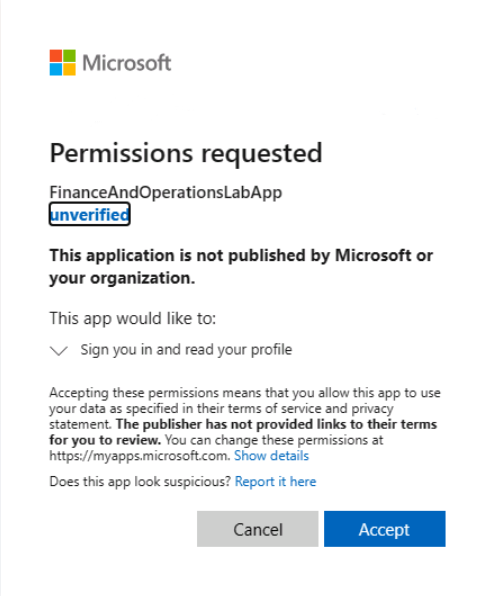
Select Accept in the Permissions requested page.
To see the lab instructions, select the Instructions tab on the lab side bar.
You can now begin your work on this lab.
Scenario
In this lab you will perform the following tasks:
- Backflush on operations
- Automatic route consumption on setup jobs
- Test the parameter setup
- Use Manufacturing execution
Backflush on operations
The Production manager decided that the best way to post picking lists is to use the Operation quantity feedback (backflush on operations) method. If the actual consumption on BOM items differs from the estimated consumption, the employee can enter the actual item consumption when providing quantity feedback.
Open Production control > Setup > Manufacturing execution > Production order defaults.
On the Start tab, select Status + quantity in the Update start on-line field.
In the Automatic BOM consumption field, select Never.
Select the Operations tab.
Set the Setup option to Yes.
In the Automatic BOM consumption field, select Always.
Select the Report as finished tab.
In the Update finished report on-line field, select Status + Quantity.
In the Automatic BOM consumption field, select Never.
Save and close the Production order defaults page.
Automatic route consumption on setup jobs
The estimation on operation setup is accurate, so the Production manager decides that it is not necessary for employees to register on setup jobs. The time consumption on setup jobs must be posted automatically.
Open Production control > Setup > Routes > Route groups.
From the list in the left pane, select Shop Floor Control Routing Group.
Select Edit in the Action Pane.
On the General FastTab, in the Automatic route consumption group, enable the Setup time field.
Select Save and close the Route groups page.
Open Production control > Setup > Manufacturing execution > Production order defaults.
On the Start tab in the left pane, in the Automatic route consumption field, select Route group dependent.
Enable the Post route card now field.
Save and close the Production order defaults page.
Test the parameter setup
In the previous sections, you changed the picking list posting to backflush on operations and then arranged the posting of setup time on a production order to be done automatically when you start a new production. Now, you need to test the setup.
Open Organization administration > Number sequences > Number sequences.
Select Number sequence code 'Prod_128'.
Select Edit in the Maintain group.
In the Name field, enter 'Production Journal', and at the bottom of the page in the Next field, enter '1900'.
Select to expand the Scope parameters FastTab if it is not expanded already.
Verify that Company is USMF.
Select to expand the General FastTab if it is not expanded already.
Verify that the Continuous field is set to No.
Select Save and close the Number sequences page.
If the pop-up message Change of number sequence may create inconsistency - accept? appears, select Yes.
To run the Synchronize job table periodic job, follow these steps.
Open Production control > Periodic tasks > Update entities > Synchronize job table.
Enable all four options: Synchronize production, Synchronize Time and attendance, Synchronize project, and Synchronize HRM absence.
Select OK. This process might take several minutes to complete.
Use Manufacturing execution
Enable time registration for Shannon the machine operator in USMF. Shannon needs to use the Job card terminal to control the execution of the production order.
Go to Human resources > Workers > Workers.
Use the Quick Filter to filter on the Name field with a value of SHANNON.
The record Shannon Dascher will appear, select the record to open the details.
Select Edit in the Action Pane.
Select the Time tab on the worker record.
Select Activate on registration terminals.
In the Calculation group field, enter or select Man.
In the Default calculation group field, enter or select Man.
In the Approval group field, enter or select AdmMan.
In the Standard profile field, enter or select Standard.
In the Profile group field, enter or select Man.
Select Yes in the Use timecard field.
In the Configuration field, enter or select Production.
Select Yes in the Supervisor options field.
Select OK.
Select Time registration tab under Shannon’s profile.
In the Identification field, enter 069.
In the Badge ID field, enter 069.
Select Save in the Action Pane.
Close the page.
Note
To complete the following steps, ensure your user is assigned to the Machine operator role in System administration. Also ensure that your worker is assigned to a device by going to Production control > Setup > Manufacturing execution > Configure job card for devices and if necessary select Add in the Assigned users FastTab.
Go to Production control > Manufacturing execution > Job card device.
In the Personnel number field, enter 069.
Select Log in.
Select Start job.
Set Quantity to start to 1.00.
Select OK.
Select Report progress.
Select the Error quantity tab and eet Error quantity to 1.00.
In the Error cause field, select Material.
Select Complete.
Select Break.
In the list, select break from work.
Select OK.
Select Stop break.
Select Activity.
In the list, find and select Equipment repair.
Select OK.
You will get an error message saying you need to report feedback on another job. Select OK to continue.
Set Good quantity to the difference between the Total Requested and Already Completed.
In the Change Job status to section, select Completed.
Select Complete.
Select Leaving.
Select Clock out in the dialog box that opens.
Select OK.
Close the page.
Close the lab environment
- Select Done in the Instructions pane in the lab side bar.
- In the Lab is complete window, select Continue, and then select Leave to return to the next unit in the module.