Note
Access to this page requires authorization. You can try signing in or changing directories.
Access to this page requires authorization. You can try changing directories.
With support for Windows, the web, and macOS, Universal Print is truly "universal". After adding printers to macOS, users can print with Universal Print from any application.
To get started, the Universal Print app must be installed from the Mac App Store. Admins can provision the application automatically for users by using MDM, or users can install the app themselves.
Prerequisites
Before a user can find and use Universal Print printers from macOS, these prerequisites must be satisfied:
- User must have a Microsoft Entra ID account that is assigned at least one Universal Print eligible license
- The user's account must be in a tenant where:
- The Universal Print application is enabled (instructions)
- One or more printer(s) are registered with Universal Print
- One or more printer(s) are shared with the user or a security group they are a member of
- The macOS support global setting is set correctly for the printers the user is trying to find
- The user's Mac has macOS Sonoma 14.6.1 or later installed how to check
Step 1: Install the Universal Print app
| Provision the Universal Print app by using MDM | Install the Universal Print app manually |
|---|---|
|
Install the Universal Print app from the Mac App Store* |
* Requires administrator privileges
Step 2: Sign in
- Open System Settings by clicking Apple Logo > System Settings
- Navigate to "Universal Print" in the left navigation menu
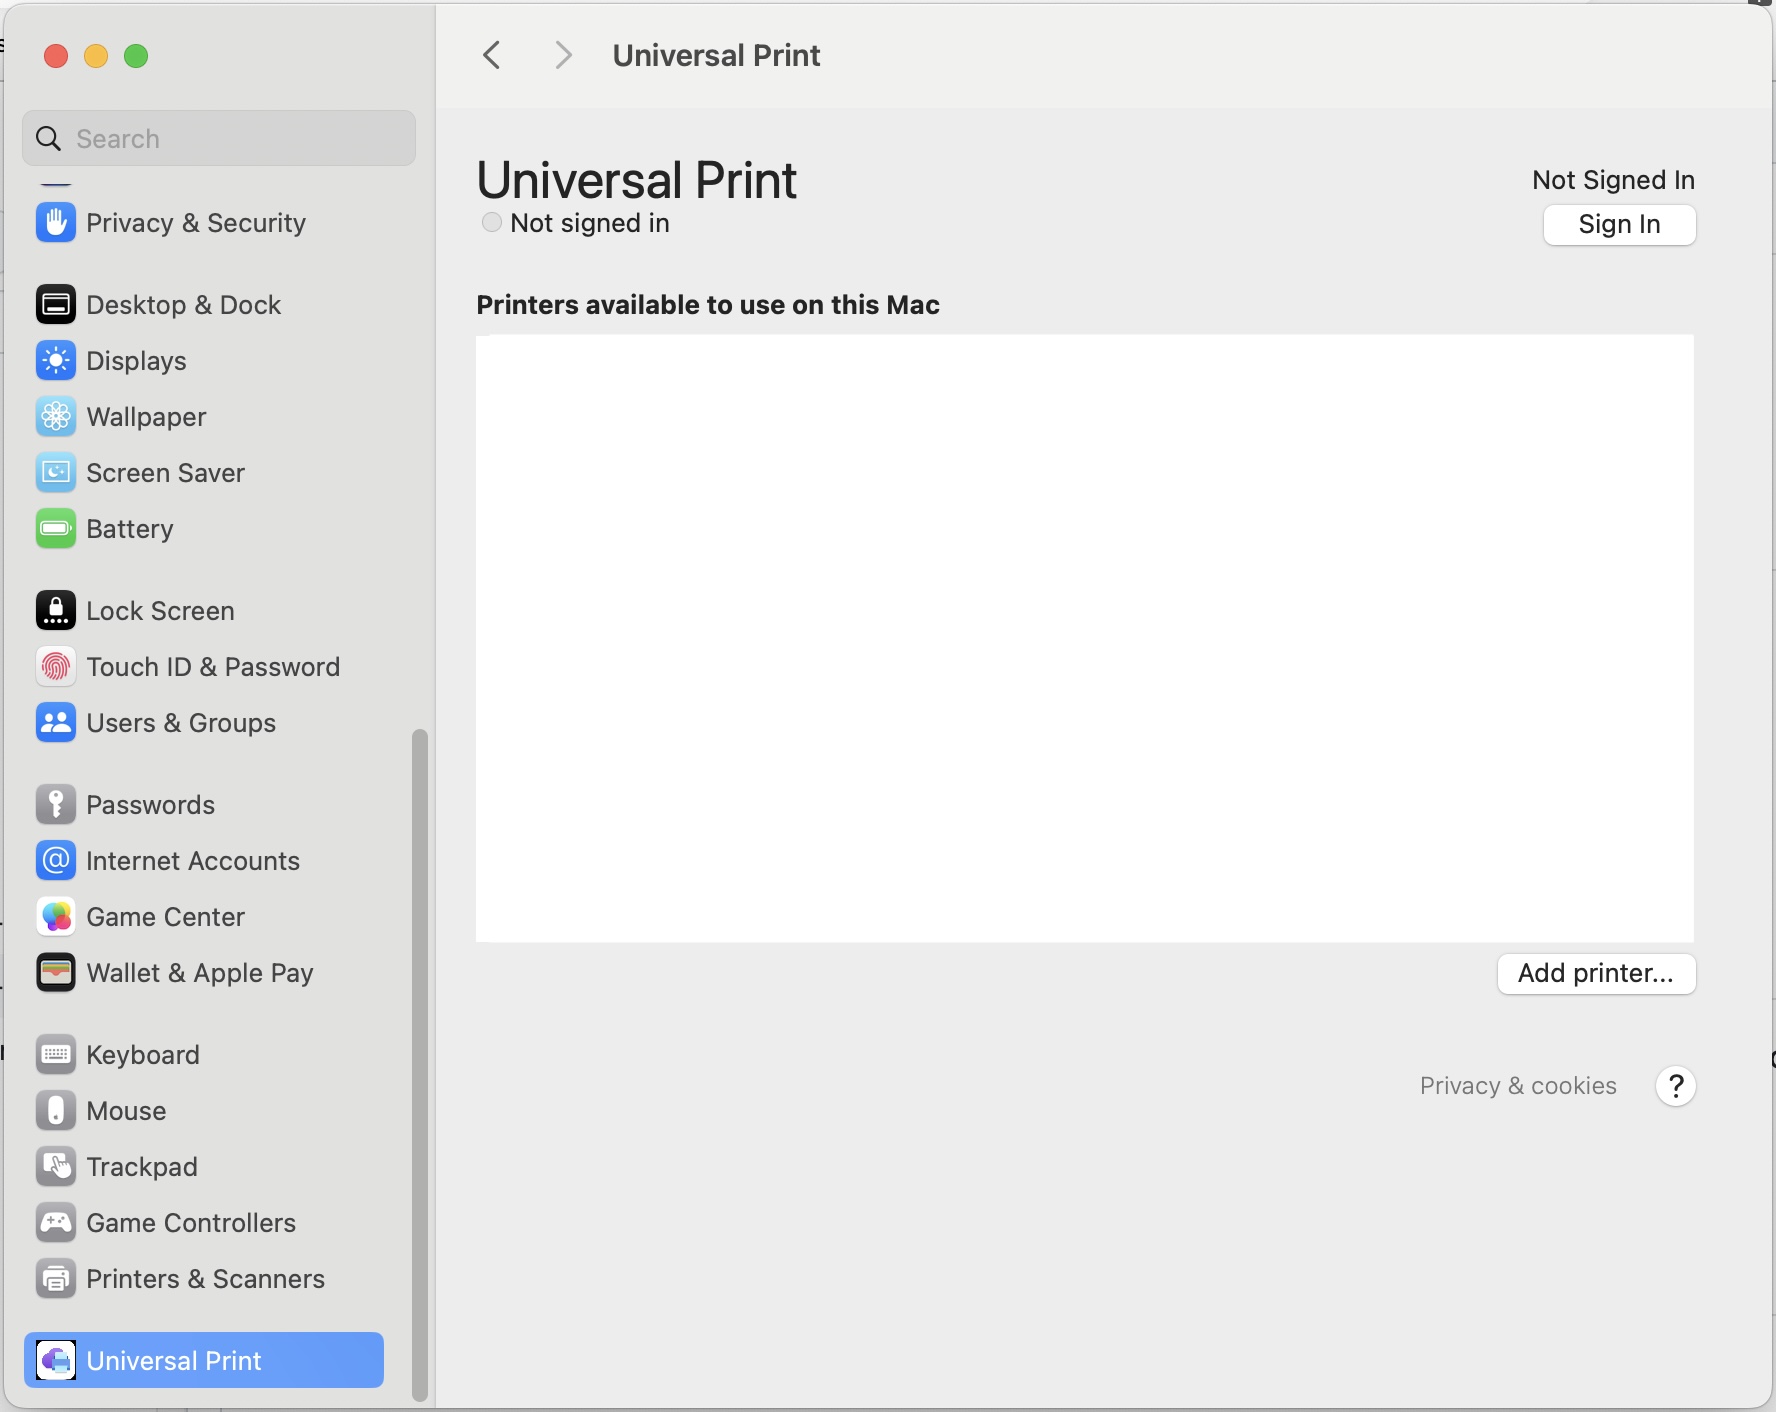
- The first time opening the app, you will see a consent prompt, click
Allowand follow the on screen instructions to proceed.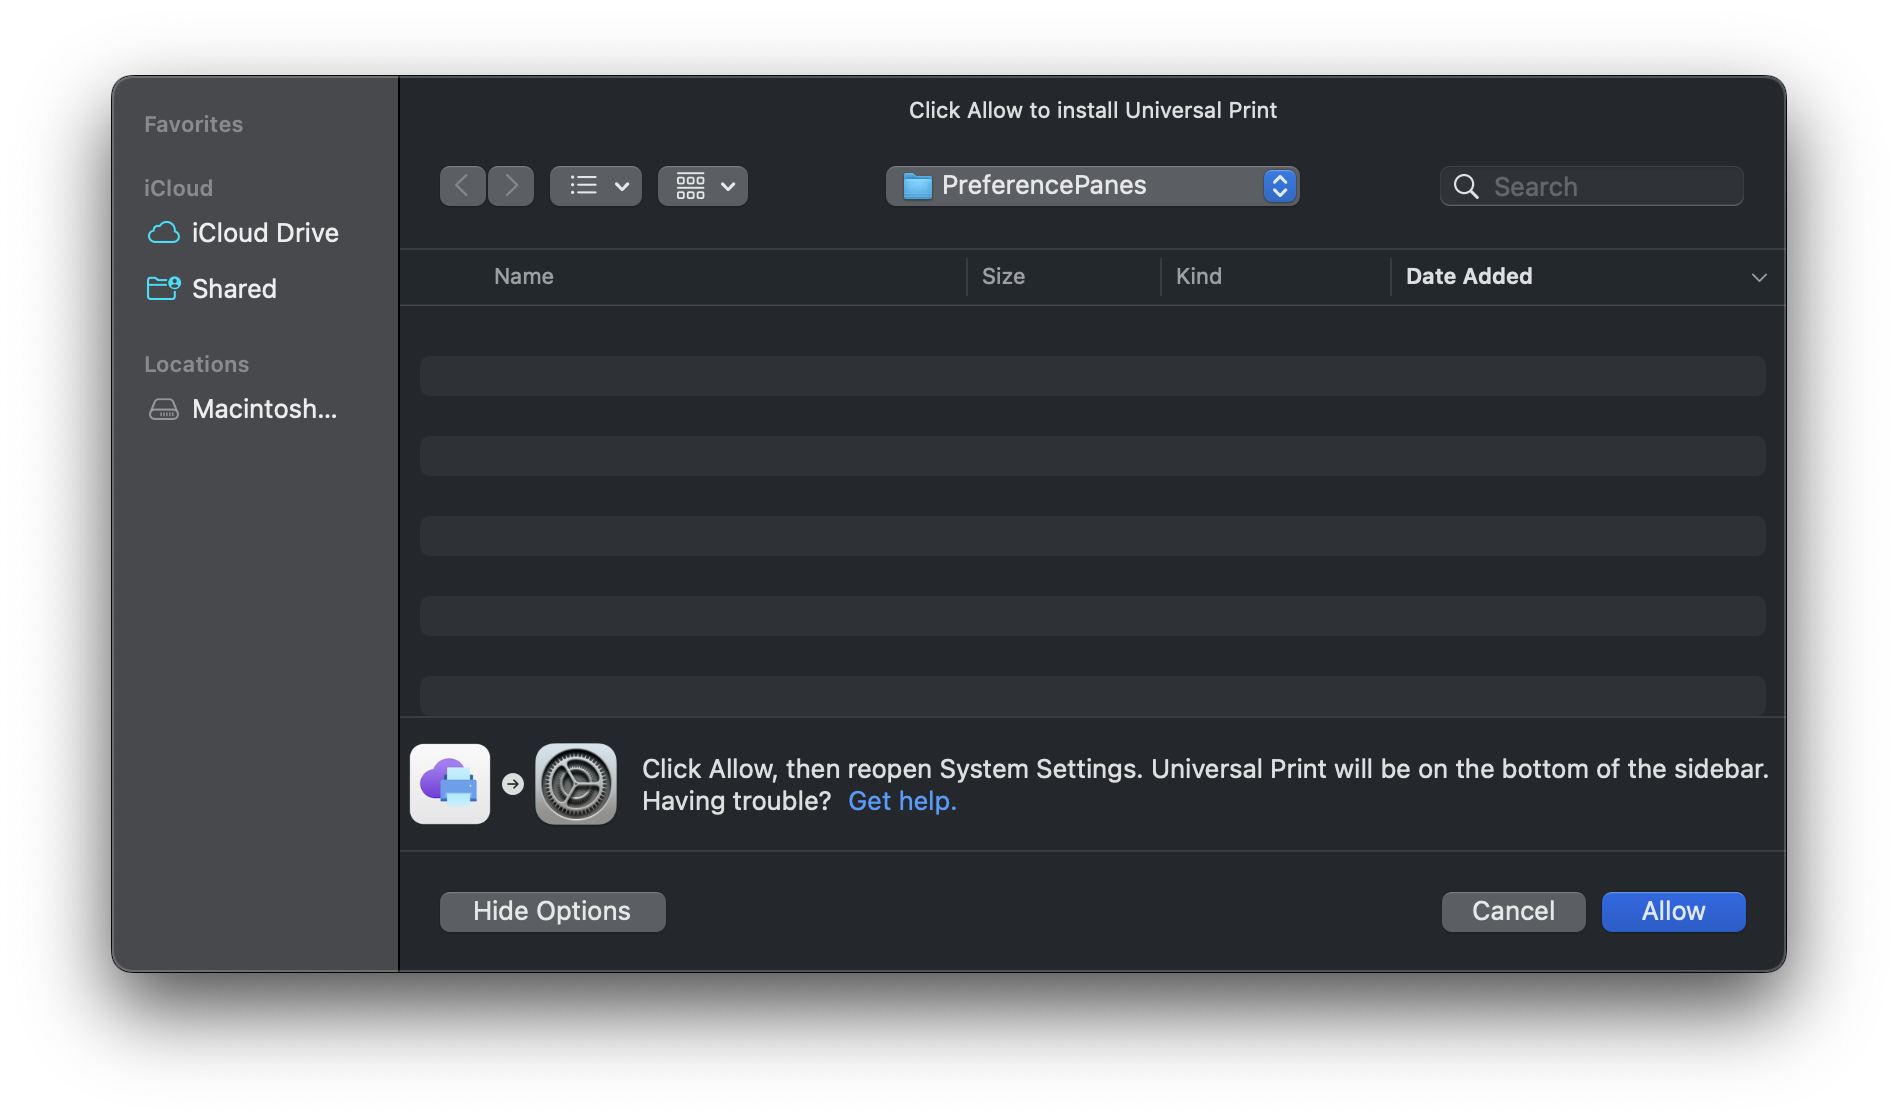
- Sign in using a Microsoft Entra ID account that meets the above prerequisites
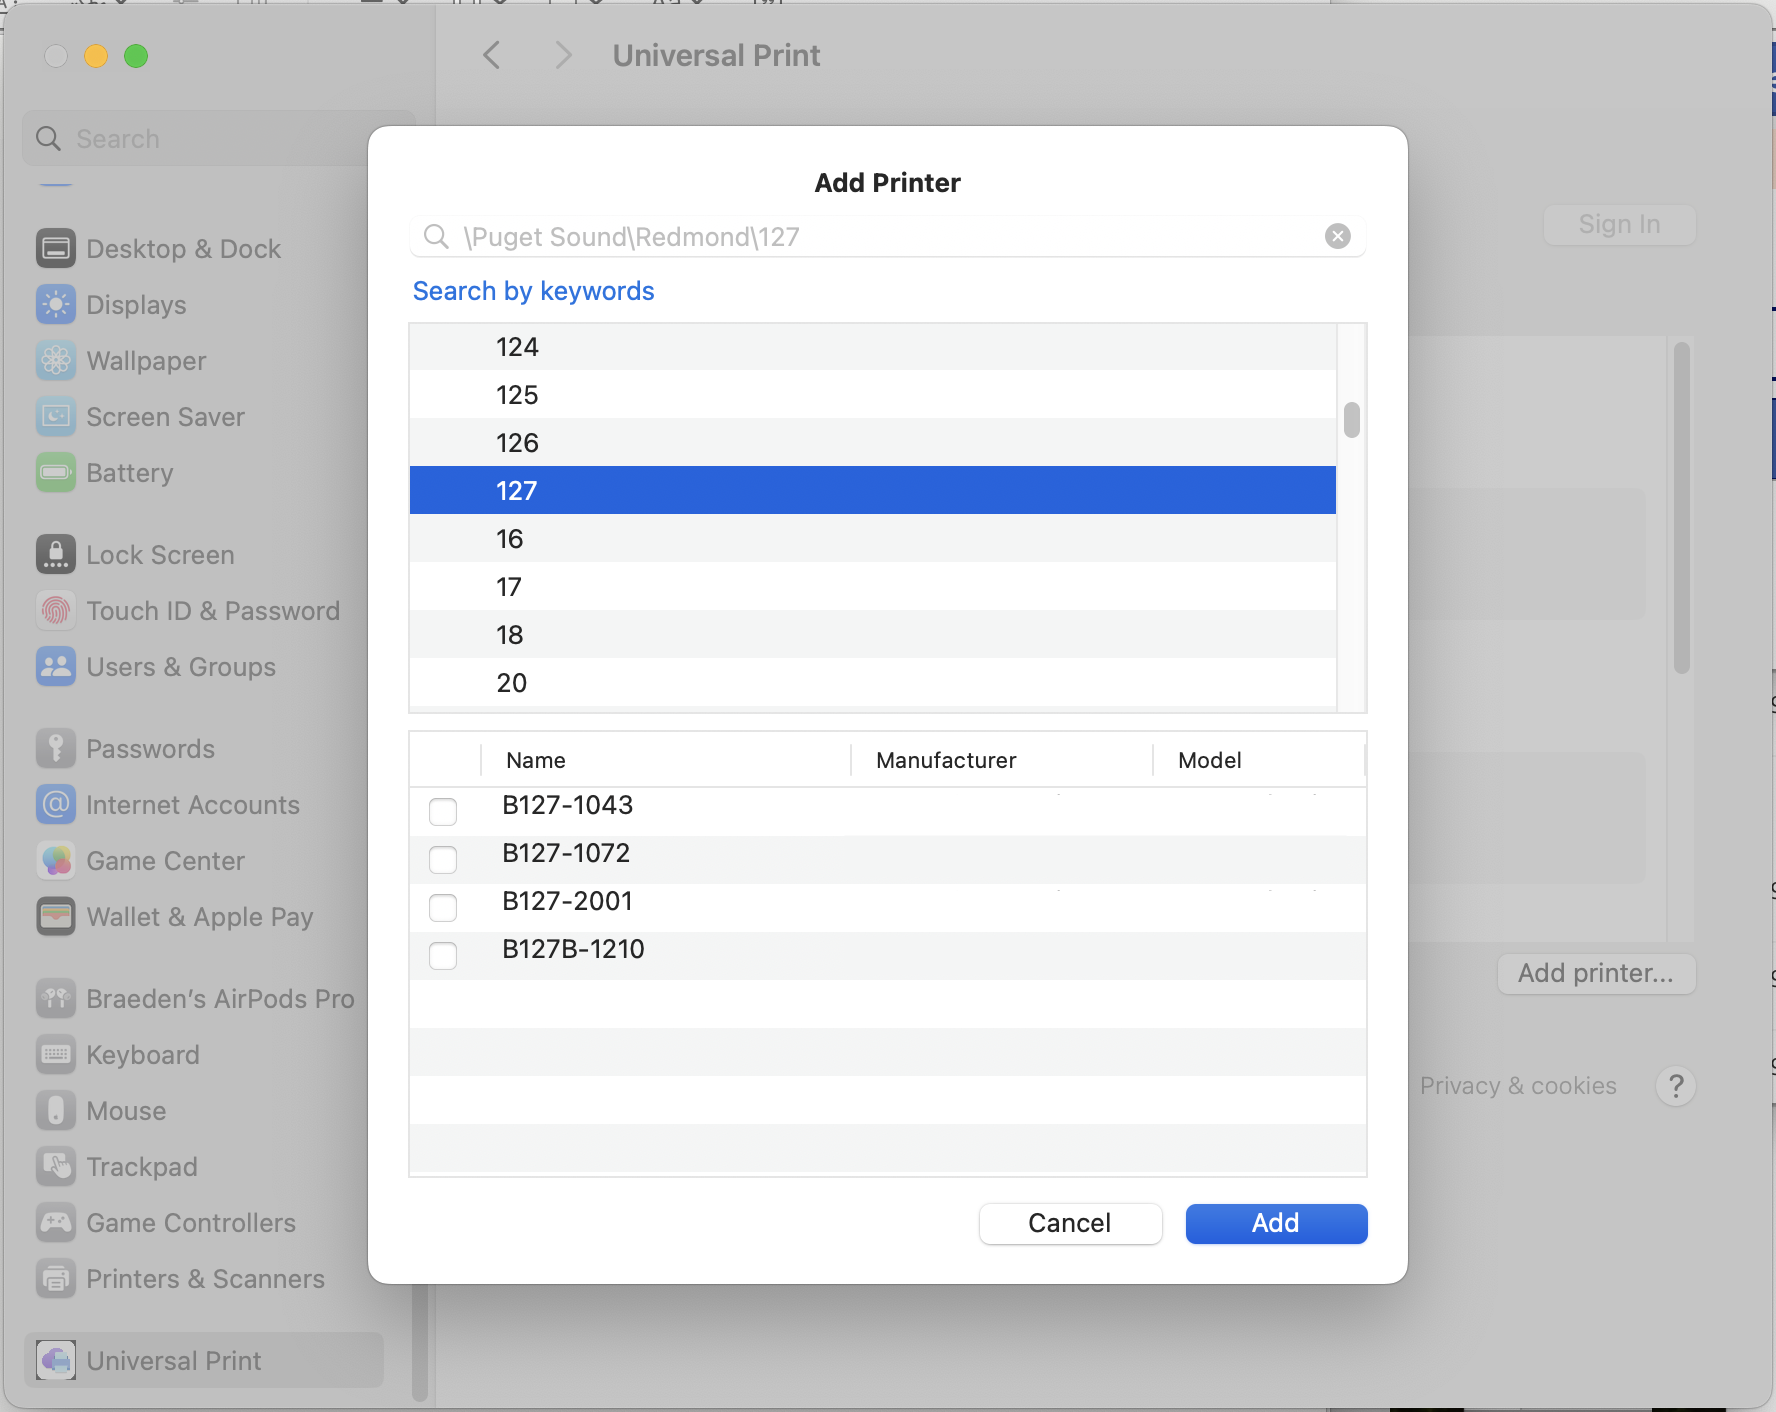
Step 3: Add printer(s)
- Click "Add printers"
- Scroll through the available printers or search for a specific printer by name or location
Note
If you can't find the printer you're looking for, try these troubleshooting steps:
- Verify that the above prerequisites are satisfied
- If the prerequisites are met and no printers appear in the list, try these steps
- If no printers appear, try searching for a printer by name or location.
- If some printers appear, but not the one you're looking for, try these steps
- Select printer(s) to add by using the checkboxes
- Click "Add"
- The printer(s) are now available to use from any application on the device*
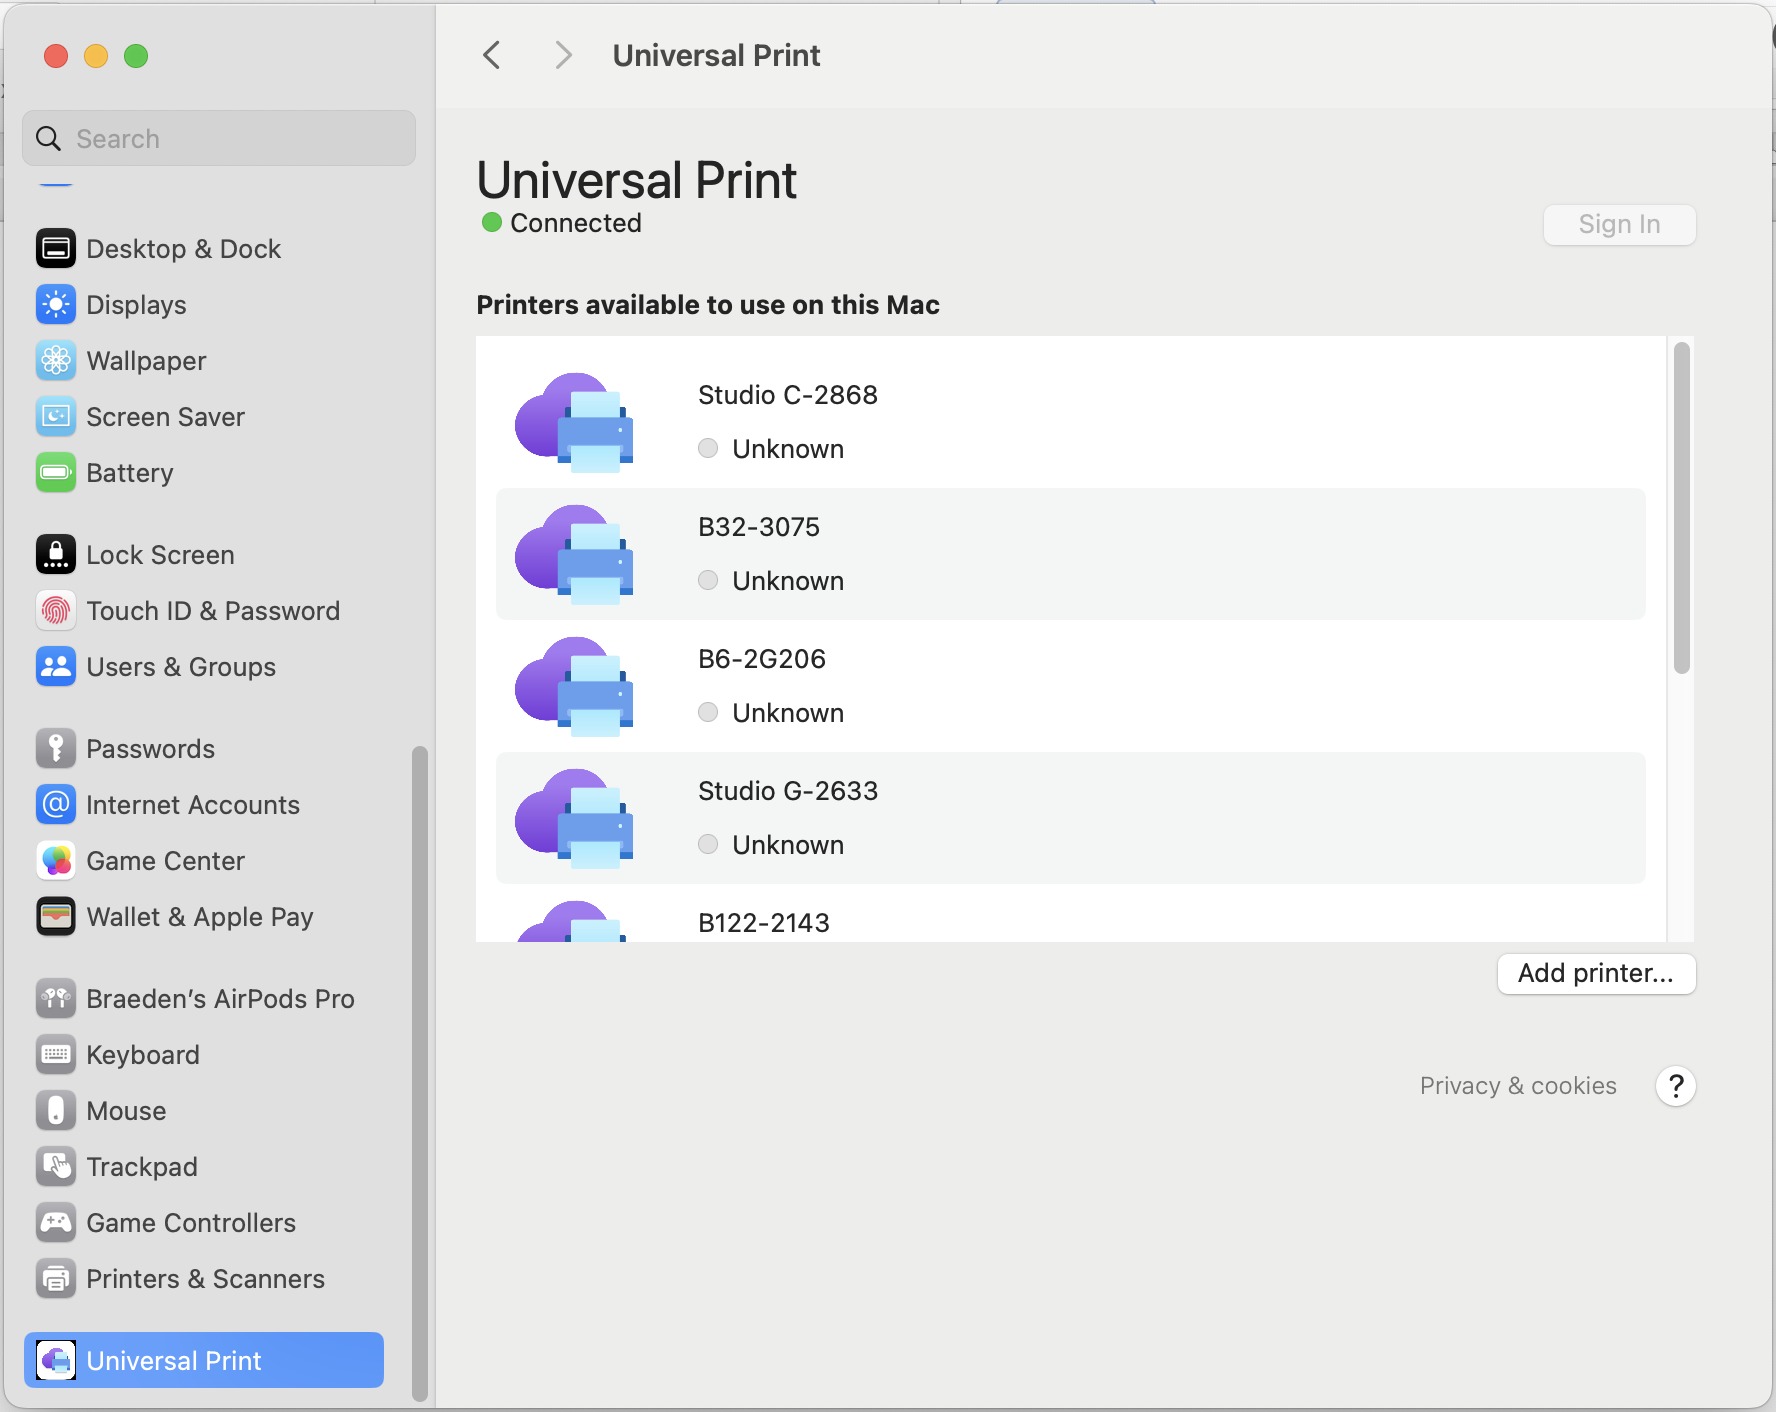
* Installed printers will be displayed in the system print dialog for all users on the device. If a user does not have permission to use a printer, their print jobs will fail.
Important
By default, macOS requires users to be administrators to install and modify printers. Learn how to remove this requirement and let non-admin users install and modify printers.
Step 4: Print!
- From any application that supports printing, click "Print" or press
Cmd+Pto open the system print dialog - Choose a printer you added in Step 3
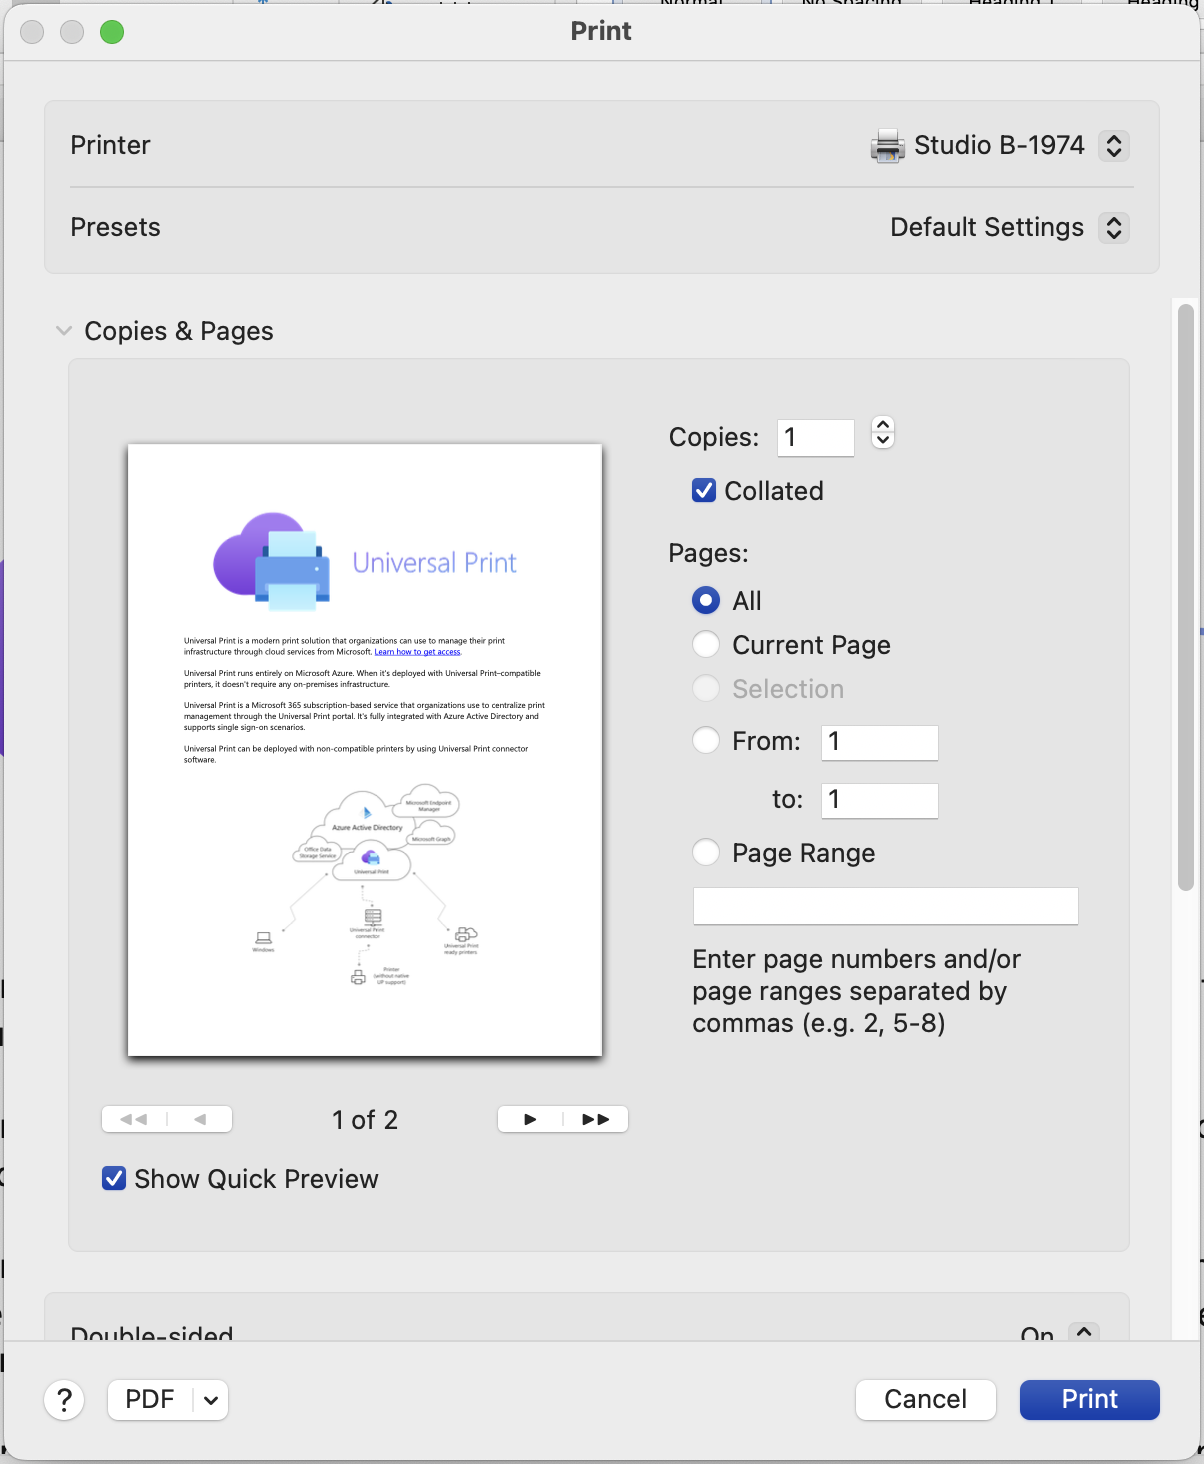
- Click "Print"
Note
The print job may not appear in the print queue, but the job will still be processed. Read more about this known issue. If your job is not completing as expected, try these steps.
More resources
Note
Mac, macOS, and App Store are trademarks of Apple, Inc., registered in the US and other countries and regions.