In this article, you'll learn how to publish your first ASP.NET web app to various locations including a local web server such as IIS and a remote cloud environment such as Azure App Service.
This article supports ASP.NET and ASP.NET Core.
Prerequisites
You need Visual Studio installed with the ASP.NET and web development workload.
If you've already installed Visual Studio:
Install the latest updates in Visual Studio by selecting Help > Check for Updates.
Add the workload by selecting Tools > Get Tools and Features.
Get started
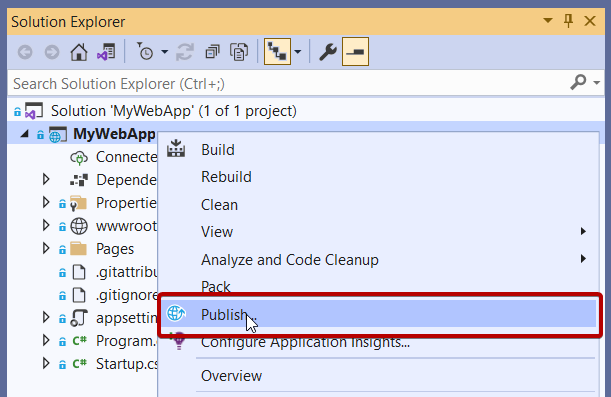
In Solution Explorer, right-click your project and choose Publish.
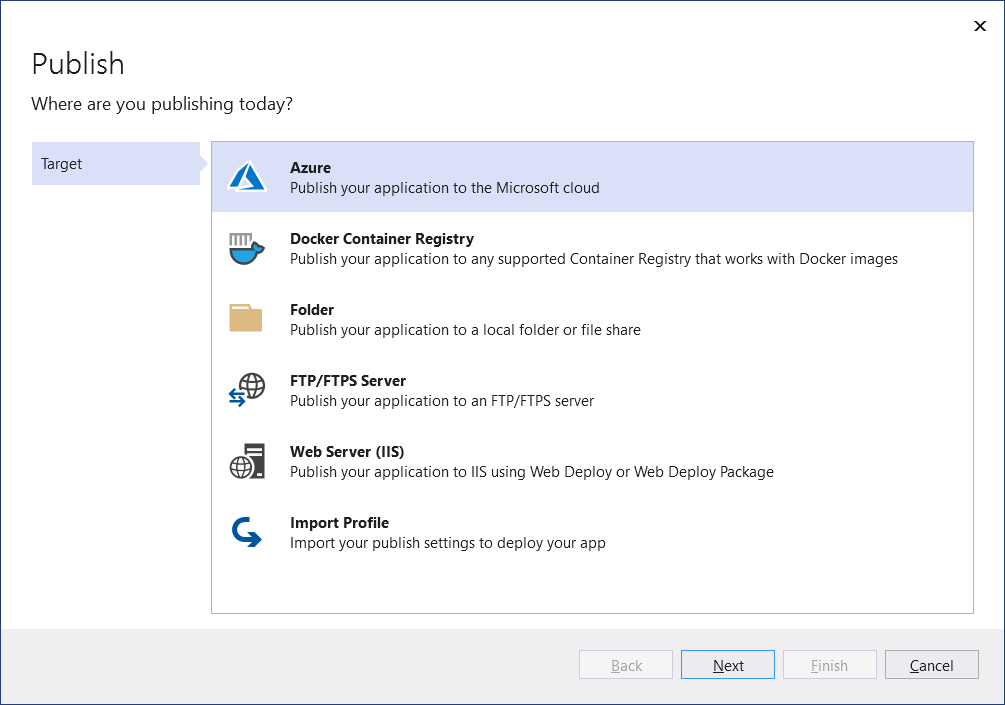
If you're publishing this web app for the first time, next you see the Publish wizard.
Note
Visual Studio filters the list of destinations depending on the type of web app.
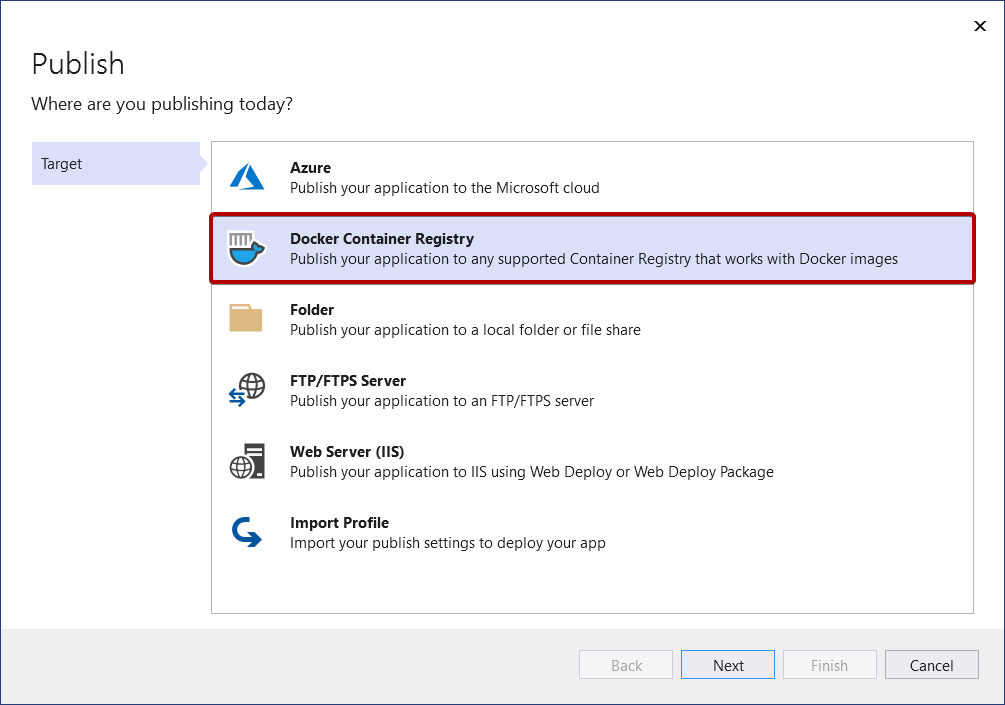
You can publish your web app as a Docker container to any compatible Docker Container Registry.
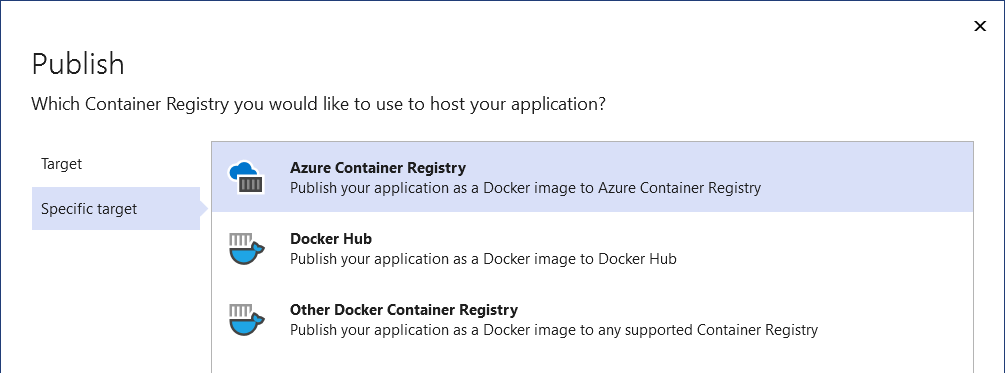
Click Next and choose from the available options, such as Azure Container Registry or Docker Hub.
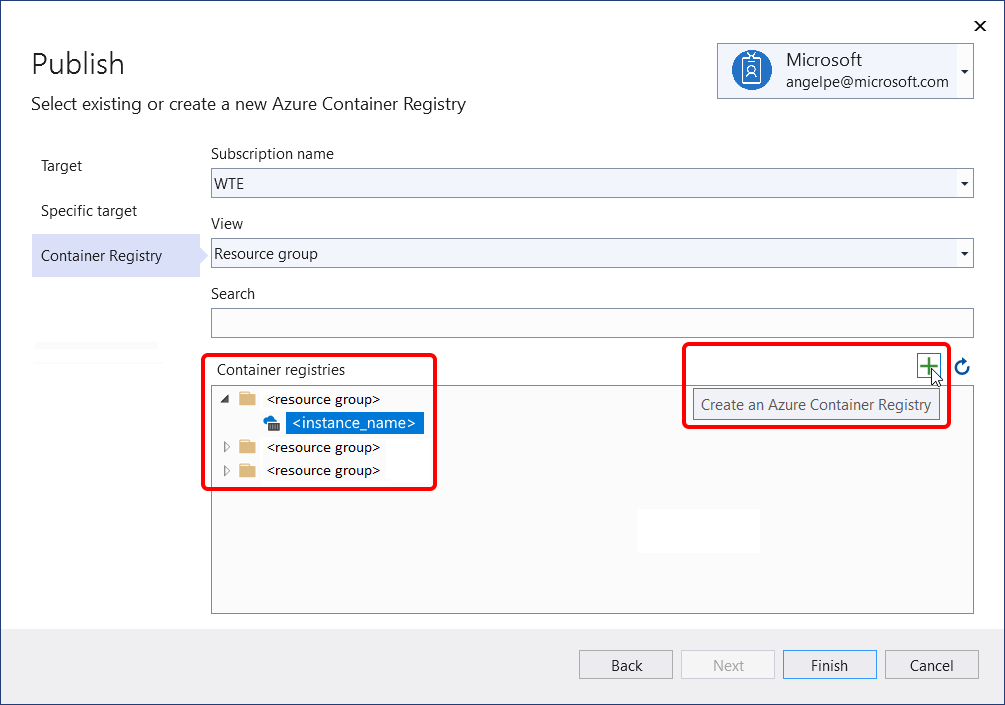
Azure Container Registry
Next, for Azure Container Registry, either select an existing instance or create a new one.
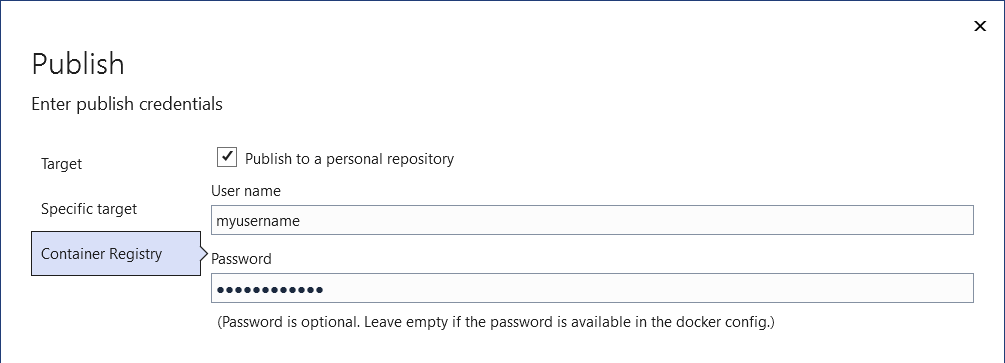
Docker Hub
Next, for Docker Hub, provide the publish credentials.
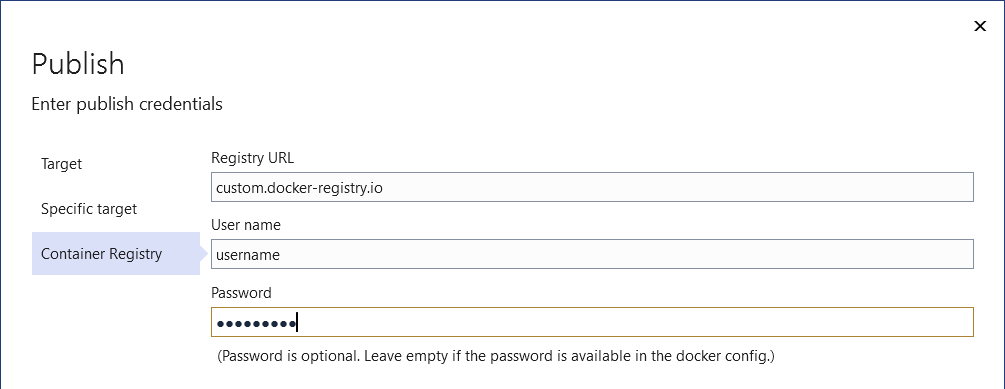
Other Docker Container Registry
Next, for other Docker container registries, provide the URI and publish credentials.
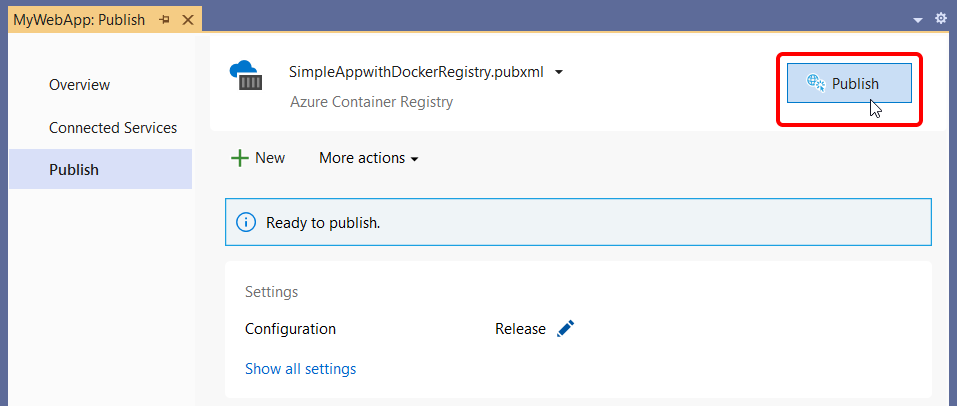
Finish the Publish wizard
Next, you see the summary page for the new publish profile that you just created using the Publish wizard. Click Publish and Visual Studio deploys your web app to the specified Docker Container Registry.
Note
The above screenshot is showing a publish profile targeting Azure Docker Registry, but the same Publish button is available for all three Docker Container Registry options.
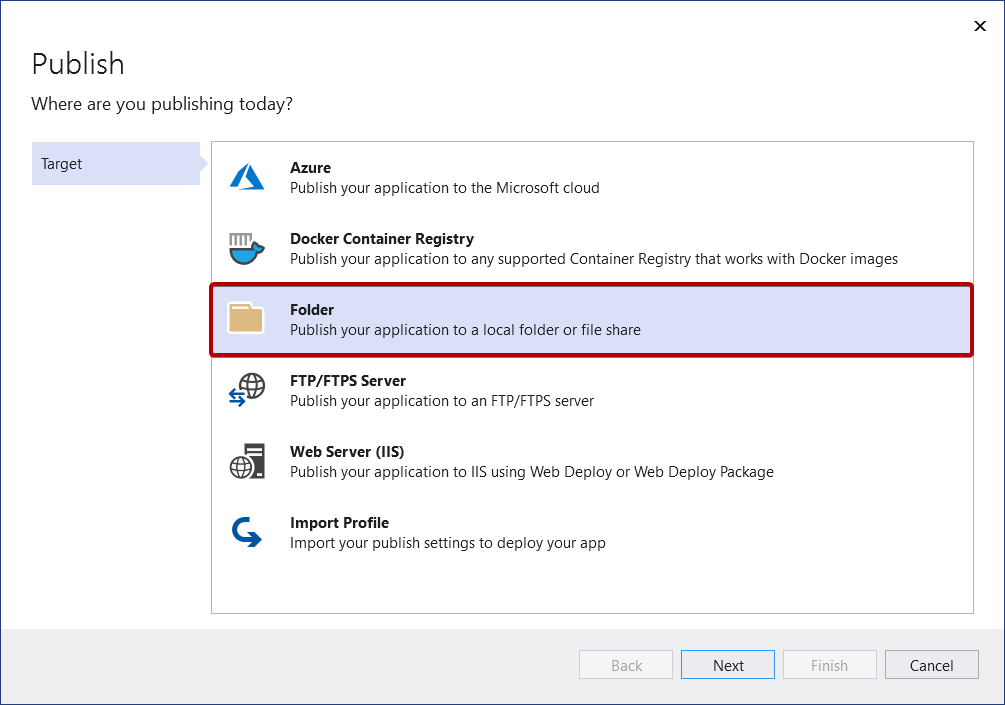
Publish your web app to a folder
You can publish your web app to both local and network folders.
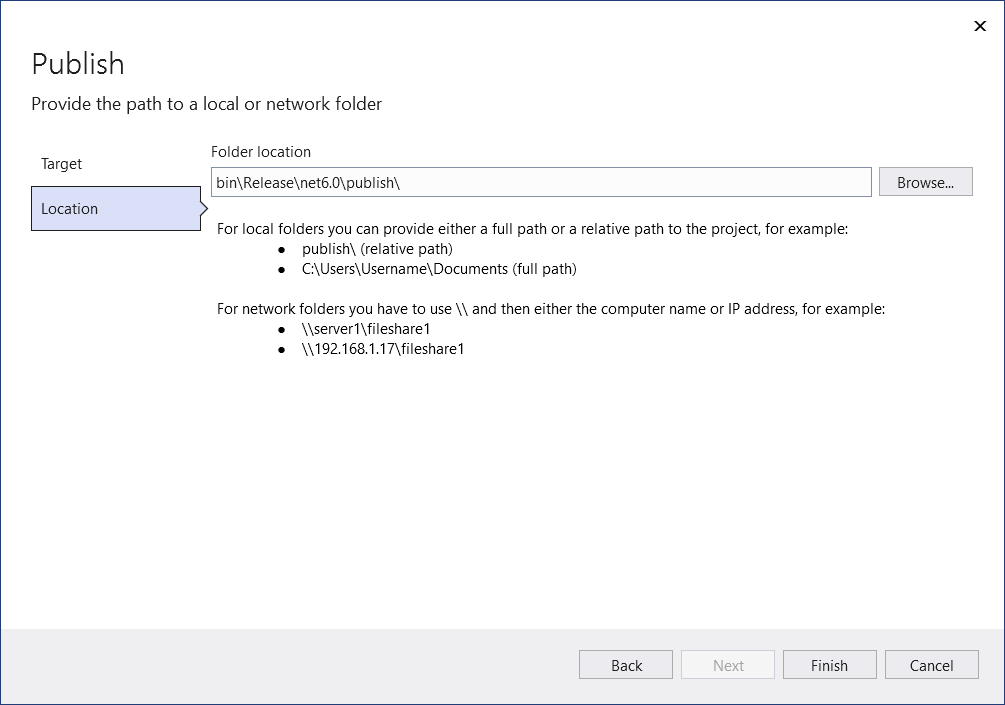
First, provide the path and click Finish to complete the Publish wizard.
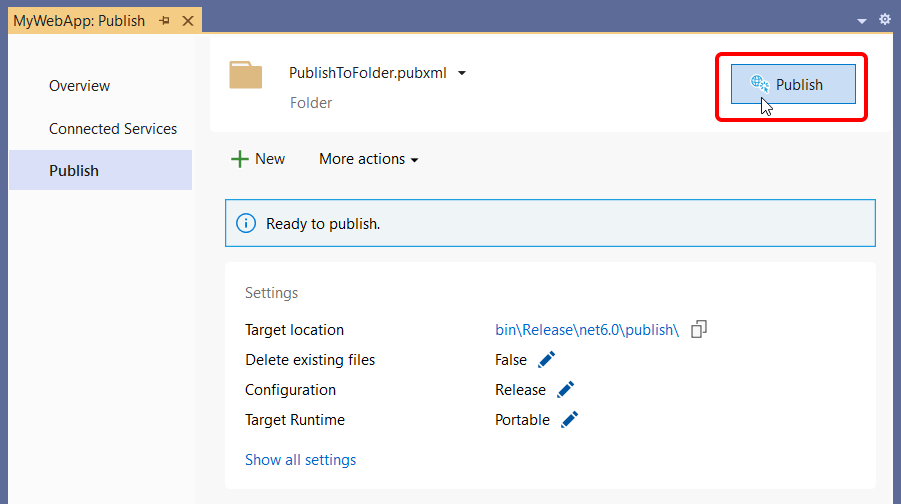
Next, you see the summary page for the new publish profile that you just created using the Publish wizard. Click Publish and Visual Studio deploys your web app to the provided path.
You can come back to this summary page after you close it. Next time you right-click and choose Publish, Visual Studio opens this summary page. (To get back to the Publish wizard just click New in the summary page.)
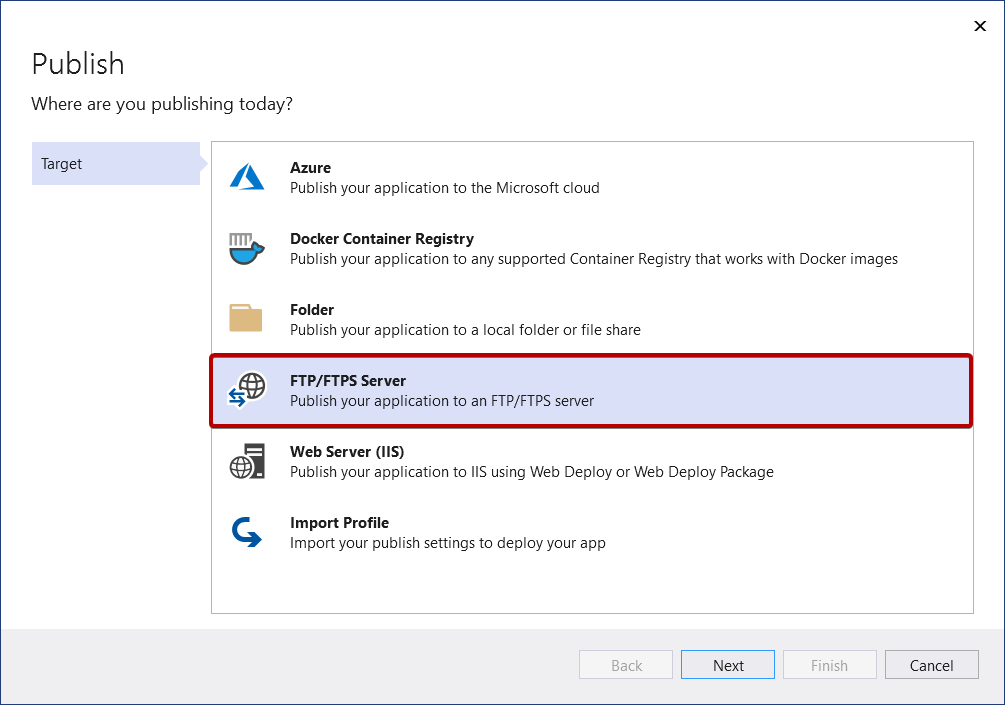
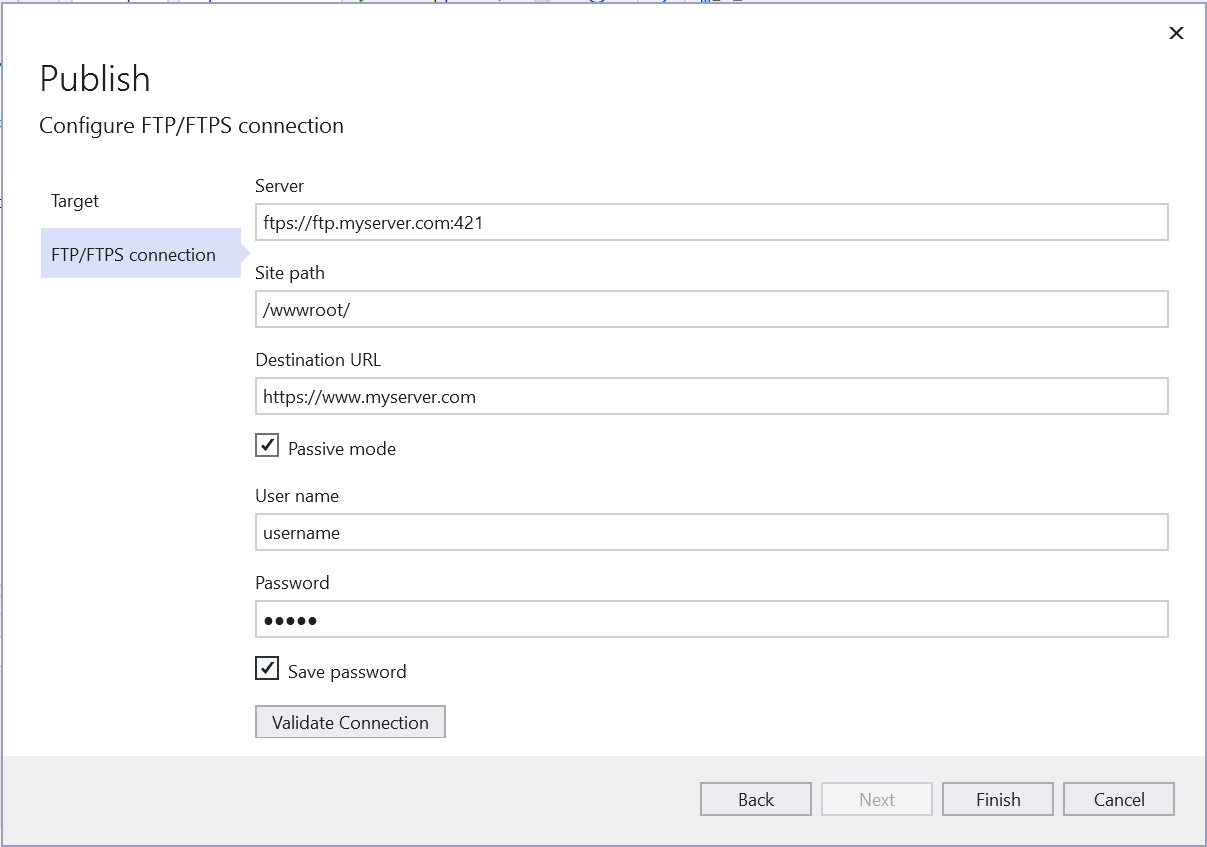
Publish your web app to an FTP/FTPS server
You can publish your web app using FTP or FTPS.
Provide the necessary connection details and choose Finish.
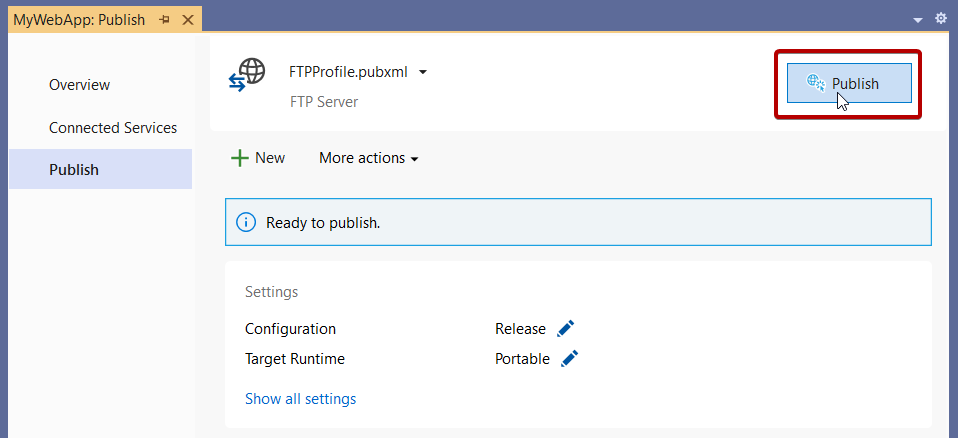
Next, you see the summary page for the new publish profile that you just created using the Publish wizard. Click Publish and Visual Studio deploys your web app to the provided FTP or FTPS Server.
You can come back to this summary page after you close it. The next time you right-click and publish, Visual Studio opens this summary page. (To get back to the Publish wizard just click New in the summary page.)
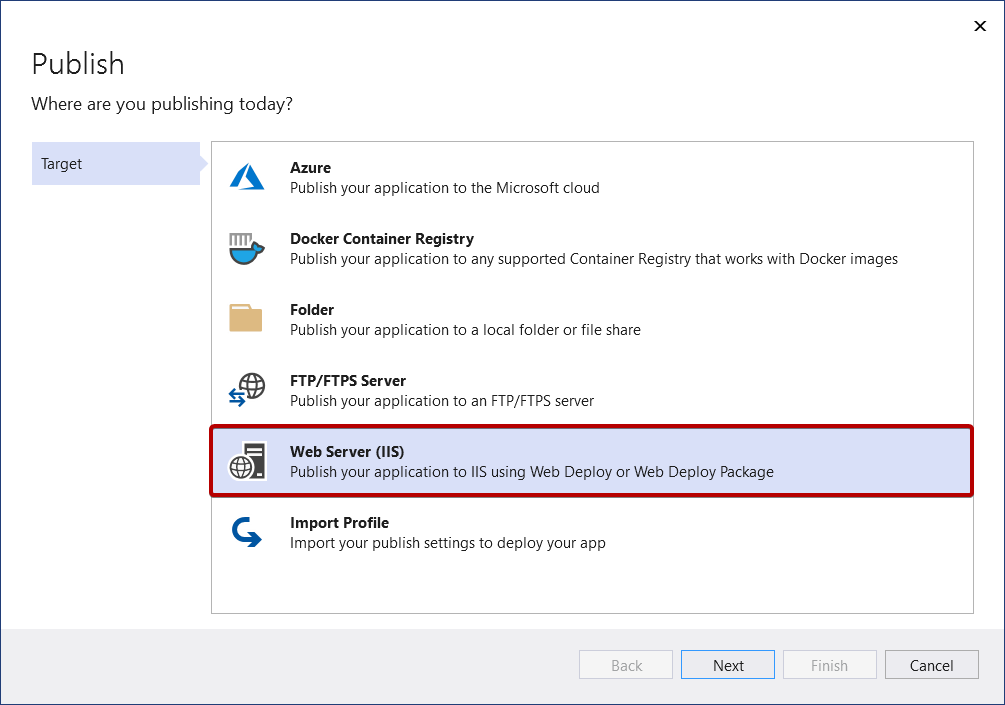
Publish your web app to Web Server (IIS)
You can publish your web app to IIS.
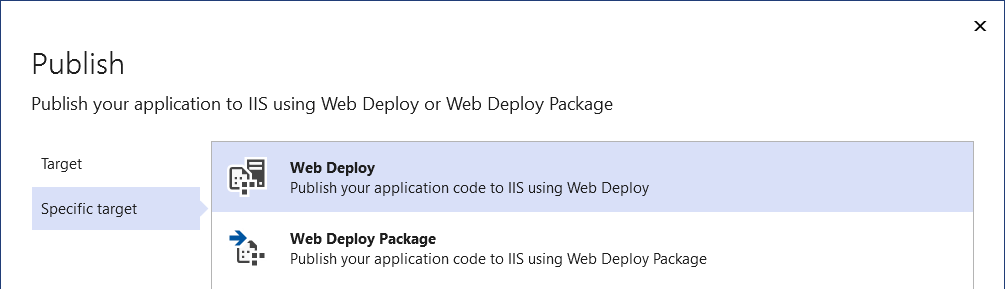
Pick the desired deployment mode. Choose Web Deploy to immediately deploy the application to the specified server. Choose Web Deploy Package to create a packaged zip file that contains the deployment artifacts for later use by you or someone else.
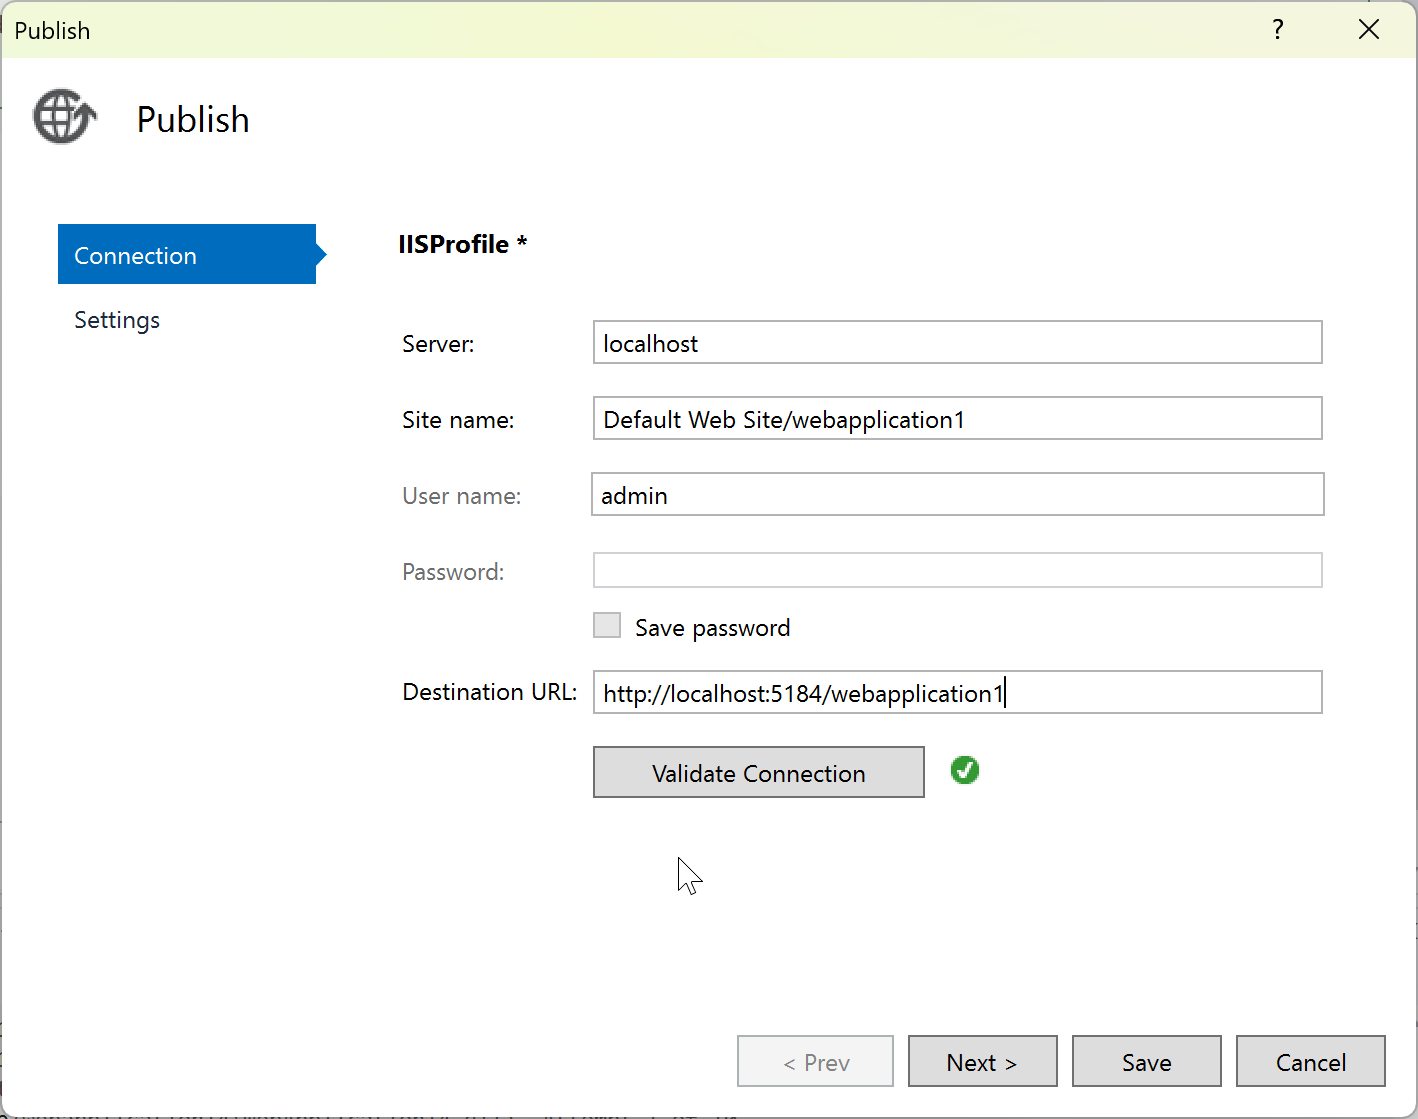
Web Deploy
Provide the necessary connection details and choose Finish.
On the remote computer, make sure that Web Deploy is installed and that the Web Management Service is started. See Web Deploy error codes.
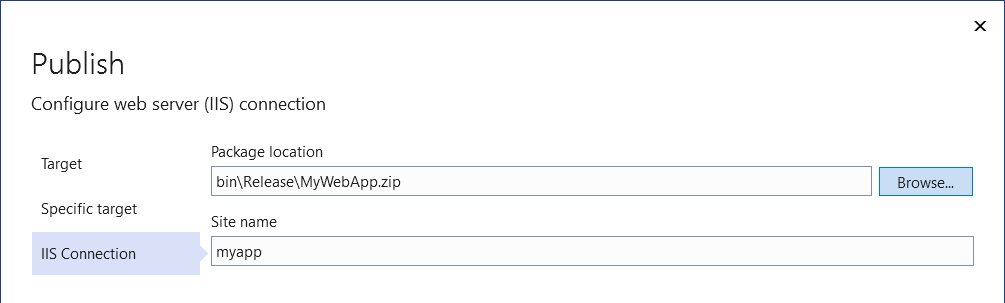
Web Deploy Package
Click Browse... to open a Select Package Location dialog box and enter the path to where you want the package to be created, including the .zip file name.
Finish the Publish wizard
Next, you see the summary page for the new publish profile that you just created using the Publish wizard. Click Publish and Visual Studio deploys your web app to the specified IIS server.
Coming soon: Throughout 2024 we will be phasing out GitHub Issues as the feedback mechanism for content and replacing it with a new feedback system. For more information see: https://aka.ms/ContentUserFeedback.