Events
Sep 16, 11 PM - Oct 18, 11 PM
Join us on a learning journey combining AI, apps and cloud-scale data to build unique solutions.
Learn moreThis browser is no longer supported.
Upgrade to Microsoft Edge to take advantage of the latest features, security updates, and technical support.
This article describes how to extend a free trial of Visual Studio, use an online subscription or product key to unlock Visual Studio, and update a stale or expired license.
You can evaluate a free trial of Visual Studio Professional or Visual Studio Enterprise for 30 days. If you sign in, you can extend the trial period to 90 days. The 90-day trial extension works only one time. (Visual Studio Community doesn't require you to sign in. However, if the installation prompts you to sign in periodically, sign in to continue using Visual Studio Community without interruptions.)
To continue using Visual Studio after a trial period ends, unlock it with an online subscription or a product key.
Select the Sign in button in the upper-right corner of the IDE. (Or go to File > Account Settings to open the Account Settings dialog, and then select Sign in).
Enter the credentials for either a Microsoft account or a work or school account. Visual Studio finds a Visual Studio subscription or an Azure DevOps organization that's associated with your account.
Important
Visual Studio automatically looks for associated online subscriptions when you connect to an Azure DevOps organization from the Team Explorer window. When you connect to an Azure DevOps organization, you can use both Microsoft and work or school accounts to sign in. If an online subscription exists for that user account, Visual Studio automatically unlocks the IDE.
For more information about Visual Studio subscriptions and how they work, see the subscriptions support FAQ page.
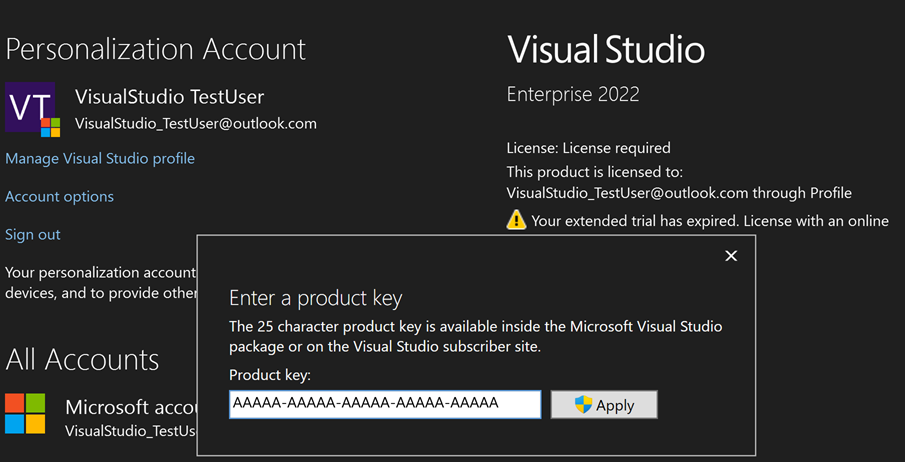
Select File > Account Settings to open the Account Settings dialog, and then select the License with a Product Key link.
Enter the product key in the space provided.
Tip
Prerelease versions of Visual Studio don't have product keys. You must sign in to the IDE to use prerelease versions.
For more information about product keys for Visual Studio and how to get them, see Using product keys in Visual Studio subscriptions.
You might see a message in Visual Studio that says, "Your license has gone stale and must be updated."
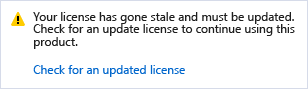
This message indicates that, although your subscription might still be valid, the license token that Visual Studio uses to keep your subscription up to date hasn't been refreshed. Visual Studio reports that the license is stale for one of the following reasons:
Before the license token goes stale, Visual Studio first shows a warning message that asks you to re-enter your credentials.
If you don't re-enter your credentials, the token will eventually expire, and the Account Settings dialog will notify of the number of days remaining before your token becomes stale. After your token expires, you must re-enter your credentials for the account before you can continue using Visual Studio.
Note that CA policies that are enabled on an account might affect the account state or license. You can troubleshoot the CA/MFA issues to find a resolution. For accounts that are associated with multiple Microsoft Entra ID tenants, filtering out nonessential tenants might help. You can do that by using the Filter account dialog (File > Account settings > Apply Filter). When re-authenticating an account, you can also filter out any directories that have access issues by using the Re-enter your credentials dialog.
Important
If you use Visual Studio for extended periods in environments that have limited or no internet access, you should use a product key to unlock Visual Studio to avoid interruption.
If your extended trial or subscription is expired and you no longer have access rights to Visual Studio, you must renew your subscription, add another account that has a subscription, or enter a product key. For information about the license you're using, go to File > Account Settings and review the license information on the right side of the dialog.
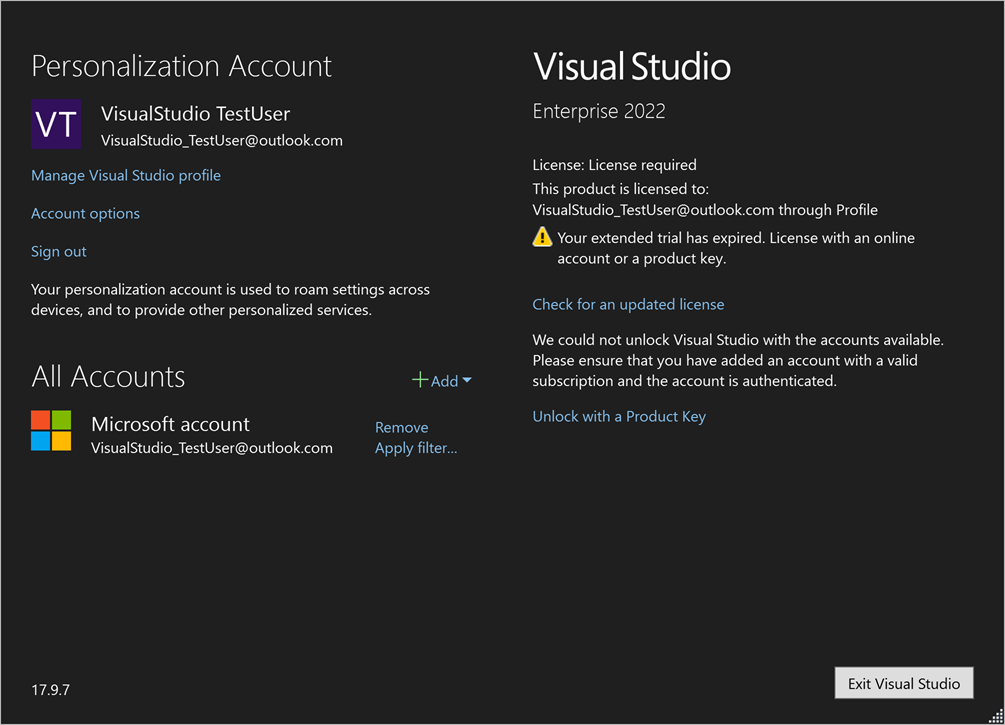
If you have another subscription that's associated with a different account, add that account to the All Accounts list on the left side of the dialog box by selecting the +Add dropdown.
You can also enter the product key for your Visual Studio subscription in the Account Settings dialog. To do that, select Unlock with a Product Key and enter the product key in the Enter a product key dialog.
Things sometimes go wrong. If you experience a problem, here are some support options:
Events
Sep 16, 11 PM - Oct 18, 11 PM
Join us on a learning journey combining AI, apps and cloud-scale data to build unique solutions.
Learn moreTraining
Module
Start your free Dynamics 365 Business Central trial - Training
Do you want to try, explore, and evaluate Business Central? Do you need a Business Central trial to facilitate your learning process? This module provides information on how to set up a free Business Central trial version. Additionally, this module explains how to create your Business Central account, how to use a demo database, how to start a trial with your own data, and how to subscribe your organization.
Certification
Microsoft Certified: Power Platform Developer Associate - Certifications
Demonstrate how to simplify, automate, and transform business tasks and processes using Microsoft Power Platform Developer.