Events
Sep 16, 11 PM - Oct 18, 11 PM
Join us on a learning journey combining AI, apps and cloud-scale data to build unique solutions.
Learn moreThis browser is no longer supported.
Upgrade to Microsoft Edge to take advantage of the latest features, security updates, and technical support.
In this article, you learn how to sign in to Visual Studio, add and switch user accounts, update your profile, sign out of your account, and the benefits to signing in. To learn how to access multiple user accounts in Visual Studio, see Access multiple accounts associated with the Visual Studio sign-in account. For guidance on how to add your public GitHub or GitHub Enterprise account to your Visual Studio keychain, see Work with GitHub accounts in Visual Studio.
You can get subscription support and search the frequently asked questions about subscriptions, accounts, and billing on our Subscription support page.
You can sign in to your Microsoft or organizational account. To add another account, see Add and switch user accounts.
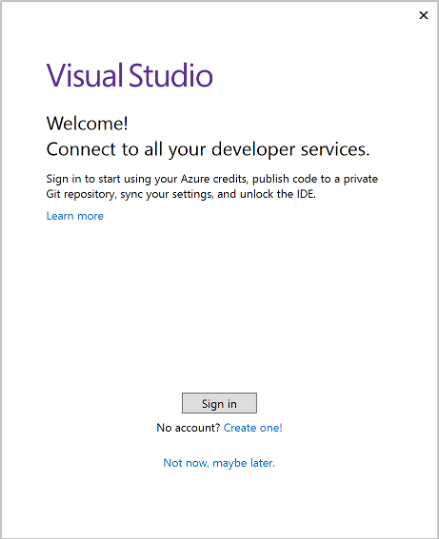
Launch Visual Studio. When you open Visual Studio for the first time, you're prompted to sign in and provide some basic registration information.
Note
If you choose not to sign in when you first open Visual Studio, it's easy to do so later. Look for the Sign in link in the upper-right corner of the Visual Studio environment.
Launch Visual Studio. When you open Visual Studio for the first time, you're prompted to sign in and provide some basic registration information.

Note
If you choose to not sign in when you first open Visual Studio, it's easy to do so later. Look for the Sign in link in the upper-right corner of the Visual Studio environment.
Choose a Microsoft account or a work or school account. If you don't have one, you can create a Microsoft account for free.
Choose your preferred color theme and other UI settings. Visual Studio remembers these settings and synchronizes them across all Visual Studio environments you signed in to. You can change the settings later if you open the Tools > Options menu in Visual Studio.
You can see that you've successfully signed in, in the upper-right corner of the Visual Studio environment. Unless you sign out, you automatically sign in to Visual Studio whenever you start it, and any changes to synchronized settings are automatically applied.
If you choose to not sign in when you first open Visual Studio, you can sign in later from the IDE.
Select the Sign in icon in the upper-right corner of the Visual Studio environment.
![]()
On the Sign in to your account page, select the Connected to Windows account or select Use another account to sign in with another account.
Follow the prompts to enter the new account credentials.
While you don't have to sign in, there are many advantages to doing so.
| Benefit | Description |
|---|---|
| Extend your Visual Studio trial period | Use Visual Studio Professional or Visual Studio Enterprise for an additional 90 days, instead of being limited to the trial period of 30 days. |
| Unlock Visual Studio | Unlock Visual Studio if you use an account that's associated with a Visual Studio subscription or an Azure DevOps organization. |
| Synchronize your settings | Settings that you customize, such as key bindings, window layout, and color theme, apply immediately when you sign in to Visual Studio on any device. |
| Auto-connect to Azure services | Connect to services, such as Azure and Azure DevOps Services, in the IDE without prompting again for credentials for the same account. |
| Use Community edition without interruptions | While it's not required to sign in, you might periodically get prompts to sign-in if you haven't done so. Please sign in to the IDE to continue using Visual Studio Community without interruptions. |
| Get 'Visual Studio Dev Essentials' | This program includes free software, training, support, and more. |
If you have multiple accounts, you can add them all to Visual Studio so that you can access the resources from any account without having to sign in to it separately.
After you add multiple accounts on one machine, that group of accounts roams with you if you sign in to Visual Studio on another machine. However, your account credentials do not roam therefore you'll be prompted to enter credentials for those other accounts the first time you attempt to use their resources on a new machine.
There are several types of accounts you can add:
Add a standard Visual Studio account:
You can remove any of the multiple accounts you've added to Visual Studio. When you remove an account, only that specific account is impacted and any resources associated with that account are no longer accessible. However, if you select Sign out, all accounts are signed out.
To sign out of all accounts:
You can remove any of the multiple accounts you've added to Visual Studio. When you remove an account, only that specific account is impacted and any resources associated with that account are no longer accessible. However, if you select Sign out, all accounts are signed out.
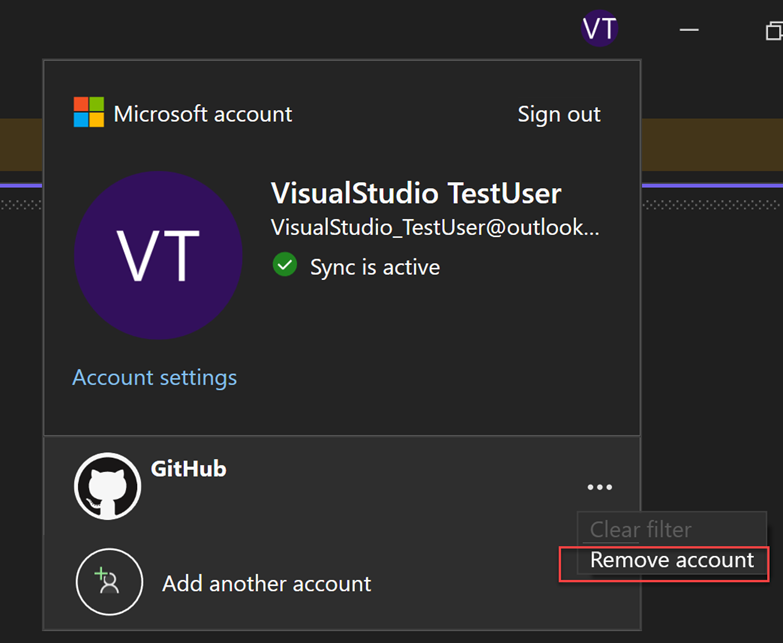
Select the icon with your profile name in the upper-right corner of your Visual Studio environment.
Select Remove account for the account you want to remove.
You can also use the Account Settings dialog to remove an account.
Select the icon with your profile name in the upper-right corner of your Visual Studio environment.
All Accounts lists all accounts signed into Visual Studio. Select Remove for the account you want to remove.
Confirm the removal on the dialog that appears.

Signing out of Visual Studio removes all accounts on the Visual Studio keychain, settings no longer roam across devices, and associated resources aren't accessible anymore.
To sign out of all accounts:
Select the icon with your profile name in the upper-right corner of your Visual Studio environment.
Select Sign out.

You can also use the Account Settings dialog to sign out of all accounts.
Events
Sep 16, 11 PM - Oct 18, 11 PM
Join us on a learning journey combining AI, apps and cloud-scale data to build unique solutions.
Learn moreTraining
Module
Personalize your Visual Studio Code remote development workflow - Training
Use features in VS Code to personalize your development experience for various remote environments.
Certification
Microsoft Certified: Identity and Access Administrator Associate - Certifications
Demonstrate the features of Microsoft Entra ID to modernize identity solutions, implement hybrid solutions, and implement identity governance.