Note
Access to this page requires authorization. You can try signing in or changing directories.
Access to this page requires authorization. You can try changing directories.
In this article, you learn to use Visual Studio with accounts that require multifactor authentication (MFA).
Why enable MFA policies?
When collaborating with external guest users, it's a good idea to protect your apps and data with conditional access (CA) policies such as multifactor authentication (MFA).
Once enabled, guest users will need more than just a username and password to access your resources, and must satisfy additional security requirements. MFA policies can be enforced at the tenant, app, or individual guest user level, the same way that they're enabled for members of your own organization.
Note
Versions of Visual Studio prior to 16.6 may have degraded authentication experiences when used with accounts that have enabled CA policies such as MFA, and are associated with two or more tenants.
These issues can cause your instance of Visual Studio to prompt reauthentication multiple times per day. You may have to re-enter your credentials for previously authenticated tenants, even during the course of the same Visual Studio session.
Using Visual Studio with MFA policies
You can access resources secured via CA policies such as MFA in Visual Studio. To use this enhanced workflow, you'll need to opt into using your system's default web browser as the mechanism to add and reauthenticate Visual Studio accounts.
With Visual Studio 2022 version 17.11, Windows authentication broker is now the default workflow for adding and reauthenticating accounts in Visual Studio.
Windows authentication broker uses Web Account Manager (WAM) and offers many benefits such as security, improved MFA support, and seamless integration between accounts added to the OS and Visual Studio. Using WAM as the authentication mechanism in Visual Studio makes it easier to access resources secured via CA policies such as MFA.
If run into any issues with using WAM, we recommend you use System web browser as the alternative to add and reauthenticate Visual Studio accounts.
Warning
Not using this workflow could trigger a degraded experience resulting in multiple additional authentication prompts when adding or reauthenticating Visual Studio accounts.
Using Windows authentication broker
To start using WAM as the authentication mechanism in Visual Studio:
Update to Visual Studio 2022 version 17.11 or later.
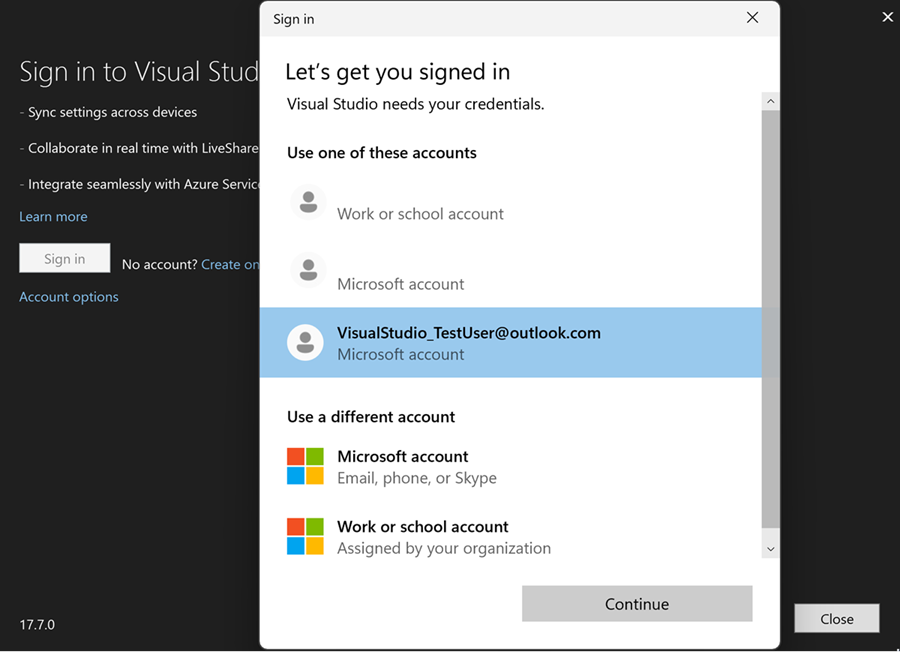
Select an account from the WAM dialog when prompted. If your account isn't listed, add it by using Add an account.

You can manage your accounts from the Account Settings dialog in Visual Studio.
Using Windows Account Manager (WAM) as the authentication mechanism in Visual Studio is the recommended workflow for adding and reauthenticating accounts. However, if run into any issues with using WAM, you can switch to using the system web browser.
Enabling system web browser
Note
For the best experience, we recommend that you clear your system’s default web browser data before proceeding with this workflow. Additionally, if you have Work or School accounts in your Windows 10 Settings under Access work or school, please verify that they are properly authenticated.
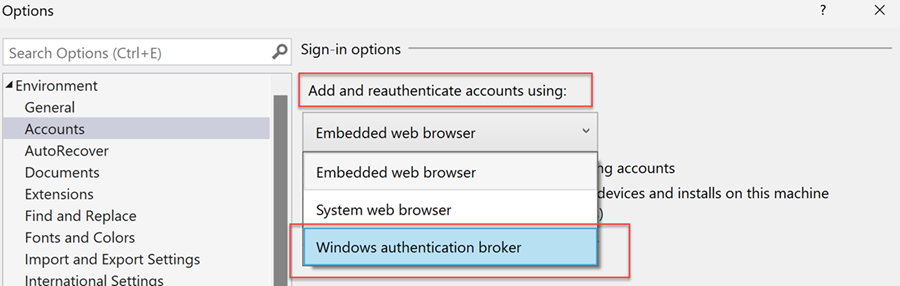
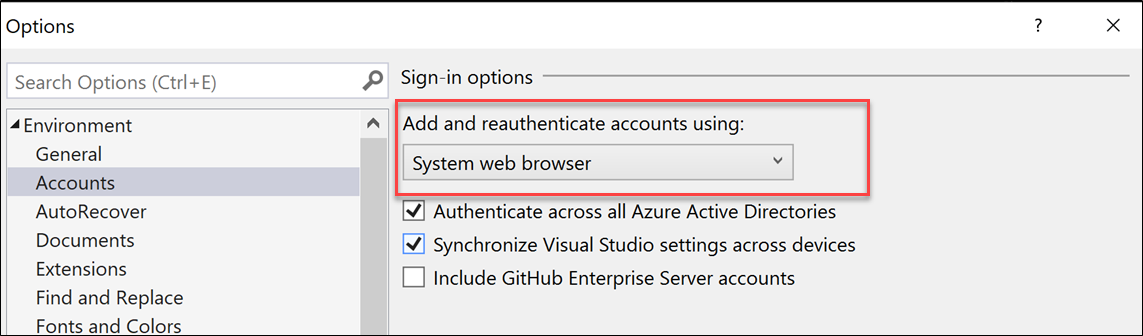
To enable the system web browser workflow, go to Visual Studio's Options dialog (Tools > Options…), select the Accounts tab and select System web browser from the Add and reauthenticate accounts using: dropdown.
Sign into additional accounts with MFA policies
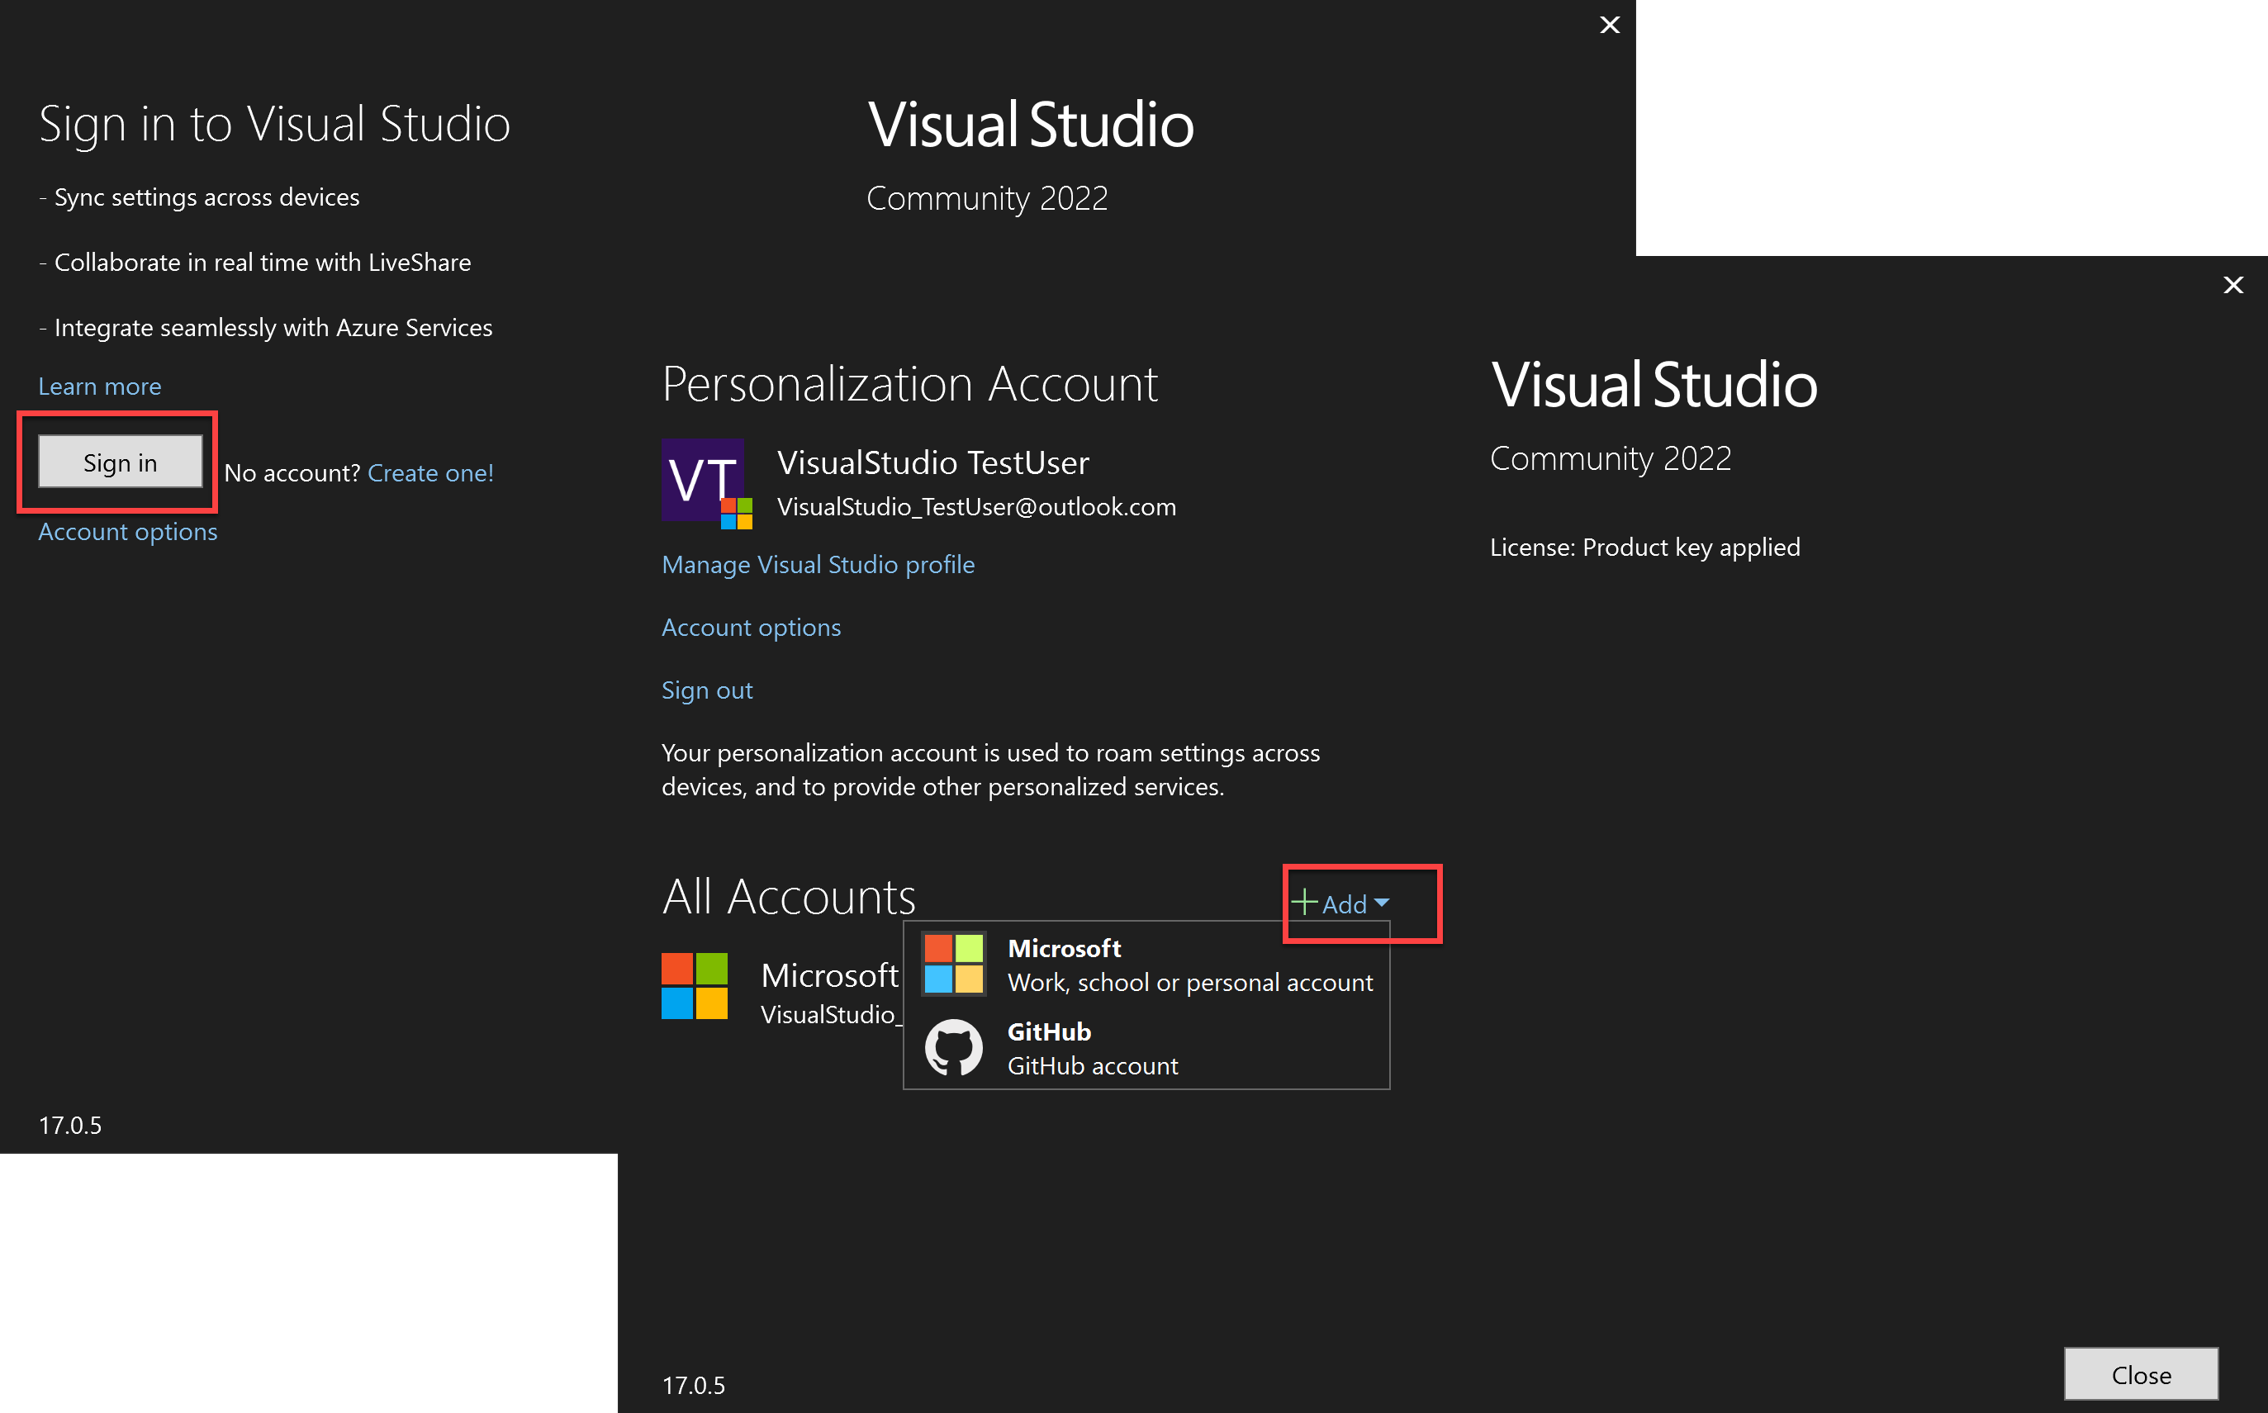
Once the system web browser workflow is enabled, you can sign in or add accounts to Visual Studio as you normally would, via the Account Settings dialog (File > Account Settings…).
You can sign in or add accounts to Visual Studio via the Profile Card or the Account Settings dialog (File > Account Settings…).
Windows authentication broker
Once the Windows authentication broker workflow is enabled, you can sign in or add accounts to Visual Studio as you normally would. Web Account Manager (WAM) simplifies the sign in experience by allowing users to log in with accounts known to Windows, such as the account signed into your Windows session.
System web browser
Once the system web browser workflow is enabled, you can sign in or add accounts to Visual Studio as you normally would.
This action will open your system's default web browser, ask you to sign into your account, and validate any required MFA policy.
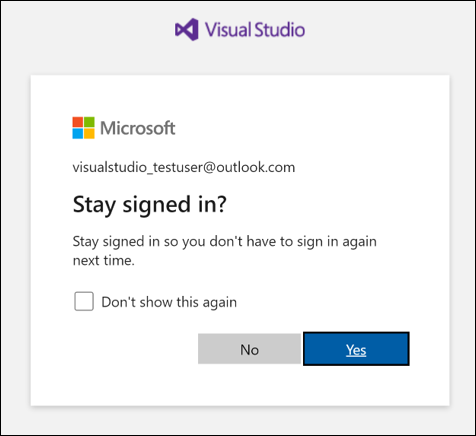
During the sign-in process, you may receive an additional prompt asking you to stay signed in. This prompt will likely show up the second time an account is used to sign in. To minimize the need to re-enter your credentials, we recommend that you select Yes, as this ensures your credentials are preserved across browser sessions.
Based on your development activities and resource configuration, you may still be prompted to re-enter your credentials during your session. This can occur when you add a new resource, or try accessing a resource without having previously met its CA/MFA authorization requirements.
Reauthenticating an account
If there's a problem with your account, Visual Studio might ask you to re-enter your account credentials.
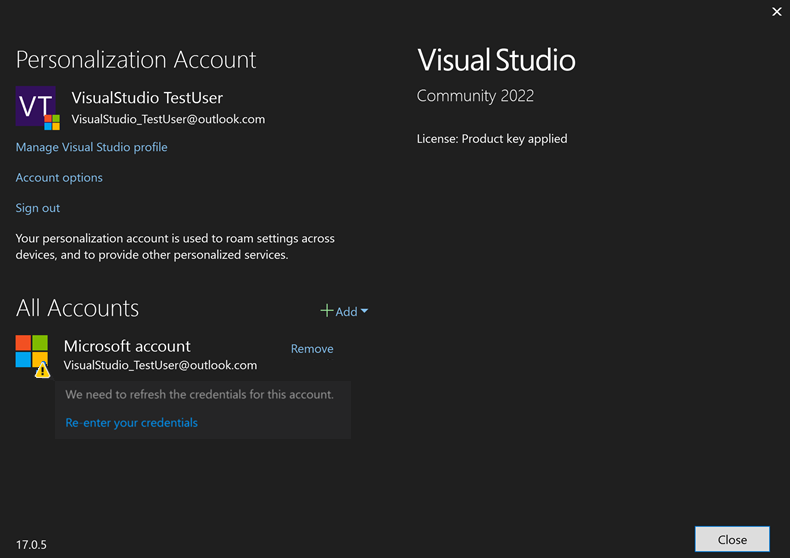
Clicking on Re-enter your credentials will open your system's default web browser and attempt to automatically refresh your credentials. If unsuccessful, you'll be asked to sign into your account and validate any required CA/MFA policy.
If your account is associated with multiple Azure Active Directories and runs into an access problem with one or more of them, the Re-enter your credentials dialog will show you the impacted directories and the associated AADSTS error codes.
You'll be able de-select any directories that you don't want to reauthenticate and continue a regular signing in operation with the home directory, as well as any guest tenants that remain selected. Deselected directories won't be accessible for future use until the account filter is removed.

Note
For the best experience, keep your browser open until all CA/MFA policies are validated for your resources. Closing the browser may result in losing the previously built MFA state, and may prompt additional authorization prompts.
Troubleshoot sign in issues
CA/MFA issues
If you're experiencing CA/MFA issues and/or are unable to log in even when using the system web browser, try the following steps to resolve the issue:
- Sign out of the account in Visual Studio.
- Select Tools > Options > Accounts > Uncheck Authenticate across all Azure Active Directories.
- Sign in again.
Note
After these steps you'll likely be able to log in, but your account will be put in a filtered state. While in a filtered state, only your account's default tenant and resources will be available. All other Microsoft Entra tenants and resources will become inaccessible, but you can manually add them back.
Pre-authorization issues
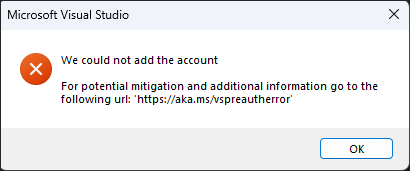
Starting with Visual Studio 2022 version 17.5, if you see the previous error dialog, try the following steps to resolve the issue:
- Sign out of the account in Visual Studio.
- Sign in again.
- Create a new Report a Problem ticket explaining the activity you were doing and/or resource you were trying to access before encountering the problem.
Note
Creating a ticket will help us identify problematic areas and provide the needed logs to investigate and address the issue.
Web Account Manager (WAM) errors
If you run into errors when using the Windows authentication broker workflow for signing in to Visual Studio, follow the action listed on the error dialog to resolve or report the issue. Use the links on the dialog to learn more about the error or to see error logs.
TPM (Trusted Platform Module) Error
For example, if you see the following error dialog, you can attempt to resolve the issue by following the instructions TPM error troubleshooting.
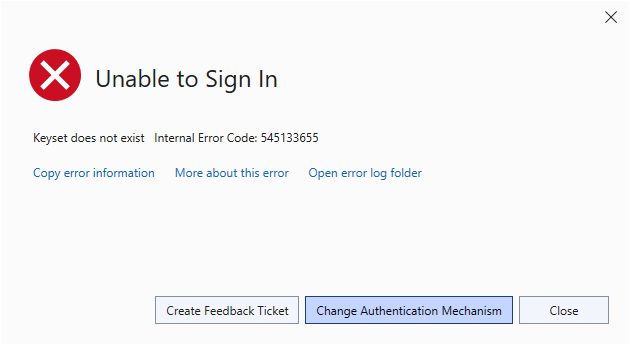
If you need to switch to an authentication mechanism other than the Windows Broker, you can switch by following the instructions to enable system web browser. If those instructions don't work and you have a support contract please open a support ticket at Technical support
How to opt out of using a specific Microsoft Entra tenant in Visual Studio
Visual Studio 2019 version 16.6 and above offers the flexibility to filter out tenants individually or globally, effectively hiding them from Visual Studio. Filtering eliminates the need to authenticate with that tenant, but it also means that you won't be able to access any associated resources.
This functionality is useful when you have multiple tenants, but want to optimize your development environment by targeting a specific subset. It can also help in instances when you can't validate a particular CA/MFA policy, as you can filter out the offending tenant.
How to filter out all tenants
To globally filter out all tenants, open the Account Settings dialog (File > Account Settings... > Account options) and deselect the Authenticate across all Azure Active Directories checkbox.
Deselecting that option ensures you’ll only authenticate with the account’s default tenant. It also means that you won't be able to access any resources associated with other tenants your account might be a guest on.
How to filter out individual tenants
To filter tenants that are associated with your Visual Studio account, open the Account Settings dialog (File > Account Settings…) and click on Apply filter.
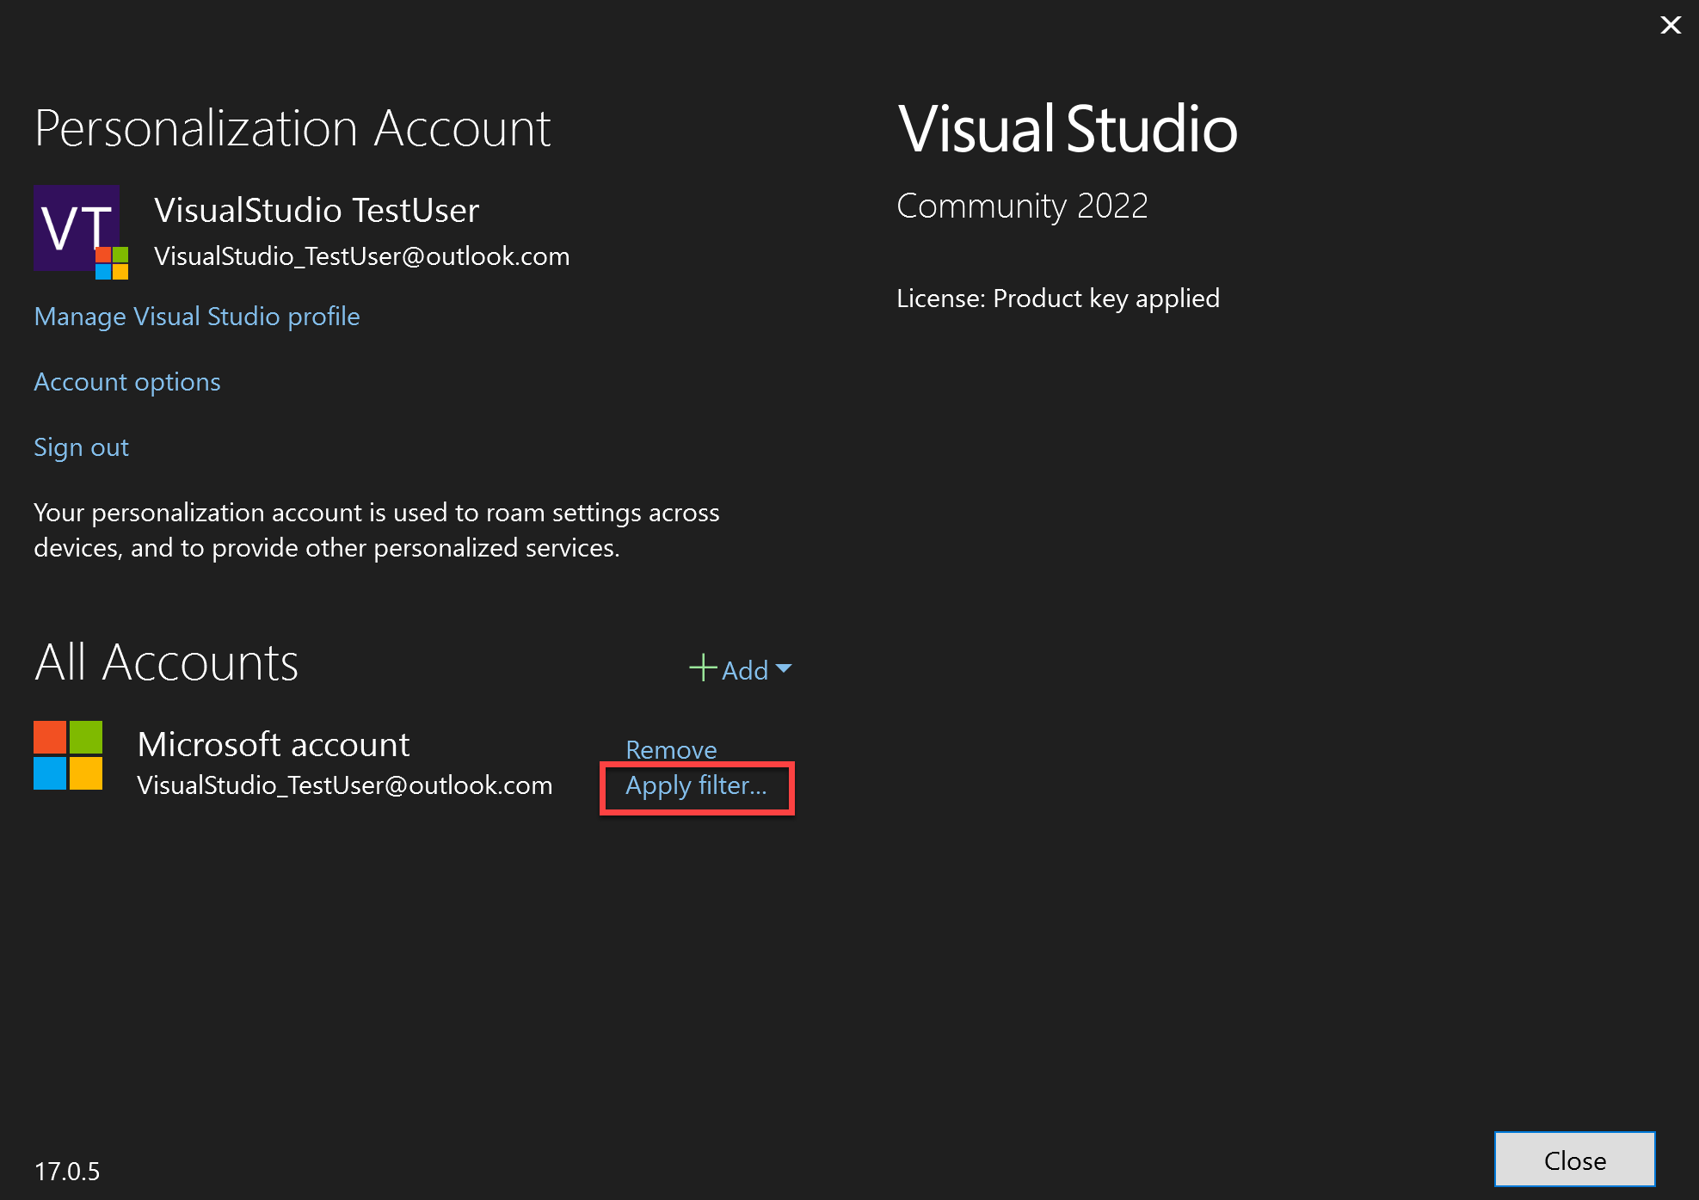
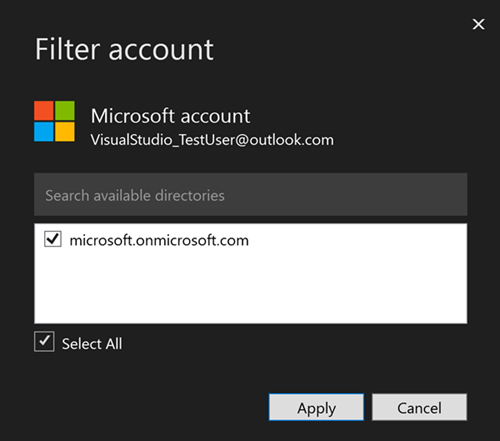
The Filter account dialog will appear, allowing you to select which tenants you want to use with your account.
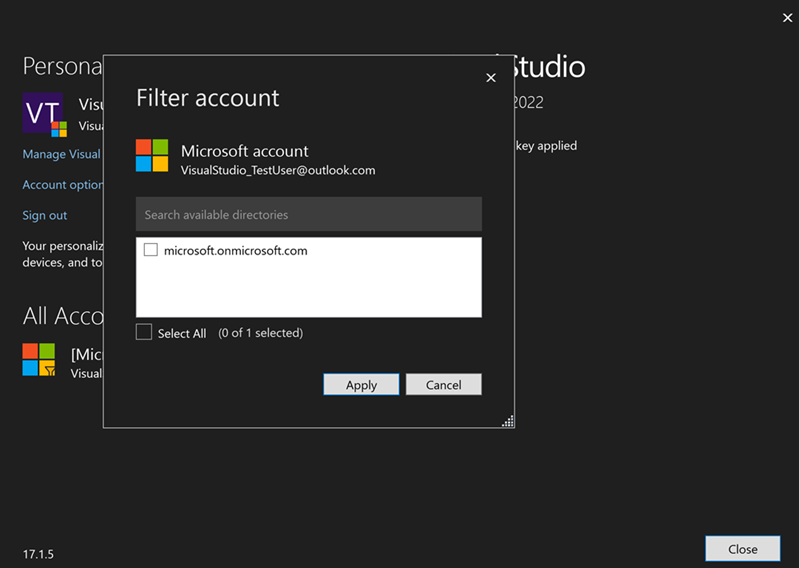
After you deselect the tenant to filter, the Account Settings and the Filter account dialogs will show filtered state.
Networking errors with Visual Studio
During sign in, Visual Studio may experience errors related to the network which aren't usually Visual Studio product issues and may need to be investigated by local IT support.
Error "Proxy authorization required
If your machine or organization uses security measures such as a firewall or a proxy server, make sure you're following the requirements to use Visual Studio behind a proxy or firewall.
SSL errors
SSL errors may come in a variety of forms. Some examples are:
- "The underlying connection was closed"
- "The SSL connection could not be established"
- "Could not create SSL/TLS secure channel"
- "An existing connection was forcibly closed by the remote host.” (This can also be due to firewalls blocking the connection)
- "The underlying connection was closed: An unexpected error occurred on send"
These errors may be caused by the following:
- Corporate proxy or firewall blocking certain versions of TLS
- TLS 1.3 is enabled on the machine but network doesn't support it. You may try disabling TLS 1.3 on the machine to test if this is the case.
- Group policy restricting what SSL algorithms are allowed and this allowed list isn't matching what the server expects.
The following resources might be helpful for troubleshooting SSL issues:
- Azure DevOps TLS 1.2 transition readiness checker
- Transport Layer Security (TLS) best practices with .NET Framework
- TLS registry settings
Disable TLS 1.3
1.3: [HKEY_LOCAL_MACHINE\SYSTEM\CurrentControlSet\Control\SecurityProviders\SCHANNEL\Protocols\TLS 1.3\Client] "DisabledByDefault"=dword:00000001 "Enabled"=dword:00000000
Connection refused errors
"No connection could be made because the target machine actively refused it"
This error means when Visual Studio is trying to make a connection to an internet endpoint the machine refused the connection.
Common Causes:
If the address "127.0.0.1" is in the error message this means a connection to a local proxy server was attempted but the local proxy server wasn't running.
VPN connection - Try disconnecting from any VPNs and try the connection again. If it works, you'll want to follow up with the VPN provider or your network administrator. This includes corporate VPN or third-party VPN services.
DNS - The domain lookup on your machine has resolved to an address which doesn't point to the expected server. This means the connection is going to a different machine not running the expected services and refusing the connection. To debug this issue, you can use tools such as NsLookup and compare it to the Azure IP Ranges and Service Tags.
IPV6 - Some computers have IPV6 enabled but the network doesn't support the protocol. In this case you may see a connection refused message because the server couldn't be found. Try disabling IPV6 on the machine to see if the connection works.
SSL problems - See SSL errors.
Proxy or firewalls on the network - If there is a proxy or firewall on the network, it will be the first device the connection attempts to communicate with, and it may be the one refusing the connection. You can determine if the firewall or proxy server is blocking connections by asking your network administrator. Alternatively, looking at network traces can indicate which machine the connection is being made to and identify who's refusing it. If it's an internal network address, it means the proxy or firewall blocked the connection. If it's an external IP address, this usually means DNS, IPV6, or SSL problems.
Support for network related issues
Network related issues are normally related to the machine or network configuration rather than Visual Studio. Developer Community may provide some support, but it's focused on features within Visual Studio rather than machine configuration. For network-specific support, the Microsoft Support Community or Technical support can be helpful.
Errors on first launch
You may encounter errors when launching Visual Studio for the first time. The error dialog will show the issue that prevented Visual Studio from opening.
Access denied
You may see one of the following errors:


If you encounter these errors, close any open instances of Visual Studio and delete the file or directory mentioned in the error message to resolve the issue.
Before deleting the file, check the security permissions on the file and consider logging a Developer Community feedback ticket. This will help us better understand why access to these files or directories is being denied.
In your feedback ticket, please include the following information to help us investigate the issue:
- A description or screenshot of the groups and users with permissions for the file or directory mentioned in the error. To view this, right-click the file or directory, then select Properties > Security.
- The user account you're using to run Visual Studio.
- If the error persists when launching Visual Studio a second time.