Note
Access to this page requires authorization. You can try signing in or changing directories.
Access to this page requires authorization. You can try changing directories.
This article describes how to unit test Universal Windows Platform (UWP) apps in Visual Studio. Visual Studio offers UWP unit test project templates for C#, Visual Basic, and C++. For more information about developing UWP apps, see Get started with UWP apps.
The article walks through an example of creating and unit testing a C# class in a UWP app. The example uses test-driven development to write tests that verify specific behaviors, and then write code that passes the tests.
Create and run a unit test project
The following procedures describe how to create and run unit test projects for UWP apps.
Create a UWP unit test project
On the Visual Studio Start window, choose Create a new project.
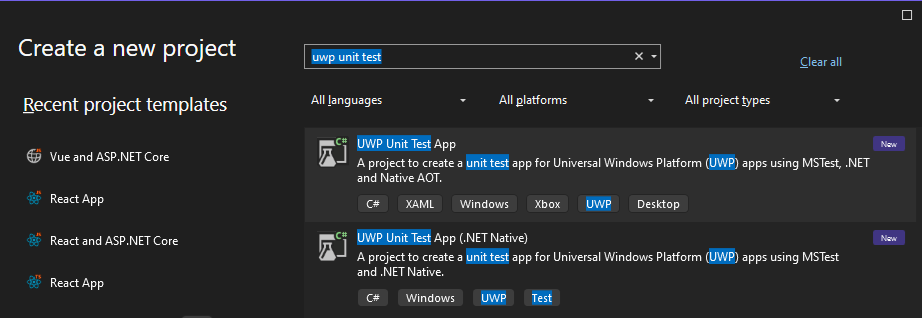
On the Create a new project page, enter unit test in the Search box. The template list filters to unit testing projects.
Select the correct UWP unit testing template for either C# or Visual Basic, and then select Next.
Starting in Visual Studio 2022 version 17.14, the recommended unit testing template for C# and .NET 9 is UWP Unit Test App and targets Native AOT. The older UWP templates are named UWP Unit Test App (.NET Native) and Unit Test App (Universal Windows).
Optionally change the project or solution name and location, and then select Create.
Optionally change the target and minimum platform versions, and then select OK.
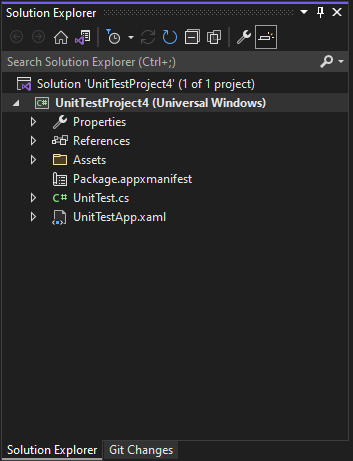
Visual Studio creates the test project and opens it in Visual Studio Solution Explorer.
Edit the project's application manifest
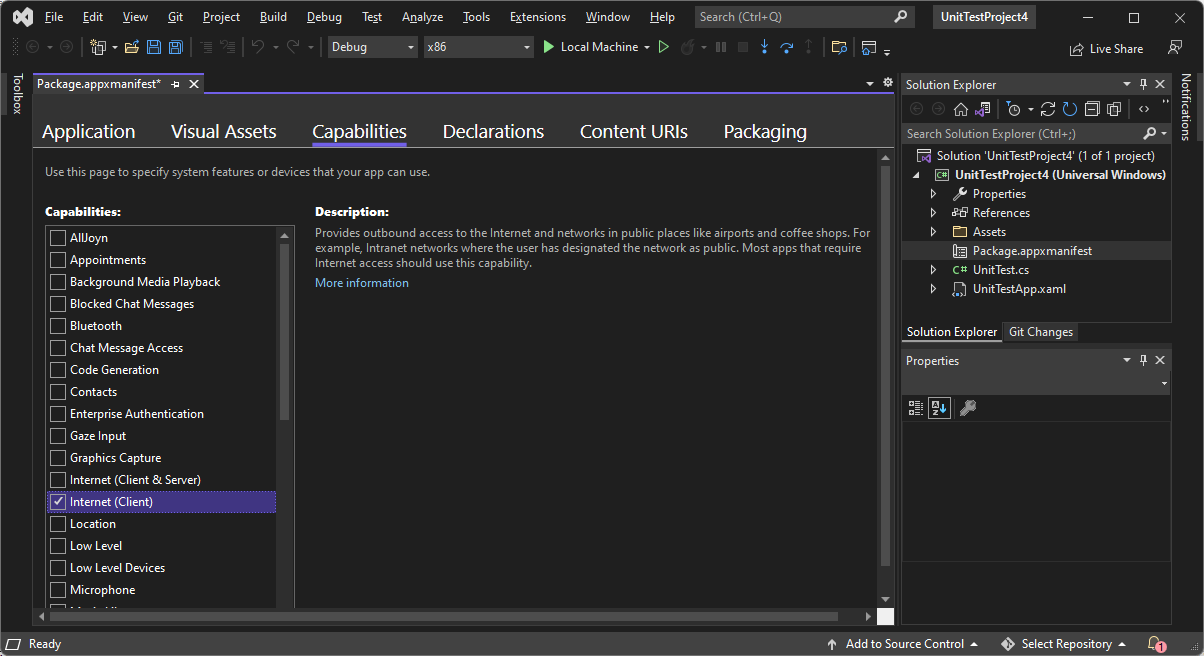
In Solution Explorer, right-click the Package.appxmanifest file and select Open.
In the manifest designer, select the Capabilities tab.
In the Capabilities list, select the capabilities you need for the code and unit test. For example, if your code and its unit test need to access the internet, select the Internet checkbox.
Select only the capabilities you need for the unit test to function correctly.
Add code to unit test the UWP app
In the Visual Studio code editor, edit the unit test code file to add the asserts and logic your tests require. For examples, see Unit test a C# class later in this article.
Run the unit test with Test Explorer
Build the solution and run the unit test by using Test Explorer.
On the Visual Studio Test menu, select Test Explorer. The Test Explorer window opens.
In Test Explorer, select the Run all icon. You must use Run all to discover tests in UWP projects.
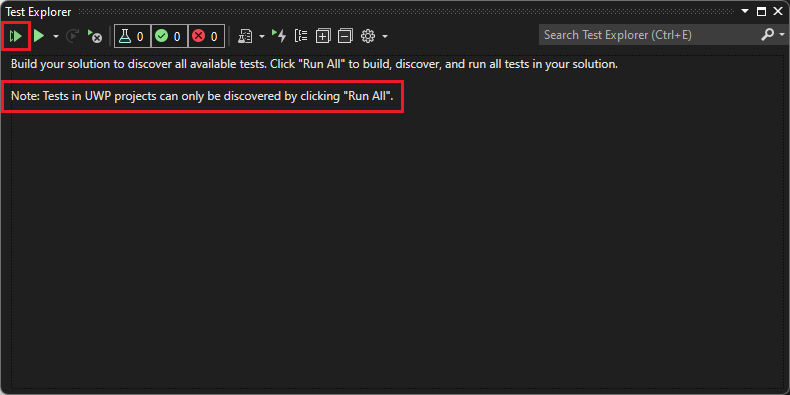
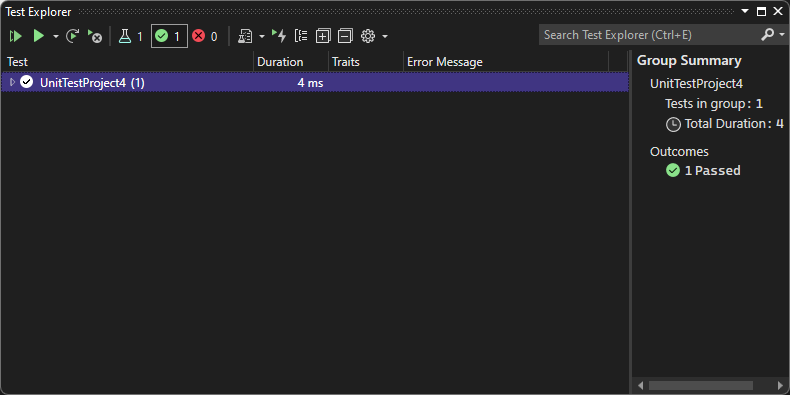
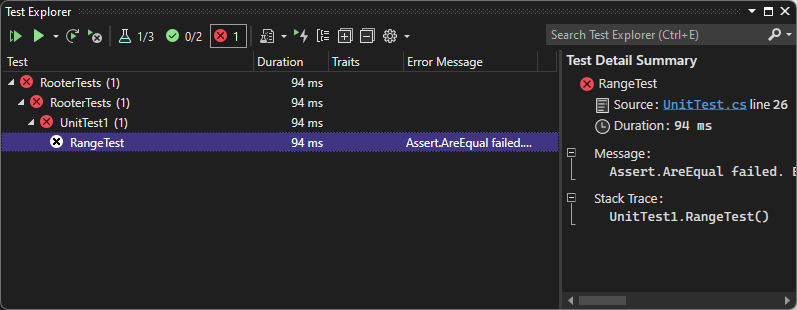
The solution builds and the unit test runs. After the test runs, the test appears in the Test Explorer test list, with information about outcome and duration.
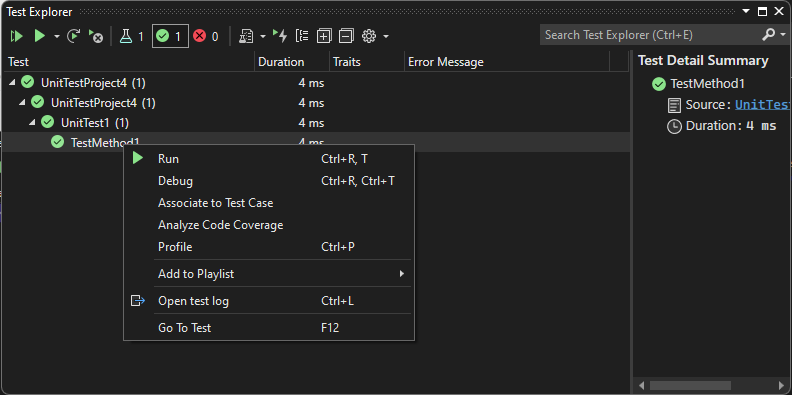
Also in Test Explorer, you can select individual tests and right-click to Run or Debug the tests, or Go To Test to open the test code. From the top menu, you can group tests, add tests to playlists, or open test options.
Unit test a C# class
A stable set of good unit tests increases confidence that you haven't introduced bugs when you change code. The following example walks through one way to create unit tests for a C# class in a UWP app. The example uses test-driven development to write tests that verify specific behavior, and then write code that passes the tests.
In the example Maths code project, the Rooter class implements a function that calculates the estimated square root of a number. The RooterTests project unit tests the Rooter class.
Create the solution and projects
Create the UWP app project:
- On the Visual Studio File menu, select New Project.
- On the Create a new project page, enter blank app in the Search box, and then select the C# Blank App (Universal Windows) project template.
- On the Configure your new project page, name the project Maths, and select Create.
- Optionally change the target and minimum platform versions, and then select OK. Visual Studio creates the project and opens it in Solution Explorer.
Create the unit test project:
- In Solution Explorer, right-click the Maths solution and choose Add > New Project.
- On the Add a new project page, enter unit test in the Search box, and then select the C# Unit Test App (Universal Windows) project template.
- Name the test project RooterTests, and select Create.
- Optionally change the target and minimum platform versions, and then select OK. The RooterTests project appears under the Maths solution in Solution Explorer.
Verify that tests run in Test Explorer
The Assert class provides several static methods that you can use to verify results in test methods.
In Solution Explorer, select the UnitTest.cs file in the RooterTests project.
Insert the following code into
TestMethod1:[TestMethod] public void TestMethod1() { Assert.AreEqual(0, 0); }In Test Explorer, select Run All Tests.
The test project builds and runs, and the test appears under Passed Tests. The Group Summary pane on the right provides details about the test.
Add a class to the app project
In Solution Explorer, right-click the Maths project and select Add > Class.
Name the class file Rooter.cs, and then select Add.
In the code editor, add the following code to the
Rooterclass in the Rooter.cs file:public Rooter() { } // estimate the square root of a number public double SquareRoot(double x) { return 0.0; }The
Rooterclass declares a constructor and theSquareRootestimator method. TheSquareRootmethod is a minimal implementation to test the basic testing setup.Change the
internalkeyword topublicin theRooterclass declaration, so the test code can access it.public class Rooter
Add a reference from the test project to the app project
In Solution Explorer, right-click the RooterTests project, and select Add > Reference.
In the Reference Manager - RooterTests dialog box, expand Projects, and select the Maths project.
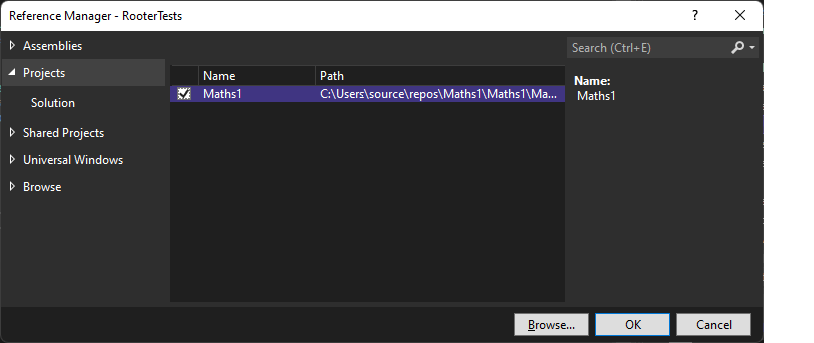
Select OK.
Add the following
usingstatement to the UnitTest.cs, after theusing Microsoft.VisualStudio.TestTools.UnitTesting;line:using Maths;
Add a test that uses the app function
Add the following test method to UnitTest.cs:
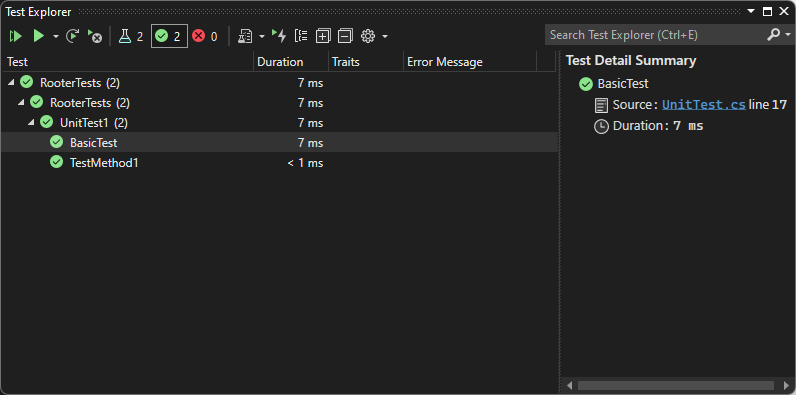
[TestMethod]
public void BasicTest()
{
    Maths.Rooter rooter = new Rooter();
    double expected = 0.0;
    double actual = rooter.SquareRoot(expected * expected);
    double tolerance = .001;
    Assert.AreEqual(expected, actual, tolerance);
}
The new test appears in Solution Explorer and in the Not Run Tests node of Test Explorer.
To avoid a "Payload contains two or more files with the same destination path" error, in Solution Explorer, expand the Properties node under the Maths project, and delete the Default.rd.xml file.
Save all files.
Run the tests
In Test Explorer, select the Run All Tests icon. The solution builds, and the tests run and pass.
If you get a Duplicate Entity error when you run the test, delete the runtime directives file, Properties\Default.rd.xml from the test project and re-try.
You've set up the test and app projects and verified that you can run tests that call functions in the app project. Now you can write real tests and code.
Add tests and make them pass
It's best not to change tests that have passed. Add new tests instead. Develop code by adding tests one at a time, and make sure that all tests pass after each iteration.
Add a new test called
RangeTestto UnitTest.cs:[TestMethod] public void RangeTest() { Rooter rooter = new Rooter(); for (double v = 1e-6; v < 1e6; v = v * 3.2) { double expected = v; double actual = rooter.SquareRoot(v*v); double tolerance = expected/1000; Assert.AreEqual(expected, actual, tolerance); } }Run the RangeTest test and verify that it fails.
Tip
In test driven development, you run a test immediately after you write it. This practice helps you avoid the easy mistake of writing a test that never fails.
Fix your app code so that the new test passes. In Rooter.cs, change the
SquareRootfunction as follows:public double SquareRoot(double x) { double estimate = x; double diff = x; while (diff > estimate / 1000) { double previousEstimate = estimate; estimate = estimate - (estimate * estimate - x) / (2 * estimate); diff = Math.Abs(previousEstimate - estimate); } return estimate; }In Test Explorer, select the Run all tests icon. All three tests now pass.
Refactor the code
In this section, you refactor both the app and the test code, then rerun the tests to make sure they still pass.
Simplify the square root estimation
In Rooter.cs, simplify the central calculation in the
SquareRootfunction by changing the following line:estimate = estimate - (estimate * estimate - x) / (2 * estimate);To
estimate = (estimate + x/estimate) / 2.0;Run all tests to make sure you haven't introduced a regression. The tests should all pass.
Remove duplicate test code
The RangeTest method hard codes the denominator of the tolerance variable that's passed to the Assert method. If you plan to add more tests that use the same tolerance calculation, using a hard-coded value in several locations makes the code harder to maintain. Instead, you can add a private helper method to the UnitTest1 class to calculate the tolerance value, and then call that method from RangeTest.
To add the helper method, in UnitTest.cs:
Add the following method to the
UnitTest1class:private double ToleranceHelper(double expected) { return expected / 1000; }In
RangeTest, change the following line:double tolerance = expected/1000;To
double tolerance = ToleranceHelper(expected);Run the RangeTest test to make sure it still passes.
Tip
If you add a helper method to a test class, and you don't want the helper method to appear in the list in Test Explorer, don't add the TestMethodAttribute attribute to the method.