Note
Access to this page requires authorization. You can try signing in or changing directories.
Access to this page requires authorization. You can try changing directories.
Once you're connected to your devices using Windows App, it's important to know how to use its features and configure settings. This article shows you how to use the new connection bar in Windows App.
Select the tab for the platform you're using.
Note
This feature requires the new connection experience (preview) to be enabled. To learn more, see New connection experience on Windows (preview).
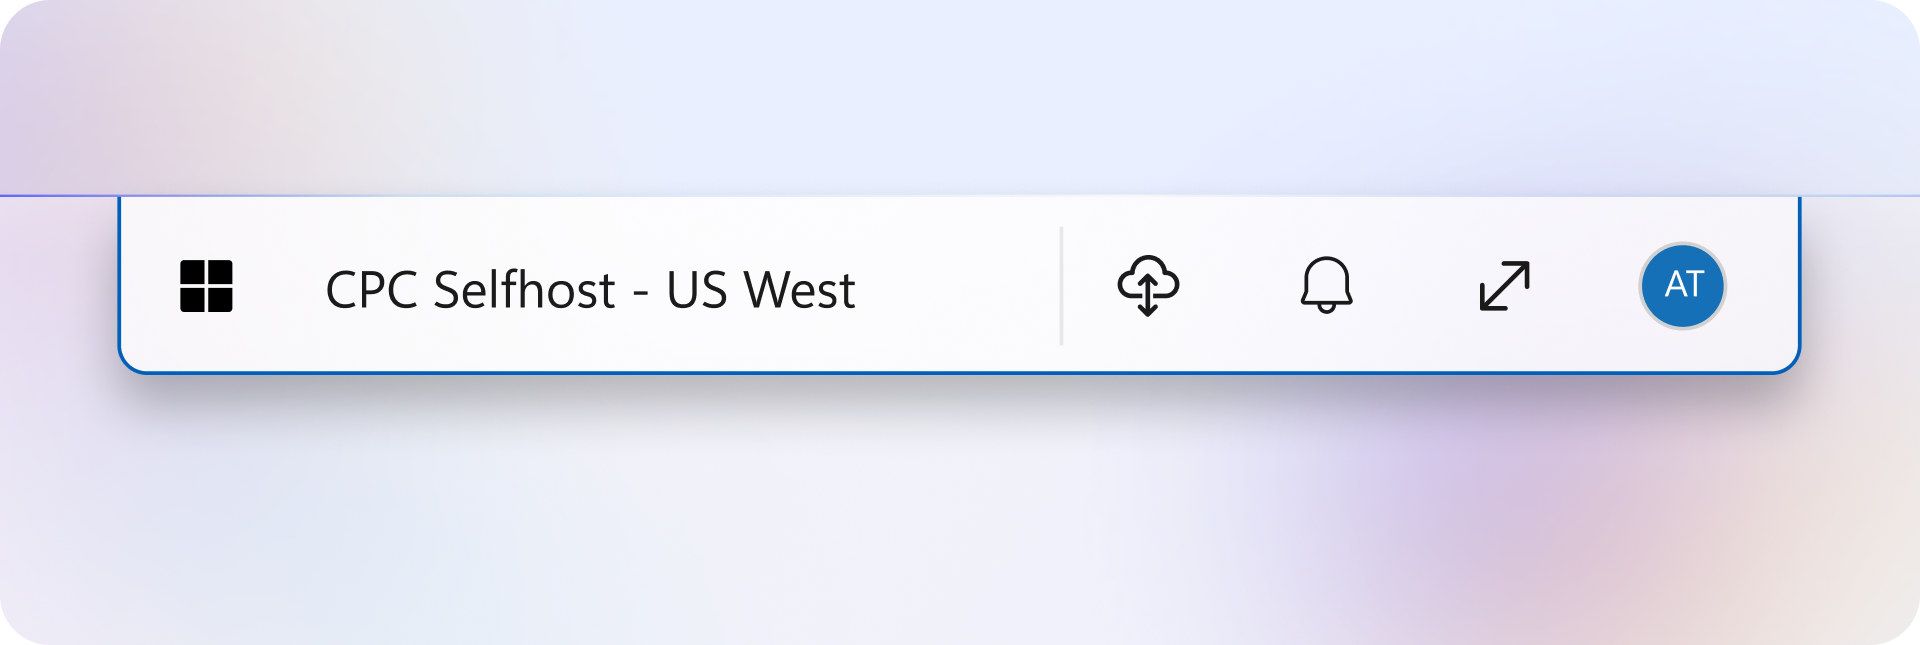
The new connection bar is available with the new connection experience and gives in-session access to controls without leaving the remote session.
Note
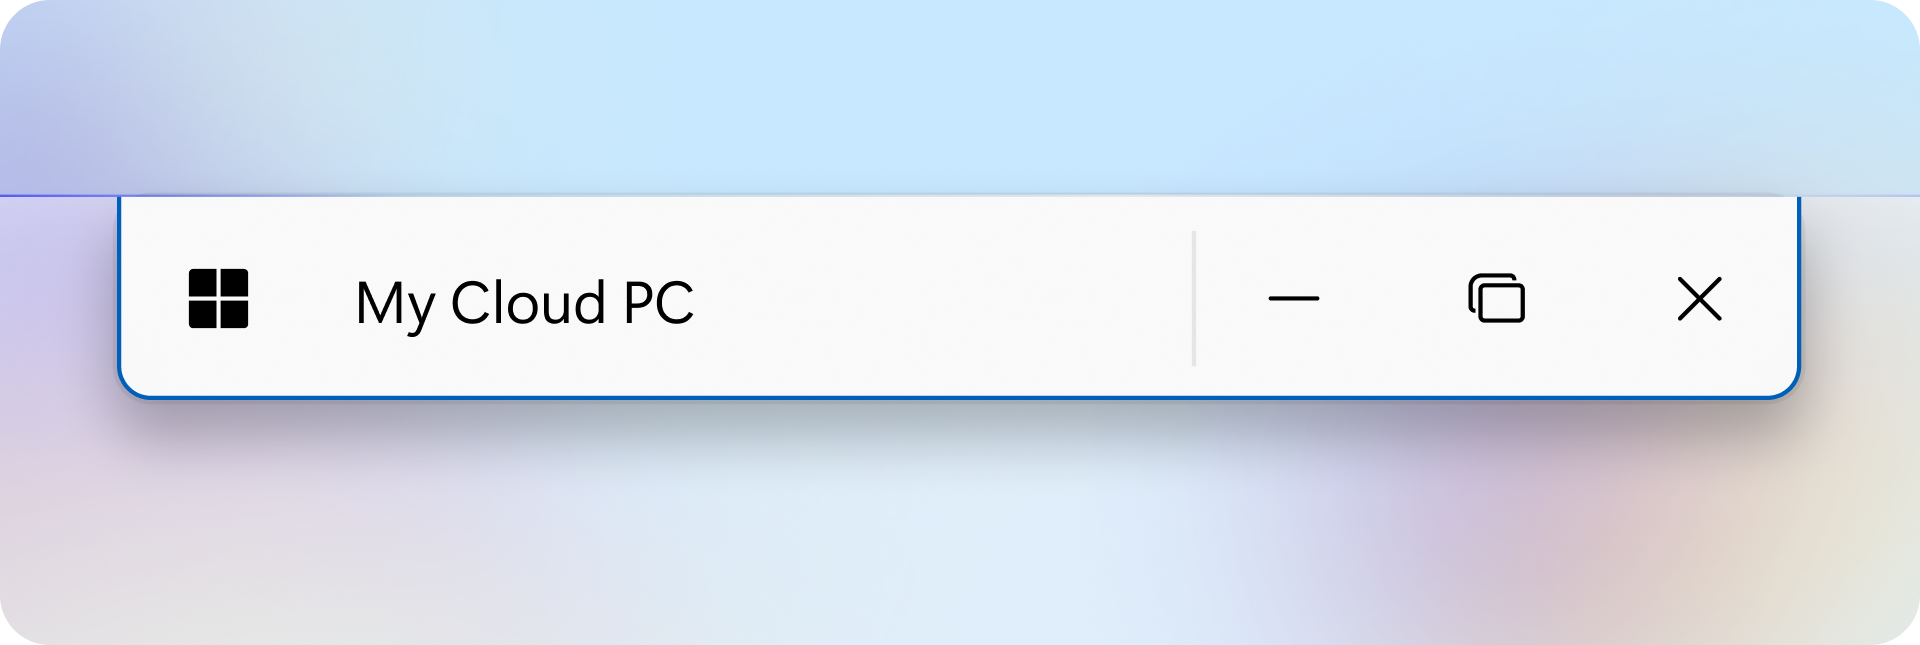
The connection bar is available only in full-screen mode. In windowed mode, use the title bar to access Menu and Switch connection options.
Dock the connection bar
You can dock the connection bar to the top, bottom, left, or right edge of any monitor used by your remote session. The bar appears horizontally when docked to the top or bottom and vertically when docked to the left or right.
To move the connection bar:
Move your pointer over the connection bar, then select and hold it.
Drag the connection bar to your preferred edge of any monitor used by the remote session.
Release to dock the connection bar in place.
Menu
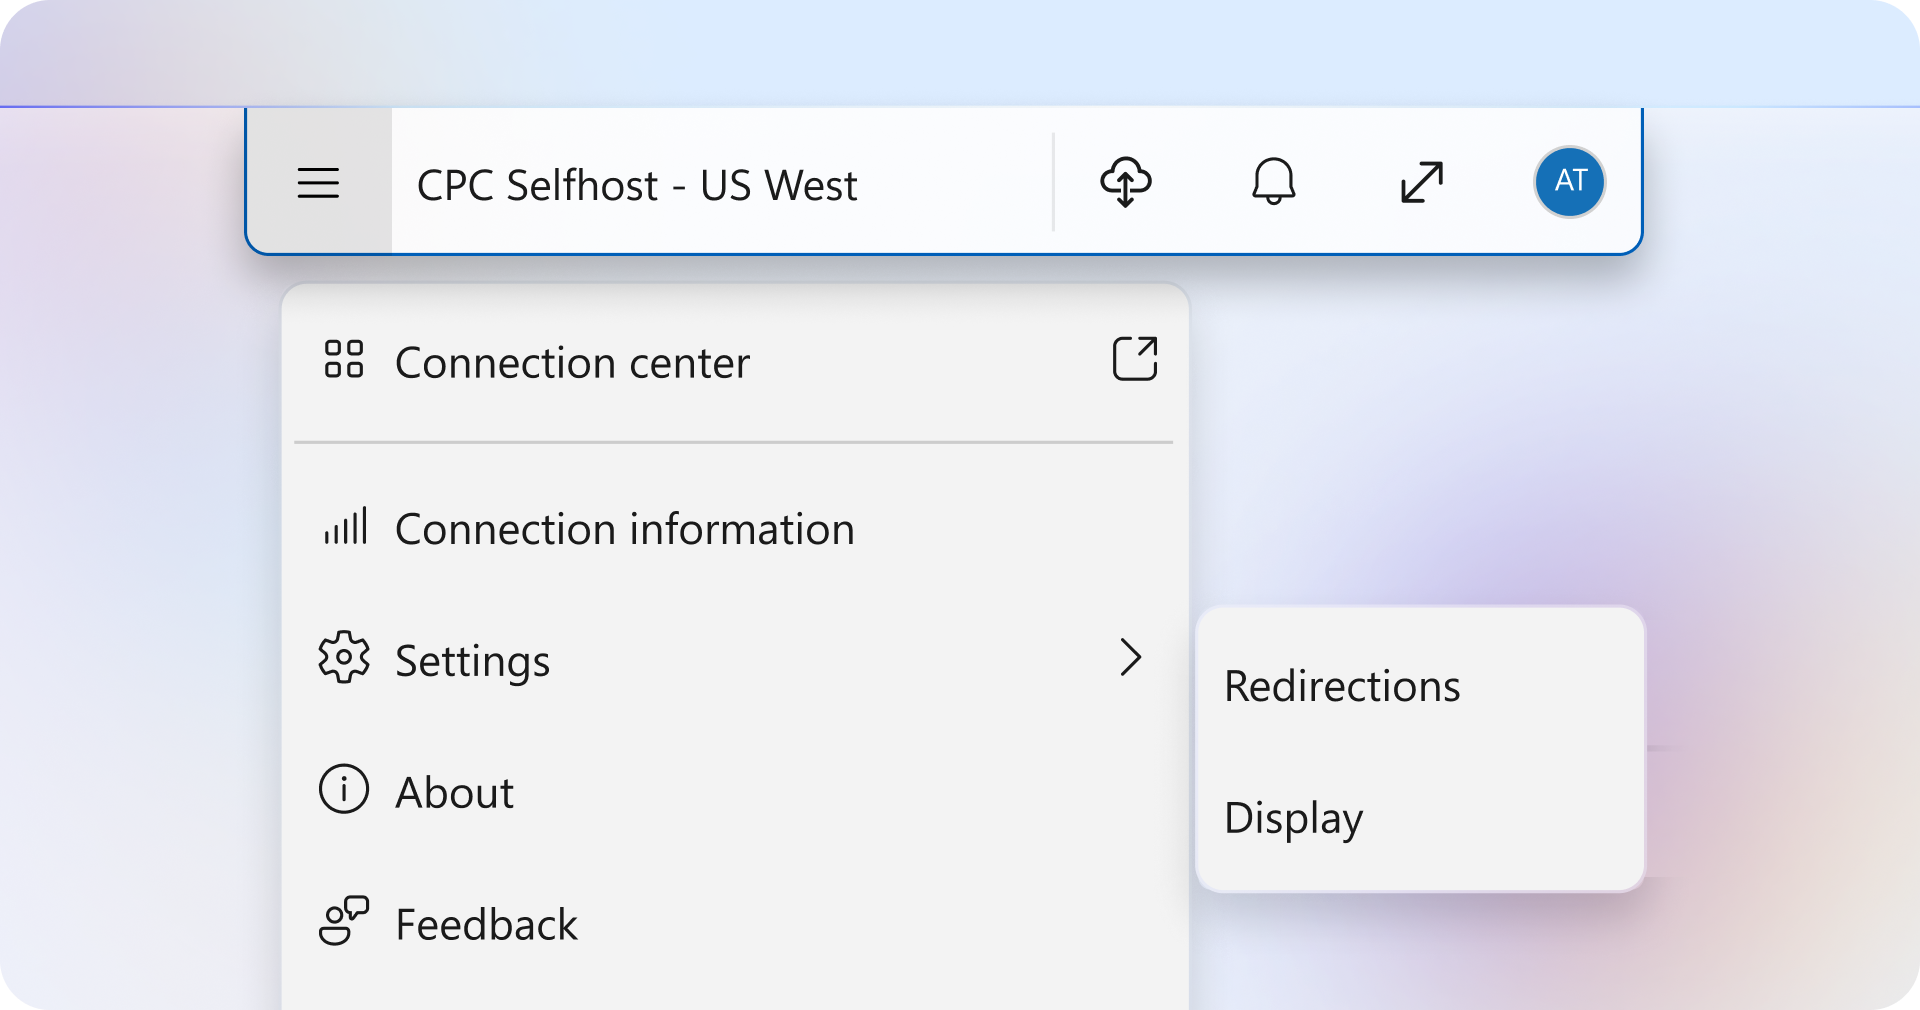
The connection bar menu provides a single place to access and manage session controls.
Note
In windowed mode, open the menu from the ellipsis (...) in the title bar.
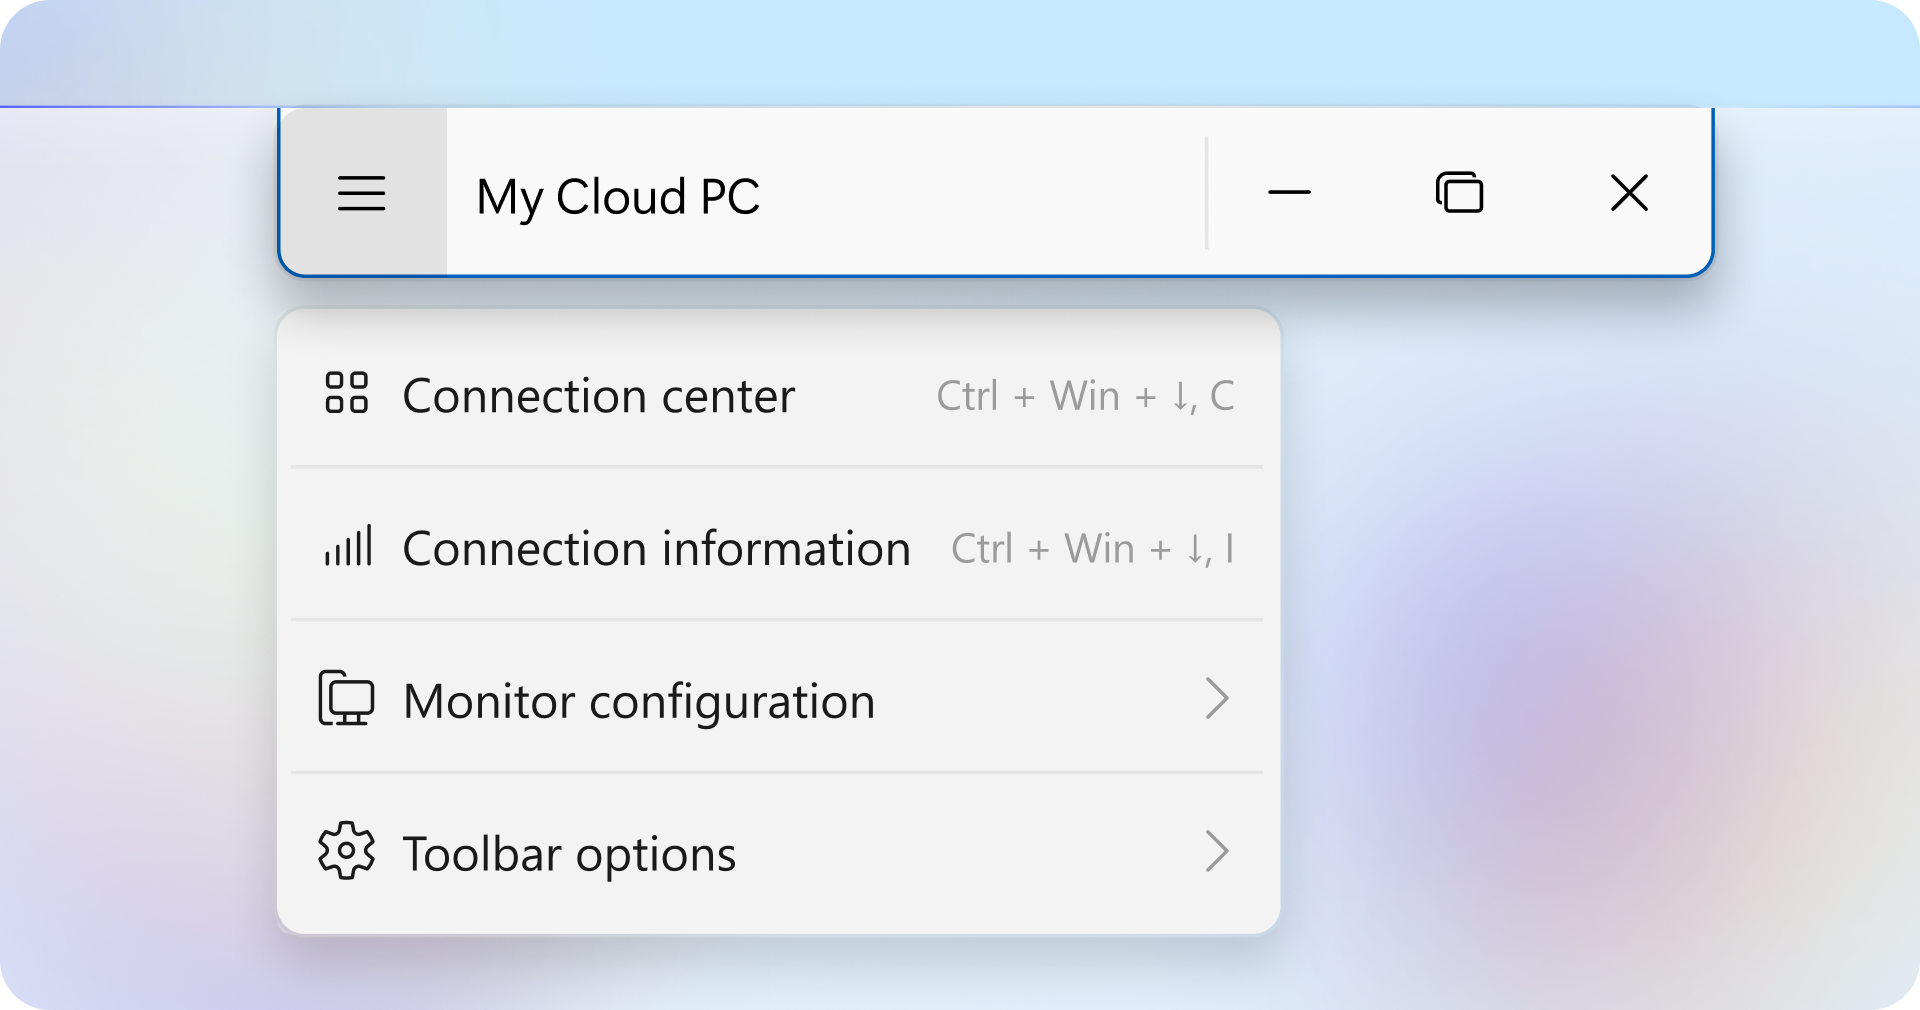
| Menu | Description | Keyboard shortcut |
|---|---|---|
| Connection center | Opens the Windows App connection center. | CTRL+WINDOWS+↓, C |
| Connection information | Opens the Connection information window. Note: The connection information dialog can now remain open and visible while you use the remote session, which is helpful for troubleshooting. 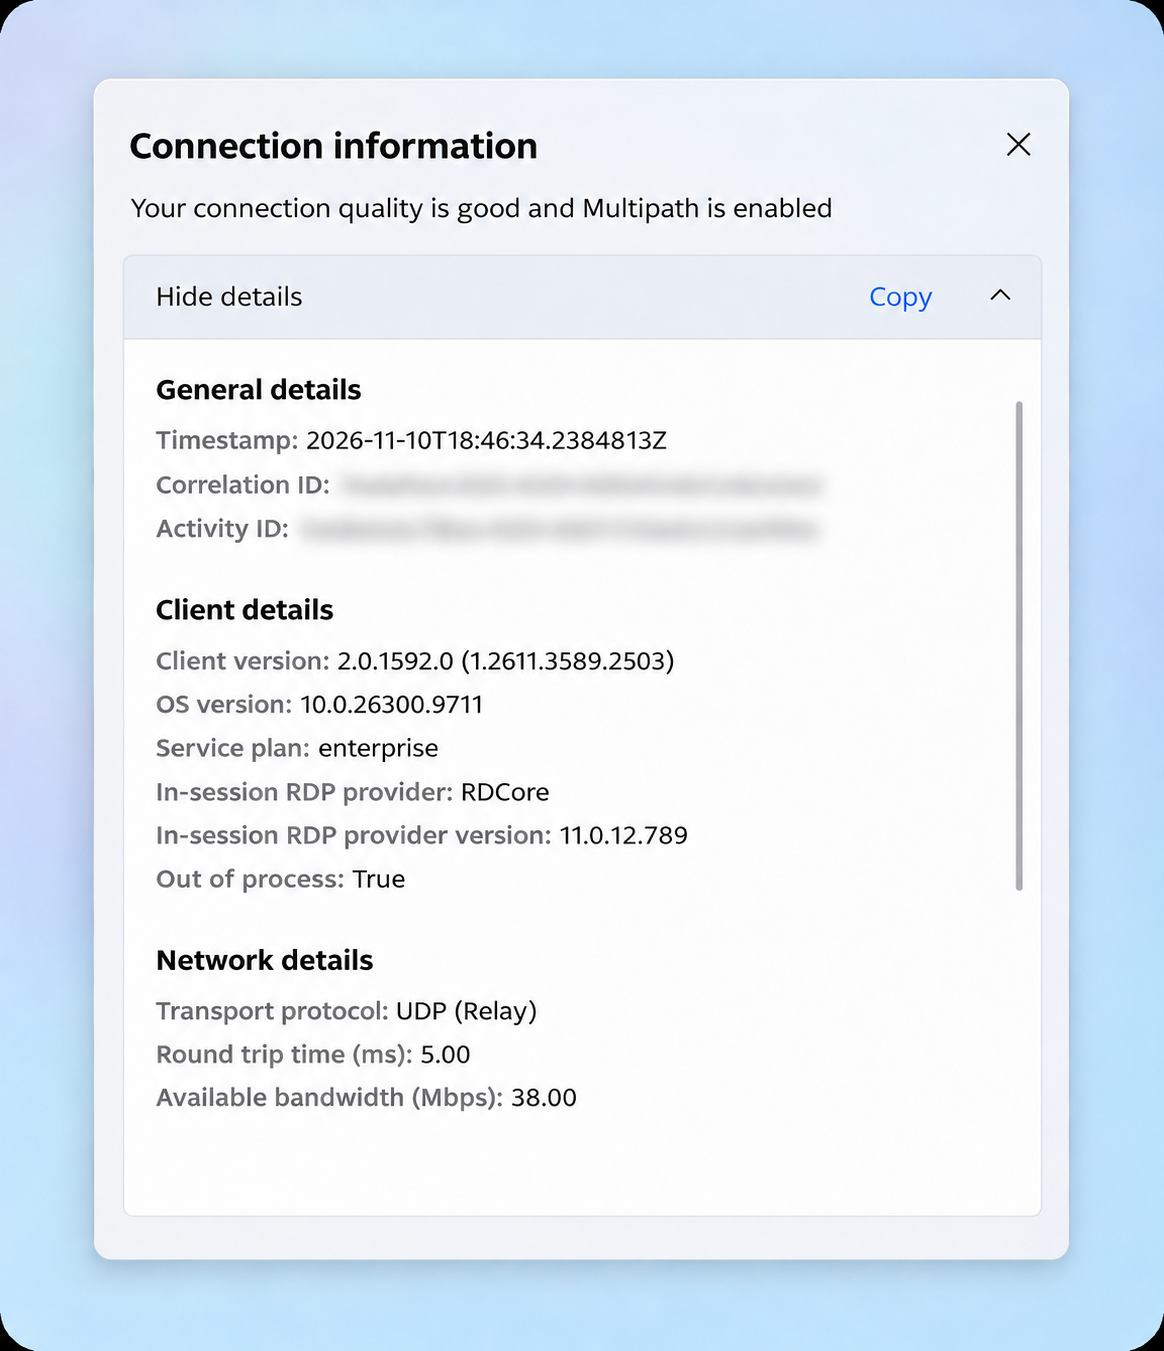 |
CTRL+WINDOWS+↓, I |
| Monitor configuration | Allows you to adjust display settings for the current session. For more information, see Set monitor configuration (preview). | N/A |
| Window configuration | Allows you to adjust window configuration settings for the current session while in windowed mode. For more information, see Set window configuration (preview). Note: This setting is only visible in windowed mode. |
N/A |
| Device redirections | Allows you to select USB devices to redirect to your remote session. Disabled by default. For more information, see Configure USB redirection.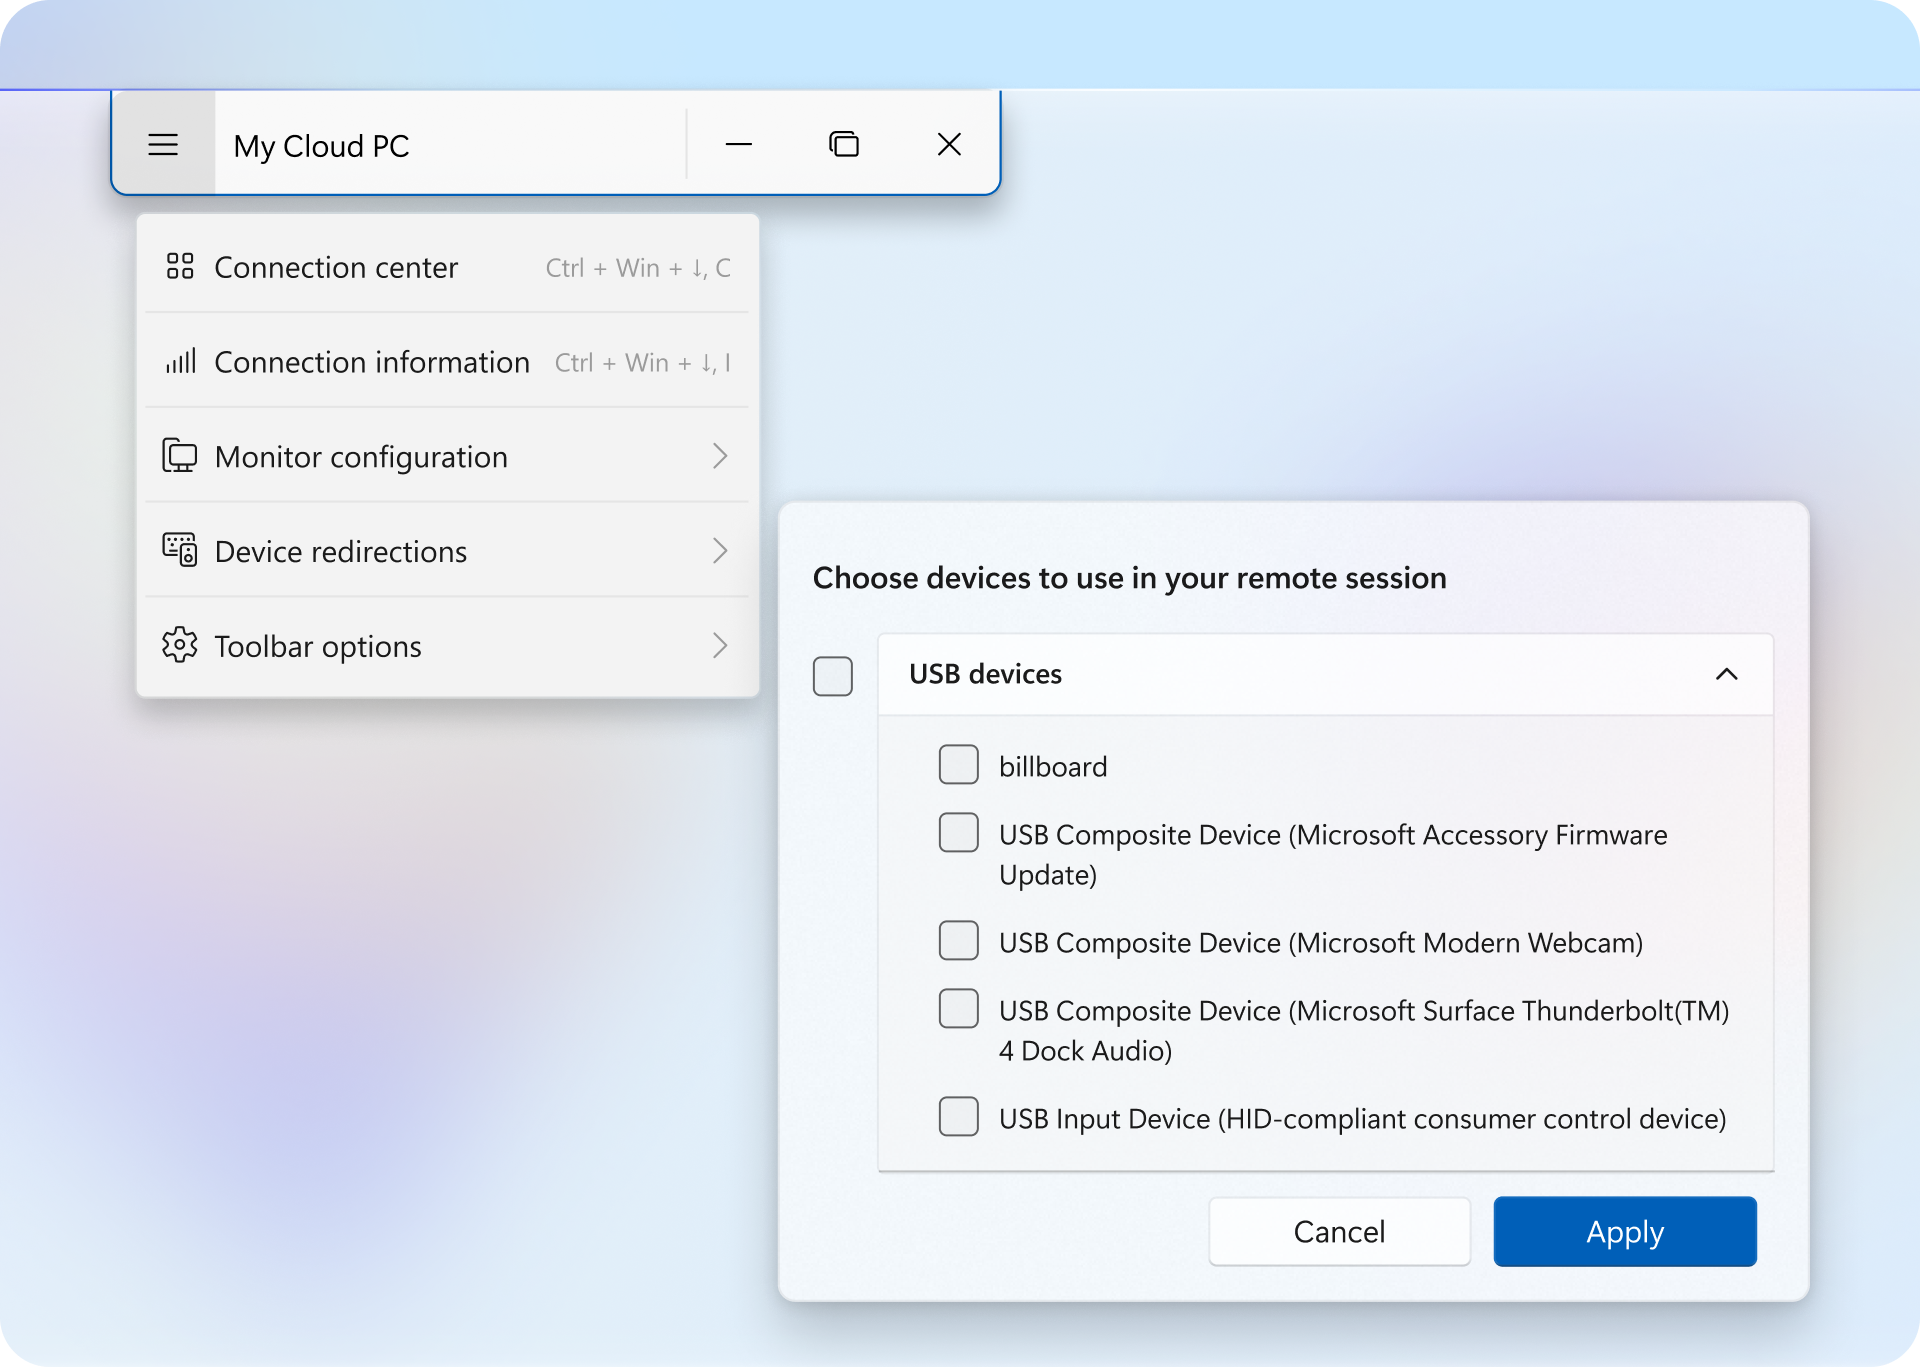 |
N/A |
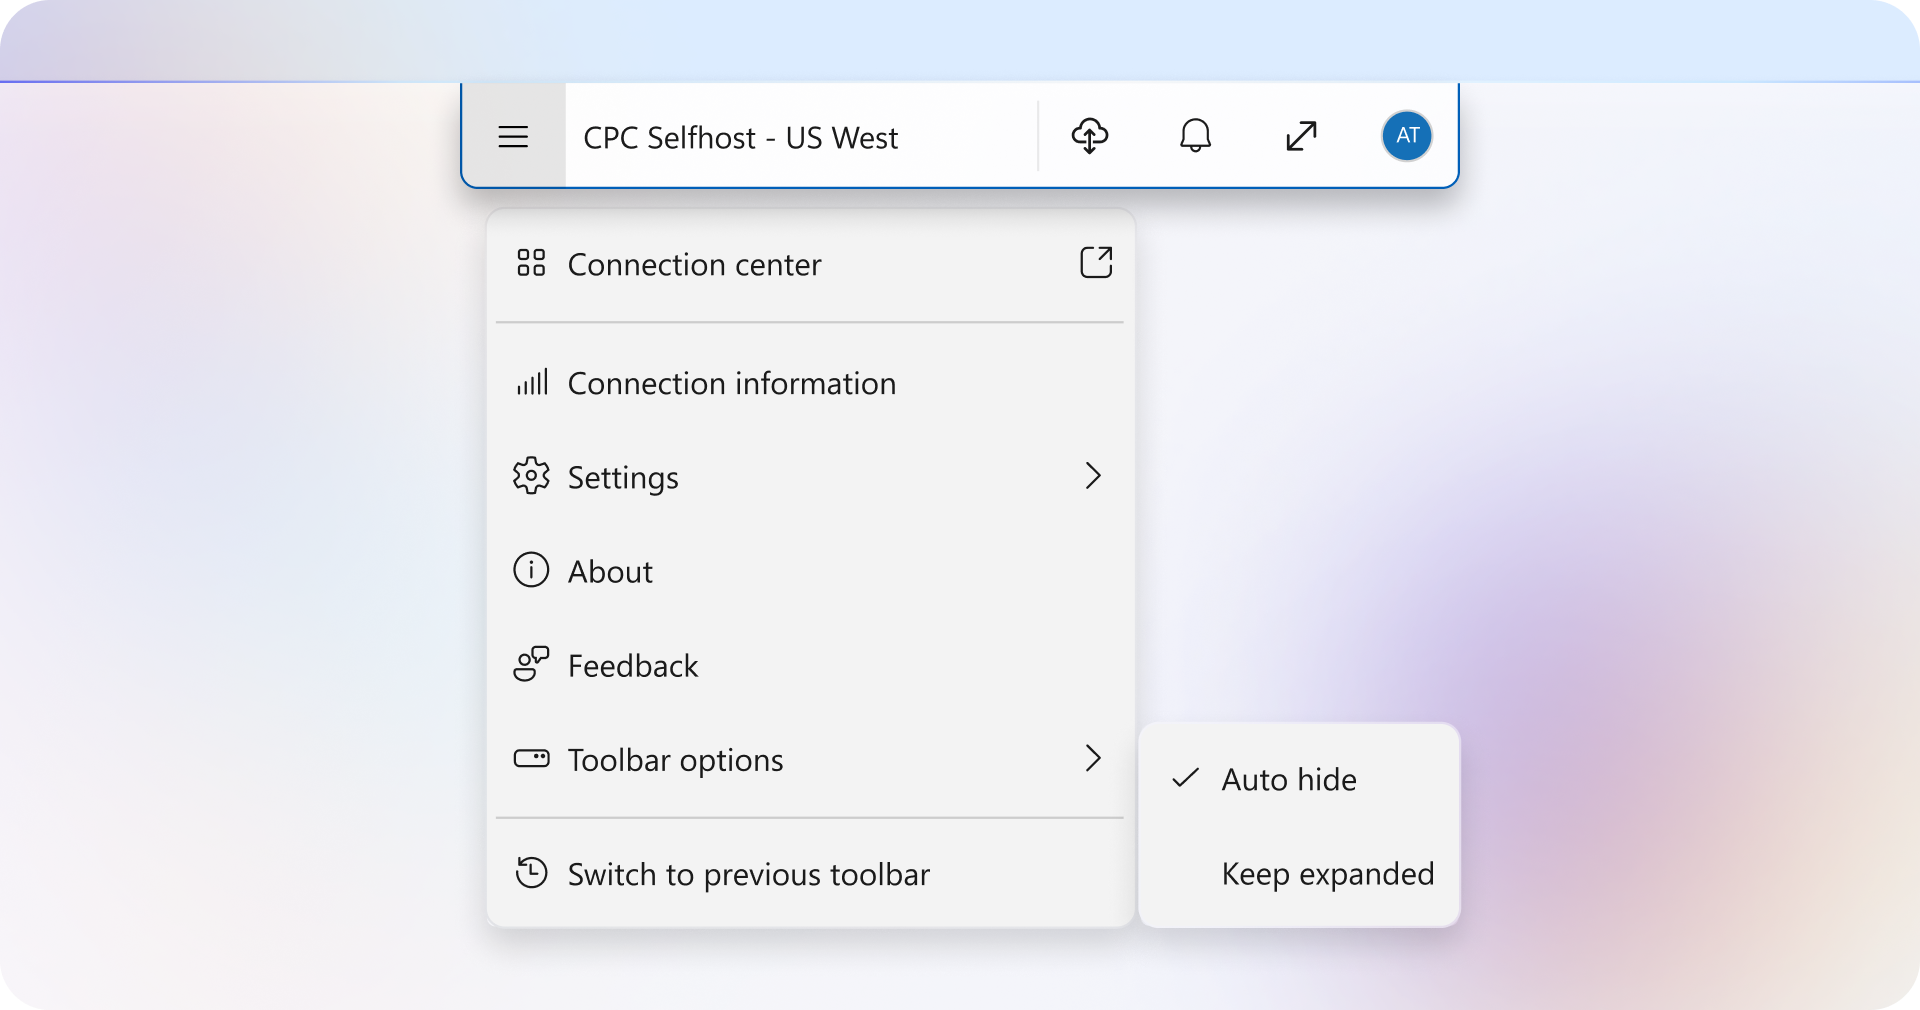
| Toolbar options | Customizes how the connection bar behaves. Available options include: - Hide when inactive: Automatically hides the connection bar when not in use. - Expand when clicked: Expands the connection bar when clicked. - Expand when hovered (default): Expands the connection bar when you hover over it. - Keep expanded: Keeps the connection bar expanded at all times. |
N/A |
Switch connection
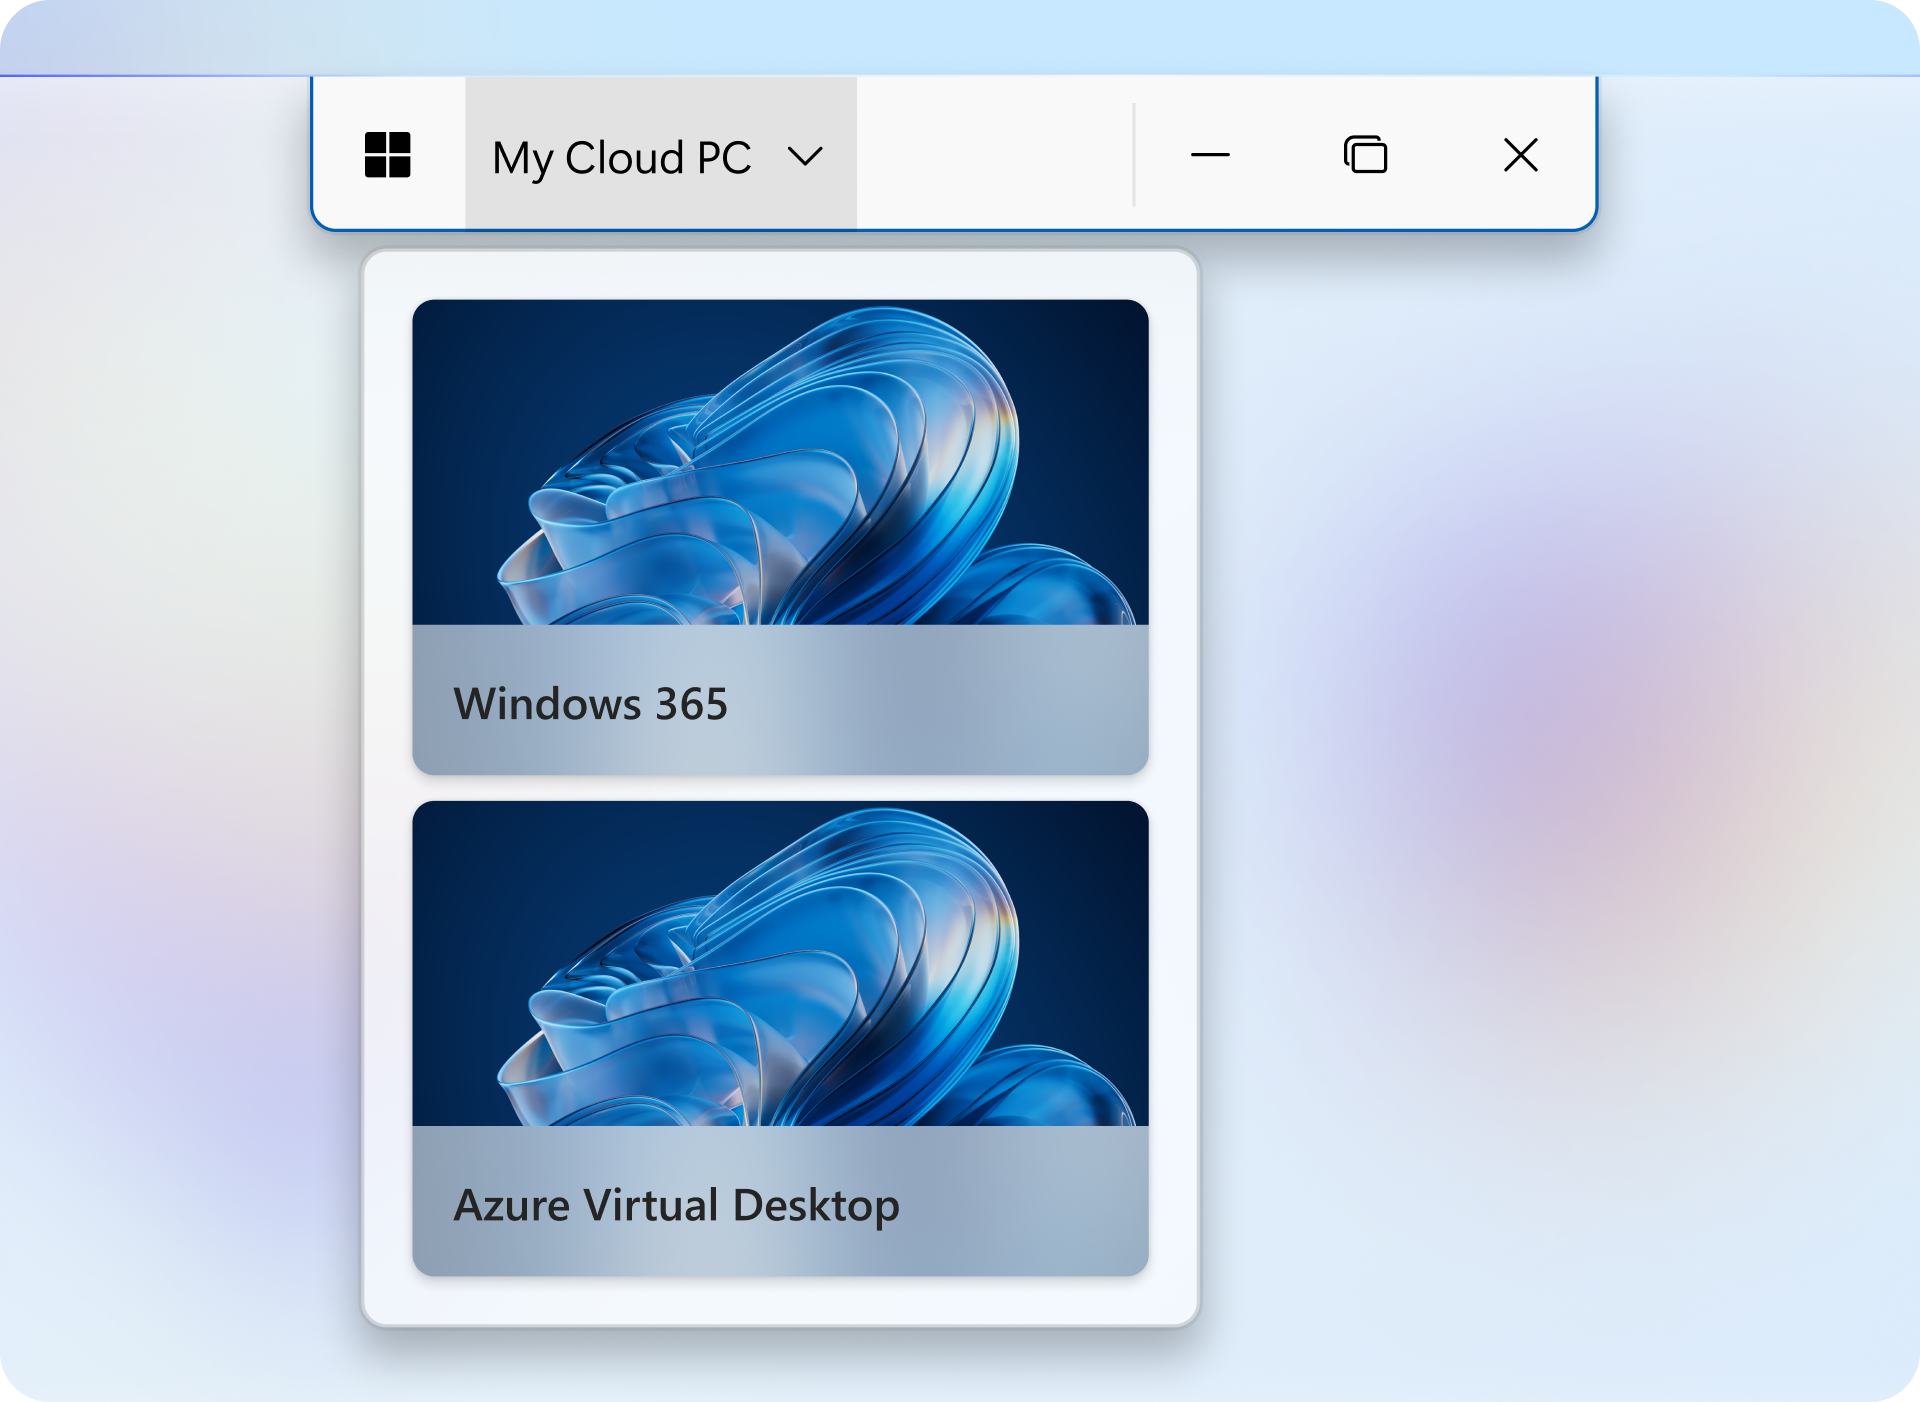
The connection switcher lets you quickly move between active remote sessions. In full-screen mode, open the dropdown on the connection bar and select the session you want to switch to. You can also open the switch connection menu with CTRL+WINDOWS+↑. For more information on keyboard shortcuts, see Keyboard shortcuts for the new connection experience (preview).
Note
- In windowed mode, the switcher is available from the title bar.
- The dropdown menu appears only when multiple device connections are active.
- Connection switching is supported only between sessions using the new connection experience.