Note
Access to this page requires authorization. You can try signing in or changing directories.
Access to this page requires authorization. You can try changing directories.
This article shows the whole journey from an idea to an app in the Microsoft Store. Follow the steps in order, or jump to the step you're on. Each step links to the article that covers it. You can do every step on your own, or with help from an AI agent.
The Microsoft Store is one way to share your app, and this article follows that path. You don't have to use the Store: you can also distribute your app yourself from your own website, GitHub Releases, or winget. To compare the options, see Choose a distribution path for your Windows app.
The journey at a glance
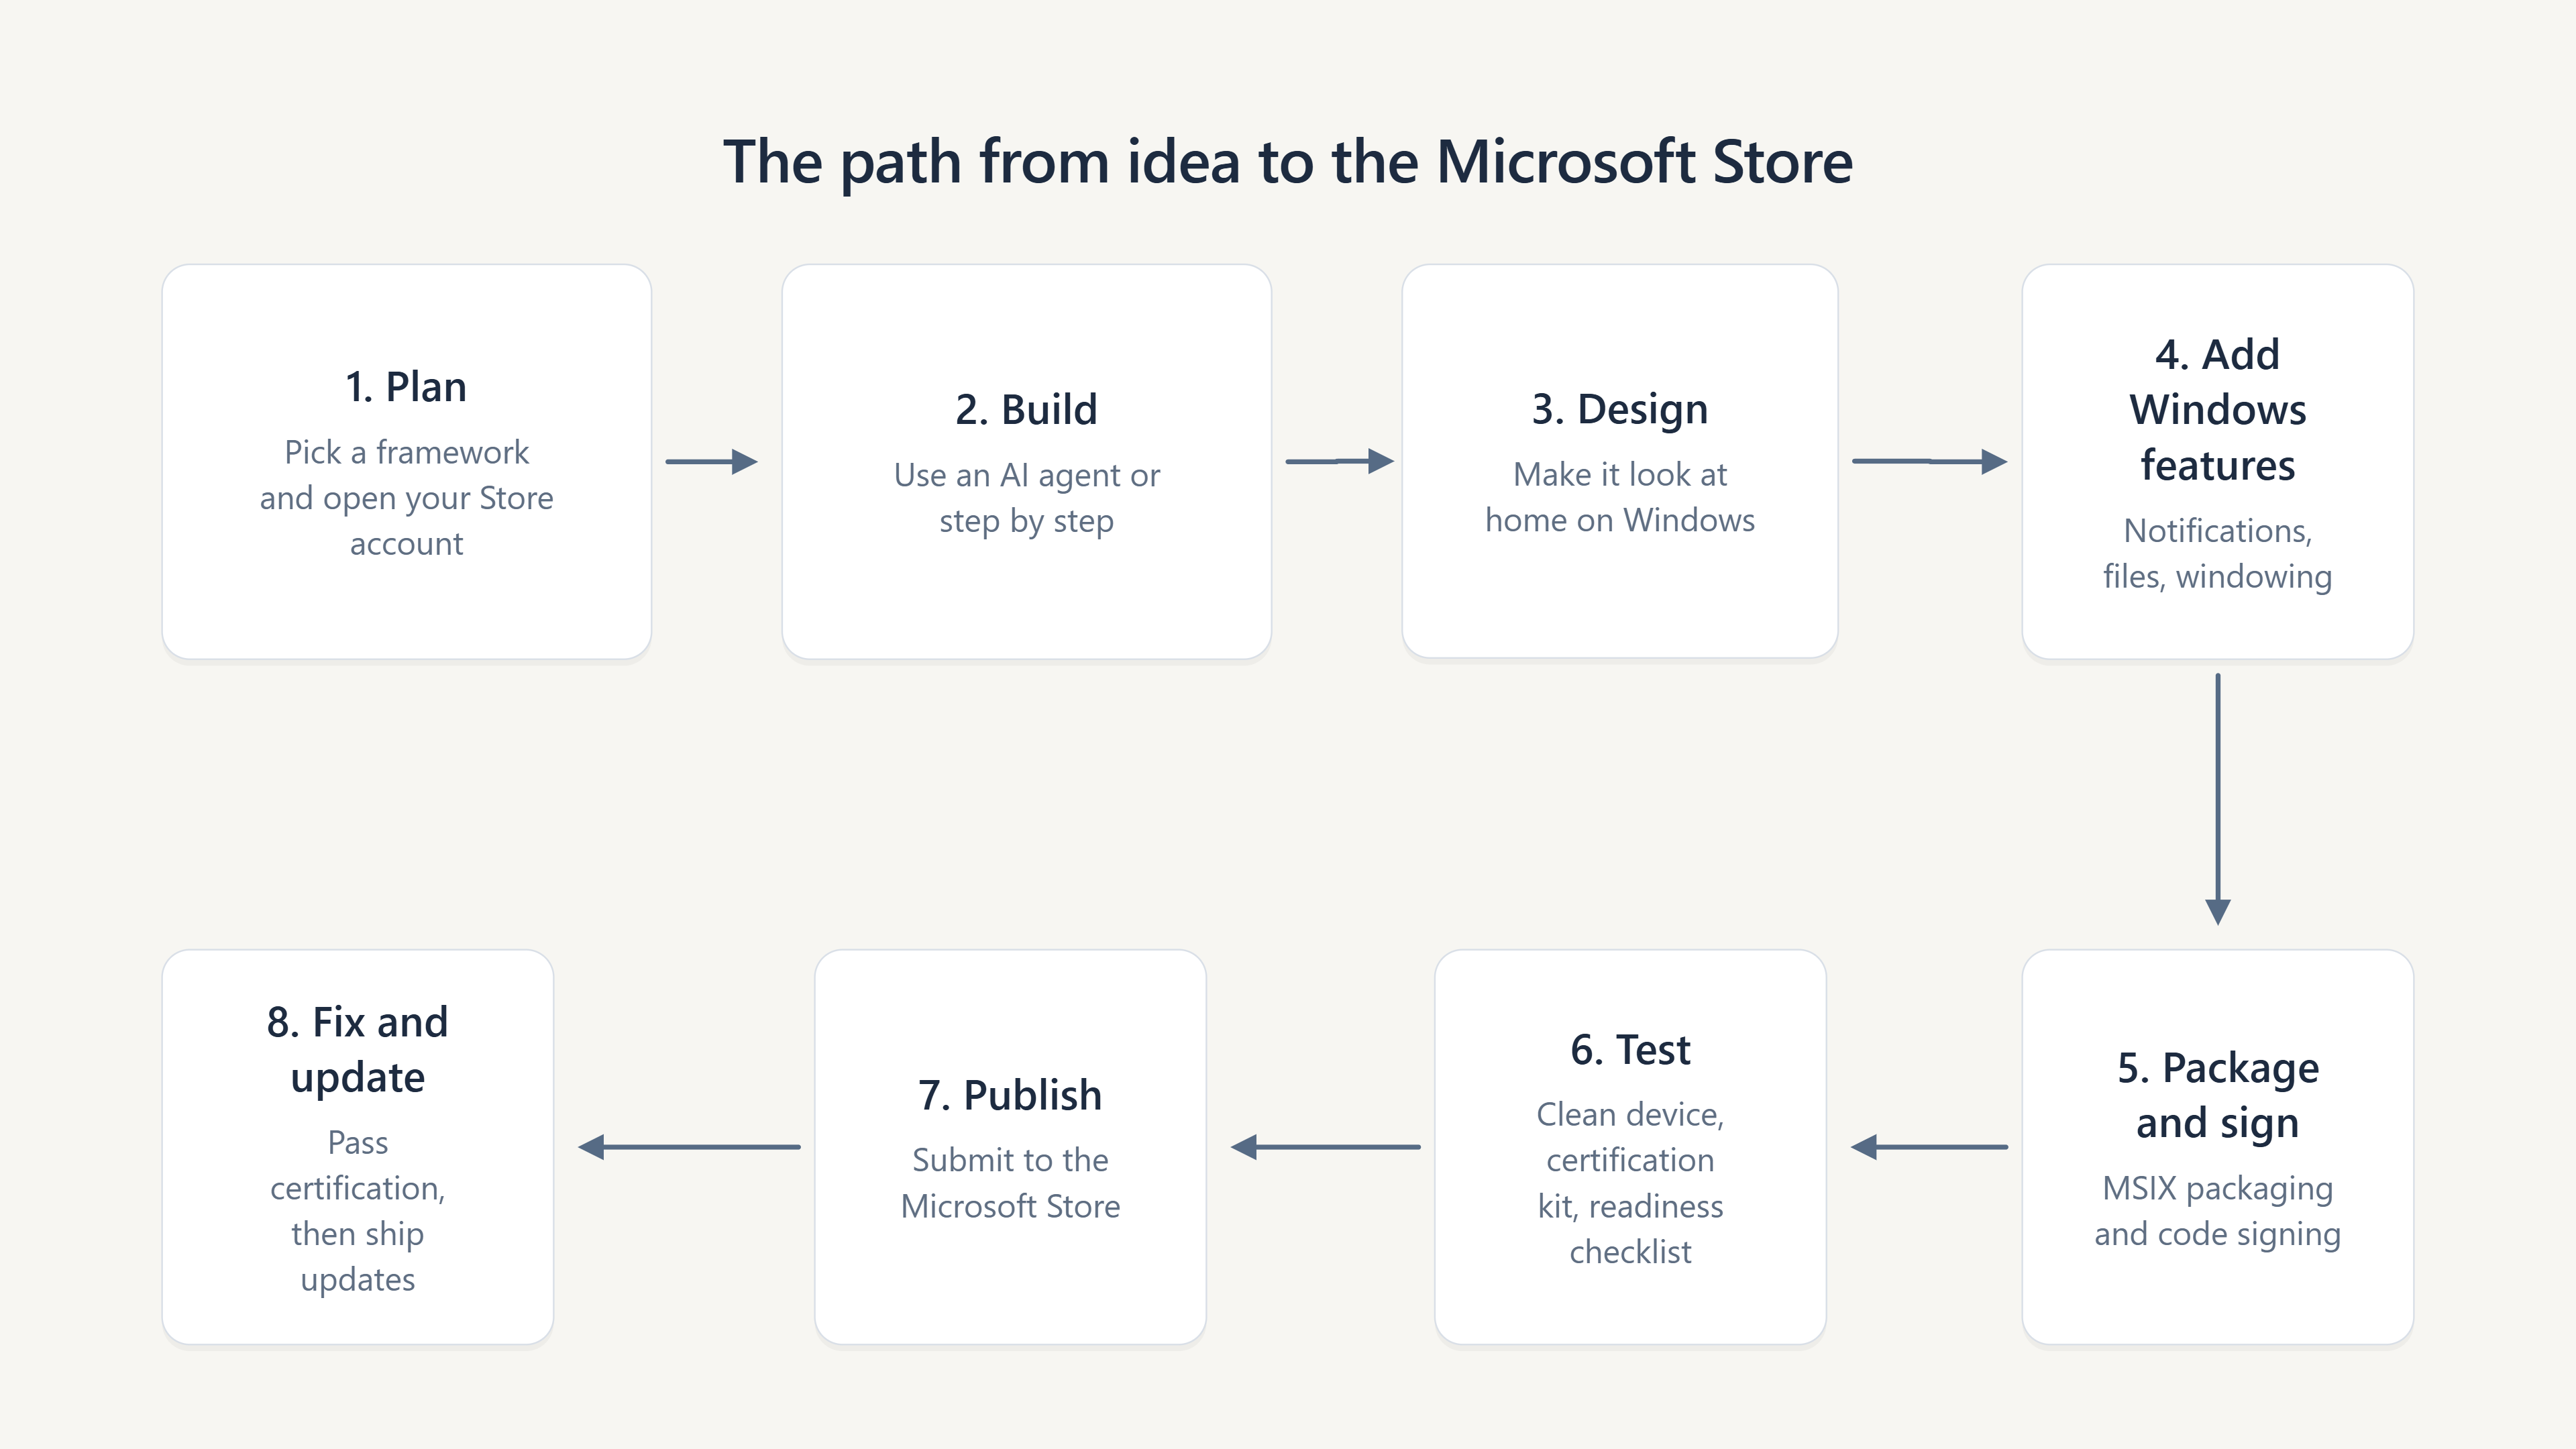
After you publish, the journey repeats for each update: go back to step 2, build the next version, and move through the steps again.
Steps and articles
| Step | What you do | Start here |
|---|---|---|
| 1. Plan | Choose a framework and how you'll distribute your app. For Store distribution, open your developer account early, allow time for verification, and reserve your app's name once your account is ready. | Plan your Windows app Set up your developer account early Reserve your app's name |
| 2. Build | Create your app, with help from an AI agent or step by step. | Build an app with an AI agent Create your first WinUI app |
| 3. Design | Make your app look and feel at home on Windows, and make it accessible. | Design Windows apps |
| 4. Add Windows features | Add notifications, file access, windowing, and other Windows capabilities. | Add Windows features |
| 5. Package and sign | For Store distribution, apply your app's Product identity values from Partner Center to the manifest before building the package. Package your app with MSIX and decide how it's signed. | View app identity details MSIX packaging Code signing options |
| 6. Test | Test on a clean device, check accessibility, run the Windows App Certification Kit, and go through the Store readiness checklist. | Test your app before you ship Microsoft Store readiness checklist |
| 7. Publish | Create a Store submission and send it for certification. Or share your app directly from your website, GitHub Releases, or winget. | Publish your first Windows app Create an app submission Choose a distribution path |
| 8. Fix and update | Fix anything that stops certification, then ship updates. | Fix submission and certification failures Publish an update |
Steps you do yourself
An AI agent can help with most of this journey, but some steps need a person:
- Reviewing what the agent built, and testing the app with real use.
- If you publish to the Store: opening your Microsoft Store developer account and completing identity verification, accepting agreements in Partner Center, and approving each submission.
- If you distribute your app yourself: getting a code-signing certificate and signing each release.
Next steps
Collaborate with us on GitHub
The source for this content can be found on GitHub, where you can also create and review issues and pull requests. For more information, see our contributor guide.

Windows developer