Note
Access to this page requires authorization. You can try signing in or changing directories.
Access to this page requires authorization. You can try changing directories.
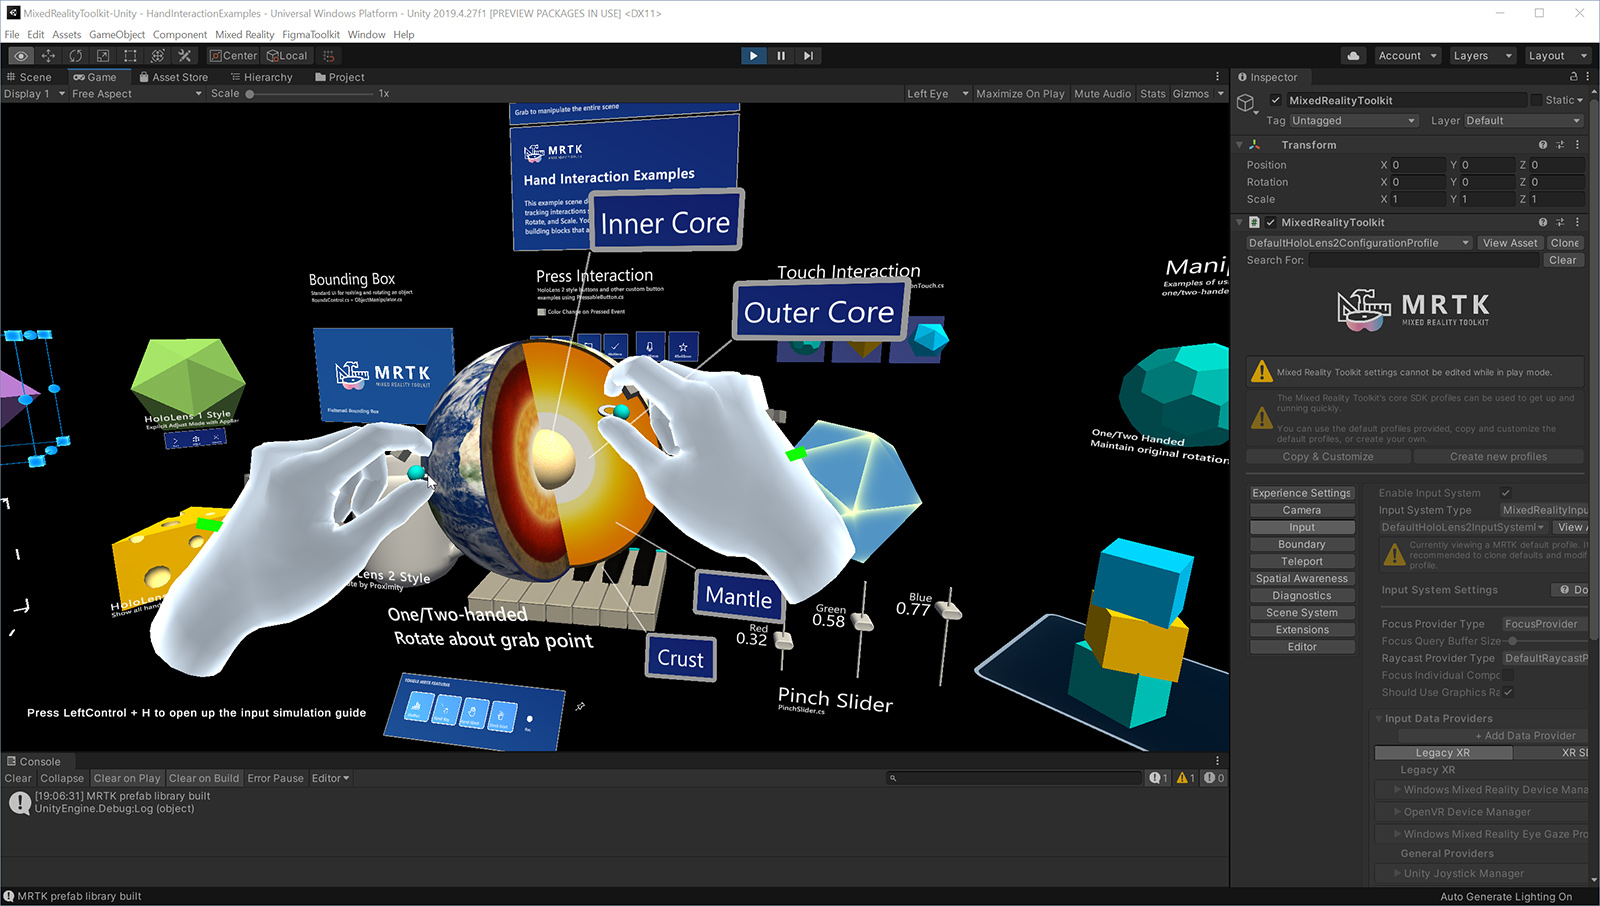
With MRTK's input simulation, you can test various types of interactions in the Unity editor without building and deploying to a device. This allows you quickly iterate your ideas in the design and development process. Use keyboard and mouse combinations to control simulated inputs.
The Input Simulation Service emulates the behavior of devices and platforms that may not be available in the Unity editor. Examples include:
- HoloLens or VR device head tracking
- HoloLens hand gestures
- HoloLens 2 articulated hand tracking
- HoloLens 2 eye tracking
- VR device controllers
Warning
This does not work when using Unity's XR Holographic Emulation > Emulation Mode = "Simulate in Editor". Unity's in-editor simulation will take control away from MRTK's input simulation. In order to use the MRTK input simulation service, you will need to set XR Holographic Emulation to Emulation Mode = "None"
How to use MRTK Input simulation
Input simulation is enabled by default in the profiles that ship with MRTK. You can simply click Play button to run the scene with input simulation support.
- Press W, A, S, D, Q, E keys to move the camera.
- Hold the Right mouse button and move the mouse to look around.
- To bring up the simulated hands, press Space bar(Right hand) or Left Shift key(Left hand)
- To keep simulated hands in the view, press T or Y key
- To rotate simulated hands, press and hold Ctrl key and move mouse
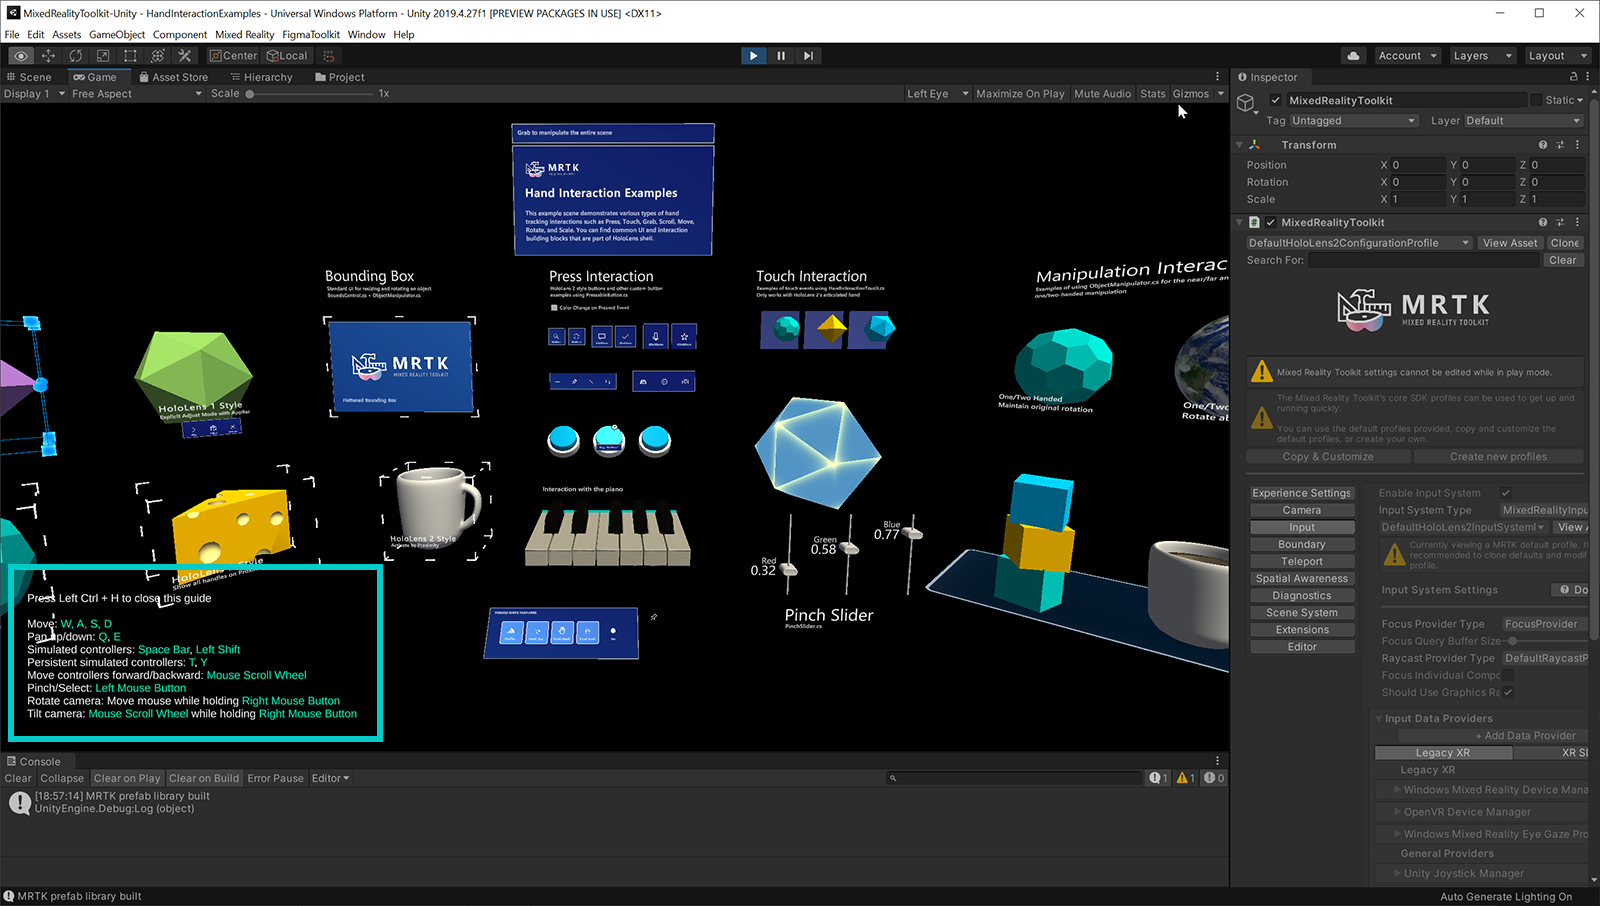
In editor input simulation cheat sheet
Press Left Ctrl + H in the HandInteractionExamples scene to bring up a cheat sheet with Input simulation controls.
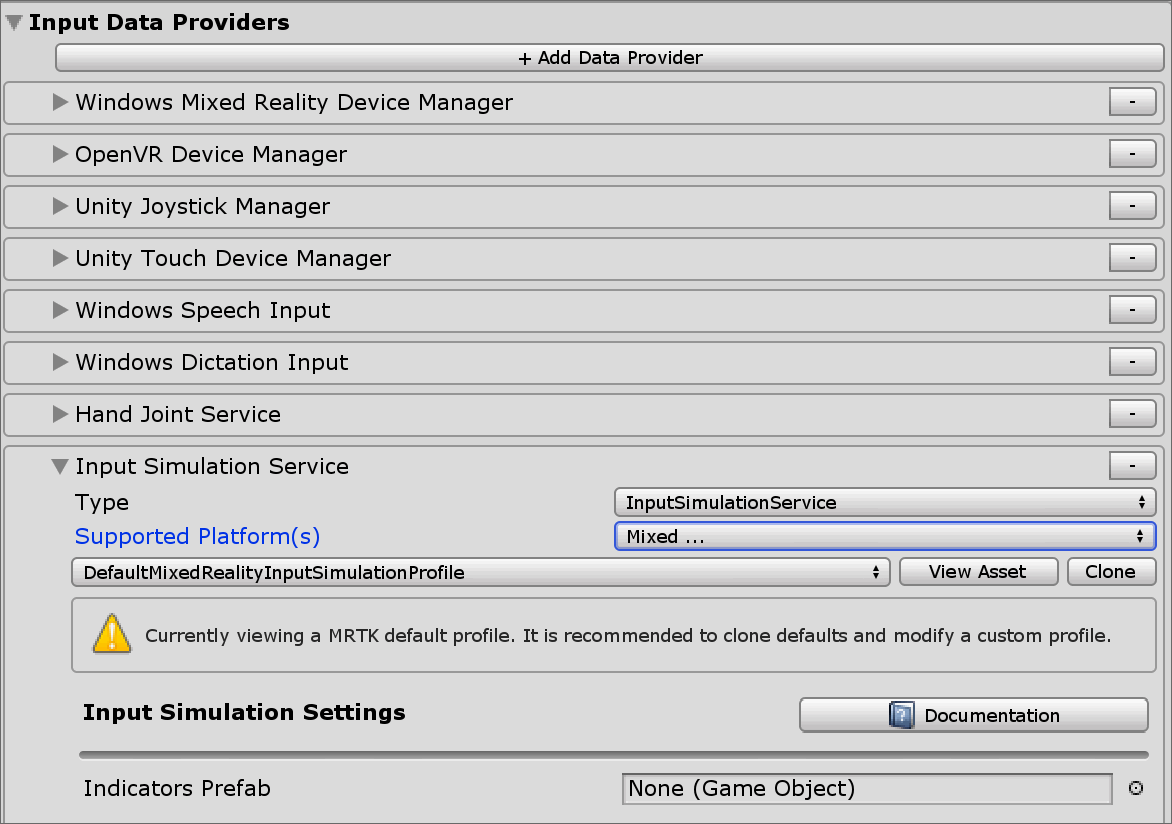
Enabling the input simulation service
Under the Input System Data provider configuration, the Input Simulation service can be configured with the following.
- Type must be Microsoft.MixedReality.Toolkit.Input > InputSimulationService.
- Supported Platform(s) by default includes all Editor platforms, since the service uses keyboard and mouse input.
Note
The Input Simulation service can be used on other platform endpoints such as standalone by changing the Supported Platform(s) property to include the desired targets.
Camera control
Head movement can be emulated by the Input Simulation Service.
Rotating the camera
- Hover over the viewport editor window. You may need to click the window to give it input focus if button presses don't work.
- Press and hold the Mouse Look Button (default: Right mouse button).
- Move the mouse in the viewport window to rotate the camera.
- Use the scroll wheel to roll the camera around the view direction.
Camera rotation speed can be configured by changing the Mouse Look Speed setting in the input simulation profile.
Alternatively, use the Look Horizontal/Look Vertical axes to rotate the camera (default: game controller right thumbstick).
Moving the camera
Use the Move Horizontal/Move Vertical axes to move the camera (default: WASD keys or game controller left thumbstick).
Camera position and rotation angles can be set explicitly in the tools window, as well. The camera can be reset to its default using the Reset button.
Controller simulation
The input simulation supports emulated controller devices (i.e. motion controllers and hands). These virtual controllers can interact with any object that supports regular controllers, such as buttons or grabbable objects.
Controller simulation mode
In the input simulation tools window the Default Controller Simulation Mode setting switches between three distinct input models. This default mode can also be set in the input simulation profile.
Articulated Hands: Simulates a fully articulated hand device with joint position data.
Emulates HoloLens 2 interaction model.
Interactions that are based on the precise positioning of the hand or use touching can be simulated in this mode.
Hand Gestures: Simulates a simplified hand model with air tap and basic gestures.
Emulates HoloLens interaction model.
Focus is controlled using the Gaze pointer. The Air Tap gesture is used to interact with buttons.
Motion Controller: Simulates a motion controller used with VR headsets that works similarly to far interactions with Articulated Hands.
Emulates VR headset with controllers interaction model.
The trigger, grab and menu keys are simulated via keyboard and mouse input.
Simulating controller movement
Press and hold the Left/Right Controller Manipulation Key (default: Left Shift for left controller and Space for right controller) to gain control of either controller. While the manipulation key is pressed, the controller will appear in the viewport. Once the manipulation key is released, the controllers will disappear after a short Controller Hide Timeout.
Controllers can be toggled on and frozen relative to the camera in the input simulation tools window or by pressing the Toggle Left/Right Controller Key (default: T for left and Y for right). Press the toggle key again to hide the controllers again. To manipulate the controllers, the Left/Right Controller Manipulation Key needs to be held. Double tapping the Left/Right Controller Manipulation Key can also toggle the controllers on/off.
Mouse movement will move the controller in the view plane. Controllers can be moved further or closer to the camera using the mouse wheel.
To rotate controllers using the mouse, hold both the Left/Right Controller Manipulation Key (Left Shift or Space) and the Controller Rotate Button (default: Left Ctrl button) and then move the mouse to rotate the controller. Controller rotation speed can be configured by changing the Mouse Controller Rotation Speed setting in the input simulation profile.
All hand placement can also changed in the input simulation tools window, including resetting hands to default.
Additional profile settings
- Controller Depth Multiplier controls the sensitivity of the mouse scroll wheel depth movement. A larger number will speed up controller zoom.
- Default Controller Distance is the initial distance of controllers from the camera. Clicking the Reset button controllers will also place controllers at this distance.
- Controller Jitter Amount adds random motion to controllers. This feature can be used to simulate inaccurate controller tracking on the device, and ensure that interactions work well with noisy input.
Hand gestures
Hand gestures such as pinching, grabbing, poking, etc. can also be simulated.
Enable hand control using the Left/Right Controller Manipulation Key (Left Shift or Space)
While manipulating, press and hold a mouse button to perform a hand gesture.
Each of the mouse buttons can be mapped to transform the hand shape into a different gesture using the Left/Middle/Right Mouse Hand Gesture settings. The Default Hand Gesture is the shape of the hand when no button is pressed.
Note
The Pinch gesture is the only gesture that performs the "Select" action at this point.
One-hand manipulation
- Press and hold Left/Right Controller Manipulation Key (Left Shift or Space)
- Point at object
- Hold mouse button to pinch
- Use your mouse to move the object
- Release the mouse button to stop interaction
Two-hand manipulation
For manipulating objects with two hands at the same time, the persistent hand mode is recommended.
- Toggle on both hands by pressing the toggle keys (T/Y).
- Manipulate one hand at a time:
- Hold Space to control the right hand
- Move the hand to where you want to grab the object
- Press the left mouse button to activate the Pinch gesture.
- Release Space to stop controlling the right hand. The hand will be frozen in place and be locked into the Pinch gesture since it is no longer being manipulated.
- Repeat the process with the other hand, grabbing the same object in a second spot.
- Now that both hands are grabbing the same object, you can move either of them to perform two-handed manipulation.
GGV (Gaze, Gesture, and Voice) interaction
By default, GGV interaction is enabled in-editor while there are no articulated hands present in the scene.
- Rotate the camera to point the gaze cursor at the interactable object (right mouse button)
- Click and hold left mouse button to interact
- Rotate the camera again to manipulate the object
You can turn this off by toggling the Is Hand Free Input Enabled option inside the Input Simulation Profile.
In addition, you can use simulated hands for GGV interaction
- Enable GGV simulation by switching Hand Simulation Mode to Gestures in the Input Simulation Profile
- Rotate the camera to point the gaze cursor at the interactable object (right mouse button)
- Hold Space to control the right hand
- Click and hold left mouse button to interact
- Use your mouse to move the object
- Release the mouse button to stop interaction
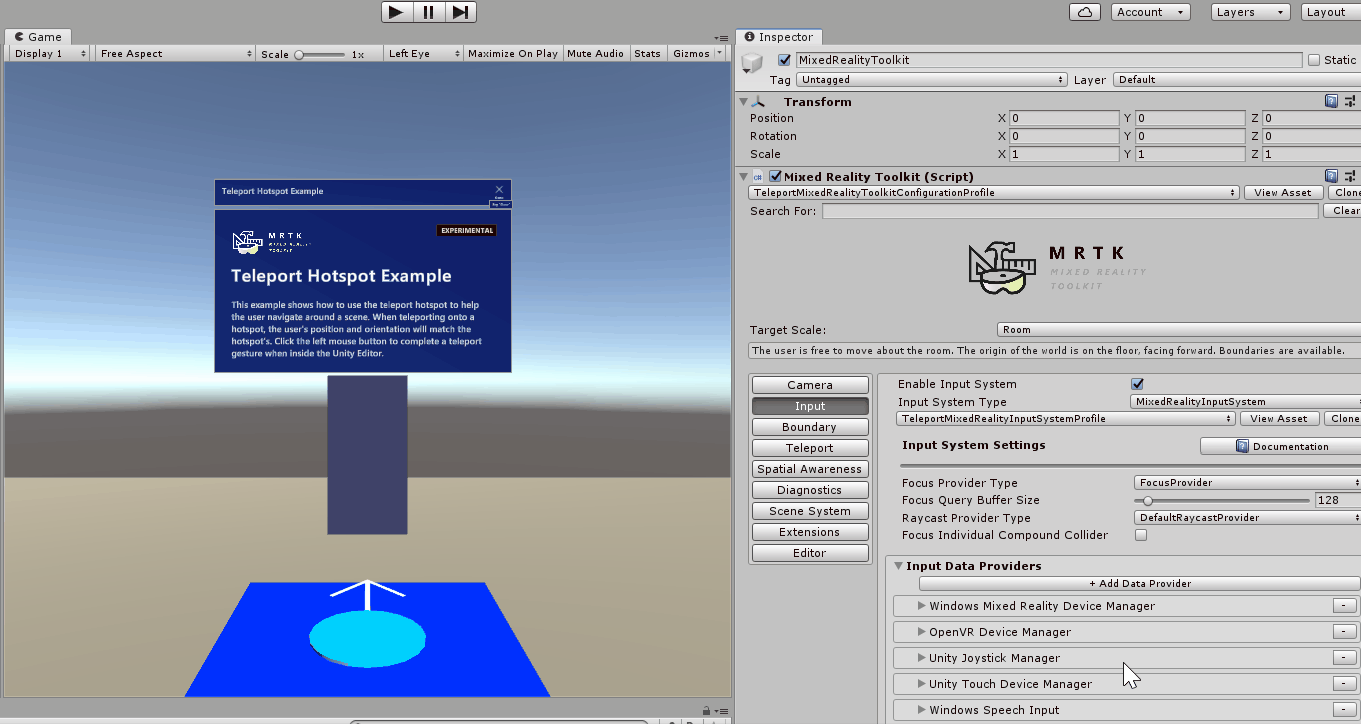
Raising Teleport Events
To raise the teleport event in input simulation, configure the Hand Gesture Settings in the Input Simulation Profile so that one performs the Teleport Start Gesture while the other performs the Teleport End Gesture. The Teleport Start gesture will bring up the Teleport Pointer, while the Teleport End gesure will complete the teleport action and move the user.
The y-position of your resulting teleport is dependent on the camera's displacement along the y-axis. In editor, this is 0 by default, so use the Q and E keys to adjust it to the appropriate height.
Motion controller interaction
The simulated motion controllers can be manipulated the same way articulated hands are. The interaction model is similar to far interaction of articulated hand while the trigger, grab and menu keys are mapped to left mouse button, G and M key respectively.
Eye tracking
Eye tracking simulation can be enabled by checking the Simulate Eye Position option in the Input Simulation Profile. This should not be used with GGV or motion controller style interactions (so ensure that Default Controller Simulation Mode is set to Articulated Hand).
Input simulation tools window
Enable the input simulation tools window from the Mixed Reality > Toolkit > Utilities > Input Simulation menu. This window provides access to the state of input simulation during play mode.
Viewport buttons (optional)
A prefab for in-editor buttons to control basic hand placement can be specified in the input simulation profile under Indicators Prefab. This is an optional utility, the same features can be accessed in the input simulation tools window.
Note
The viewport indicators are disabled by default, as they currently can sometimes interfere with Unity UI interactions. See issue #6106. To enable, add the InputSimulationIndicators prefab to Indicators Prefab.
Hand icons show the state of the simulated hands:
 The hand is not tracking. Click to enable the hand.
 The hand is tracked, but not controlled by the user. Click to hide the hand.
 The hand is tracked and controlled by the user. Click to hide the hand.
 Click to reset the hand to default position.