Editor tooling — MRTK3
Graphics Tools contains a plethora of Unity editor tooling to help with mixed reality development. A handful of items are described below. The rest can be found in their respective subject areas, such as accessibility utilities and the measure tool.
Menu items
Description of menu items found in the Window > Graphics Tools menu section.
Take screenshots
Often taking screenshots in Unity for documentation and promotional imagery can be burdensome and the output often looks less than desirable. The ScreenshotUtilities class aides in taking screenshots via menu items and public APIs within the Unity editor. Screenshots can be captured at various resolutions and with transparent clear colors for use in easy post compositing of images.
Note
Taking screenshots from a standalone build is not supported by this tool.
Screenshots can be easily captured while in the editor by selecting Window > Graphics Tools > Take Screenshot and then selecting your desired option.
Tip
Make sure to have the game window tab visible if capturing while not playing, or a screenshot may not be saved.
By default, all screenshots are saved to your temporary cache path, the path to the screenshot will be displayed in the Unity console.
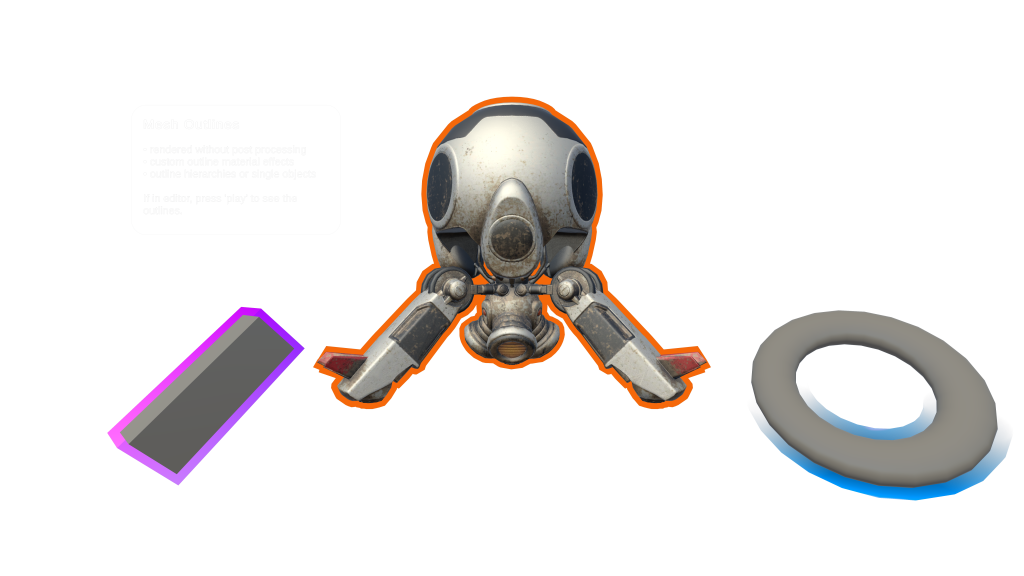
The above screenshot was captured with the "4x Resolution (Transparent Background)" option. (Scaled down to reduce download size.) This outputs a high-resolution image with whatever pixels normally represented by the clear color saved as transparent pixels. This technique helps developers showcase their application for the store, or other media outlets, by overlaying this image on top of other imagery.
Canvas material animators
Canvas material animators allow developers to animate material properties on UnityUI Graphic components (more information can be found in the animation documentation). These animator scripts are auto generated from shader files. If a shader file changes, so does the animator script. This is normally performed by right clicking on a shader and selecting Graphics Tools > Generate Canvas Material Animator.
The Window > Graphics Tools > Canvas Material Animators > Generate All menu item will regenerate all animator scripts for shaders with these conditions met:
- Exists in the Runtime/Shaders directory of the Graphics Tools package
- Does not contain "Non-Canvas" it the shader name.
Tip
Developers should invoke this menu item when they alter shaders within the Graphics Tools package. Custom shaders can have animators generated individually or via the ShaderUtilities.GenerateCanvasMaterialAnimator method.
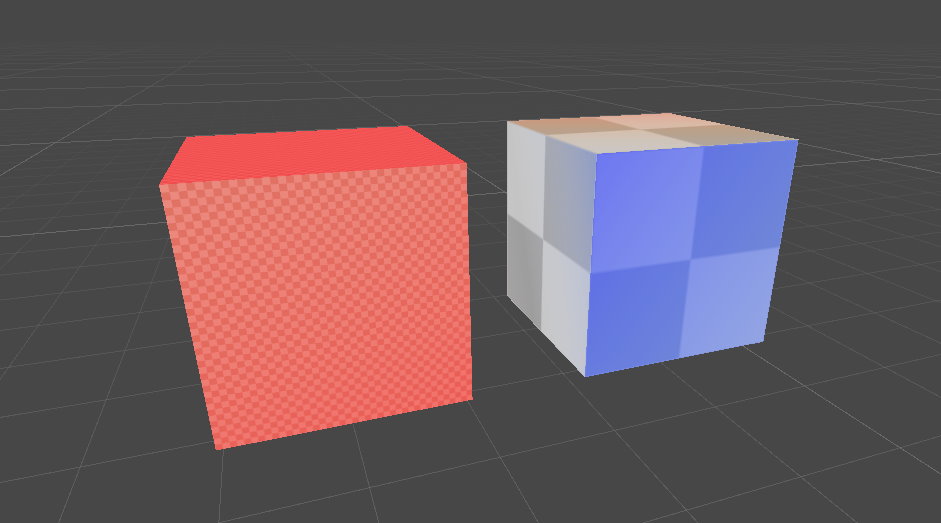
Mip map debug
The mip map debug feature included with the built-in renderer pipeline's scene view debug draw modes doesn't exist in the Universal Render Pipeline (URP). This feature is a useful to have when trying to reduce texture sizes.
In Graphics Tools, a similar tool was reintroduced for the URP. The tool can be toggled on via the Window > Graphics Tools > Draw Modes > Mipmaps - Enable and off via the Window > Graphics Tools > Draw Modes > Mipmaps - Disable menu items. When enabled the scene view will be tinted based on texel to pixel ratio.
| Color | Meaning |
|---|---|
| Original Color | It’s a perfect match (1:1 texels to pixels ratio at the current distance and resolution). |
| Red | Indicates that the texture is larger than necessary. |
| Blue | Indicates that the texture could be larger. |
Note
The ideal texture sizes depend on the resolution at which your application will run and how close the camera can get to a surface.
For example, texel density is too high on the left cube and a bit too low on the right cube at this viewing distance:
Show and hide samples
When opening the MRGTUnityProject in Unity. The Samples folder won't be visible in the MRTK Graphics Tools package by default. To show the samples select Window > Graphics Tools > Show Samples from the file menu bar.
If you would like to hide samples, for example, before committing a contribution to the Graphics Tools package samples, select Window > Graphics Tools > Hide Samples from the file menu bar.
Note
These menu items will be greyed out when Graphics Tools is an immutable package.
See also
Feedback
Coming soon: Throughout 2024 we will be phasing out GitHub Issues as the feedback mechanism for content and replacing it with a new feedback system. For more information see: https://aka.ms/ContentUserFeedback.
Submit and view feedback for