Märkus.
Juurdepääs sellele lehele nõuab autoriseerimist. Võite proovida sisse logida või kausta vahetada.
Juurdepääs sellele lehele nõuab autoriseerimist. Võite proovida kausta vahetada.
Applies to: ✅ Warehouse in Microsoft Fabric
In this tutorial, learn how to ingest sample data into a Warehouse using a Copy job. You'll create a table from a sample data file and populate it with sample data.
Note
This tutorial forms part of an end-to-end scenario. In order to complete this tutorial, you must first complete these tutorials:
Ingest data
In this task, learn how to ingest data into the warehouse to create tables.
Ensure that the workspace you created in the first tutorial is open.
In the workspace landing pane, select + New Item to display the full list of available item types.
From the list, in the Get data section, select the Copy job item type.
In the New copy job window, in the Name box, enter
Load Customer Data.Select Create. Provisioning is complete when the Copy job page opens.
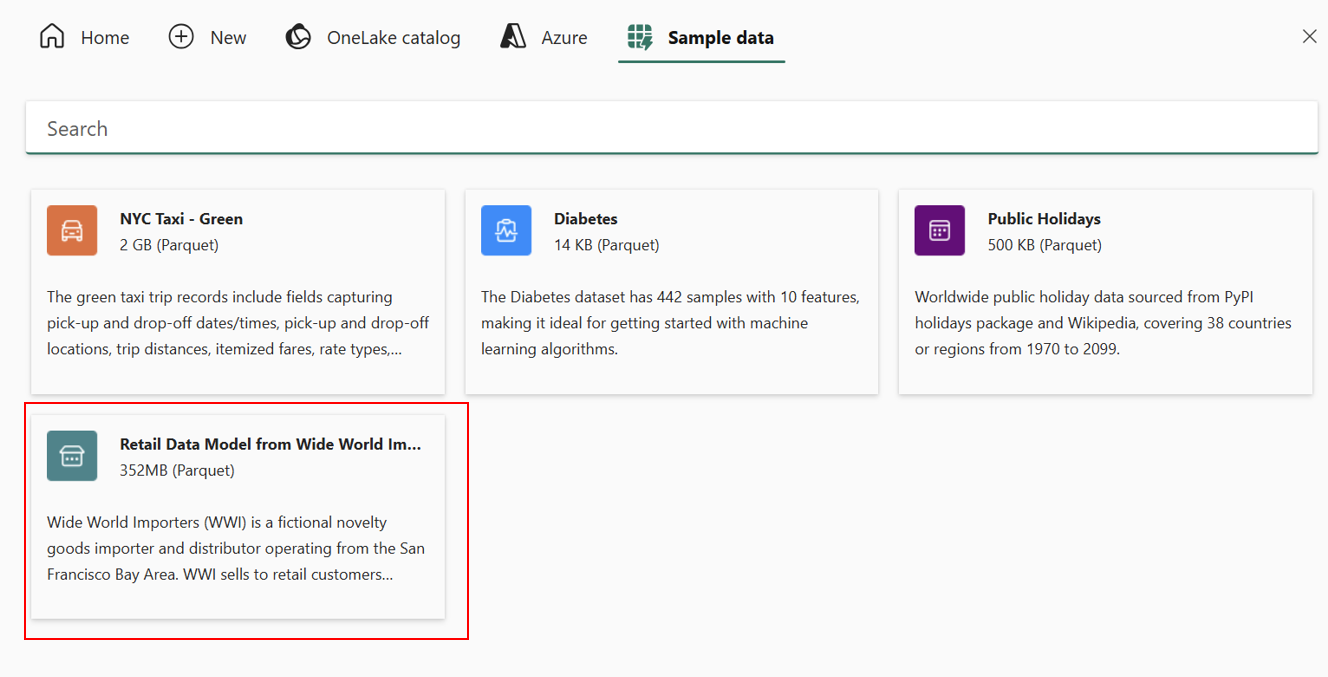
On the first page of the Copy job window, you can pick from various data sources, or select from one of the provided samples to get started. For this tutorial, select Sample data from the menu bar on this page. For this tutorial, we use the Retail Data Model from Wide World Importers sample. Select this option to navigate to the next page
The data preview of the sample data loads. In the Choose data page, you can preview the selected dataset. After you review the data, select Next.
The Choose data destination page allows you to configure the type of item. In the OneLake catalog, select your
Wide World Importerswarehouse created in the previous tutorial step, and select Next.The Choose copy job mode page allows you to configure how you want the data to be copied: a full copy, or incremental copies that perform only subsequent copies when the source data changes. For this example, pick Full copy and select Next.
The last step to configure the destination is to provide a name to the destination table and configure the column mappings. You can load the data to a new table or to an existing one, provide a schema and table names, change column names, remove columns, or change their mappings.
For this example, provide a new name to the table. Replace the text with a table name of your choice, such as
WWI Tutorial.Select Next.
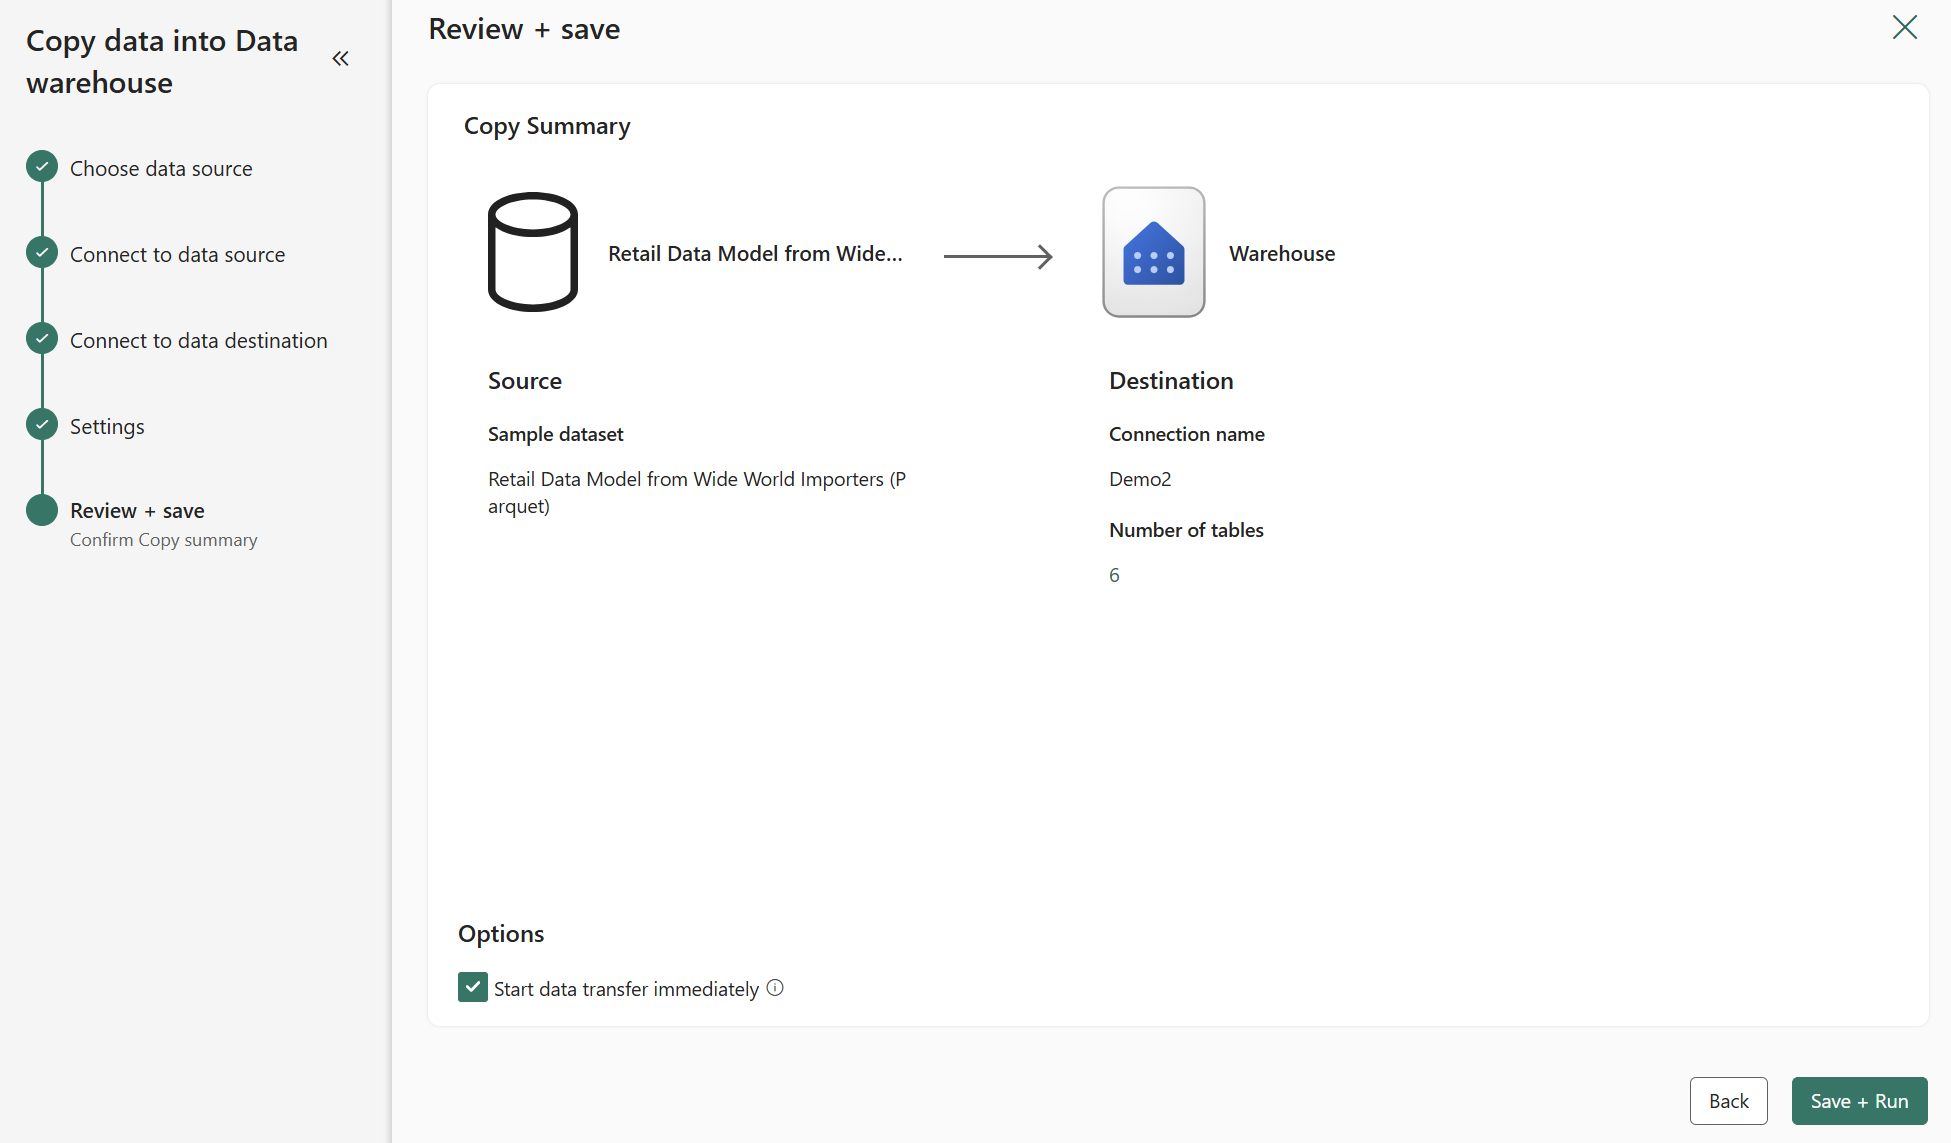
On the Review + save page, review the Source and Destination.
Keep the Start data transfer immediately checkbox checked, this will start the copy job as soon as it's ready to run.
Select Save + Run.
The Copy job will be created and the Fabric portal will open the new Load Customer Data object design canvas when ready.
Use the Results tab to monitor the execution of the Copy job.
When complete, the Copy job will deliver a Succeeded notification and status. You'll now see six new tables from the Wide World Importers dataset in your warehouse.