Asenna ATA - Vaihe 2
Koskee: Advanced Threat Analytics -versio 1.9
Vaihe 2: Anna käyttäjänimi ja salasana, jotta voit muodostaa yhteyden Active Directory -toimialuepuuryhmäsi
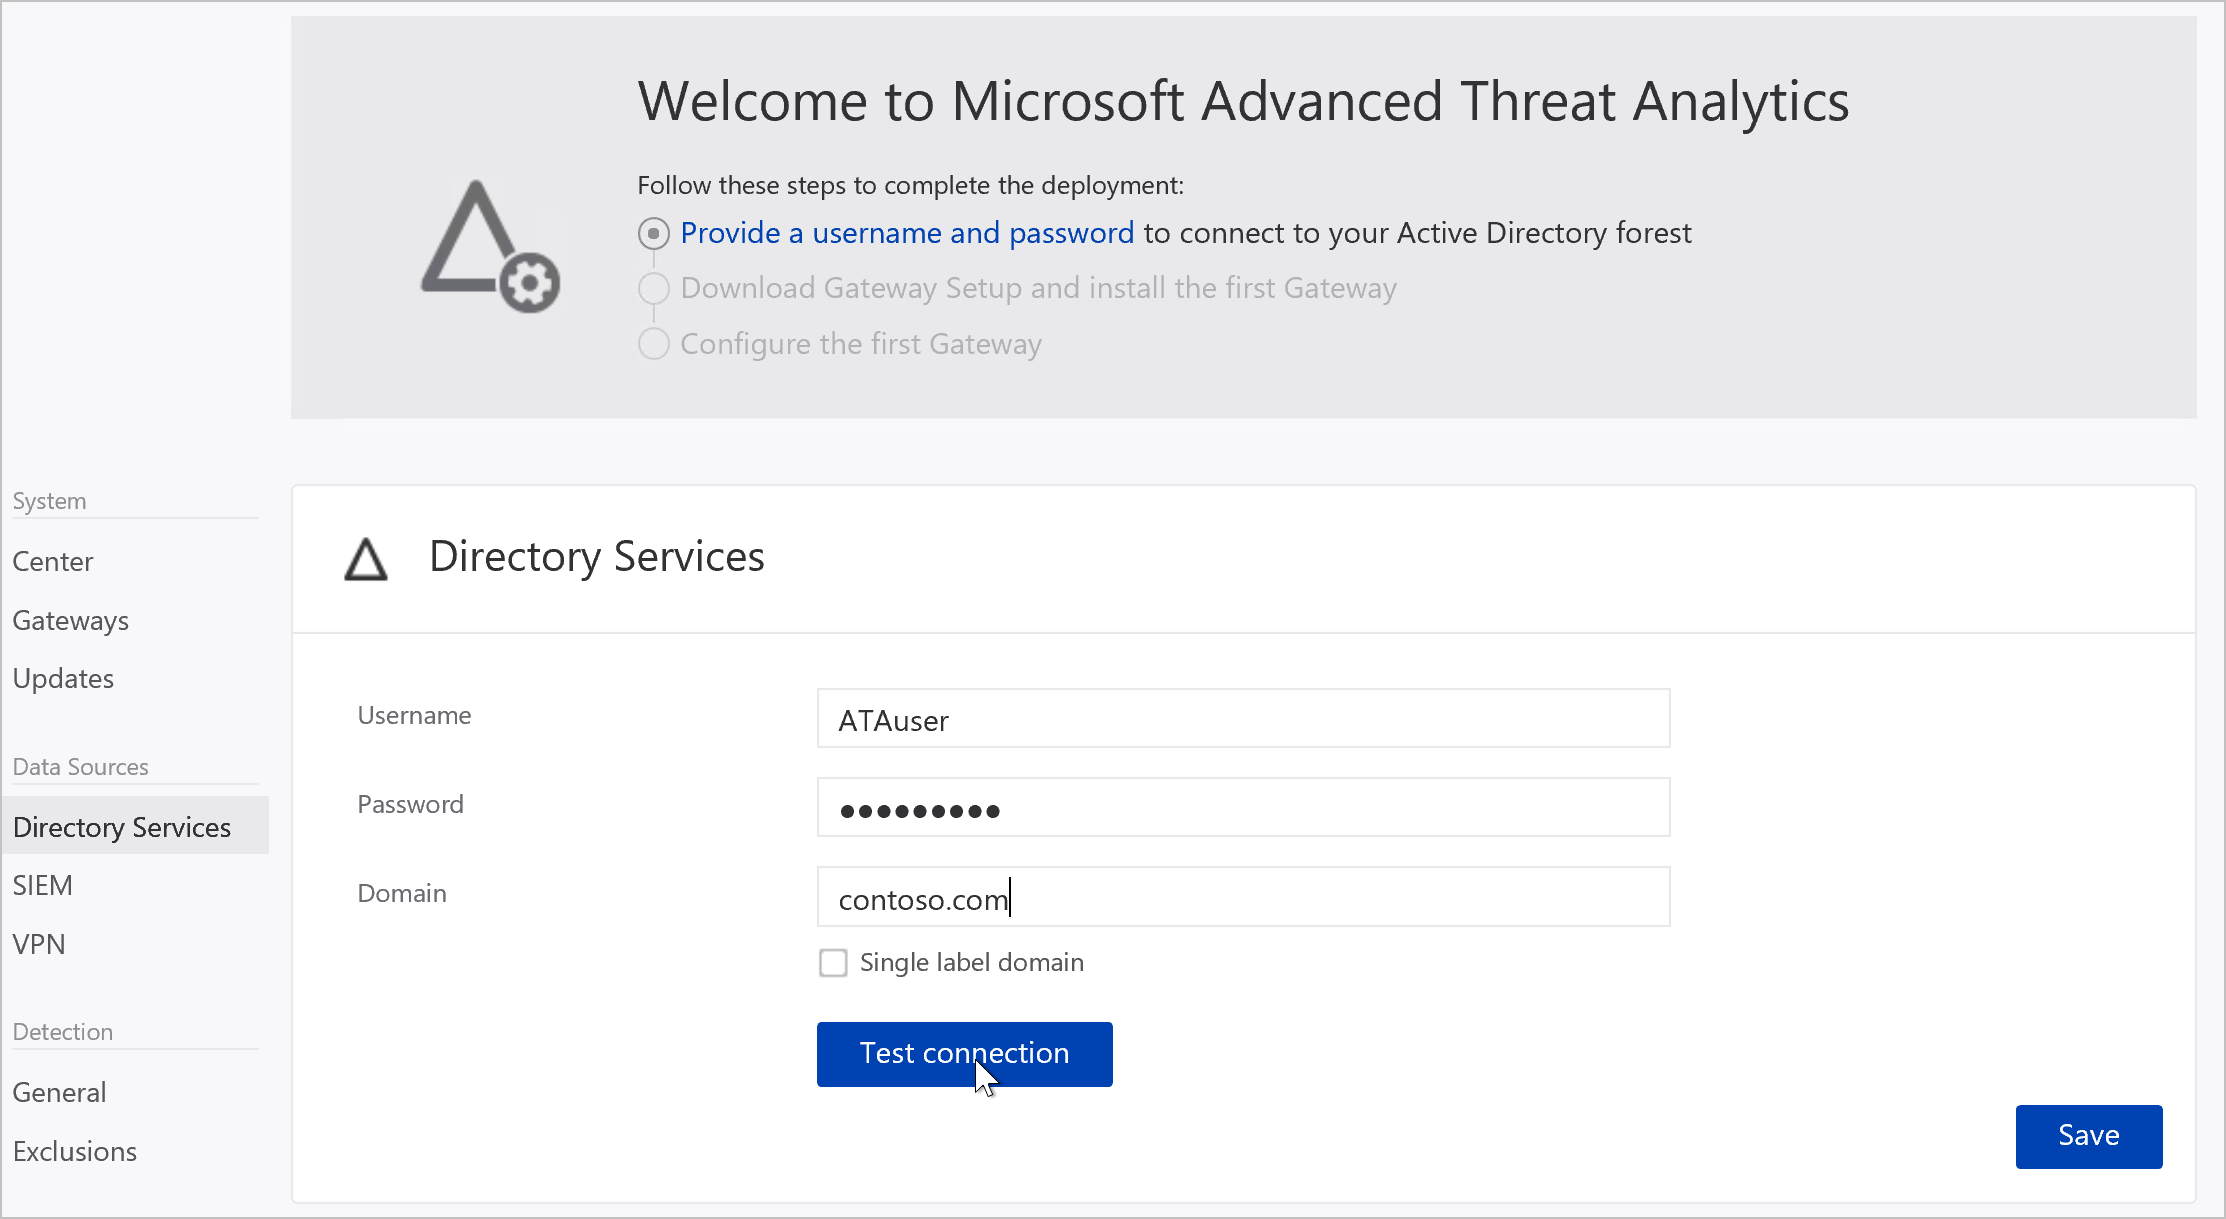
Kun avaat ATA-konsolin ensimmäistä kertaa, näyttöön avautuu seuraava näyttö:

Anna seuraavat tiedot ja valitse Tallenna:
Kenttä Kommentit Käyttäjänimi (pakollinen) Kirjoita vain luku -käyttäjänimi, esimerkiksi : ATAuser. Muistiinpano:Älä käytä täydellisen käyttäjätunnuksen muotoa käyttäjänimessäsi. Salasana (pakollinen) Anna vain luku -käyttäjän salasana, esimerkiksi Pencil1. Toimialue (pakollinen) Anna vain luku -käyttäjän toimialue, esimerkiksi contoso.com. Muistiinpano: On tärkeää, että annat sen toimialueen täydellisen toimialueen täydellisen toimialueen, jossa käyttäjä sijaitsee. Jos käyttäjän tili on esimerkiksi toimialueen corp.contoso.com, sinun ei tarvitse antaa corp.contoso.comcontoso.comVoit testata toimialueen yhdistettävyyttä valitsemalla Testaa yhteyttä ja tarkistaa, että annetut tunnistetiedot antavat käyttöoikeuden. Tämä toimii, jos ATA-keskuksella on yhteys toimialueeseen.
Kun se on tallennettu, konsolin tervetuloviesti muuttuu seuraavaksi viestiksi:

Valitse konsolissa Lataa yhdyskäytävän asennus ja asenna ensimmäinen yhdyskäytävä jatkaaksesi.