Create and manage lab plans in Azure Lab Services
Important
Azure Lab Services will be retired on June 28, 2027. For more information, see the retirement guide.
Note
This article references features available in lab plans, which replaced lab accounts.
In Azure Lab Services, a lab plan is a container for managed lab types such as labs. An administrator sets up a lab plan with Azure Lab Services and provides access to lab owners who can create labs in the plan. This article describes how to create a lab plan, view all lab plans, or delete a lab plan.
Prerequisites
- An Azure account with an active subscription. If you don't have an Azure subscription, create a free account before you begin.
- An Azure account with permission to manage a lab, such as the Lab Creator, Owner, Contributor, or Lab Services Contributor Azure RBAC role. Learn more about the Azure Lab Services built-in roles and assignment scopes.
Create a lab plan
To create a lab plan, see Quickstart: Set up resources to create labs.
View lab plans
To view the list of lab plans in the Azure portal:
Sign in to the Azure portal.
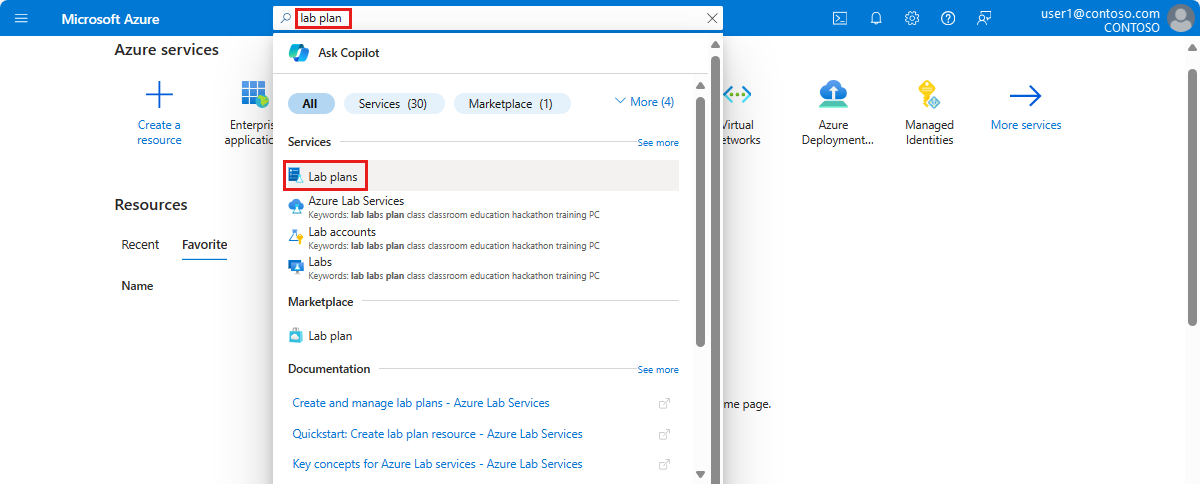
In the search box, enter lab plan, and then select Lab plans.

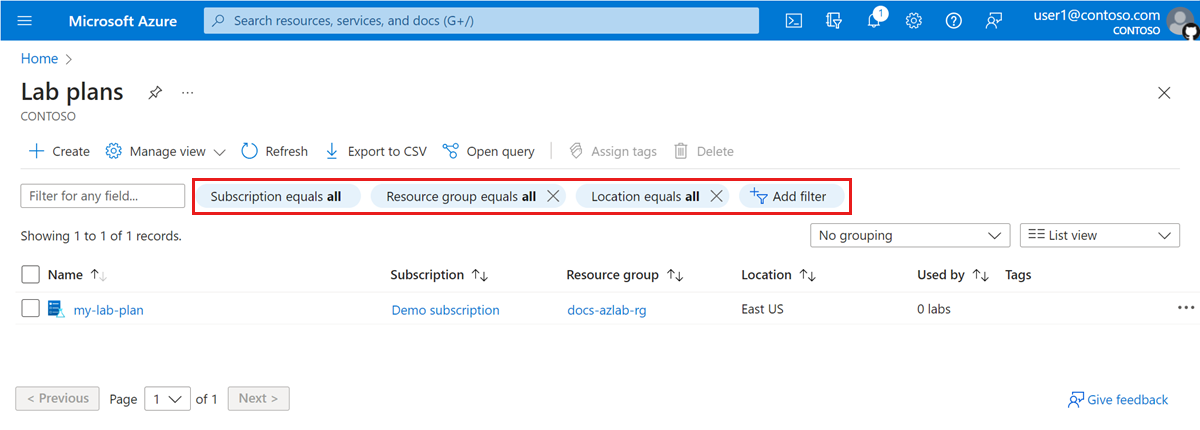
View the list of lab plans.

Tip
Use the filters to restrict the list of the resources by subscription, resource group, location, or other criteria.
Delete a lab plan
Caution
Deleting a lab plan will not delete any labs created from that lab plan.
Before you delete a lab plan, make sure to delete all associated labs, Azure Compute Gallery images, and other resources. If you're unable to delete these resources, create an Azure Support request for Azure Lab Services.
To delete a lab plan in the Azure portal:
Sign in to the Azure portal.
View the list of lab plans.
In the list, check the checkbox for the lab plan that you want to delete, and then select Delete.

Alternately, select the lab plan from the list, and then select Delete on the lab plan Overview page.
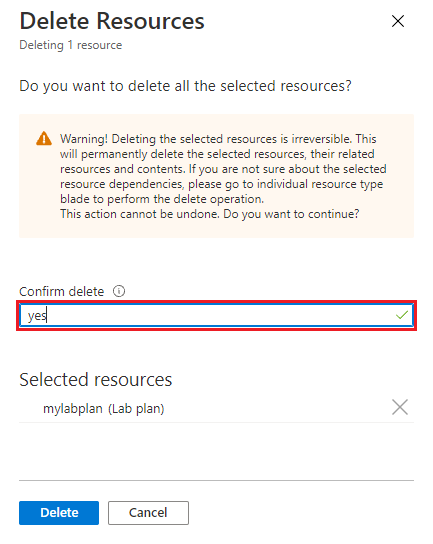
Enter Yes to confirm the delete action, and then select Delete.

Next steps
See other articles in the How-to guides -> Create and configure lab plans section of the table-of-content (TOC).