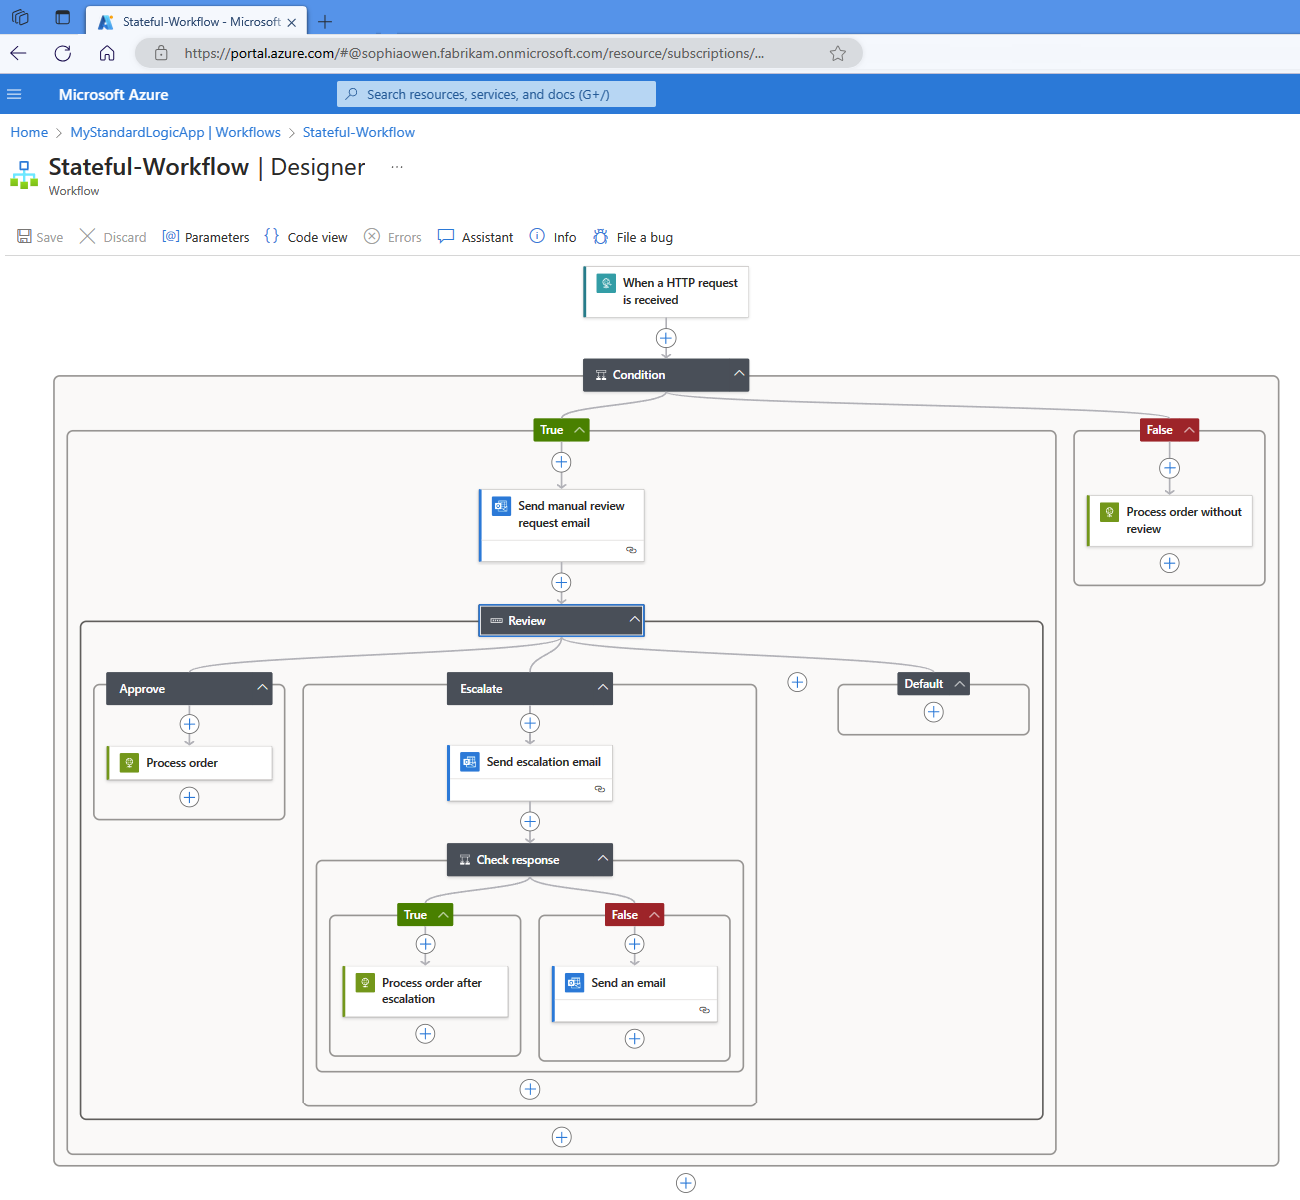
About the Standard logic app workflow designer in single-tenant Azure Logic Apps
Applies to: Azure Logic Apps (Standard)
When you work with Azure Logic Apps in the Azure portal, you can edit your workflows visually or programmatically. After you open a logic app resource in the portal, on the resource menu under Developer, you can select between Code view and Designer view. When you want to visually develop, edit, and run your workflow, select the designer view. You can switch between the designer view and code view at any time.
Important
Currently, the latest version of the designer is available only for Standard logic app resources, which run in the single-tenant Azure Logic Apps environment. For more information about different resource types and runtime environments in Logic Apps, review Single-tenant versus multi-tenant in Azure Logic Apps.

When you select the Designer view, your workflow opens in the workflow designer.
Prerequisites
- An Azure account and subscription. If you don't have a subscription, sign up for a free Azure account.
- A Standard logic app resource in single-tenant Azure Logic Apps. For more information, see Create an example Standard logic app workflow in single-tenant Azure Logic Apps using the Azure portal.
- A workflow for your Standard logic app resource.
Latest version features
The latest workflow designer offers a new experience with noteworthy features and benefits, for example:
A new layout engine that supports more complicated workflows.
You can create and view complicated workflows cleanly and easily, thanks to the new layout engine, a more compact canvas, and updates to the card-based layout.
Add and edit steps using panels separate from the workflow layout. This change gives you a cleaner and clearer canvas to view your workflow layout. For more information, review Add steps to workflows.
Move between steps in your workflow on the designer using keyboard navigation.
Move to the next card: Ctrl + Down Arrow (↓)
Move to the previous card: Ctrl + Up Arrow (↑)
Add steps to workflows
The workflow designer provides a visual way to add, edit, and delete steps in your workflow. As the first step in your workflow, always add a trigger. Then, complete your workflow by adding one or more actions.
To add a trigger or an action to your Standard workflow, see Build a workflow with a trigger or action in Azure Logic Apps.
Configure your trigger or action as needed.
Mandatory fields have a red asterisk (*) in front of the name.
Some triggers and actions might require you to create a connection to another service. You might need to sign into an account, or enter credentials for a service. For example, if you want to use the Office 365 Outlook connector to send an email, you need to authorize your Outlook email account.
Some triggers and actions use dynamic content, where you can select variables instead of entering information or expressions.
Select Save in the toolbar to save your changes. This step also verifies that your workflow is valid.
Code view
The Code view allows you to directly edit the workflow definition file in JSON format. Make sure to select Save to save any changes you make in this view.
Tip
The Code view is also an easy way to find and copy the workflow definition, instead of using the Azure CLI or other methods.

