Specify demands
TFS 2017 | TFS 2015
Note
In Microsoft Team Foundation Server (TFS) 2018 and previous versions, build and release pipelines are called definitions, runs are called builds, service connections are called service endpoints, stages are called environments, and jobs are called phases.
Use demands to make sure that the capabilities your pipeline needs are present on the agents that run it. Demands are asserted automatically by tasks or manually by you.
Note
Demands and capabilities are designed for use with self-hosted agents so that jobs can be matched with an agent that meets the requirements of the job. When using Microsoft-hosted agents, you select an image for the agent that matches the requirements of the job, so although it is possible to add capabilities to a Microsoft-hosted agent, you don't need to use capabilities with Microsoft-hosted agents.
Task demands
Some tasks won't run unless one or more demands are met by the agent. For example, the Visual Studio Build task demands that msbuild and visualstudio are installed on the agent.
Manually entered demands
You might need to use self-hosted agents with special capabilities. For example, your pipeline may require SpecialSoftware on agents in the Default pool. Or, if you have multiple agents with different operating systems in the same pool, you may have a pipeline that requires a Linux agent.
To add a single demand to your YAML build pipeline, add the demands: line to the pool section.
pool:
  name: Default
  demands: SpecialSoftware # exists check for SpecialSoftware
Or if you need to add multiple demands, add one per line.
pool:
  name: MyPool
  demands:
  - myCustomCapability   # exists check for myCustomCapability
  - Agent.Version -equals 2.144.0 # equals check for Agent.Version 2.144.0
Note
Checking for the existence of a capability (exists) and checking for a specific string in a capability (equals) are the only two supported operations for demands.
For more information and examples, see YAML schema - Demands.
Register each agent that has the capability.
In your web browser, navigate to Agent pools:
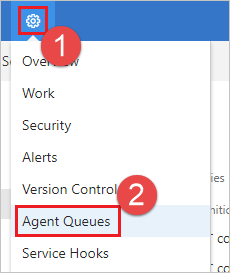
Navigate to your project and choose Settings (gear icon) > Agent Queues.
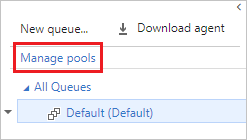
Choose Manage pools.
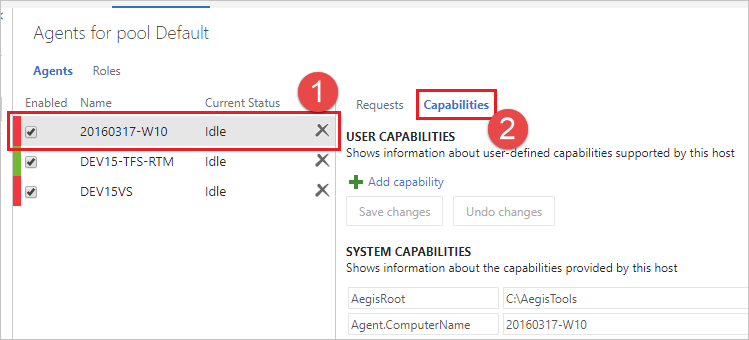
Navigate to the capabilities tab for the agent:
Select the desired agent, and choose the Capabilities tab.
Add something like the following entry:
| First box | Second box |
|---|---|
| SpecialSoftware | C:\Program Files (x86)\SpecialSoftware |
Tip
For classic non-YAML build definitions, when you manually queue a build you can change the demands on that run.