Note
Ang pag-access sa pahinang ito ay nangangailangan ng pahintulot. Maaari mong subukang mag-sign in o magpalit ng mga direktoryo.
Ang pag-access sa pahinang ito ay nangangailangan ng pahintulot. Maaari mong subukang baguhin ang mga direktoryo.
When you use a Wait activity in a pipeline, the pipeline waits for the specified period of time before continuing with execution of subsequent activities.
Prerequisites
To get started, you must complete the following prerequisites:
- A tenant account with an active Microsoft Fabric subscription. You can try Fabric with a free trial.
- A Fabric workspace.
Add a Wait activity to a pipeline with UI
To use a Wait activity in a pipeline, complete the following steps:
Create the activity
Create a new pipeline in your workspace.
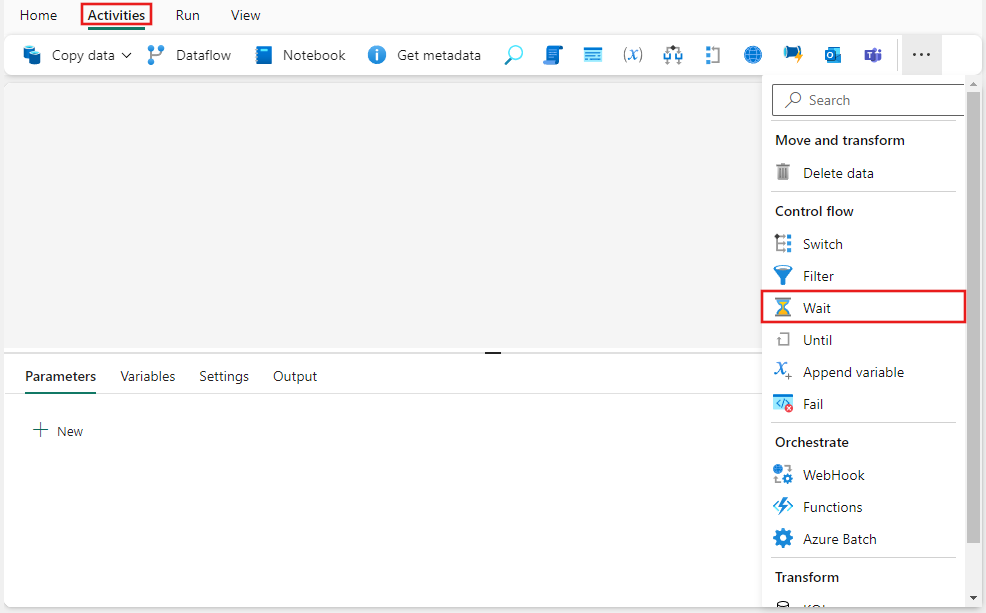
Search for Wait in the pipeline Activities pane, and select it to add it to the pipeline canvas.
Select the new Wait activity on the canvas if it isn't already selected.
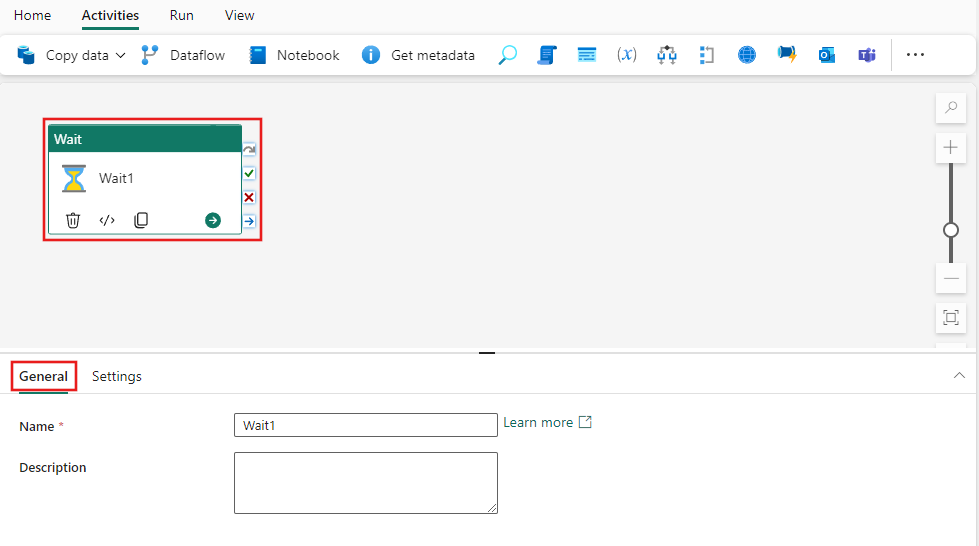
Refer to the General settings guidance to configure the General settings tab.
Wait activity settings
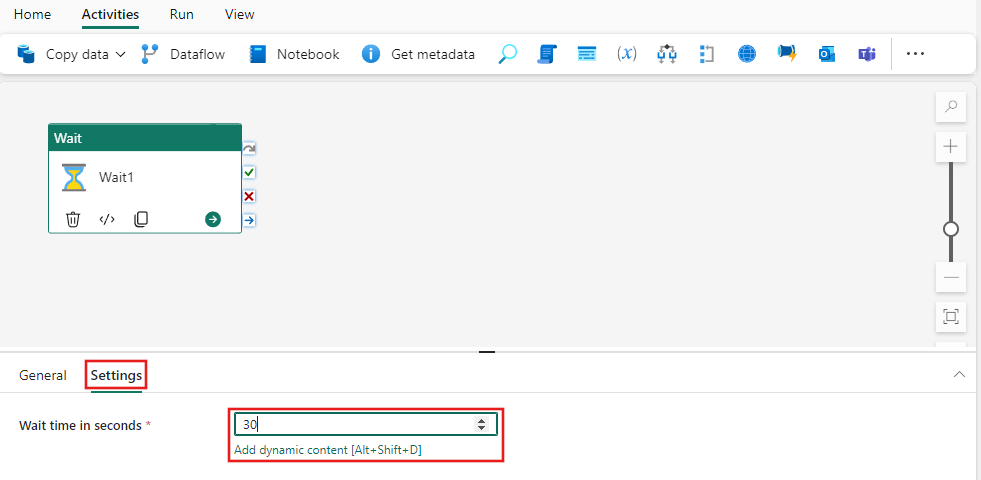
Select the Settings tab of the Wait activity. Specify a number of seconds for execution to wait before continuing. You can directly enter a number, or use a dynamic expression to derive a value from any of the available functions and variables for expressions.
Save and run or schedule the pipeline
This example will simply wait the specified period and terminate, although in a real-world setting, you would normally add other activities after or before the Wait activity to achieve a more productive purpose. When your pipeline is complete, you can save, run, or schedule it.
Switch to the Home tab at the top of the pipeline editor and select the save button to save your pipeline. Select Run to run it directly or Schedule to schedule runs at specific times or intervals. For more information on pipeline runs, see: schedule pipeline runs.

After running, you can monitor the pipeline execution and view run history from the Output tab below the canvas.