Note
Ang pag-access sa pahinang ito ay nangangailangan ng pahintulot. Maaari mong subukang mag-sign in o magpalit ng mga direktoryo.
Ang pag-access sa pahinang ito ay nangangailangan ng pahintulot. Maaari mong subukang baguhin ang mga direktoryo.
Sharing a map through direct access grants permissions on the map item only. It doesn't provide access to underlying data sources (like Lakehouse or KQL database), so recipients must have those permissions for the map to load and function.
Sharing a map through direct access automatically enforces permission checks for both the map and its underlying data sources. This ensures secure, role-based access without requiring full workspace-level permissions.
For more information about sharing maps in Fabric Maps, see Sharing Microsoft Fabric Maps.
Important
Fabric Maps is currently in preview. Features and functionality may change.
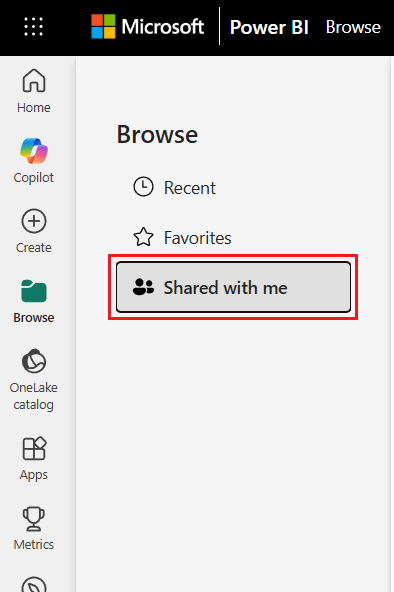
Accessing shared maps
You can find maps that others shared with you by selecting Browse > Shared with me in the Fabric navigation pane. Shared maps can be explored, filtered, and interacted with depending on your assigned permission level.
Share a map
You can share map items in Microsoft Fabric through two methods:
Share link. A quick way to grant view or edit access to specific people.
Grant direct access to individuals or groups by assigning permissions that define what they can view or edit.
Sharing and permissions
When you share a map by sharing a link or granting direct access, recipients automatically get read access to view the map. Extra permissions depend on the options you select:
- Read—Always granted for viewing the map.
- Share—Only granted if you select Share when granting access, allowing recipients to reshare the map.
- Write—Only granted if you select Edit when granting access, allowing recipients to modify the map.
Recipients also need appropriate permissions on underlying data sources (such as lakehouse or KQL database) for the map to function correctly.
Important
Users must have permission to access the lakehouse or KQL database. They can only view data they're authorized to see, so appropriate permissions on the underlying data are essential for the map to render and function correctly.
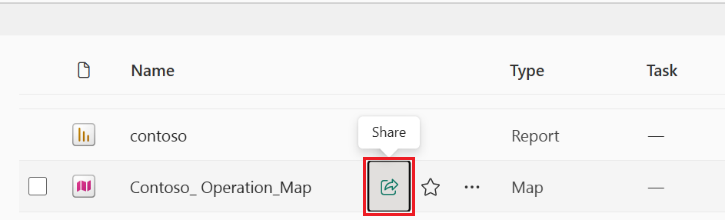
Share link
- Navigate to your workspace and locate the map item.
- Select the Share icon next to the map name.
- In the Create and send link pane:
- Enter user or group email addresses, or select specific people can view and share, then select Send
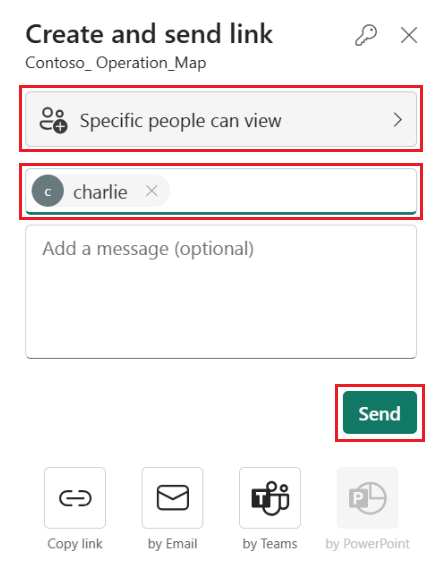
- In the Select permissions dialog, you can optionally enable Share and/or Edit to allow recipients to modify or redistribute the map. Once enabled, select Apply.
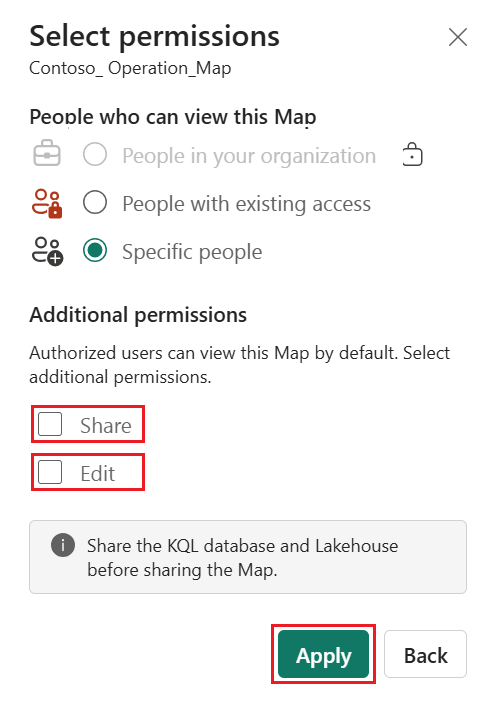
- Enter user or group email addresses, or select specific people can view and share, then select Send
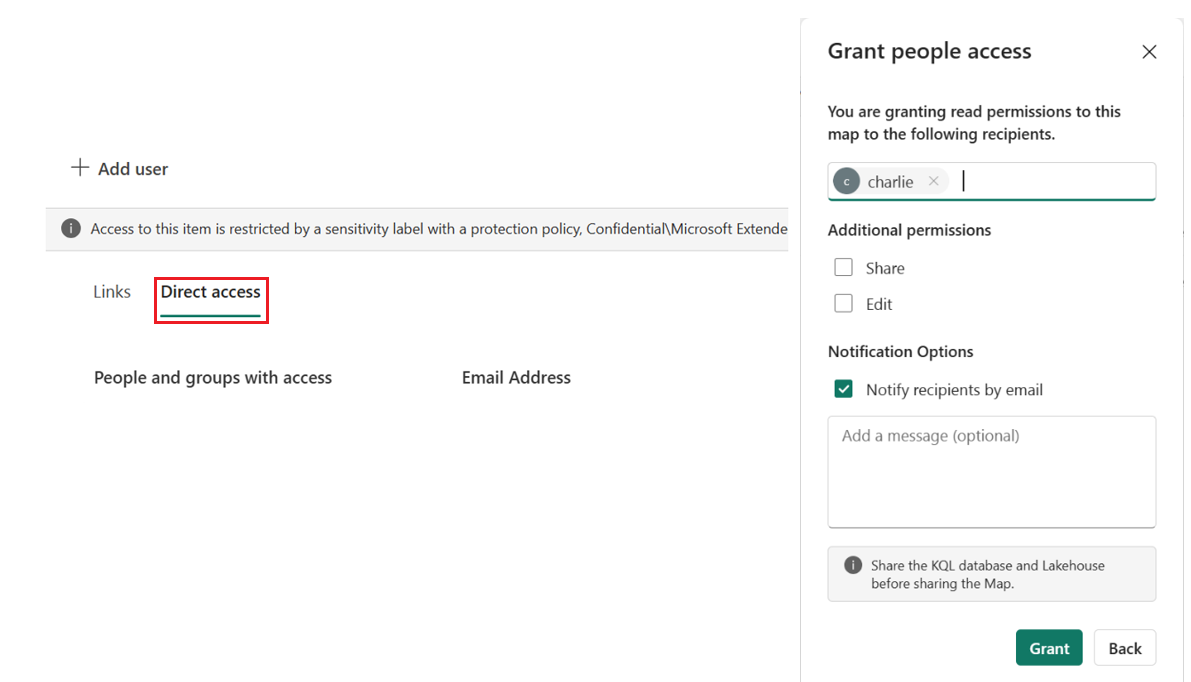
Direct access
- From the workspace, select the ellipsis (...) next to the map name.
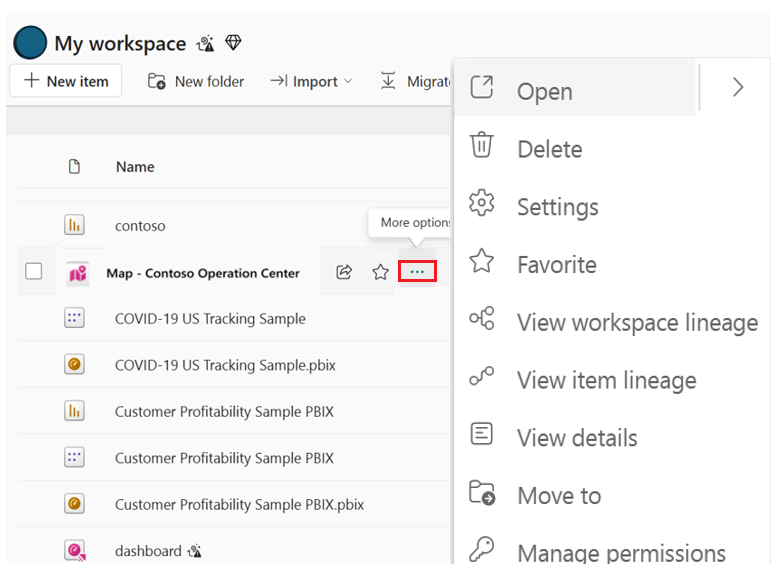
- Select Manage Permissions.
- Enter user or group email addresses, or select specific people can view and share, then select Send
- In the Select permissions dialog, you can optionally enable Share and/or Edit to allow recipients to modify or redistribute the map. Once enabled, select Apply.
- Enable email notification if desired.
- Select Share.

Next steps
To learn more, please see: