Quickstart: Configure Microsoft Dev Box by using an ARM template
This quickstart describes how to use an Azure Resource Manager (ARM) template to set up the Microsoft Dev Box Service in Azure.
An Azure Resource Manager template is a JavaScript Object Notation (JSON) file that defines the infrastructure and configuration for your project. The template uses declarative syntax. You describe your intended deployment without writing the sequence of programming commands to create the deployment.
This Dev Box with customized image template deploys a simple Dev Box environment that you can use for testing and exploring the service.
It creates the following Dev Box resources: dev center, project, network connection, dev box definition, and dev box pool. Once the template is deployed, you can go to the developer portal to create your dev box.
If your environment meets the prerequisites and you're familiar with using ARM templates, select the Deploy to Azure button. The template opens in the Azure portal.

Prerequisites
- If you don't have an Azure subscription, create a free account before you begin.
- Owner or Contributor role on an Azure subscription or resource group.
- Microsoft Entra AD. Your organization must use Microsoft Entra AD for identity and access management.
- Microsoft Intune subscription. Your organization must use Microsoft Intune for device management.
Review the template
The template used in this QuickStart is from Azure Quickstart Templates.
The template for this article is too long to show here. To view the template, see azuredeploy.json
Multiple Azure resources are defined in the template:
- Microsoft.Network/virtualNetworks: create a virtual network.
- Microsoft.Network/virtualNetworks/subnets: create a subnet.
- Microsoft.DevCenter/devcenters: create a dev center.
- Microsoft.DevCenter/projects: create a project.
- Microsoft.DevCenter/networkConnections: create a network connection.
- Microsoft.DevCenter/devcenters/devboxdefinitions: create a dev box definition.
- Microsoft.DevCenter/devcenters/galleries: create an Azure Compute Gallery.
- Microsoft.DevCenter/projects/pools: create a dev box pool.
Deploy the template
Select Open Cloudshell from the following code block to open Azure Cloud Shell, and then follow the instructions to sign in to Azure.
$userPrincipalName = Read-Host "Please enter user principal name e.g. alias@xxx.com"
$resourceGroupName = Read-Host "Please enter resource group name e.g. rg-devbox-dev"
$location = Read-Host "Please enter region name e.g. eastus"
$templateUri = "https://raw.githubusercontent.com/Azure/azure-quickstart-templates/master/quickstarts/microsoft.devcenter/devbox-with-customized-image/azuredeploy.json"
$userPrincipalId=(Get-AzADUser -UserPrincipalName $userPrincipalName).Id
if($userPrincipalId){
    Write-Host "Start provisioning..."
    az group create -l $location -n $resourceGroupName
    az group deployment create -g $resourceGroupName --template-uri $templateUri  --parameters userPrincipalId=$userPrincipalId
}else {
    Write-Host "User Principal Name cannot be found."
}

Write-Host "Provisioning Completed."
Wait until you see the prompt from the console.
Select Copy from the previous code block to copy the PowerShell script.
Right-click the shell console pane and then select Paste.
Enter the values.
It takes about 30 minutes to deploy the template.
Azure PowerShell is used to deploy the template. You can also use the Azure portal and Azure CLI. To learn other deployment methods, see Deploy templates.
Required parameters:
- User Principal ID: The user principal ID of the user or group that is granted the Devcenter Dev Box User role.
- User Principal Type: The type of user principal. Valid values are User or Group.
- Location: The location where the resources are deployed. Choose a location close to the dev boxes users to reduce latency.
Alternatively, you can provide access to a dev box project in the Azure portal, see Provide user-level access to projects for developers.
Virtual network considerations
Security: Planning for a Microsoft Dev Box deployment covers many areas, including securing the virtual network (VNet). For more information, see Azure network security overview.
NIC resource group: Microsoft Dev Box automatically creates a resource group for each network connection, which holds the network interface cards (NICs) that use the virtual network assigned to the network connection. The resource group has a fixed name based on the name and region of the network connection. You can't change the name of the resource group, or specify an existing resource group.
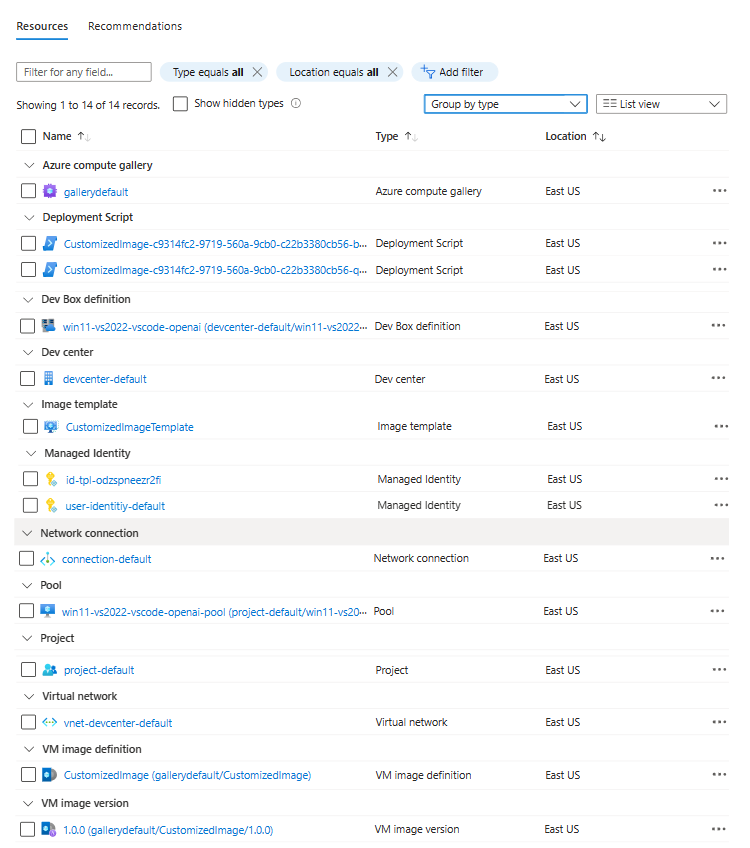
Review deployed resources
Sign in to the Azure portal.
Select Resource groups from the left pane.
Select the resource group that you created in the previous section.

Clean up resources
When you no longer need them, delete the resource group: Go to the Azure portal, select the resource group that contains these resources, and then select Delete.
Find more templates
To find more templates that are related to Microsoft Dev Box, see Azure Quickstart Templates.
For example, you can use a template to add other customized images for Base, Java, .NET and Data. These images have the following software and tools installed:
| Image type | Software and tools |
|---|---|
| Base | Git, Azure CLI, VS Code, VS Code Extension for GitHub Copilot |
| Java | Git, Azure CLI, VS Code, Maven, OpenJdk11, VS Code Extension for Java Pack |
| .NET | Git, Azure CLI, VS Code,.NET SDK, Visual Studio |
| Data | Git, Azure CLI, VS Code,Python 3, VS Code Extension for Python and Jupyter |
Next steps
Commentaires
Bientôt disponible : Tout au long de l’année 2024, nous abandonnerons progressivement le mécanisme de retour d’information GitHub Issues pour le remplacer par un nouveau système de commentaires. Pour plus d’informations, consultez : https://aka.ms/ContentUserFeedback.
Soumettre et afficher des commentaires pour