Create a custom DLP policy from a template
The easiest, most common way to get started with DLP policies is to use one of the templates included in the Microsoft Purview compliance portal. An organization can use one of these templates as is, or customize the rules to meet its specific compliance requirements.
Microsoft 365 includes over 40 ready-to-use templates that can help an organization meet a wide range of common regulatory and business policy needs. See Policy templates for a complete list.
Organizations can fine tune a template by modifying any of its existing rules or adding new ones. For example, you can:
- Add new types of sensitive information to a rule.
- Modify the counts in a rule to make it harder or easier to trigger.
- Allow people to override the actions in a rule by providing a business justification.
- Change who to send notifications and incident reports to.
A DLP policy template is a flexible starting point for many common compliance scenarios. An organization can also choose the Custom template, which has no default rules. By doing so, the organization can configure the DLP policy from scratch to meet its compliance requirements.
Permissions
Members of an organization's compliance team who must create DLP policies need permissions to the Microsoft Purview compliance portal. By default, the Microsoft 365 administrator has access and can give compliance officers and other people access by following these steps:
- Create a Microsoft 365 group and add the company's compliance officers to it.
- Create a role group on the Permissions page of the Microsoft Purview compliance portal.
- While creating the role group, use the Choose Roles section to add the DLP Compliance Management role to the role group.
- Use the Choose Members section to add the Microsoft 365 group you created in step 1 to the role group.
Note
Use the View-Only DLP Compliance Management role to create the role group with view-only privileges to the DLP policies and DLP reports.
Additional reading. For more information, see Permissions in the Microsoft Purview compliance portal.
Microsoft Purview requires these permissions to create and apply a DLP policy. It doesn't require these permissions to enforce policies.
Roles and role groups for fine-tuning access controls
Microsoft 365 includes roles and role groups that organizations can test out to fine tune their access controls.
The roles that are available include:
- Information Protection Admin
- Information Protection Analyst
- Information Protection Investigator
- Information Protection Reader
The role groups that are available include:
- Information Protection
- Information Protection Admins
- Information Protection Analysts
- Information Protection Investigators
- Information Protection Readers
Create the DLP policy from a template
Organizations can complete the following steps to create a DLP policy from a template:
Sign in to the Microsoft Purview compliance portal.
In the Microsoft Purview compliance portal, select Data loss prevention in the navigation pane to expand this group.
In the Data loss prevention group on the navigation pane, select Policies.
On the Policies page, select +Create policy in the menu bar. The Create policy wizard begins.
In the Create policy wizard, on the Start with a template or create a custom policy page, select the category. Doing so displays the list of templates for that category. Then select the template that protects the type of sensitive information that you need. A description of the template appears in the right-hand column. Read this description to verify you selected the correct template. Select Next.
On the Name your DLP policy page, the name of the selected template appears in the Name field. You can use this template name as long as you didn't use it for a previous policy. Select Next.
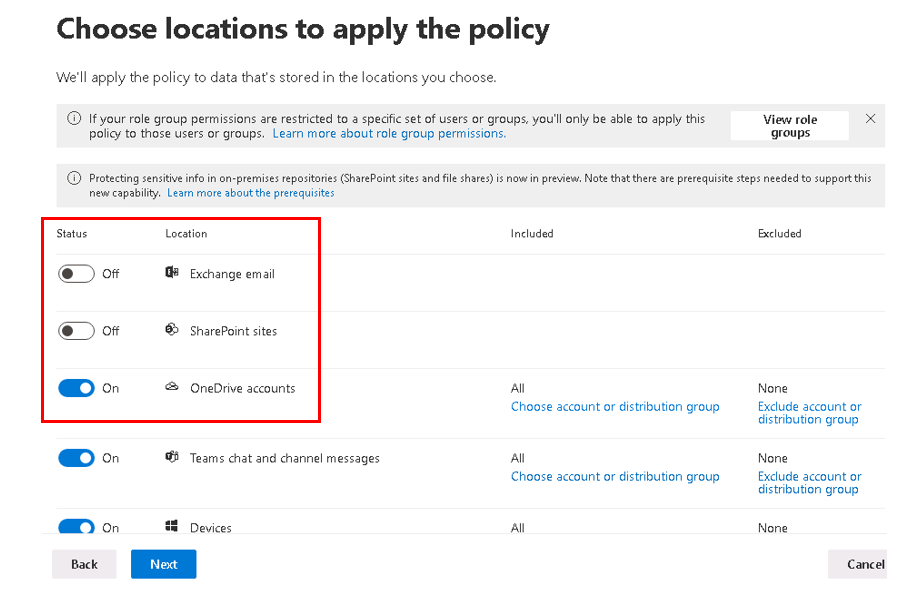
On the Choose locations to apply the policy page, determine the locations that you want the DLP policy to protect. Then either accept the default scope for each selected location or customize the scope. See the following examples:
- Example 1. To include or exclude an entire location such as all Exchange email or all OneDrive accounts, switch the Status of that location to On or Off.
- Example 2. To include only specific SharePoint sites or OneDrive accounts, switch the Status to On, and then select the links under Include to choose specific sites or accounts. When you apply a policy to a site, the system automatically applies the rules configured in that policy to all the subsites of that site.
In this example, to protect sensitive information stored in all OneDrive accounts, turn off theStatus for both Exchange email and SharePoint sites, and leave the Status on for OneDrive accounts. Then select Next.
On the Define policy settings page, select either Review and customize default settings from the template, or Create or customize advanced DLP rules.
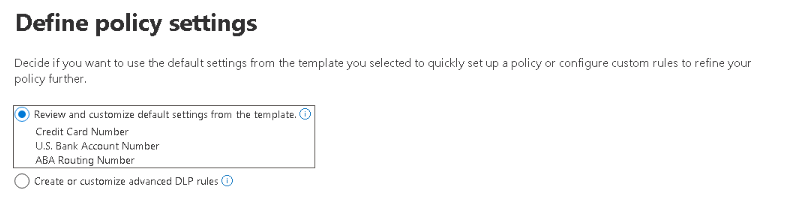
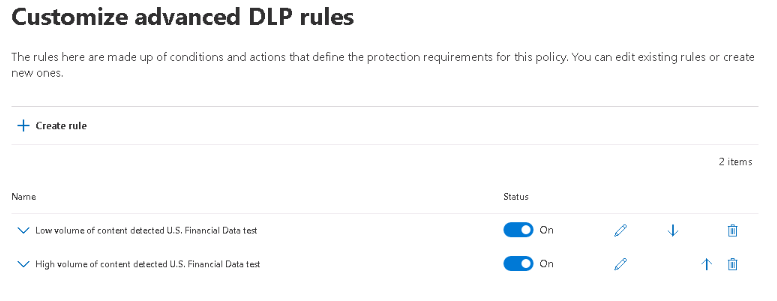
A DLP policy template contains predefined rules with conditions and actions that detect and act upon specific types of sensitive information. You can edit, delete, or turn off any of the existing rules, or add new ones. To do so, select the Create or customize advanced DLP rules.
Select Next.
On the Info to protect page, it displays the current conditions assigned to the policy from the template. If you must make any changes to satisfy your business requirements, then select Edit.
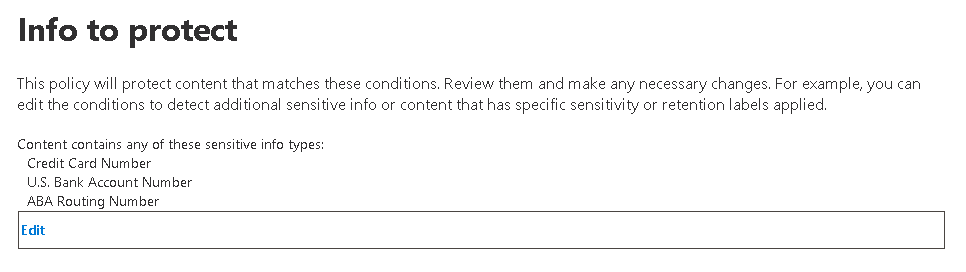
Select Next.
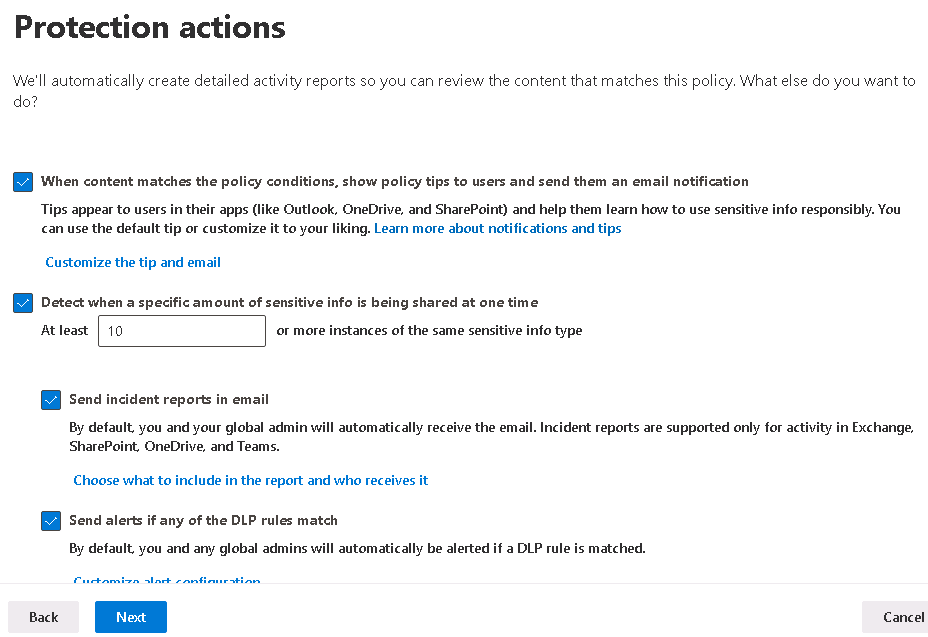
On the Protection actions page, select the actions that you want the system to perform besides creating detailed activity reports. Select Next.
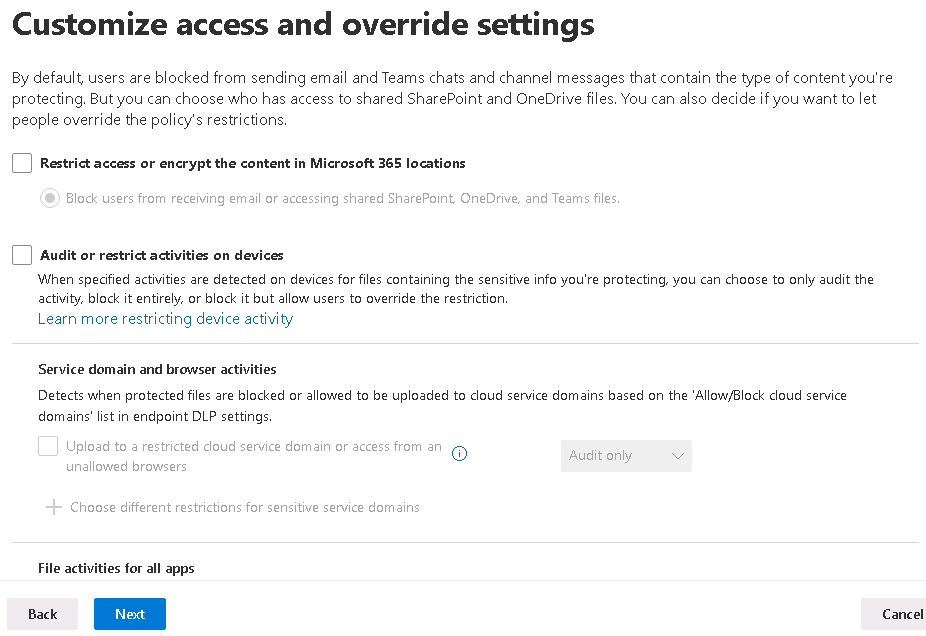
On the Customize access and override settings page, select the settings that map to your business requirements. The settings can vary depending on the type of content you selected for the policy to protect. Select Next.
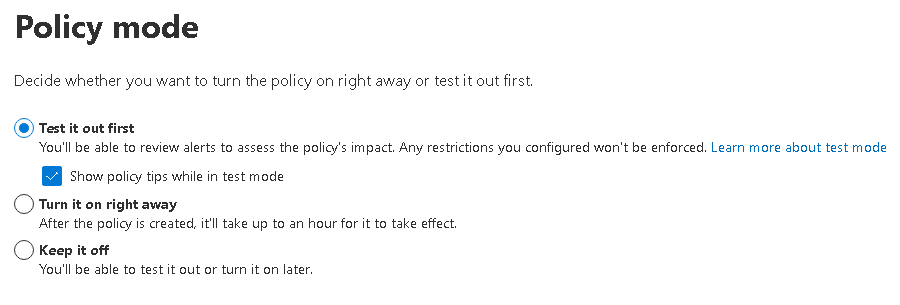
On the Policy mode page, select whether to turn on the policy right away, or test it out first, or keep it off. Then select Next.
On the Review your policy and create it page, review the policy settings that you defined. If you must change any options, select the Edit option under the appropriate section and make the necessary changes. Once all settings are correct, select Submit.
On the New policy created page, you can either select Done, or you can select Get started for one of the related tasks the system displayed.