Exercise - Create users and assign licenses
In this exercise, you'll create users and assign the required licenses. Later modules will feature these users as different personas.
Go to Microsoft 365 admin center. (We recommend that you use an Incognito or InPrivate web browsing session.)
Sign in with your credentials.
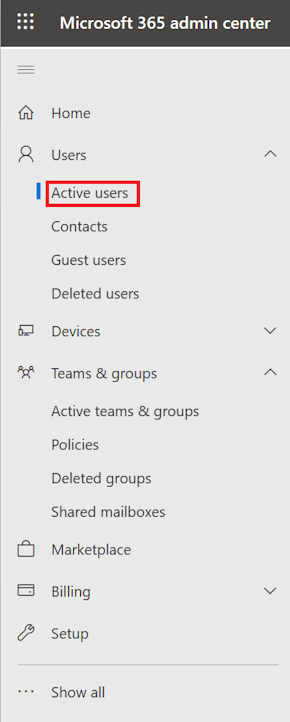
On the left navigation pane, select Active users.
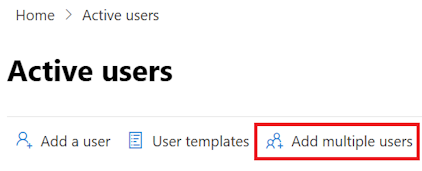
Select the Add multiple users button.
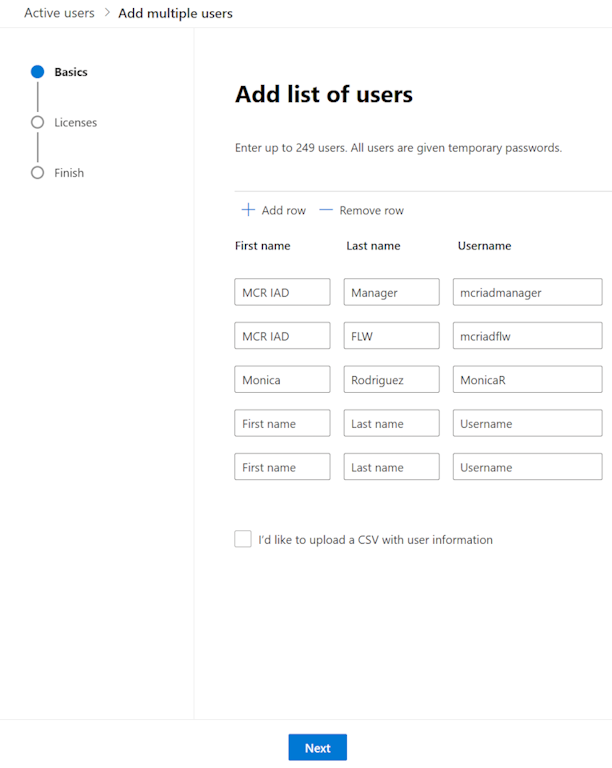
Add the following users and then select Next.
MCR IAD Manager (you can use it for Personas: IT Admin/District Manager/Data Manager for Contoso)
MCR IAD FLW (you can use it for Personas: Store Associate for Contoso Store 101)
Monica Rodriguez (you can use it for Personas: Store Manager for Contoso Store 101)
Select Microsoft Teams Essentials, Office 365 E3 (no Teams), and Power BI Premium Per User licenses, and then select Next.

Select the Add users button.
Select the Download user details button so that you can retrieve the respective user credentials.
Select Active Users on the left pane.
Select Admin User, which causes the Admin user details to appear on the right pane.
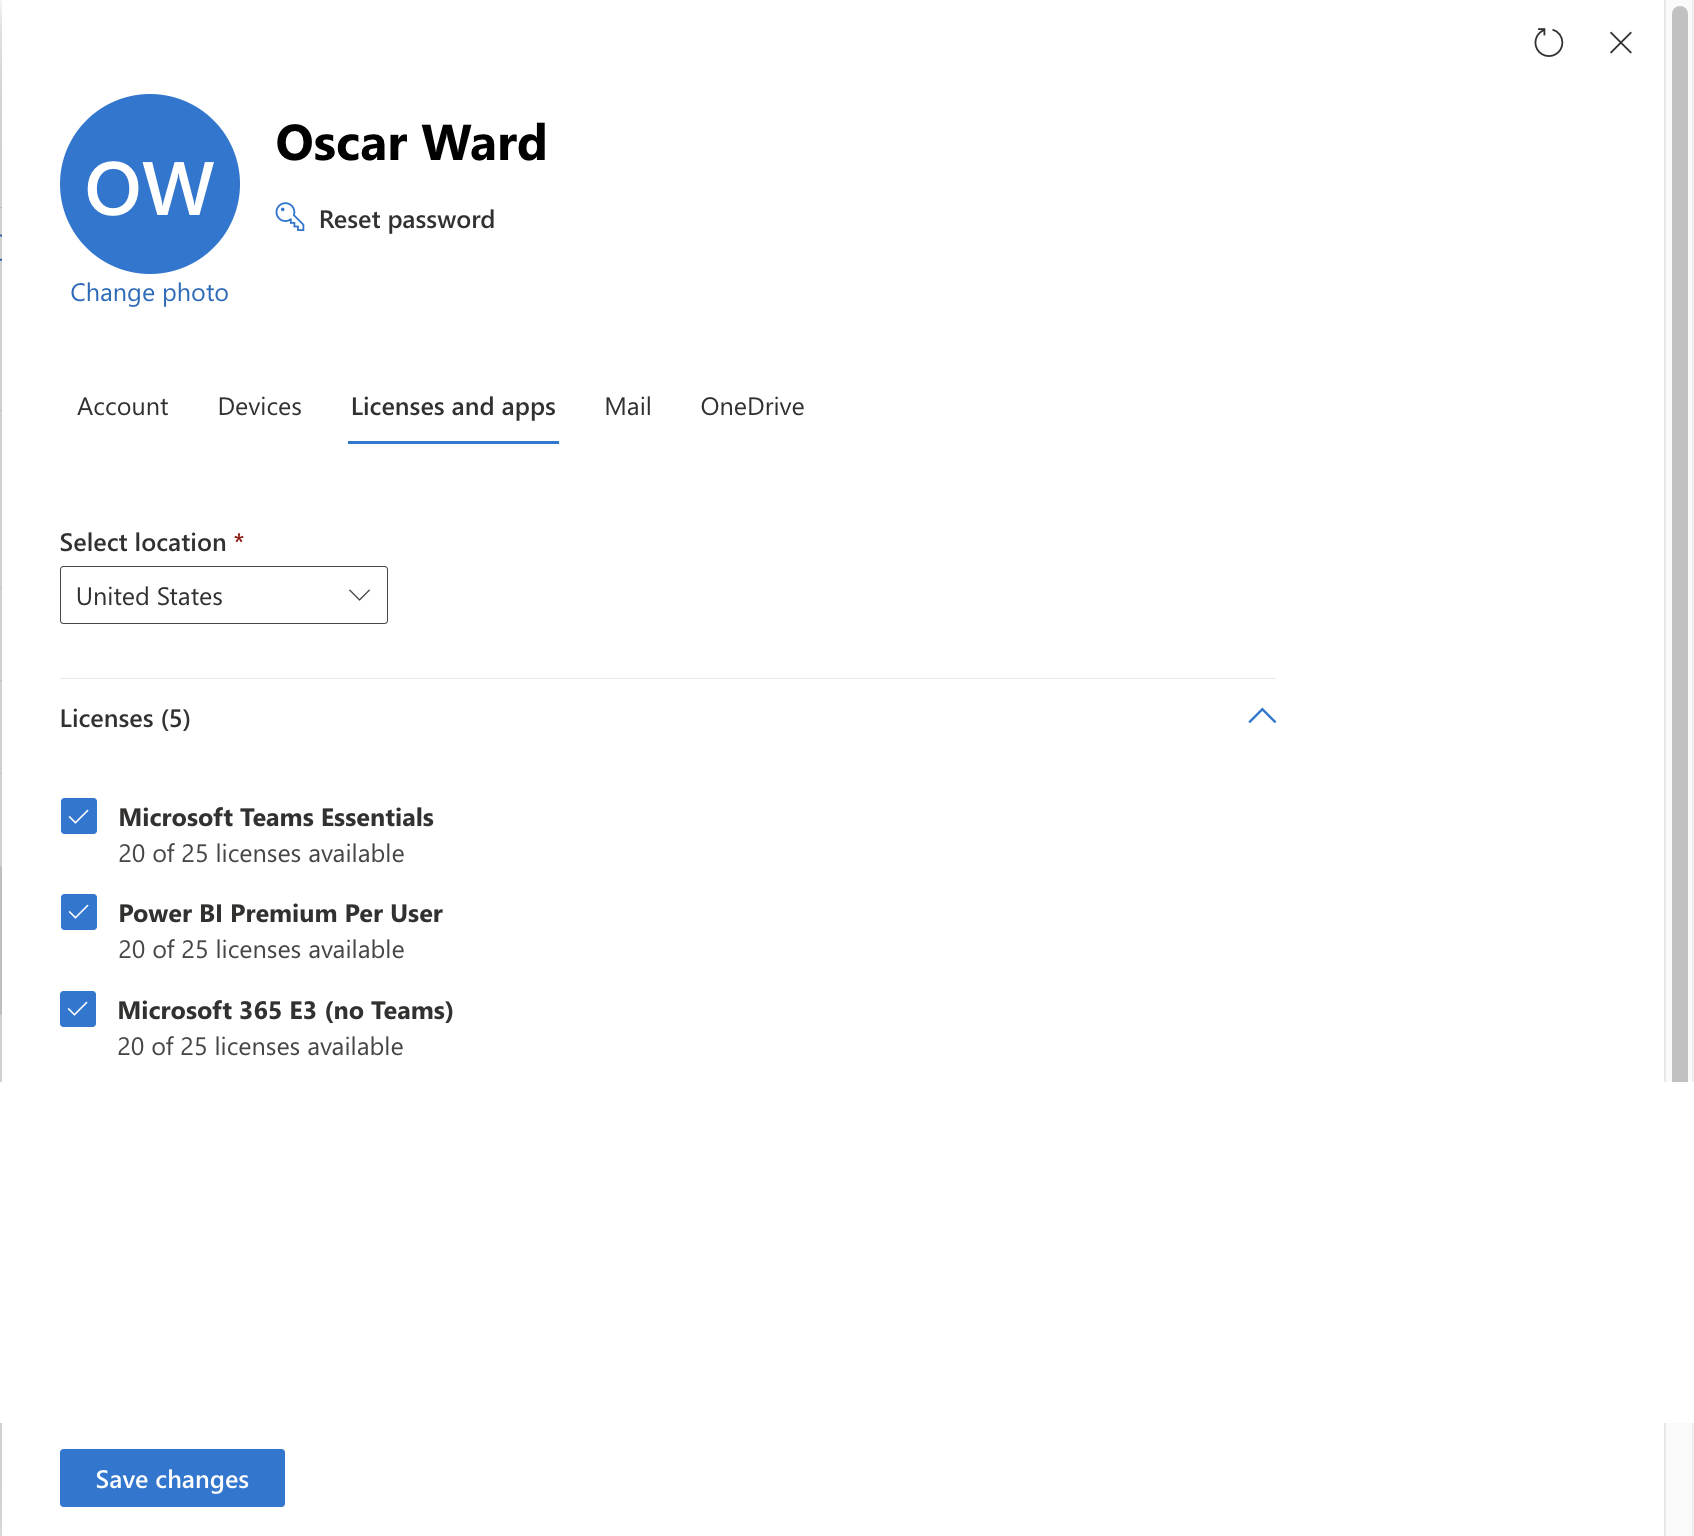
Select the Licenses and apps tab and make sure that all three licenses (Microsoft Teams Essentials, Office 365 E3 (no Teams), Power BI Premium Per User licenses) are selected.
On the left pane, select Active teams & groups.

On the Distribution list tab, select Add a distribution list.

Name the group IT Helpdesk and then select Next.

Select + Assign owners to add Admin and MCR IAD Manager users and then select Next.

Select + Add members to add Admin and MCR IAD Manager users and then select Next.
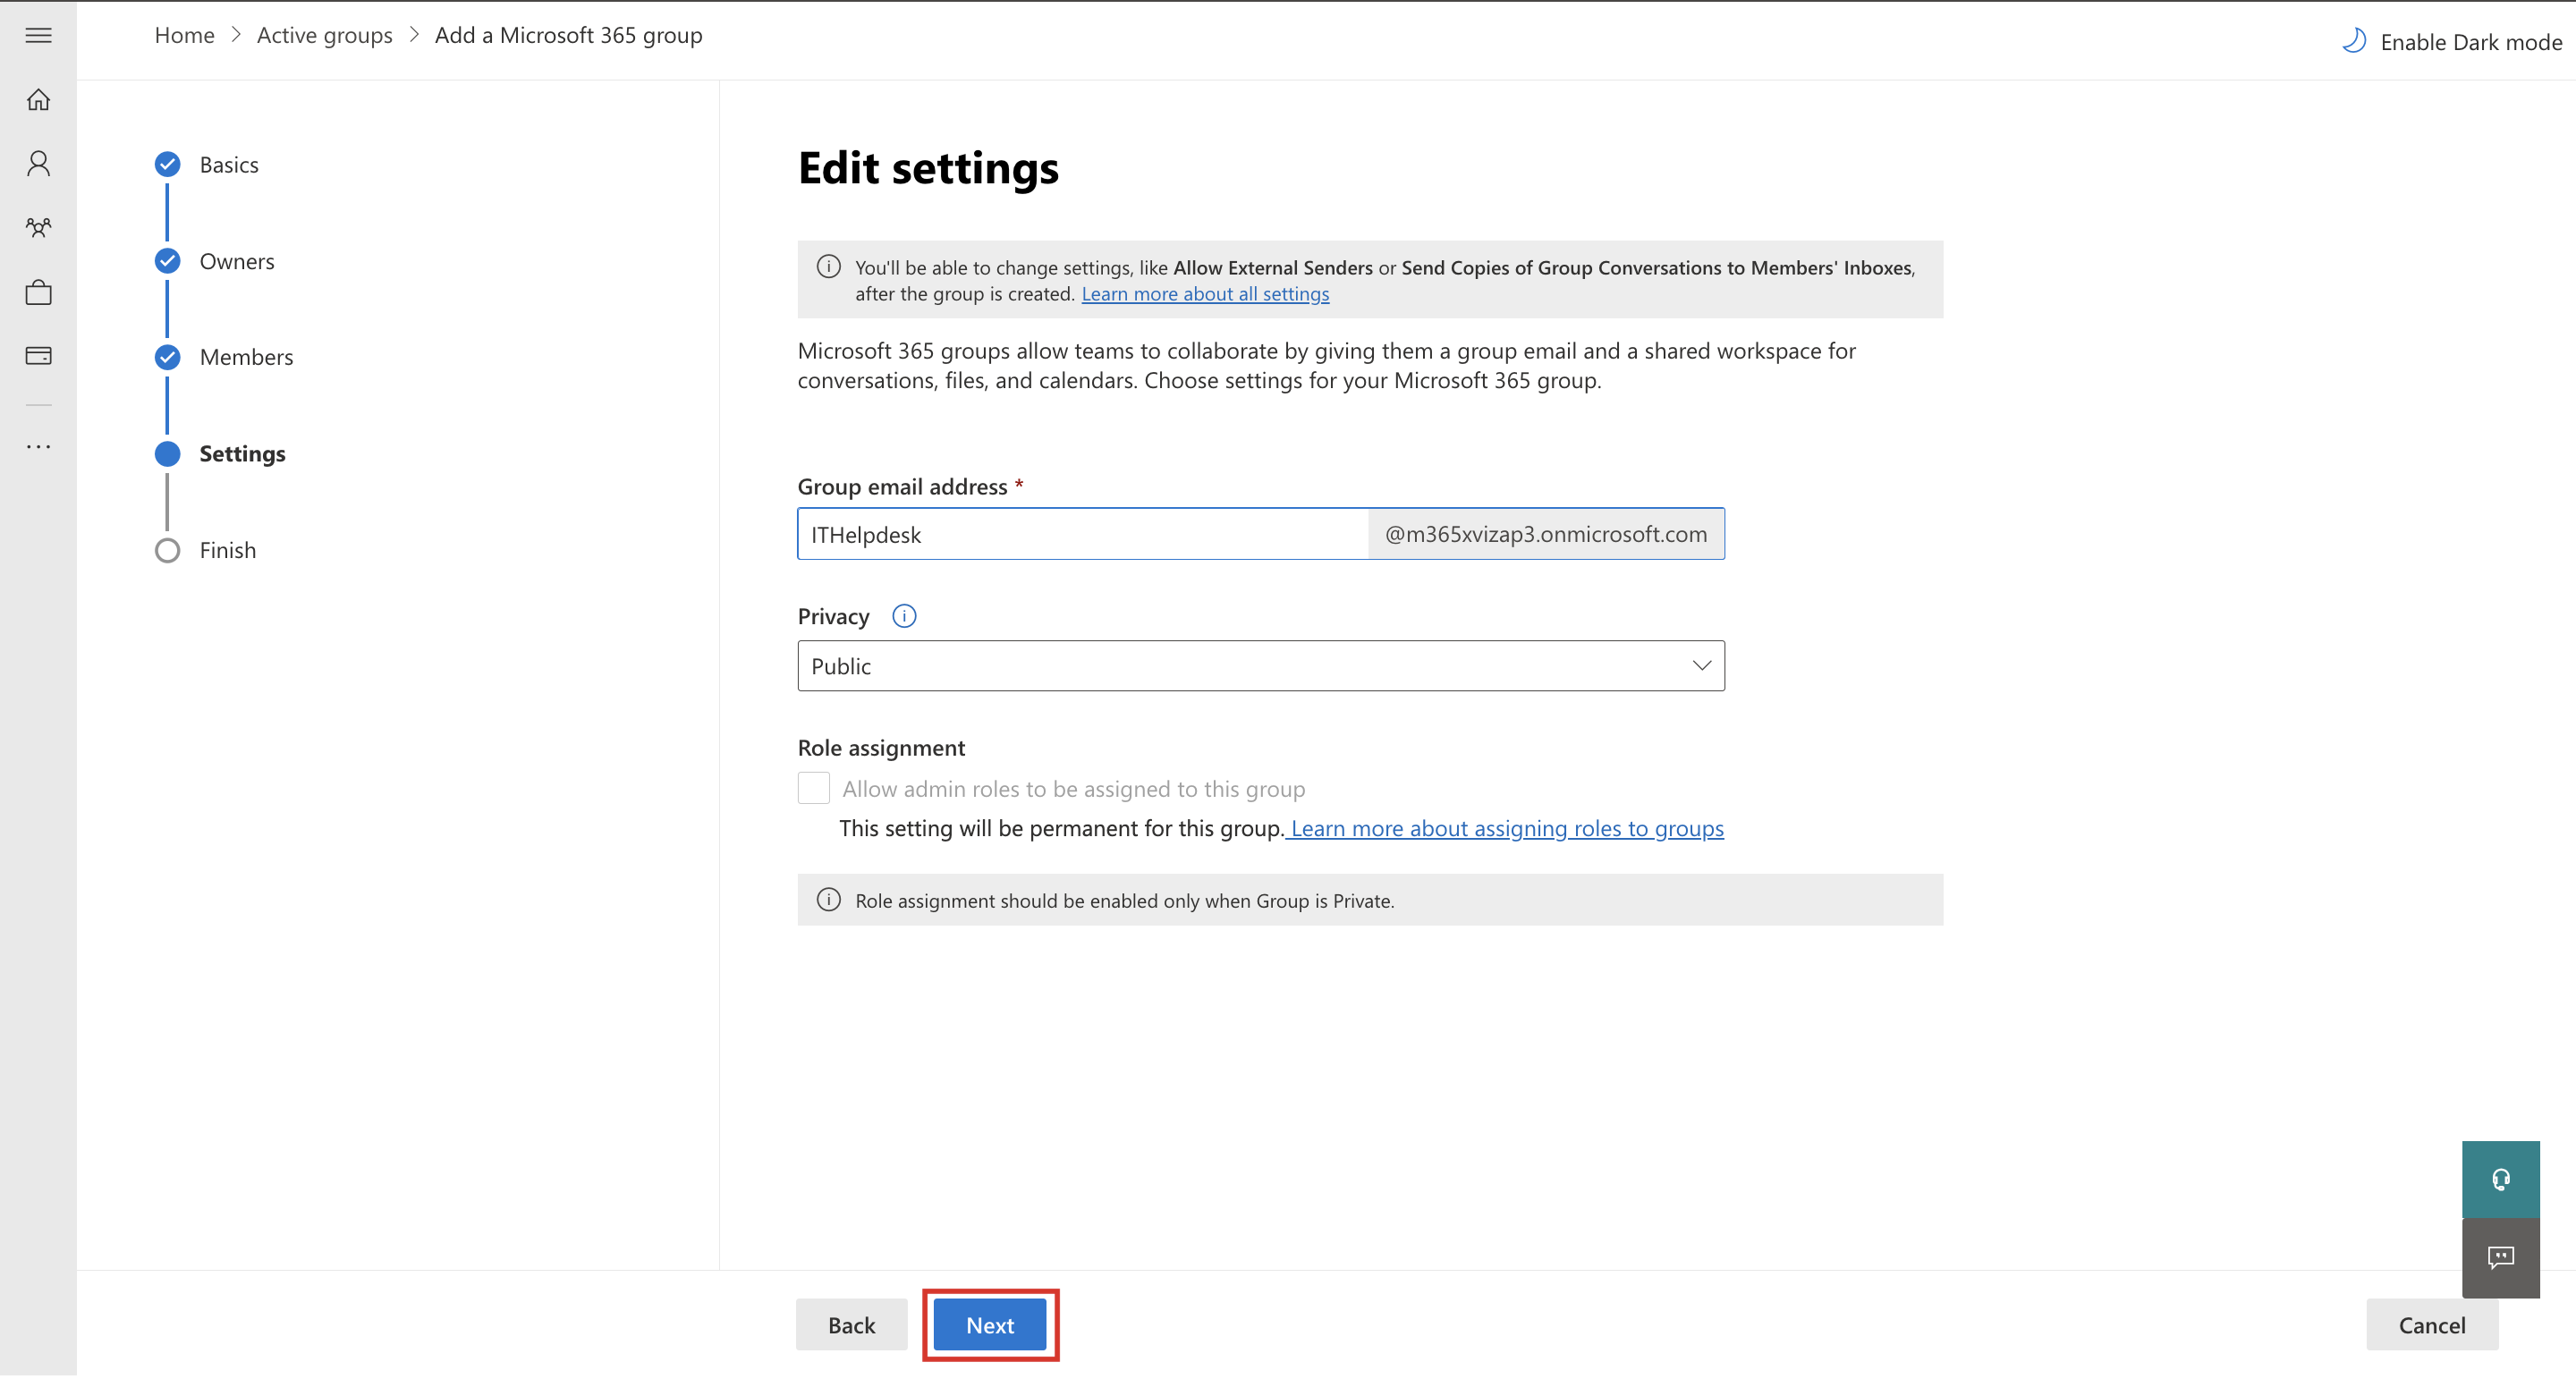
Set the email address to ITHelpdesk and then select Next.
On the Review screen, review the details and then select Create group to create the distribution list to use in the Extend Store Operations Assist module.


