Nóta
Teastaíonn údarú chun rochtain a fháil ar an leathanach seo. Is féidir leat triail a bhaint as shíniú isteach nó eolairí a athrú.
Teastaíonn údarú chun rochtain a fháil ar an leathanach seo. Is féidir leat triail a bhaint as eolairí a athrú.
Fabric Maps lets you visualize spatial data—static or real time—directly in Microsoft Fabric. By creating a map, you can explore patterns and relationships across space and time that are difficult to see in traditional charts and tables.
Prerequisites
- A workspace with a Microsoft Fabric-enabled capacity. For more information on creating a workspace, see Create a workspace
- Permission to create items in the workspace.
Enable Maps in tenant settings
Important
Only the tenant admin is authorized to perform this step.
- Go to the admin portal.
- Select the Tenant settings tab in the admin portal and search for Map. For more information, see About tenant settings.
- If your Fabric capacity is located outside the EU or US regions, you must enable the Azure Maps services tenant settings. Begin by searching for Azure Maps services in the tenant settings, then toggle the option Data sent to Azure Maps can be processed outside your capacity's geography region, compliance boundary, or national cloud instance to Enabled.
- Select Apply
For more information, see Azure Maps service tenant settings – Microsoft Fabric.

New map
Maps exist within the context of a workspace, and every map is associated with the workspace it was created in.
To create a new map:
- Select the desired workspace.
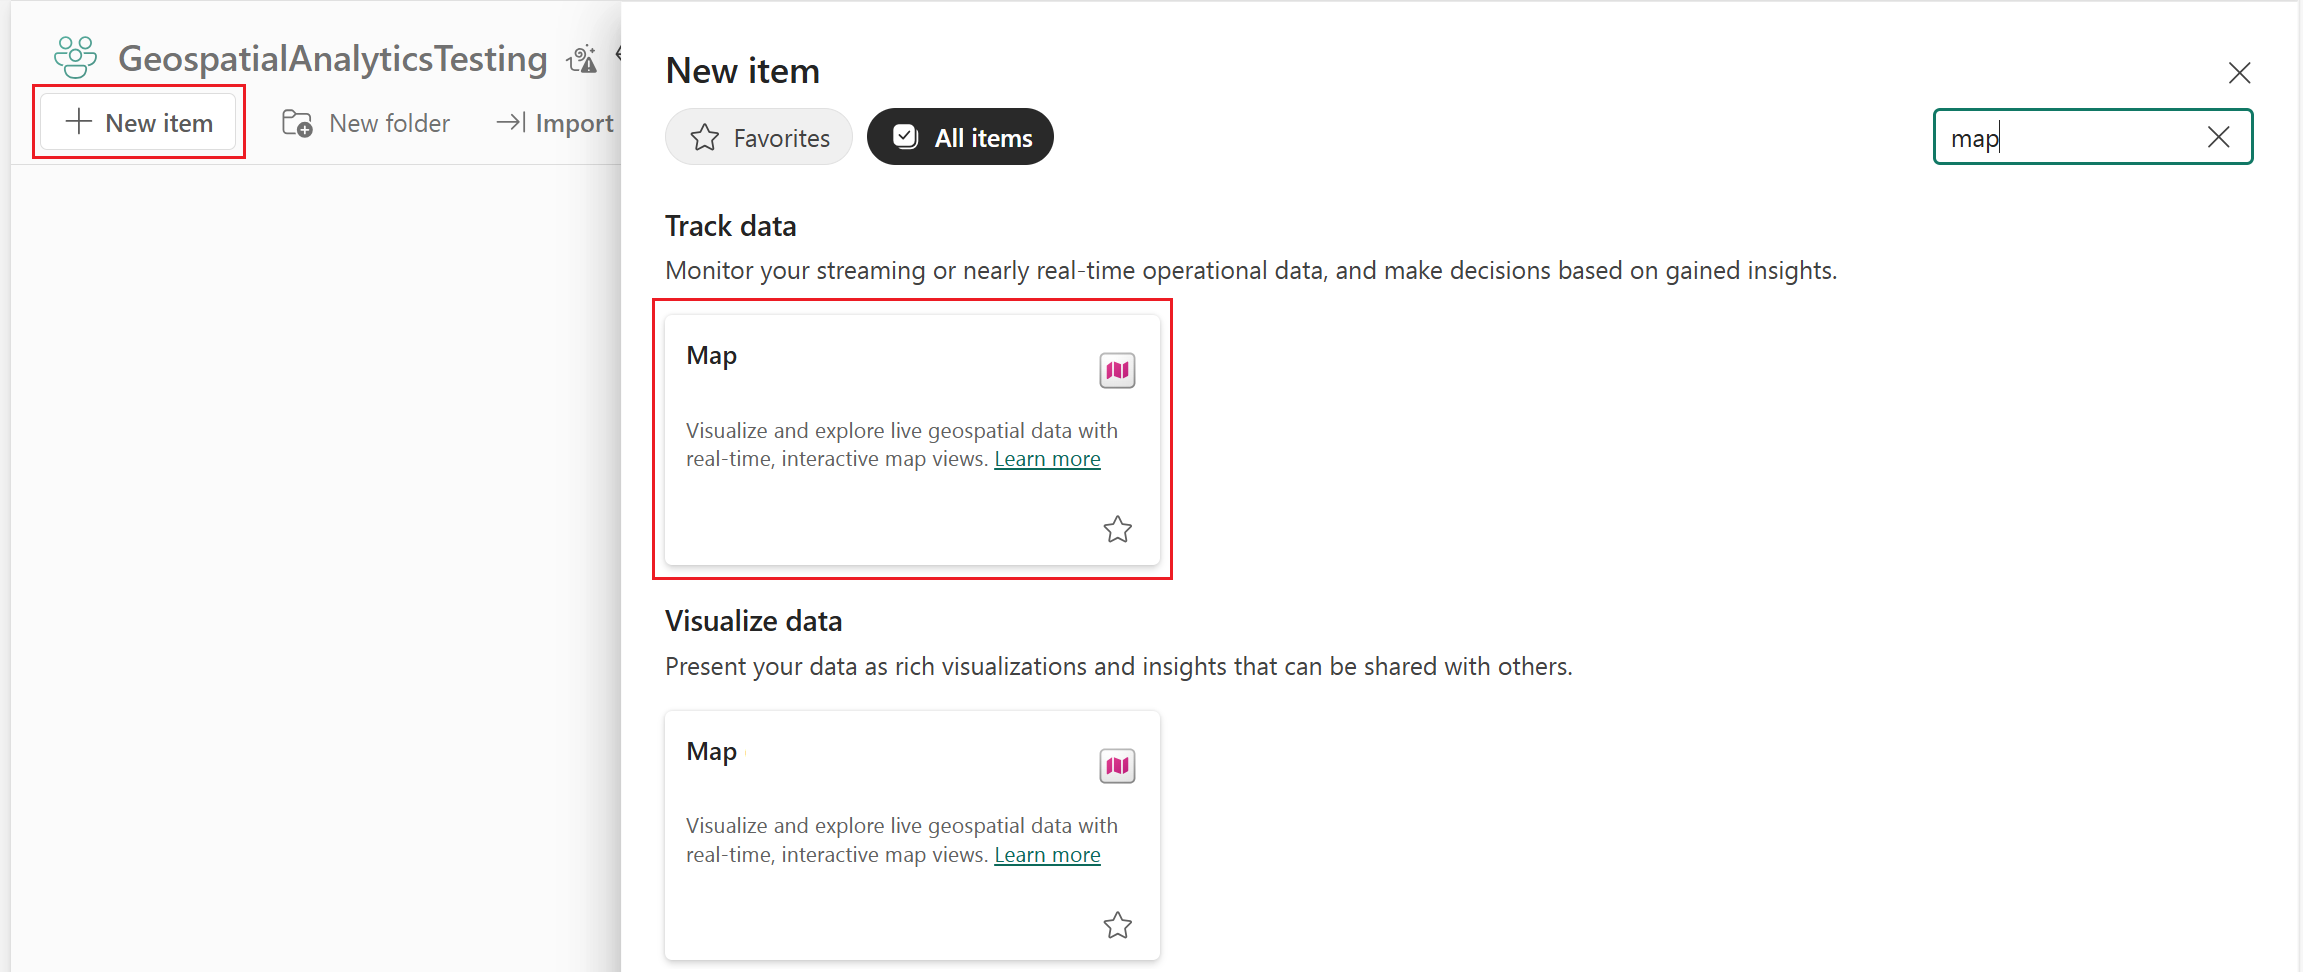
- Select + New item.
- In the New item window, select Map.
- On the New Map dialog, enter a name, confirm the workspace, and select Create.
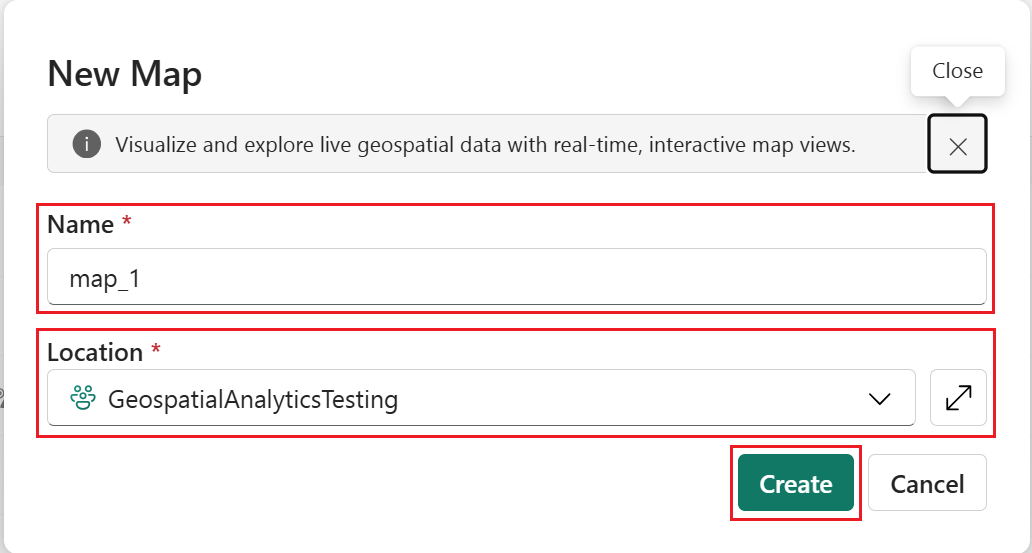
- A new map is created in your workspace.
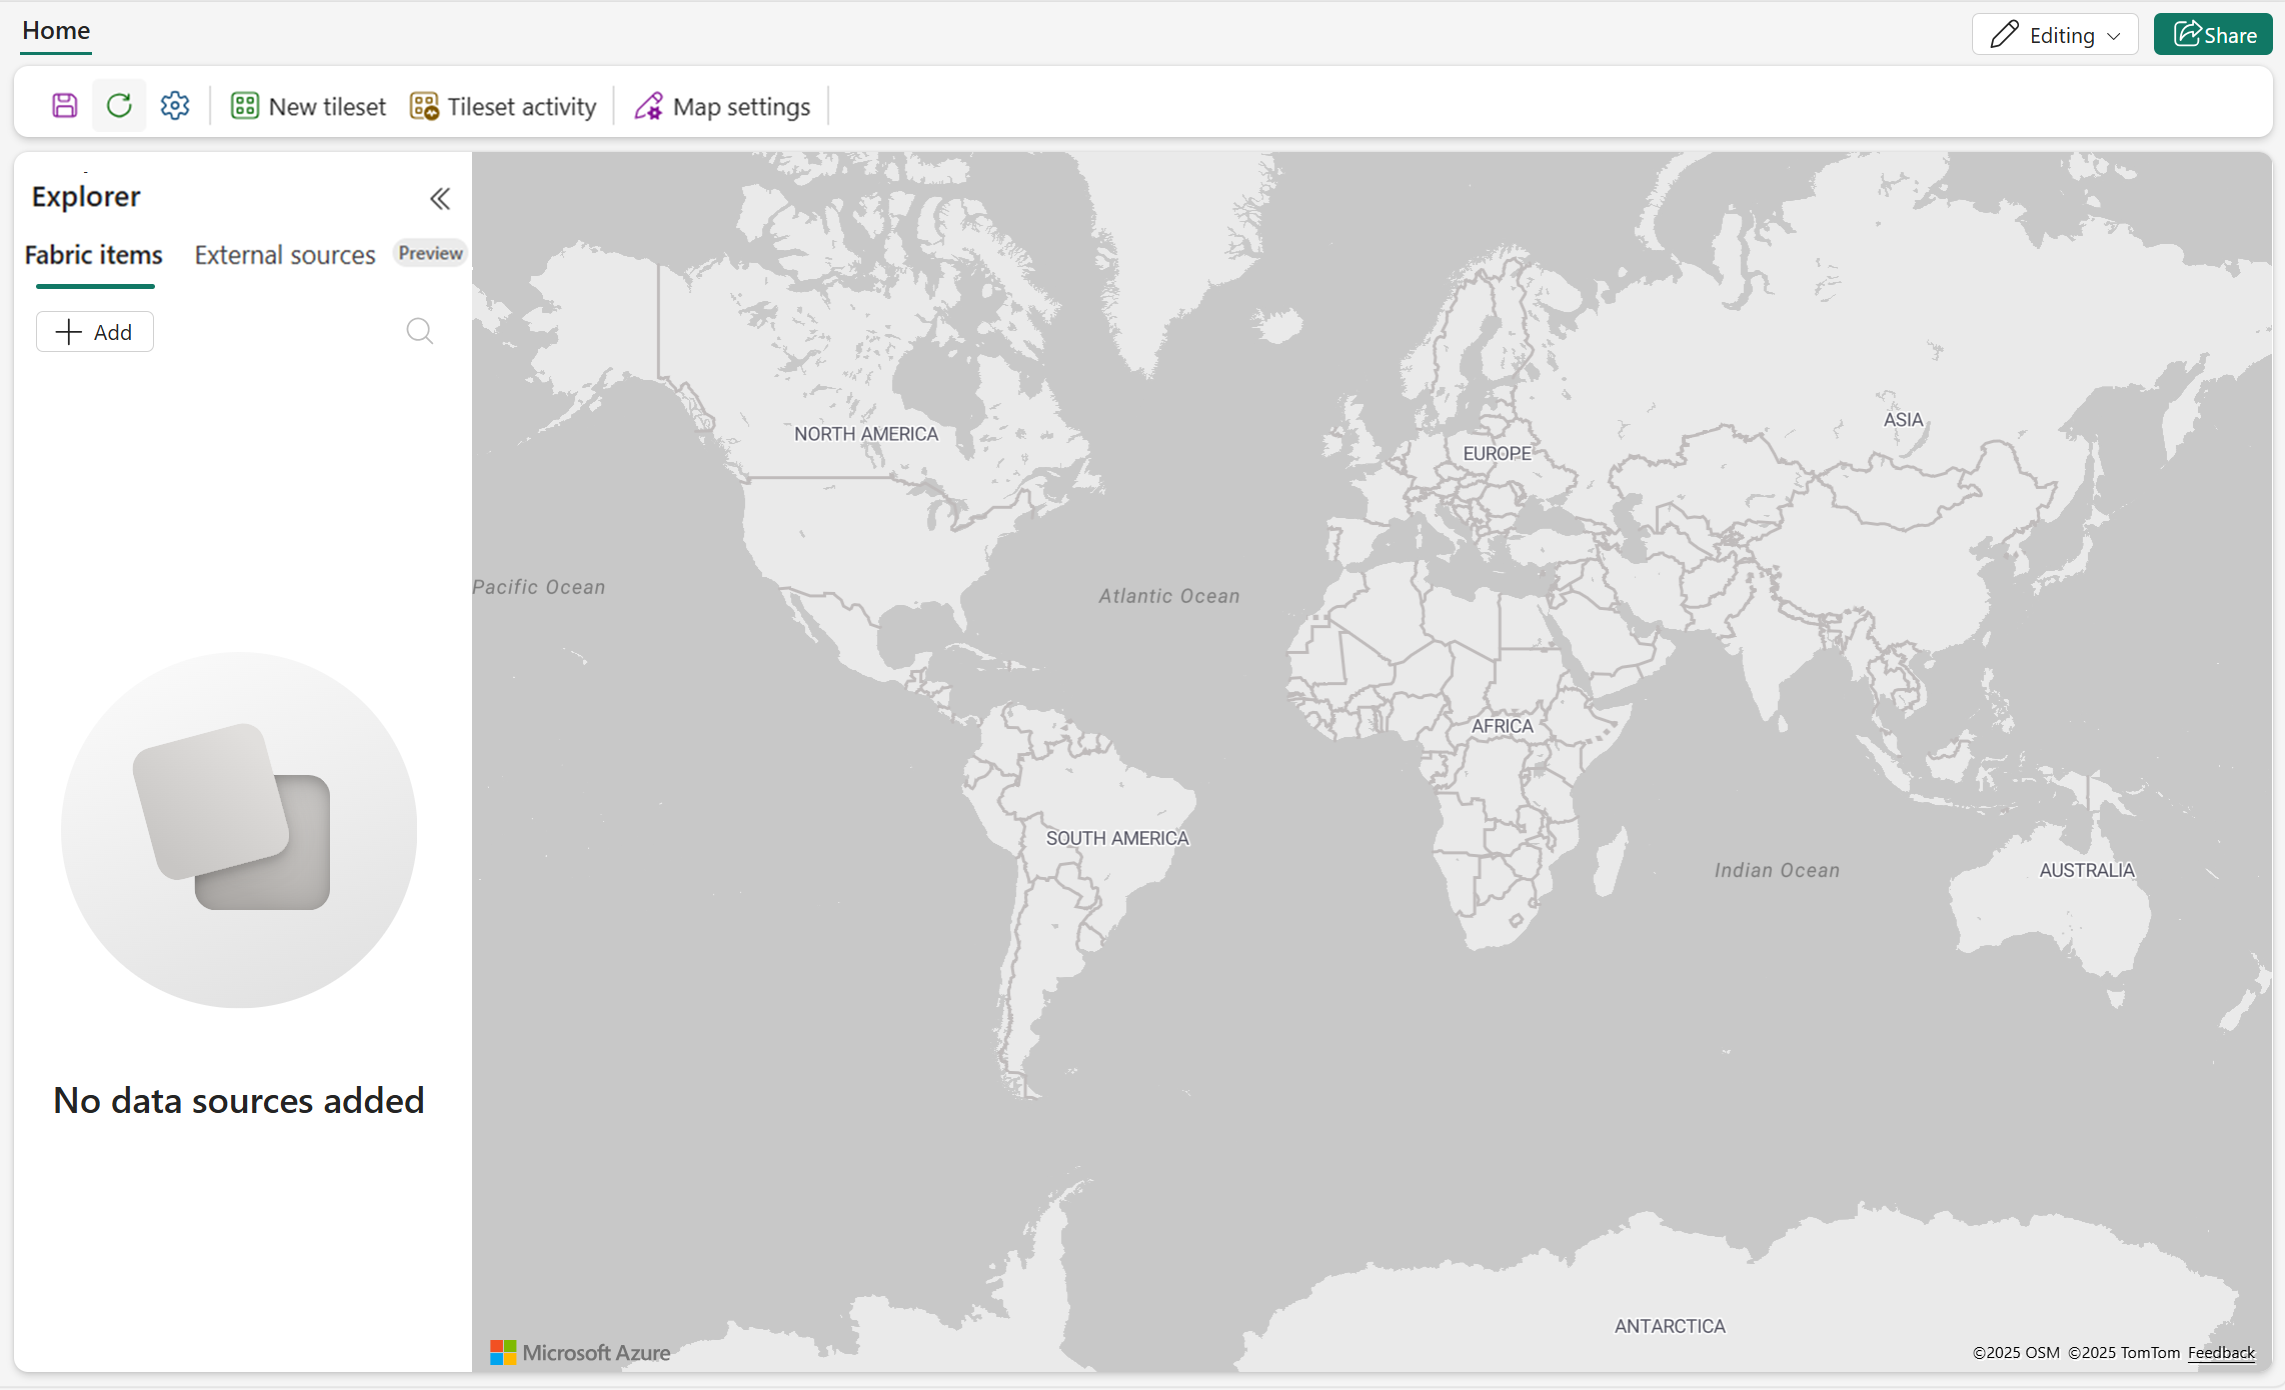

Visualize spatial data
After creating a map, you can visualize spatial data by adding layers from supported data sources. Map currently supports connections to Lakehouses and Eventhouses. For more information on establishing these connections to create map layers in Fabric Maps, see Fabric Maps layers.