Apply tags with Azure portal
This article describes how to use the Azure portal to tag resources. For tag recommendations and limitations, see Use tags to organize your Azure resources and management hierarchy.
Add tags
If a user doesn't have the required access for adding tags, you can assign the Tag Contributor role to the user. For more information, see Tutorial: Grant a user access to Azure resources using RBAC and the Azure portal.
To view the tags for a resource or a resource group, look for existing tags in the overview. If you have not previously applied tags, the list is empty.
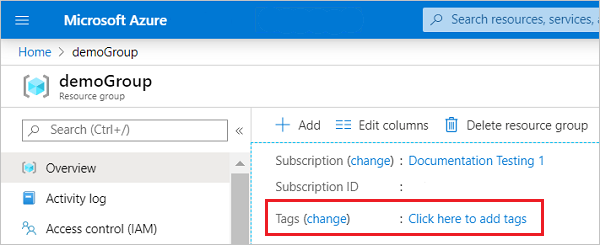
To add a tag, select Click here to add tags.
Provide a name and value.
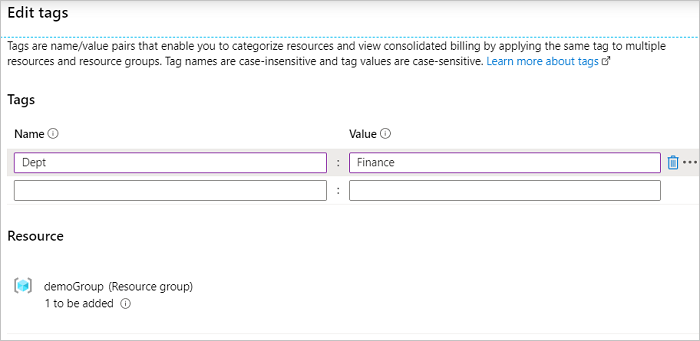
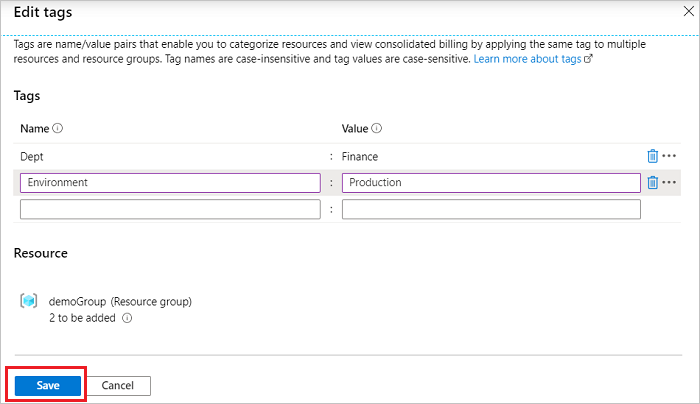
Continue adding tags as needed. When done, select Save.
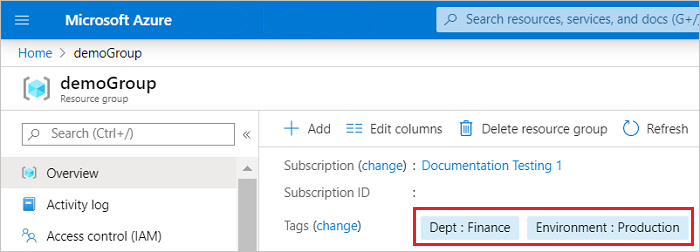
The tags are now displayed in the overview.
Edit tags
To add or delete a tag, select change.
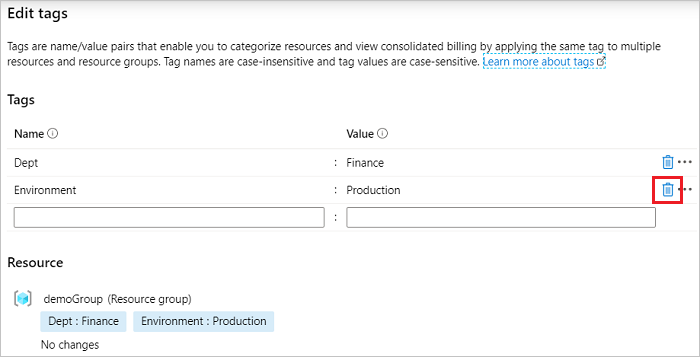
To delete a tag, select the trash icon. Then, select Save.
Add tags to multiple resources
To bulk assign tags to multiple resources:
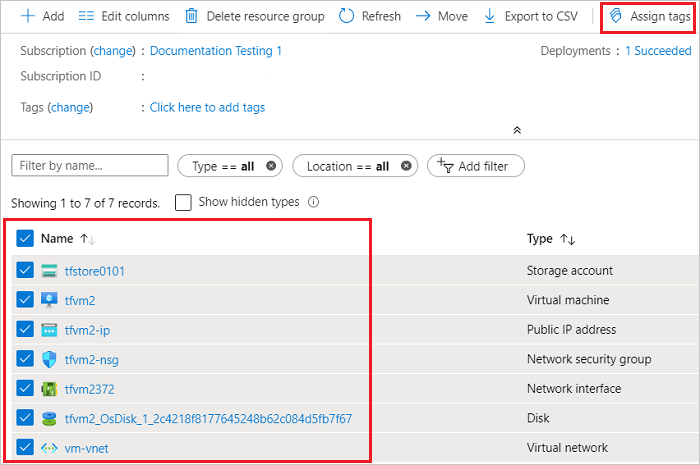
From any list of resources, select the checkbox for the resources you want to assign the tag. Then, select Assign tags.
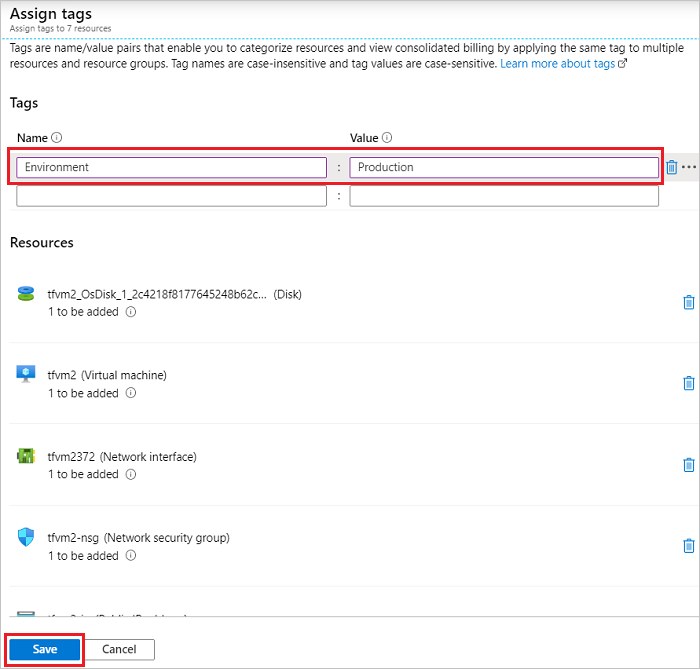
Add names and values. When done, select Save.
View resources by tag
To view all resources with a tag:
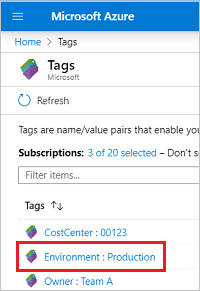
On the Azure portal menu, search for tags. Select it from the available options.
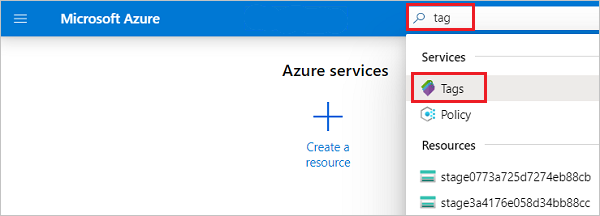
Select the tag for viewing resources.
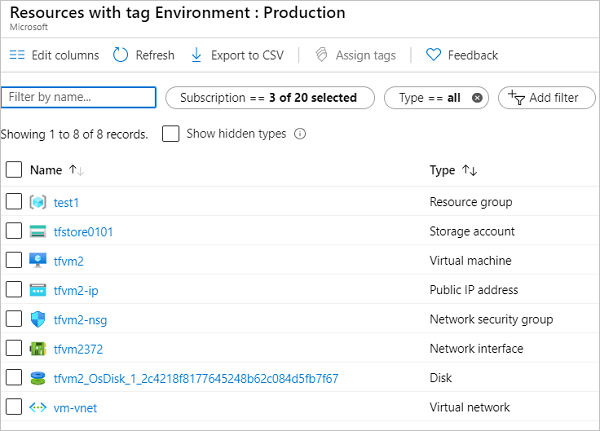
All resources with that tag are displayed.
Next steps
- Not all resource types support tags. To determine if you can apply a tag to a resource type, see Tag support for Azure resources.
- For recommendations on how to implement a tagging strategy, see Resource naming and tagging decision guide.
- For tag recommendations and limitations, see Use tags to organize your Azure resources and management hierarchy.