Use certificates with Azure Cloud Services (extended support)
Key Vault is used to store certificates that are associated to Cloud Services (extended support). Key Vaults can be created through the Azure portal and PowerShell. Add the certificates to Key Vault, then reference the certificate thumbprints in Service Configuration file. You also need to enable Key Vault for appropriate permissions so that Cloud Services (extended support) resource can retrieve certificate stored as secrets from Key Vault.
Upload a certificate to Key Vault
Sign in to the Azure portal and navigate to the Key Vault. If you don't have a Key Vault set up, you can opt to create one in this same window.
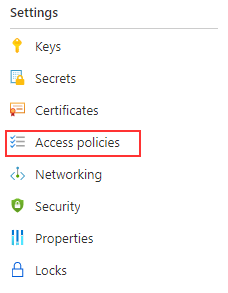
Select Access Configuration

Ensure the access configuration includes the following property:
- Enable access to Azure Virtual Machines for deployment

Select Certificates

Select Generate / Import

Complete the required information to finish uploading the certificate. The certificate needs to be in .PFX format.

Add the certificate details to your role in the Service Configuration (.cscfg) file. Ensure the thumbprint of the certificate in the Azure portal matches the thumbprint in the Service Configuration (.cscfg) file.
<Certificate name="<your cert name>" thumbprint="<thumbprint in key vault" thumbprintAlgorithm="sha1" />For deployment via ARM Template, certificateUrl can be found by navigating to the certificate in the key vault labeled as Secret Identifier

Next steps
- Review the deployment prerequisites for Cloud Services (extended support).
- Review frequently asked questions for Cloud Services (extended support).
- Deploy a Cloud Service (extended support) using the Azure portal, PowerShell, Template or Visual Studio.