How does Azure Data Factory Workflow Orchestration Manager work?
APPLIES TO:  Azure Data Factory
  Azure Synapse Analytics
Tip
Try out Data Factory in Microsoft Fabric, an all-in-one analytics solution for enterprises. Microsoft Fabric covers everything from data movement to data science, real-time analytics, business intelligence, and reporting. Learn how to start a new trial for free!
Note
Workflow Orchestration Manager is powered by Apache Airflow.
Note
Workflow Orchestration Manager for Azure Data Factory relies on the open source Apache Airflow application. Documentation and more tutorials for Airflow can be found on the Apache Airflow Documentation or Community pages.
Workflow Orchestration Manager in Azure Data Factory uses Python-based Directed Acyclic Graphs (DAGs) to run your orchestration workflows. To use this feature, you need to provide your DAGs and plugins in Azure Blob Storage. You can launch the Airflow UI from ADF using a command line interface (CLI) or a software development kit (SDK) to manage your DAGs.
Create a Workflow Orchestration Manager environment
The following steps set up and configure your Workflow Orchestration Manager environment.
Prerequisites
Azure subscription: If you don't have an Azure subscription, create a free account before you begin. Create or select an existing Data Factory in the region where the Workflow Orchestration Manager preview is supported.
Steps to create the environment
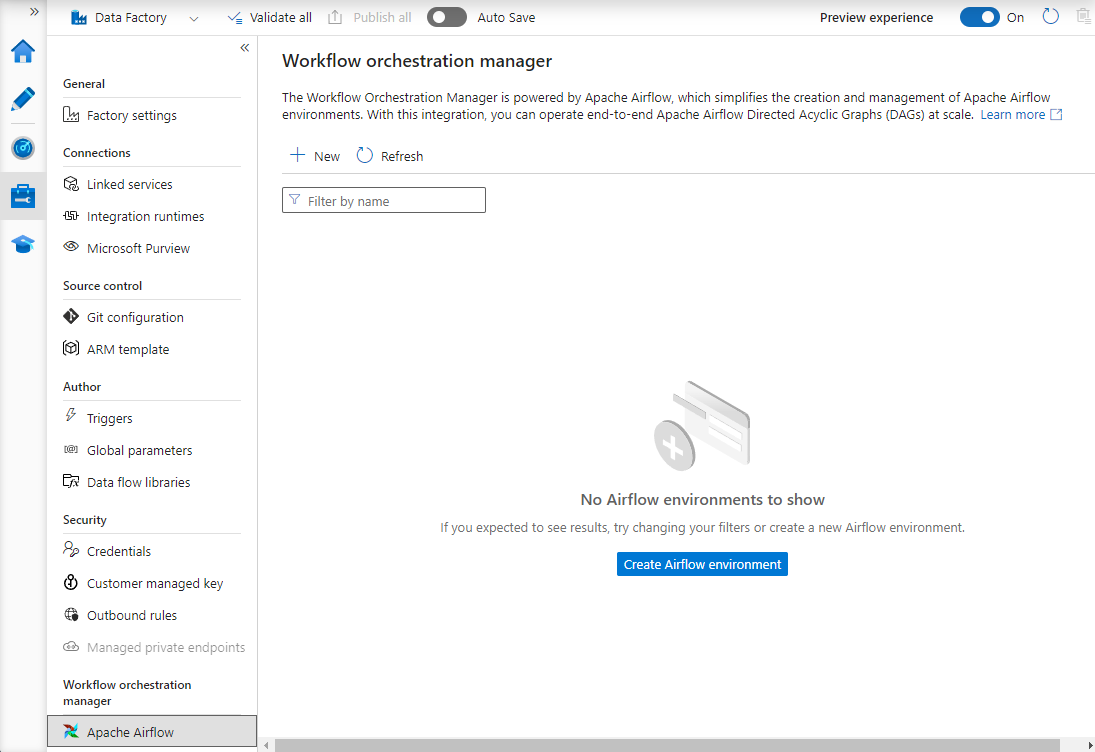
Create new Workflow Orchestration Manager environment. Go to Manage hub -> Airflow (Preview) -> +New to create a new Airflow environment
Provide the details (Airflow config)

Important
When using Basic authentication, remember the username and password specified in this screen. It will be needed to login later in the Workflow Orchestration Manager UI. The default option is Microsoft Entra ID and it does not require creating username/ password for your Airflow environment, but instead uses the logged in user's credential to Azure Data Factory to login/ monitor DAGs.
Environment variables a simple key value store within Airflow to store and retrieve arbitrary content or settings.
Requirements can be used to pre-install python libraries. You can update these later as well.
Import DAGs
The following steps describe how to import DAGs into Workflow Orchestration Manager.
Prerequisites
You'll need to upload a sample DAG onto an accessible Storage account (Should be under dags folder).
Note
Blob Storage behind VNet are not supported during the preview.
KeyVault configuration in storageLinkedServices not supported to import dags.
Sample Apache Airflow v2.x DAG. Sample Apache Airflow v1.10 DAG.
Steps to import
Copy-paste the content (either v2.x or v1.10 based on the Airflow environment that you have setup) into a new file called as tutorial.py.
Upload the tutorial.py to a blob storage. (How to upload a file into blob)
Note
You will need to select a directory path from a blob storage account that contains folders named dags and plugins to import those into the Airflow environment. Plugins are not mandatory. You can also have a container named dags and upload all Airflow files within it.
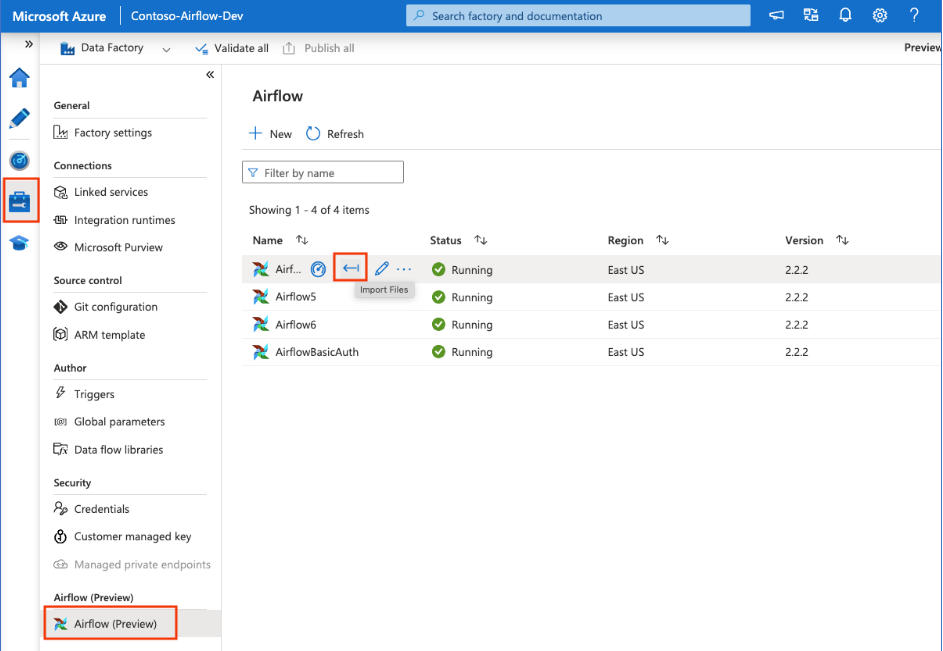
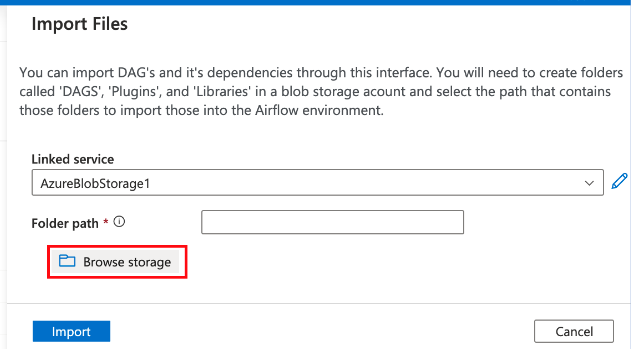
Select on Airflow (Preview) under Manage hub. Then hover over the earlier created Airflow environment and select on Import files to Import all DAGs and dependencies into the Airflow Environment.
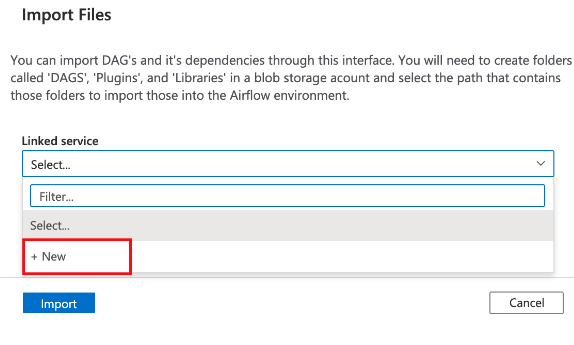
Create a new Linked Service to the accessible storage account mentioned in the prerequisite (or use an existing one if you already have your own DAGs).
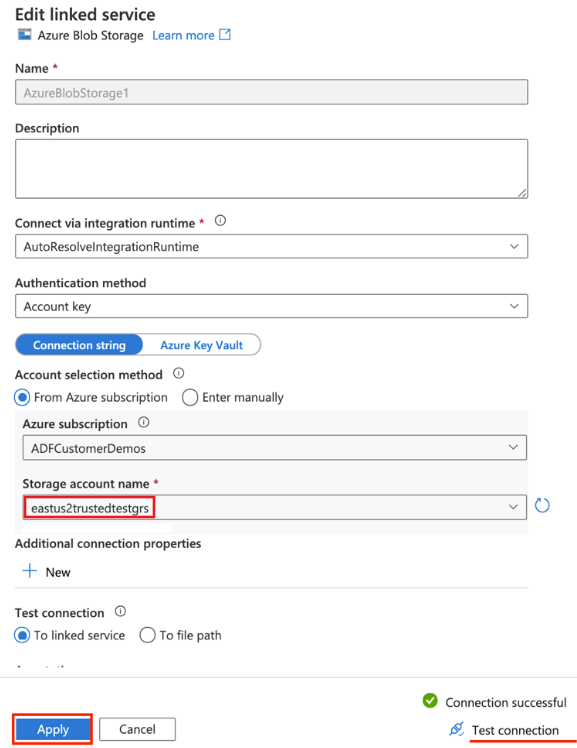
Use the storage account where you uploaded the DAG (check prerequisite). Test connection, then select Create.
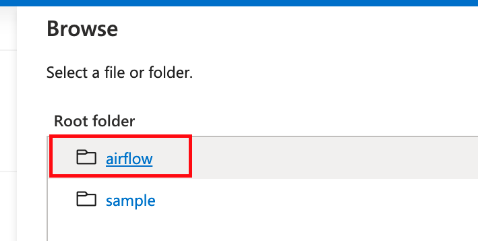
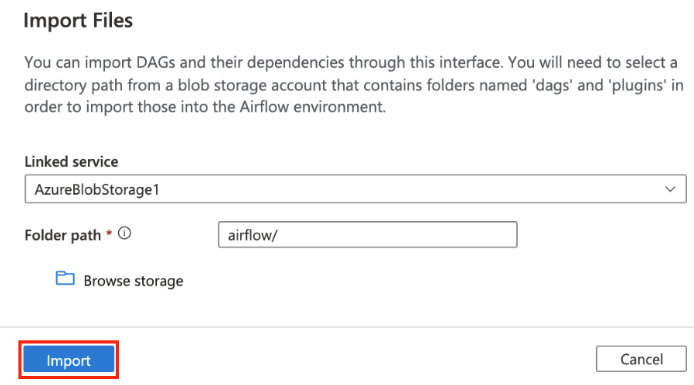
Browse and select airflow if using the sample SAS URL or select the folder that contains dags folder with DAG files.
Note
You can import DAGs and their dependencies through this interface. You will need to select a directory path from a blob storage account that contains folders named dags and plugins to import those into the Airflow environment. Plugins are not mandatory.
Note
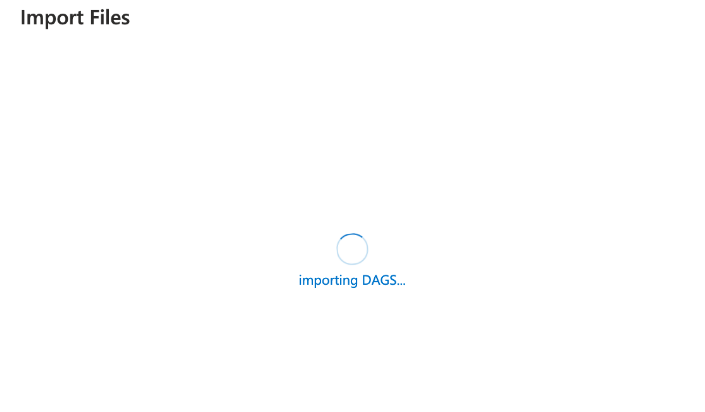
Importing DAGs could take a couple of minutes during Preview. The notification center (bell icon in ADF UI) can be used to track the import status updates.
Troubleshooting import DAG issues
Problem: DAG import is taking over 5 minutes Mitigation: Reduce the size of the imported DAGs with a single import. One way to achieve this is by creating multiple DAG folders with lesser DAGs across multiple containers.
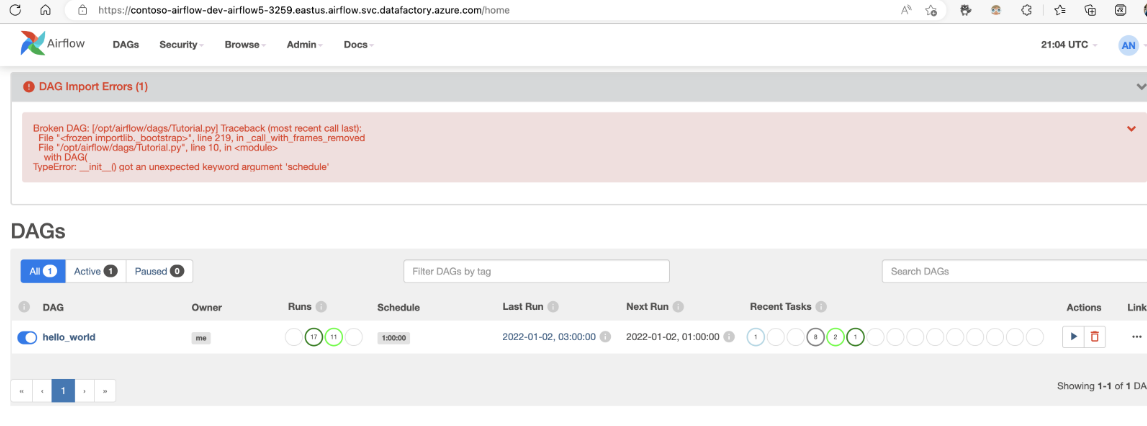
Problem: Imported DAGs don't show up when you sign in into the Airflow UI. Mitigation: Sign in into the Airflow UI and see if there are any DAG parsing errors. This could happen if the DAG files contain any incompatible code. You'll find the exact line numbers and the files, which have the issue through the Airflow UI.
Monitor DAG runs
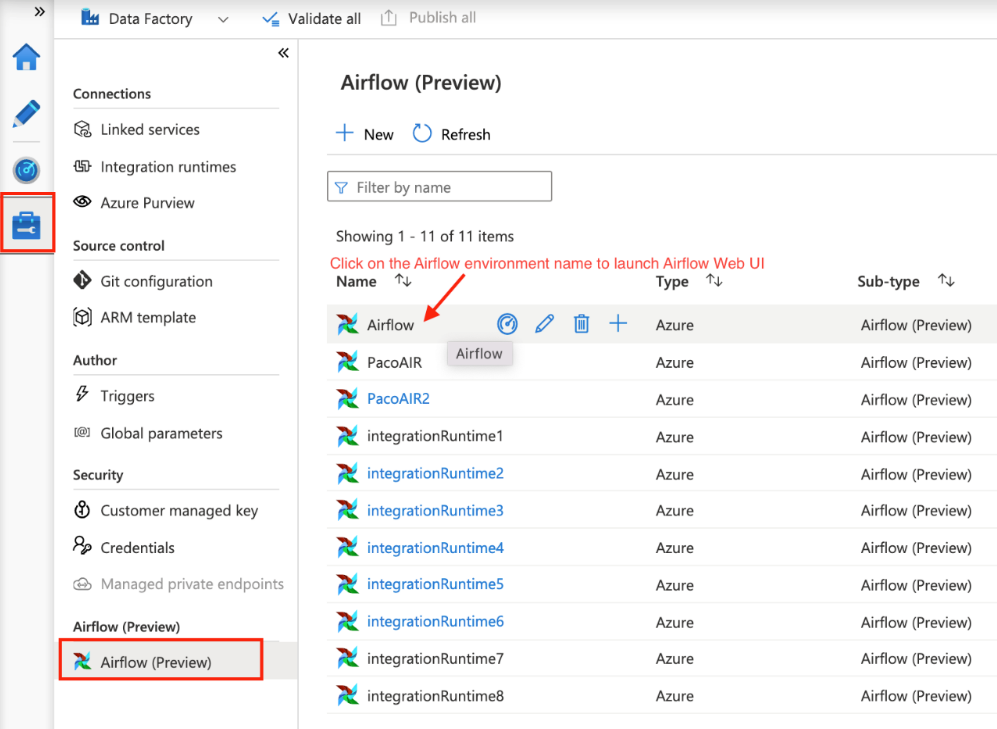
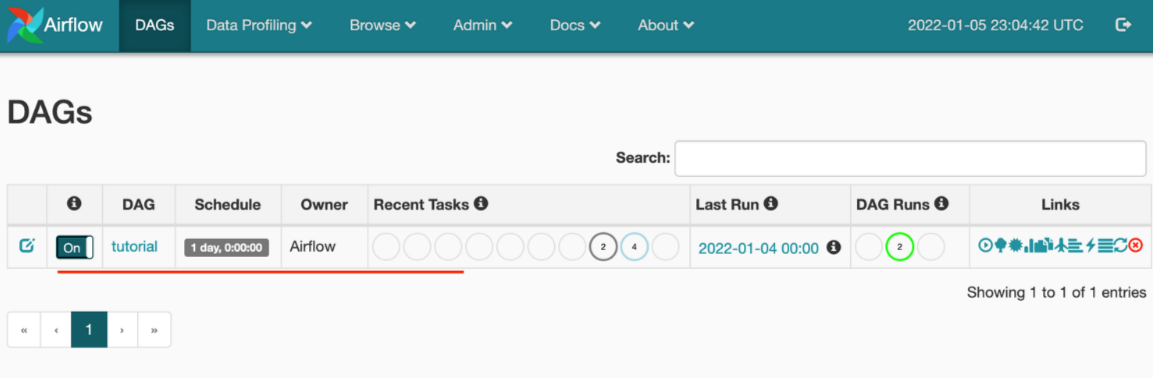
To monitor the Airflow DAGs, sign in into Airflow UI with the earlier created username and password.
Select on the Airflow environment created.
Sign in using the username-password provided during the Airflow Integration Runtime creation. (You can reset the username or password by editing the Airflow Integration runtime if needed)
Remove DAGs from the Airflow environment
If you're using Airflow version 1.x, delete DAGs that are deployed on any Airflow environment (IR), you need to delete the DAGs in two different places.
- Delete the DAG from Airflow UI
- Delete the DAG in ADF UI
Note
This is the current experience during the Public Preview, and we will be improving this experience.
Related content
משוב
בקרוב: במהלך 2024, נפתור בעיות GitHub כמנגנון המשוב לתוכן ונחליף אותו במערכת משוב חדשה. לקבלת מידע נוסף, ראה: https://aka.ms/ContentUserFeedback.
שלח והצג משוב עבור