Manage quota for Microsoft Dev Box resources
This article describes how to determine your quota limits and usage. It also describes how to submit a support request to increase the number of resources for Microsoft Dev Box in your Azure subscription.
To ensure that resources are available for customers, Microsoft Dev Box has a limit on the number of each type of resource that can be used in a subscription. This limit is called a quota.
There are different types of quotas related to Dev Box that you might see in the Developer portal and Azure portal. Quota types include quota for Dev Box vCPU for box creation, and resource limits for Dev Centers, network connections, and Dev Box Definitions.
Here are some examples of quota limits you might encounter:
- There are limits on the number of vCPUs available for dev boxes. You might encounter this quota error in the developer portal during dev box creation. For example, if dev box users encounter a vCPU quota error such as QuotaExceeded during dev box creation there might be a need to increase this quota.
- There are default subscription limits for dev centers, network connections, and dev box definitions. For more information, see Microsoft Dev Box limits.
When you reach the limit for a resource in your subscription, you can request an increase to extend the number of resources available. The request process allows the Microsoft Dev Box team to ensure your subscription isn't involved in any cases of fraud or unintentional, sudden large-scale deployments.
Prerequisites
- To create a support request, your Azure account needs the Owner, Contributor, or Support Request Contributor role at the subscription level.
Determine resource usage and quota for Dev Box through QMS
To help you understand where and how you're using your quota, the Quota Management System (QMS) provides a detailed report of resource usage across resources types in each of your subscriptions on the My Quotas page. QMS provides several advantages to the Dev Box service including:
- Improved User Experience for an easier requesting process.
- Expedited approvals via automation based on thresholds.
- Metrics to monitor quota usage in existing subscription.
Understanding quota limits that affect your Dev Box resources helps you to plan for future use. You can check the default subscription limit for each resource, view your current usage, and determine how much quota remains in each region. By monitoring the rate at which your quota is used, you can plan and prepare to request a quota limit increase before you reach the quota limit for the resource.
Request a quota increase through QMS
Sign in to the Azure portal, and go to the subscription you want to examine.
In the Azure portal search bar, enter quota, and select Quotas from the results.
On the Quotas page, select Dev Box.
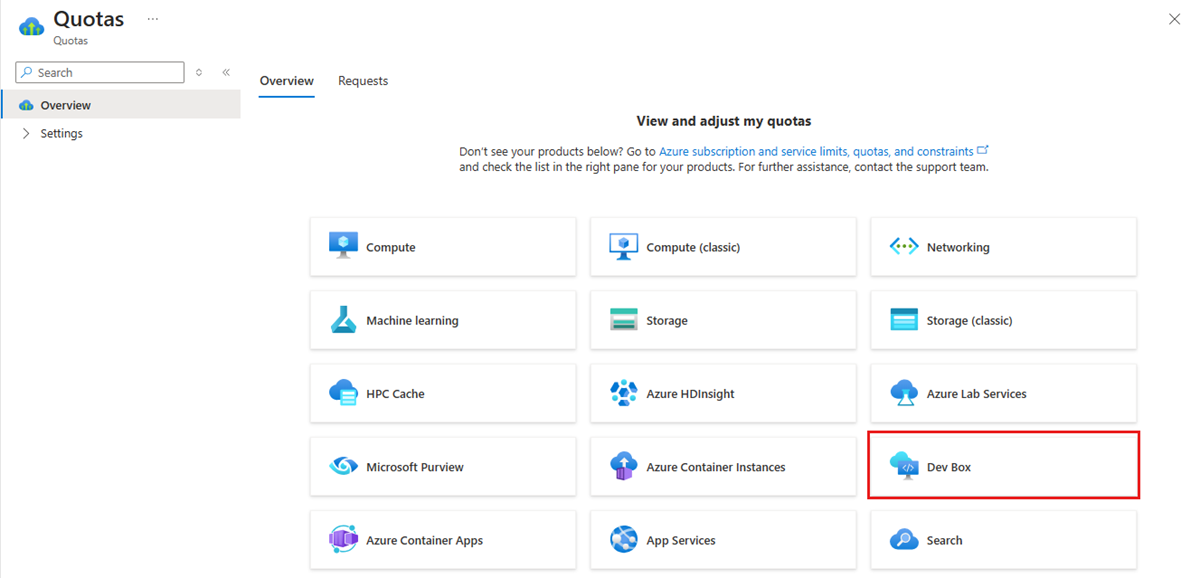
View your quota usage and limits for each resource type.

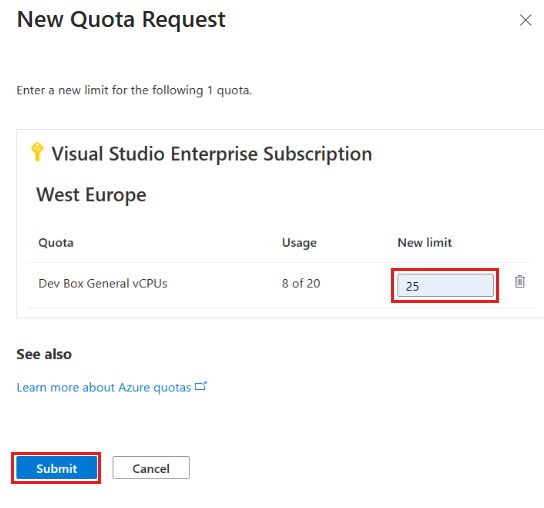
To submit a quota request for compute, select New Quota Request.
Tip
To edit other quotas and submit requests, in the Request adjustment column, select the pencil icon.
In the Quota request pane, enter the new quota limit that you want to request, and then select Submit.
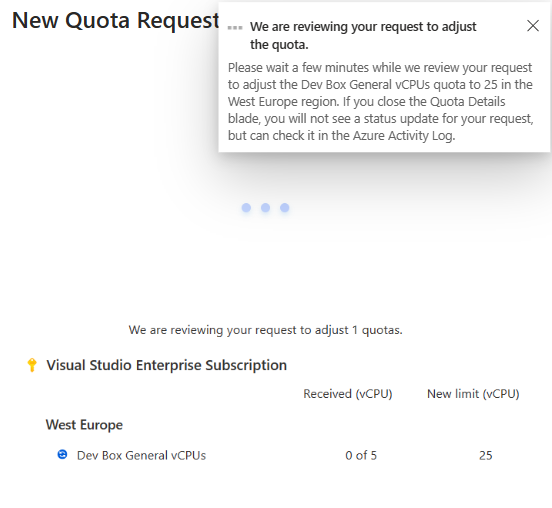
Microsoft reviews your request and responds to you through the Azure portal.
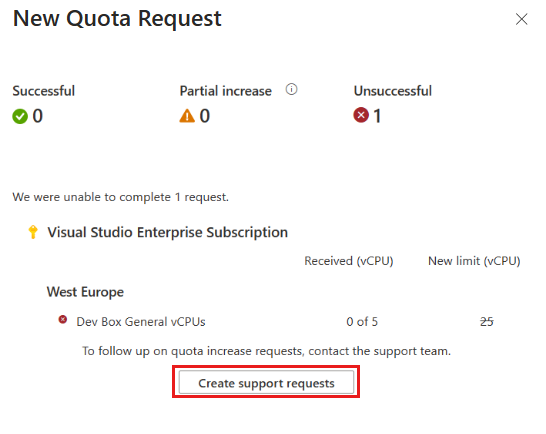
If your request is approved, the new quota limit is updated in the Azure portal. If your request is denied, you can submit a new request with additional information.


Initiate a support request by using Support + troubleshooting
As an alternative to using the Quota Management System (QMS) in the Azure portal, you can initiate a support request to increase your quota limit by using the Support + Troubleshooting feature. This feature provides a guided experience to help you create a support request for quota increases.
On the Azure portal home page, select the Support + Troubleshooting icon (question mark) on the toolbar.

In the How can we help you? box, enter quota limit, and then select Go. The view updates to show the Current selection section.

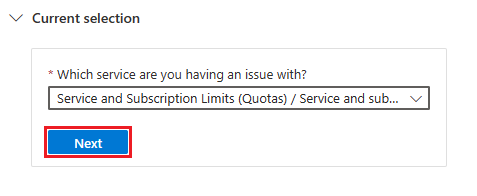
In the Which service are you having an issue with? dropdown list, select Service and subscription limits (quotas).

Confirm your choice for the Current selection and then select Next. The view updates to include an option to create a support request for quotas.
In the Service and subscription limits (quotas) section, select Create a support request.
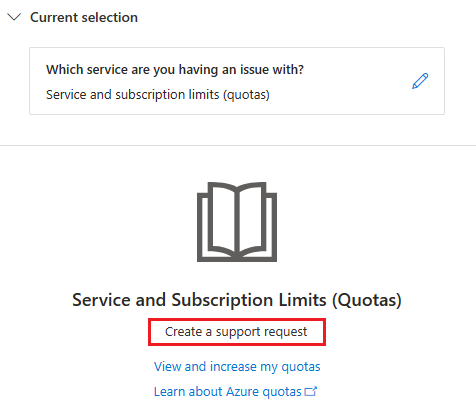


The New support request page opens. Continue to the following section to fill out the support request form.
Describe the requested quota increase
Follow these steps to describe your requested quota increase and fill out the support form.
On the New support request page, on the 1. Problem description tab, configure the following settings, and then select Next.
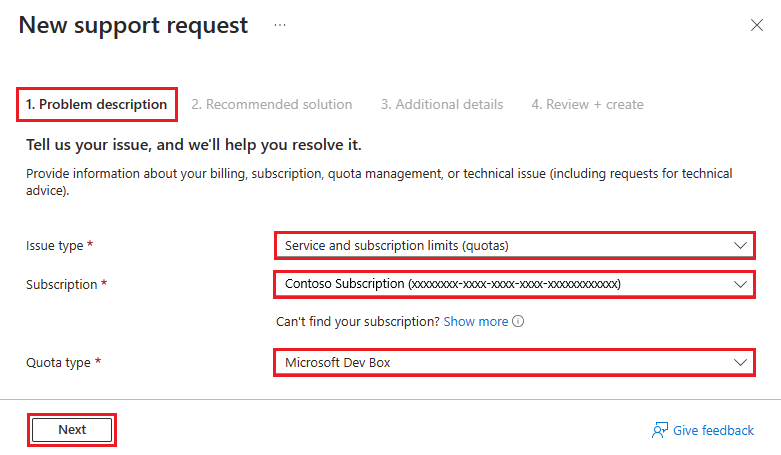
Setting Value Issue type Select Service and subscription limits (quotas). Subscription Select the subscription to which the request applies. Quota type Select Microsoft Dev Box. After you select Next, the tool skips the 2. Recommended solution tab and opens the 3. Additional details tab. This tab contains four sections: Problem details, Advanced diagnostic information, Support method, and Contact information.
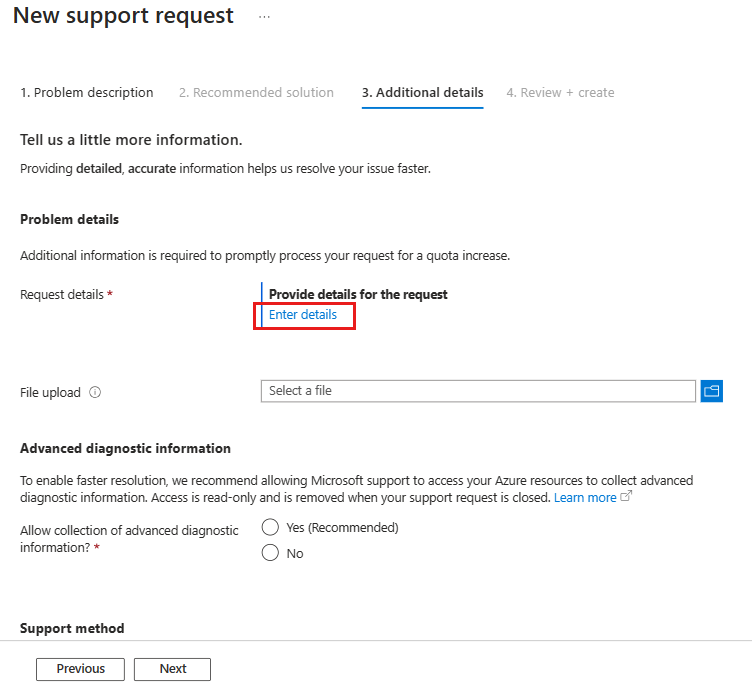
On the 3. Additional details tab, in the Problem details section, select Enter details. The Quota details pane opens.
In the Quota details pane, configure the following settings:
Setting Value Region Select the Region in which you want to increase your quota. Quota type When you select a Region, Azure updates the view to display your current usage and current limit for all quota types. After the view updates, set the Quota type field to the quota that you want to increase. New total limit Enter the new total limit that you want to request. Is it a limit decrease? Select Yes or No. Additional information Enter any extra information about your request. 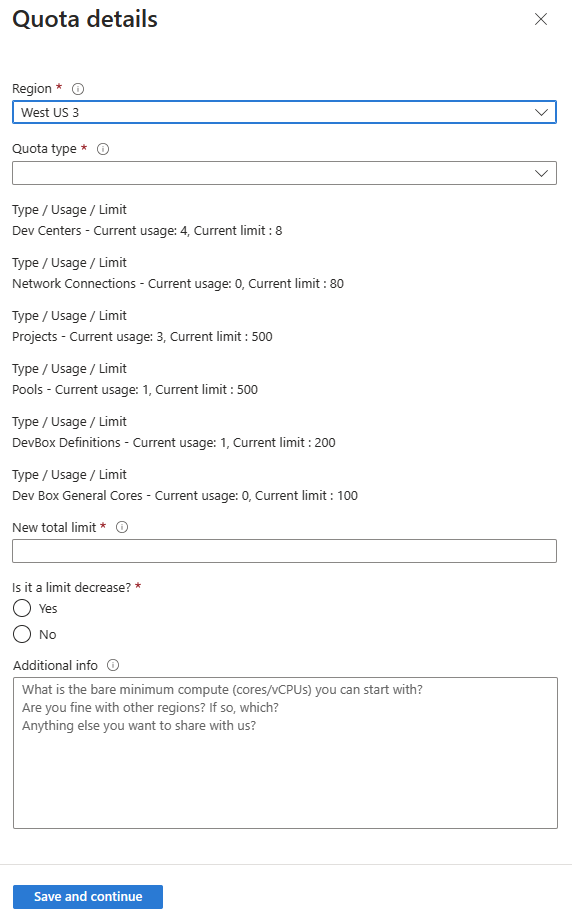
Select Save and Continue.


Complete the support request
To complete the support request form, configure the remaining settings. When you're ready, review your information and submit the request.
On the Additional details tab, in the Advanced diagnostic information section, configure the following setting:
Setting Value Allow collection of advanced diagnostic information Select Yes (Recommended) or No. 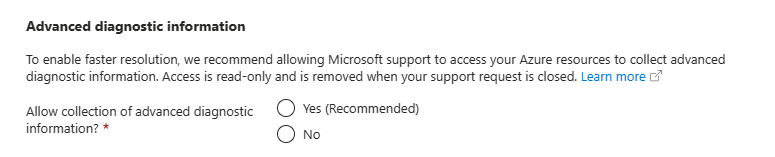
In the Support method section, configure the following settings:
Setting Value Support plan Select your support plan. Severity Select the severity of the issue. Preferred contact method Select Email or Phone. Your availability Enter your availability. Support language Select your language preference. 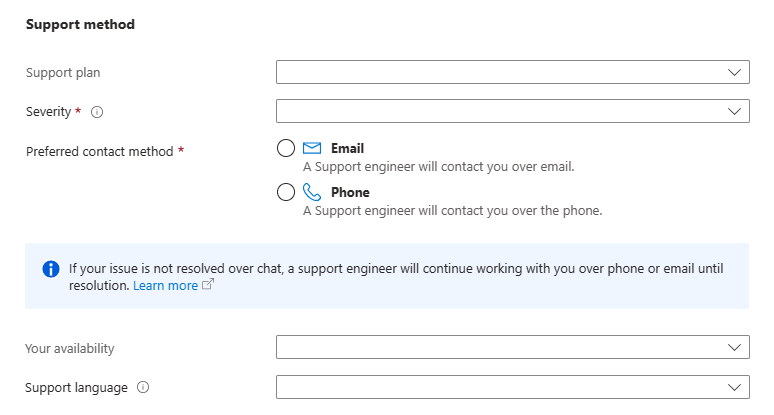
In the Contact info section, configure the following settings:
Setting Value First name Enter your first name. Last name Enter your last name or family name. Email Enter your contact email. Additional email for notification Enter an email for notifications. Phone Enter your contact phone number. Country/region Enter your location. Save contact changes for future support requests. Select the check box to save changes. 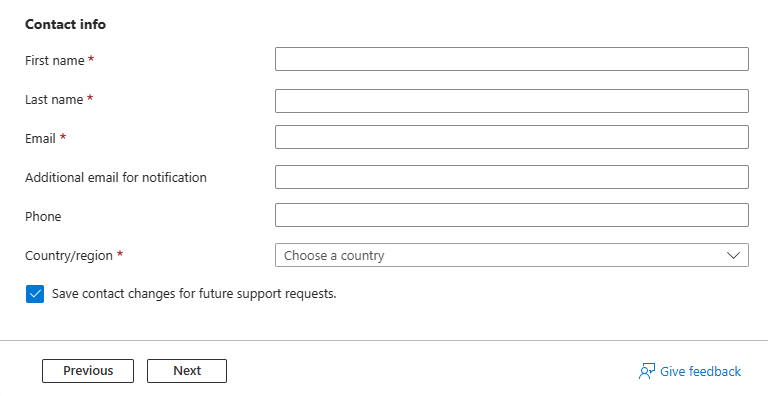
Select Next.
On the 4. Review + create tab, review your information. When you're ready to submit the request, select Create.


Related content
- Check the default quota for each resource type by subscription type with Microsoft Dev Box limits.
- Learn more about the general process for creating Azure support requests.
משוב
בקרוב: במהלך 2024, נפתור בעיות GitHub כמנגנון המשוב לתוכן ונחליף אותו במערכת משוב חדשה. לקבלת מידע נוסף, ראה: https://aka.ms/ContentUserFeedback.
שלח והצג משוב עבור