Create a site using the Azure portal
Azure Private 5G Core private mobile networks include one or more sites. Each site represents a physical enterprise location (for example, Contoso Corporation's Chicago factory) containing an Azure Stack Edge device that hosts a packet core instance. In this how-to guide, you'll learn how to create a site in your private mobile network using the Azure portal.
Prerequisites
- Carry out the steps in Complete the prerequisite tasks for deploying a private mobile network for your new site.
- Collect all of the information in Collect the required information for a site.
- Refer to the release notes for the current version of packet core, and whether it's supported by the version your Azure Stack Edge (ASE) is currently running. If your ASE version is incompatible with the latest packet core, update your Azure Stack Edge Pro GPU.
- Ensure you can sign in to the Azure portal using an account with access to the active subscription you used to create your private mobile network. This account must have the built-in Contributor or Owner role at the subscription scope.
- If the new site will support 4G user equipment (UEs), you must have created a network slice with slice/service type (SST) value of 1 and an empty slice differentiator (SD).
Create the mobile network site resource
In this step, you'll create the mobile network site resource representing the physical enterprise location of your Azure Stack Edge device, which will host the packet core instance.
Sign in to the Azure portal.
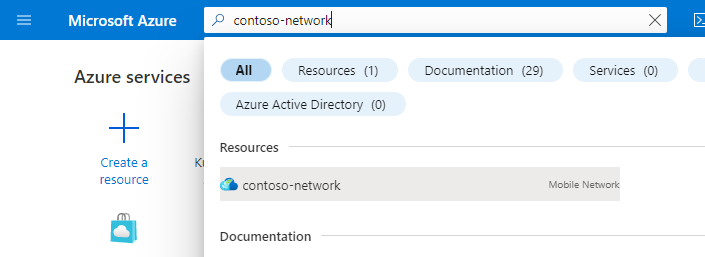
Search for and select the Mobile Network resource representing the private mobile network to which you want to add a site.
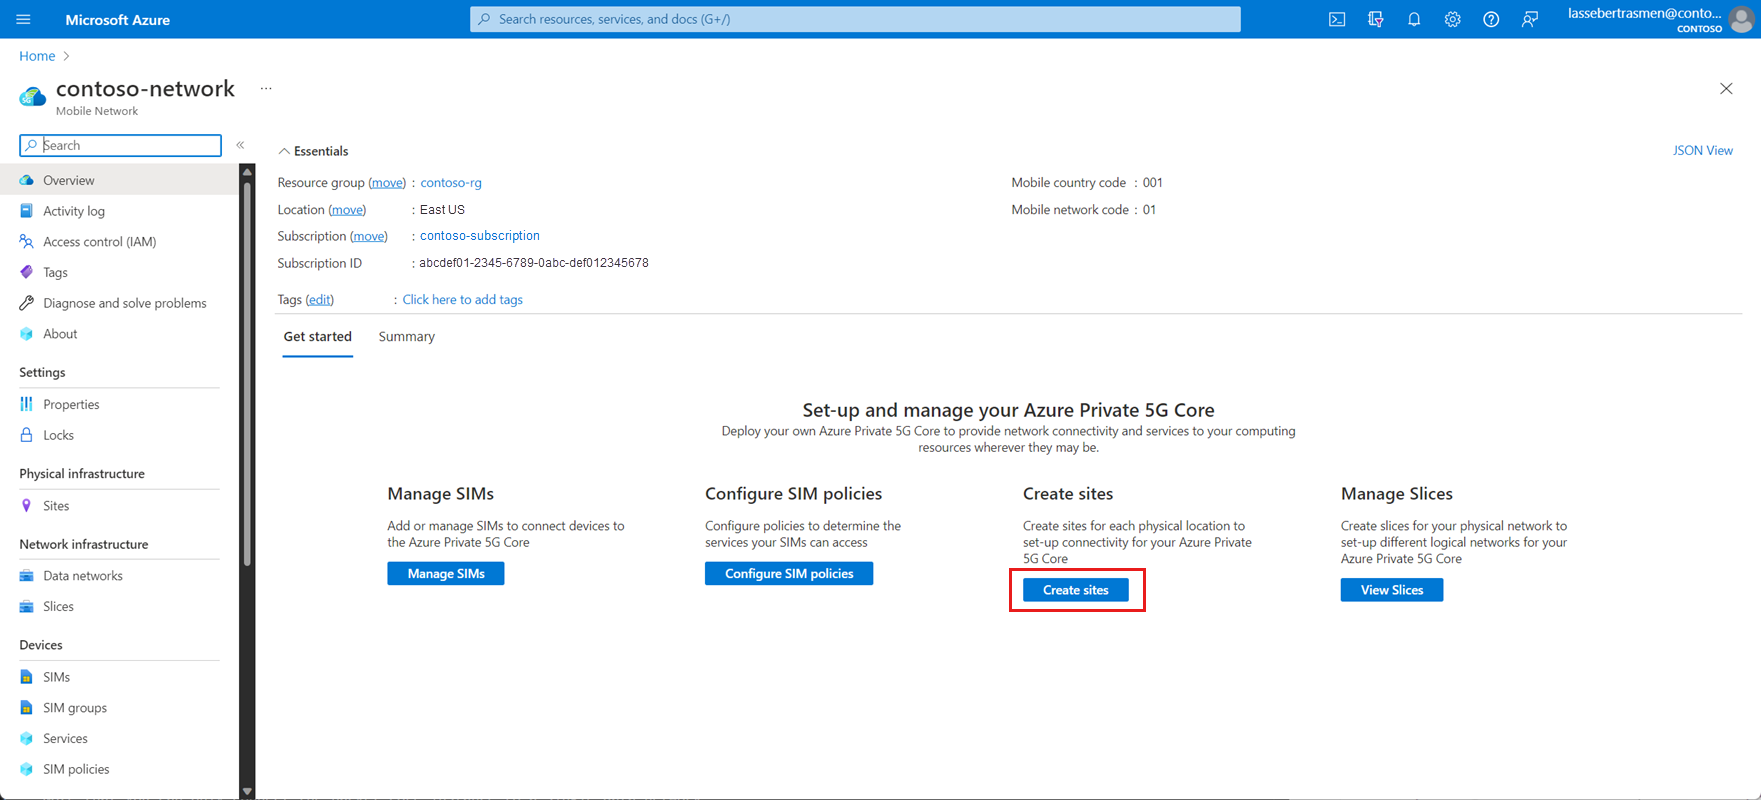
On the Get started tab, select Create sites.
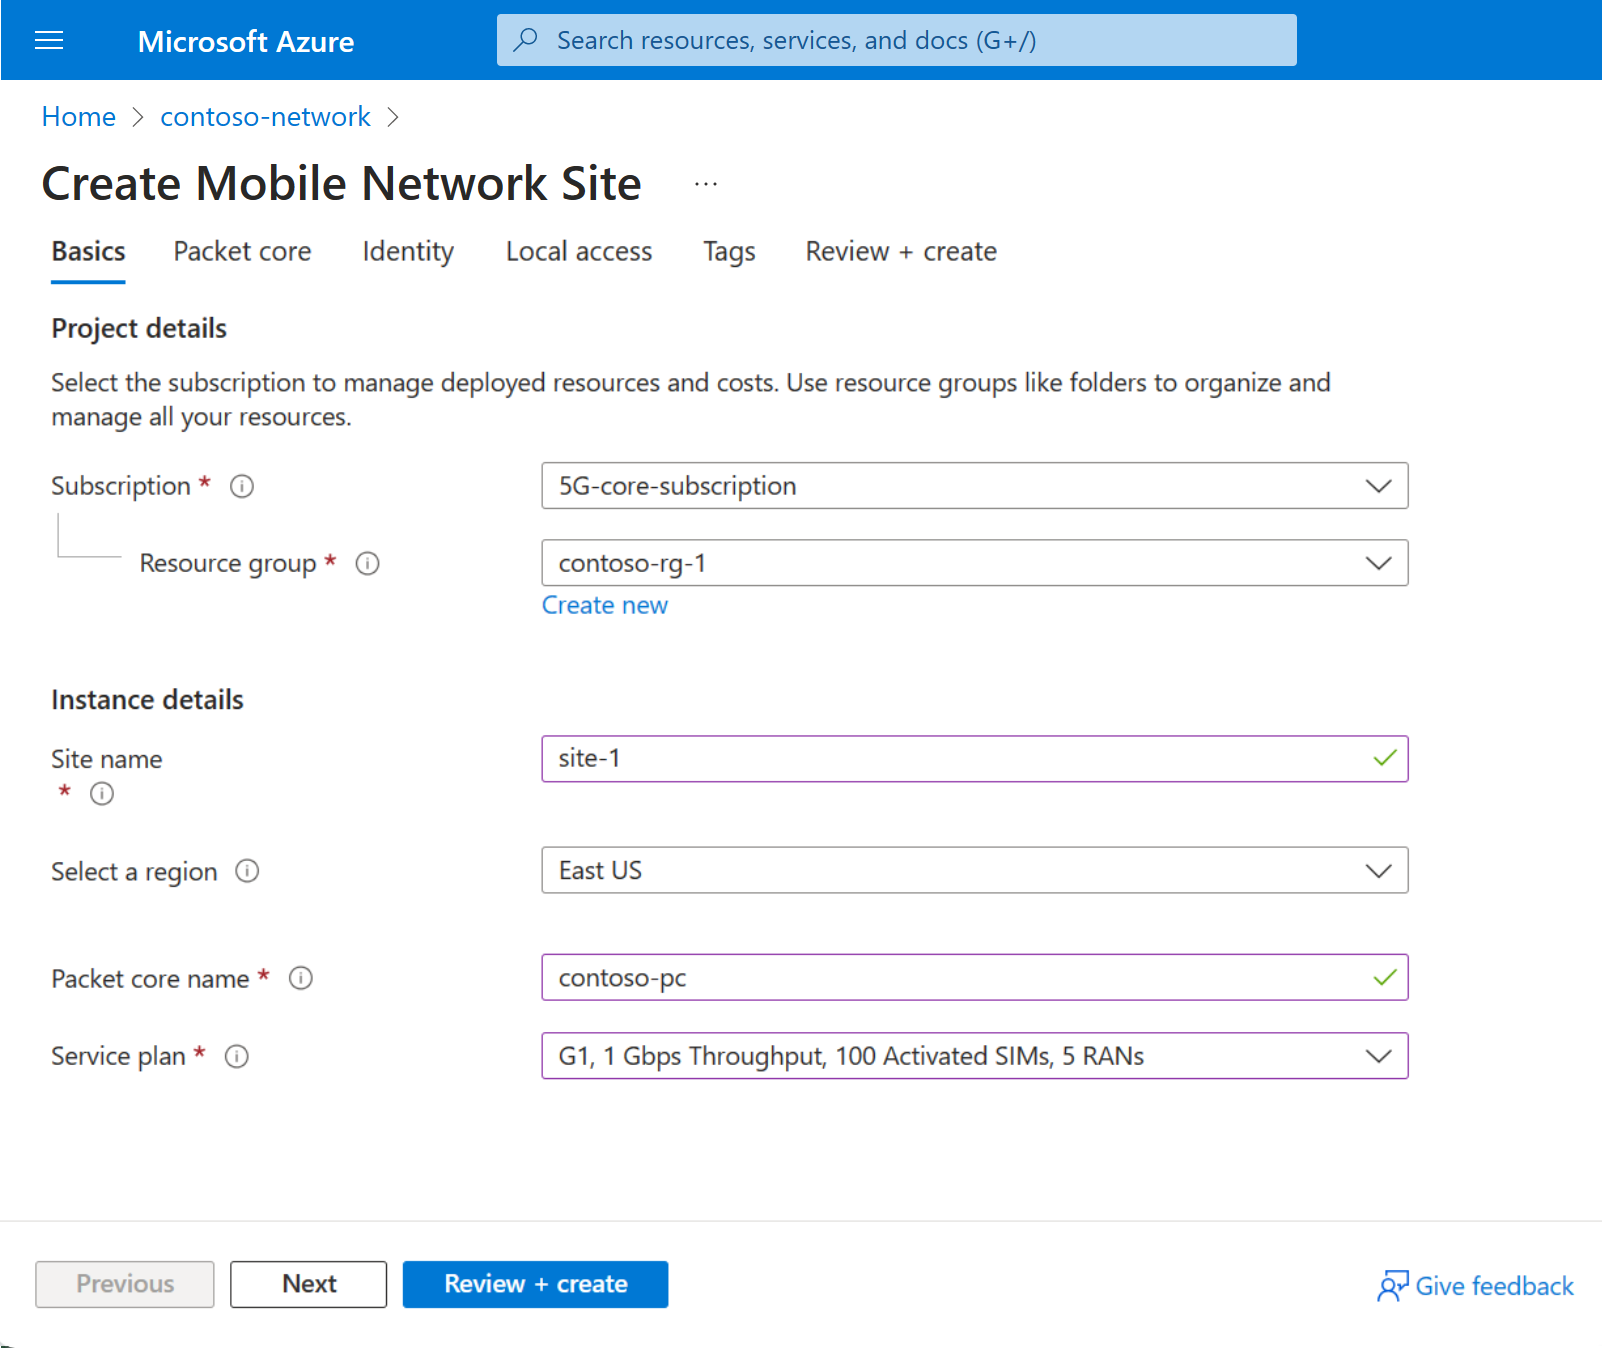
Use the information you collected in Collect site resource values to fill out the fields on the Basics configuration tab, and then select Next : Packet core >.
You'll now see the Packet core configuration tab. Set the fields as follows:
Use the information you collected in Collect packet core configuration values to fill out the Technology type, Azure Stack Edge device, and Custom location fields.
For a Highly Available (HA) deployment, specify the ASE two node cluster as the Azure Stack Edge device.
Select the recommended packet core version in the Version field.
Note
If a warning appears about an incompatibility between the selected packet core version and the current Azure Stack Edge version, you'll need to update ASE first. Select Upgrade ASE from the warning prompt and follow the instructions in Update your Azure Stack Edge Pro GPU. Once you've finished updating your ASE, go back to the beginning of this step to create the site resource.
Ensure AKS-HCI is selected in the Platform field.
If required, you can disable automatic backhauling of edge network function logs to Microsoft support using the checkbox.
Use the information you collected in Collect access network values to fill out the fields in the Access network section.
Note
ASE N2 virtual subnet and ASE N3 virtual subnet (if this site will support 5G UEs), ASE S1-MME virtual subnet and ASE S1-U virtual subnet (if this site will support 4G UEs), or ASE N2/S1-MME virtual subnet and ASE N3/S1-U virtual subnet (if this site will support both 4G and 5G UEs) must match the corresponding virtual network names on port 5 on your Azure Stack Edge Pro GPU device.
In the Attached data networks section, select Attach data network. Choose whether you want to use an existing data network or create a new one, then use the information you collected in Collect data network values to fill out the fields. Note the following:
- ASE N6 virtual subnet (if this site will support 5G UEs), ASE SGi virtual subnet (if this site will support 4G UEs), or ASE N6/SGi virtual subnet (if this site will support combined 4G and 5G UEs) must match the corresponding virtual network name on port 5 or 6 on your Azure Stack Edge Pro device.
- If you decided not to configure a DNS server, clear the Specify DNS addresses for UEs? checkbox.
- If you decided to keep NAPT disabled, ensure you configure your data network router with static routes to the UE IP pools via the appropriate user plane data IP address for the corresponding attached data network.
Once you've finished filling out the fields, select Attach.
Use the information you collected in Collect access network values to fill out the fields in the Access network section.
Note
ASE N2 virtual subnet and ASE N3 virtual subnet (if this site will support 5G UEs), ASE S1-MME virtual subnet and ASE S1-U virtual subnet (if this site will support 4G UEs), or ASE N2/S1-MME virtual subnet and ASE N3/S1-U virtual subnet (if this site will support both 4G and 5G UEs) must match the corresponding virtual network names on port 3 on your Azure Stack Edge Pro device.
If you decided you want to use Remote Authentication Dial-In User Service (RADIUS) authentication, select Enable in the RADIUS server configuration section and use the information you collected in Collect RADIUS values to fill out the fields.
In the Attached data networks section, select Attach data network. Choose whether you want to use an existing data network or create a new one, then use the information you collected in Collect data network values to fill out the fields. Note the following:
- ASE N6 virtual subnet (if this site will support 5G UEs), ASE SGi virtual subnet (if this site will support 4G UEs), or ASE N6/SGi virtual subnet (if this site will support combined 4G and 5G UEs) must match the corresponding virtual network name on port 3 or 4 on your Azure Stack Edge Pro device.
- If you decided not to configure a DNS server, clear the Specify DNS addresses for UEs? checkbox.
- If you decided to keep NAPT disabled, ensure you configure your data network router with static routes to the UE IP pools via the appropriate user plane data IP address for the corresponding attached data network.
Once you've finished filling out the fields, select Attach.
Repeat the previous step for each additional data network you want to configure.
Go to the Diagnostics tab. If you want to enable UE Metric monitoring, select Enable from the UE Metric monitoring dropdown. Use the information collected in Collect UE Usage Tracking values to fill out the Azure Event Hub Namespace, Event Hub name and User Assigned Managed Identity values.
If you decided you want to configure diagnostics packet collection or use a user assigned managed identity for HTTPS certificate for this site, select Next : Identity >.
If you decided not to configure diagnostics packet collection or use a user assigned managed identity for HTTPS certificates for this site, you can skip this step.- Select + Add to configure a user assigned managed identity.
- In the Select Managed Identity side panel:
- Select the Subscription from the dropdown.
- Select the Managed identity from the dropdown.
If you decided you want to provide a custom HTTPS certificate in Collect local monitoring values, select Next : Local access >. If you decided not to provide a custom HTTPS certificate at this stage, you can skip this step.
- Under Provide custom HTTPS certificate?, select Yes.
- Use the information you collected in Collect local monitoring values to select a certificate.
In the Local access section, set the fields as follows:
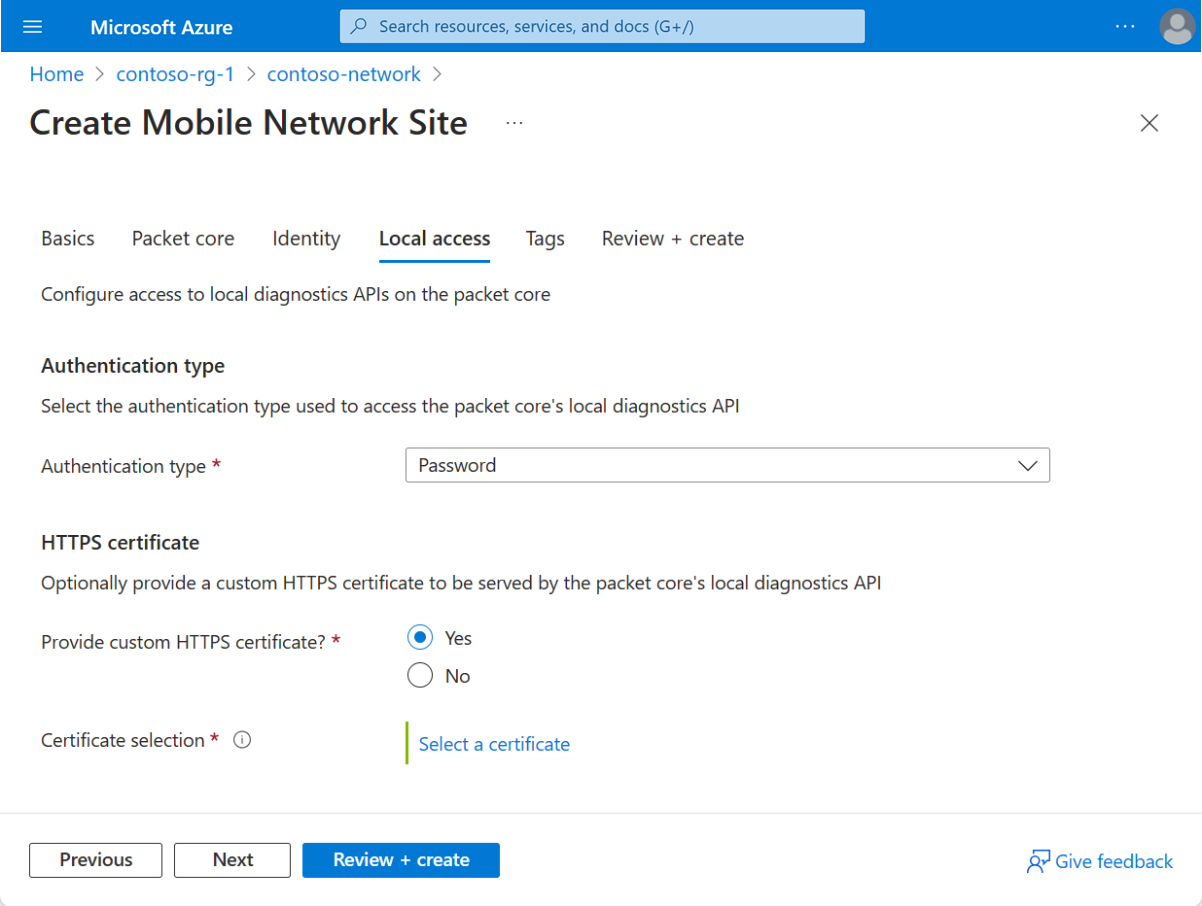
- Under Authentication type, select the authentication method you decided to use in Choose the authentication method for local monitoring tools.
- Under Provide custom HTTPS certificate?, select Yes or No based on whether you decided to provide a custom HTTPS certificate in Collect local monitoring values. If you selected Yes, use the information you collected in Collect local monitoring values to select a certificate.
Select Review + create.
Azure will now validate the configuration values you've entered. You should see a message indicating that your values have passed validation.
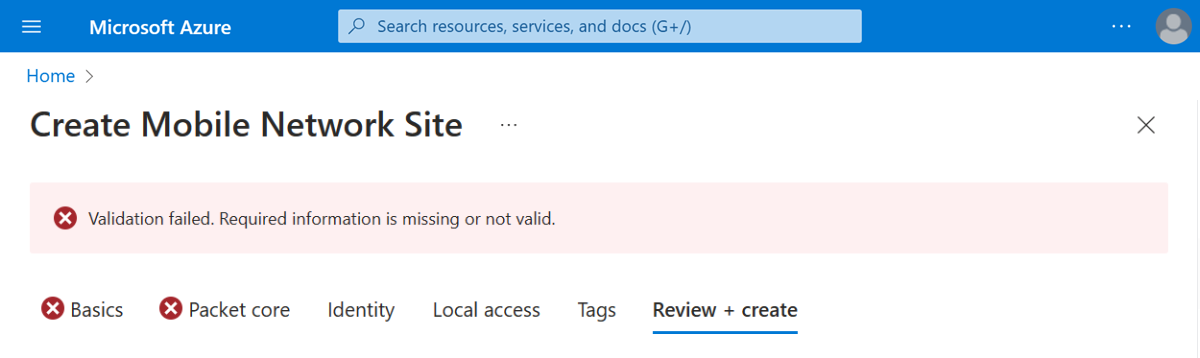
If the validation fails, you'll see an error message and the Configuration tab(s) containing the invalid configuration will be flagged with red X icons. Select the flagged tab(s) and use the error messages to correct invalid configuration before returning to the Review + create tab.
Once your configuration has been validated, you can select Create to create the site. The Azure portal will display the following confirmation screen when the site has been created.
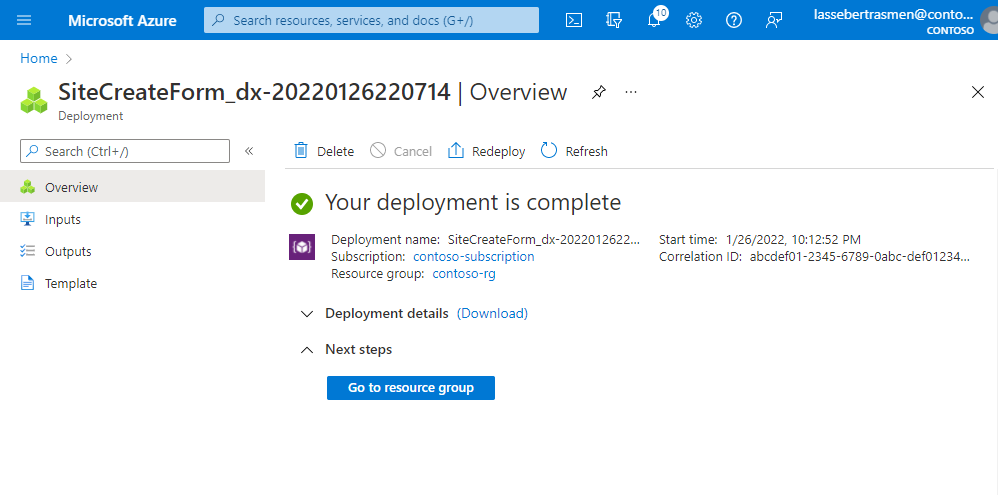
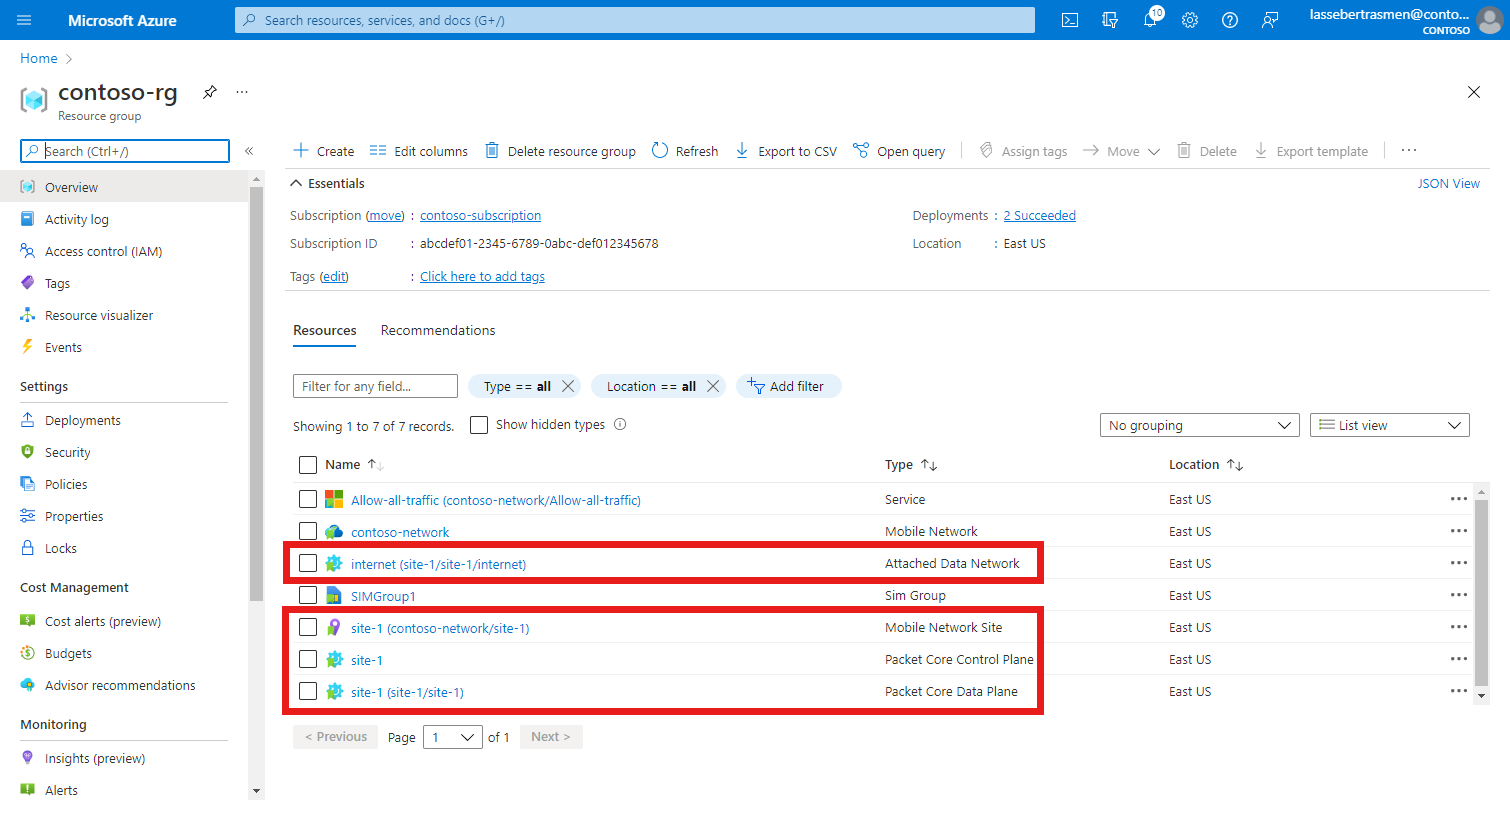
Select Go to resource group, and confirm that it contains the following new resources:
- A Mobile Network Site resource representing the site as a whole.
- A Packet Core Control Plane resource representing the control plane function of the packet core instance in the site.
- A Packet Core Data Plane resource representing the data plane function of the packet core instance in the site.
- One or more Data Network resources representing the data networks (if you chose to create new data networks).
- One or more Attached Data Network resources providing configuration for the packet core instance's connection to the data networks.
If you want to assign additional packet cores to the site, for each new packet core resource see Create additional Packet Core instances for a site using the Azure portal.

Next steps
If you decided to set up Microsoft Entra ID for local monitoring access, follow the steps in Enable Microsoft Entra ID for local monitoring tools.
If you haven't already done so, you should now design the policy control configuration for your private mobile network. This allows you to customize how your packet core instances apply quality of service (QoS) characteristics to traffic. You can also block or limit certain flows. See Policy control to learn more about designing the policy control configuration for your private mobile network.