Add knowledge to an existing copilot
You can add a knowledge source to a copilot from the following areas in Copilot Studio:
- The Overview page
- The Knowledge page
- A generative answers topic
Select the Add knowledge button to launch the Add available knowledge sources dialog.
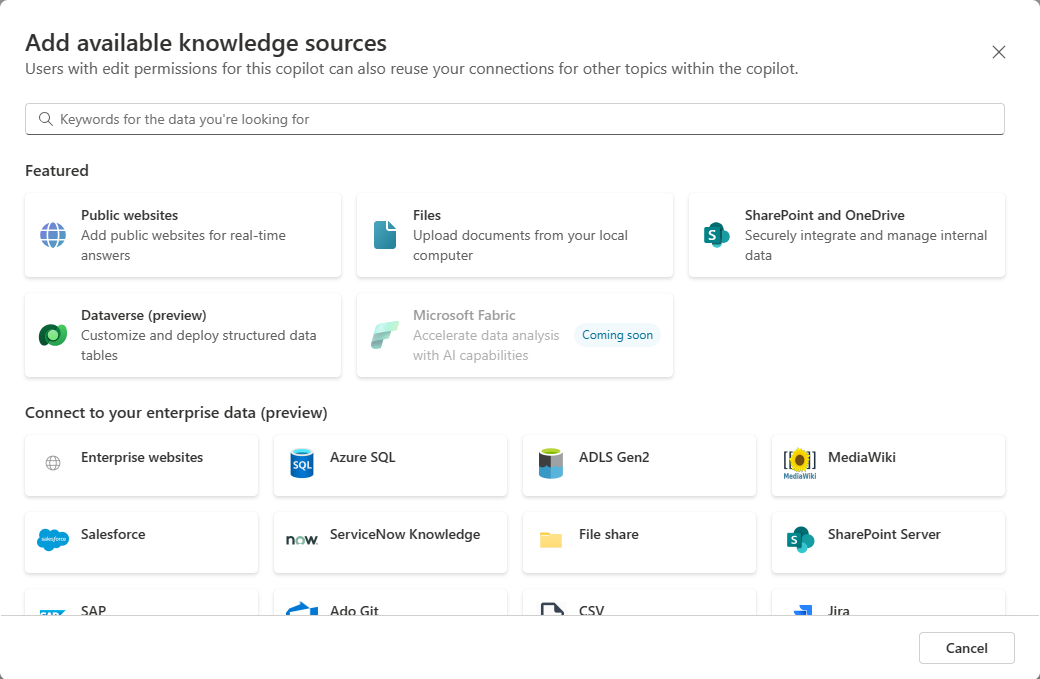
After you add one of the following knowledge source types, you're required to provide a name and description (the knowledge name for each source should be unique).
- Public website
- File upload
- SharePoint and OneDrive
- Dataverse
Note
Graph connection knowledge sources obtain their knowledge name and description from the graph connection name and description. These are provided by the tenant admin, and are configured in Microsoft 365.
Public website
Note
For more information on how to add a public website with a generative answers topic, see Search public data or use a Bing Custom Search for generative answers.
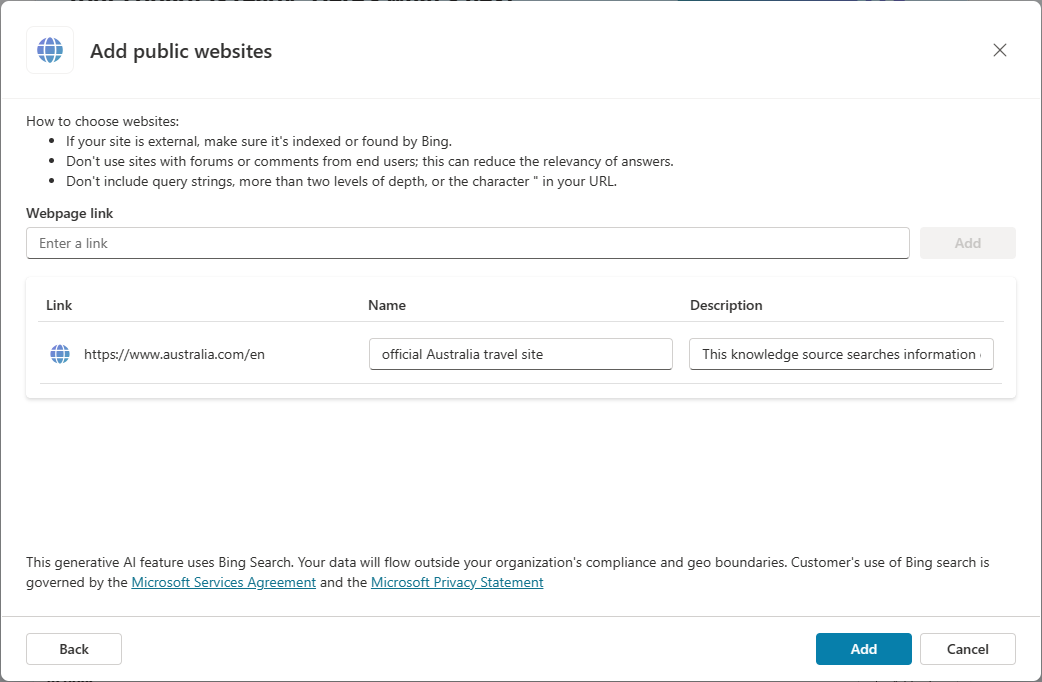
Select Public websites.
Provide the URL to the public website.
Add a name (by default, the website's URL is used).
Add a description.
Select Add to finish adding the knowledge source.
File upload
Note
For more information on how to upload a file for use with a generative answers topic, see Use uploaded documents for generative answers.
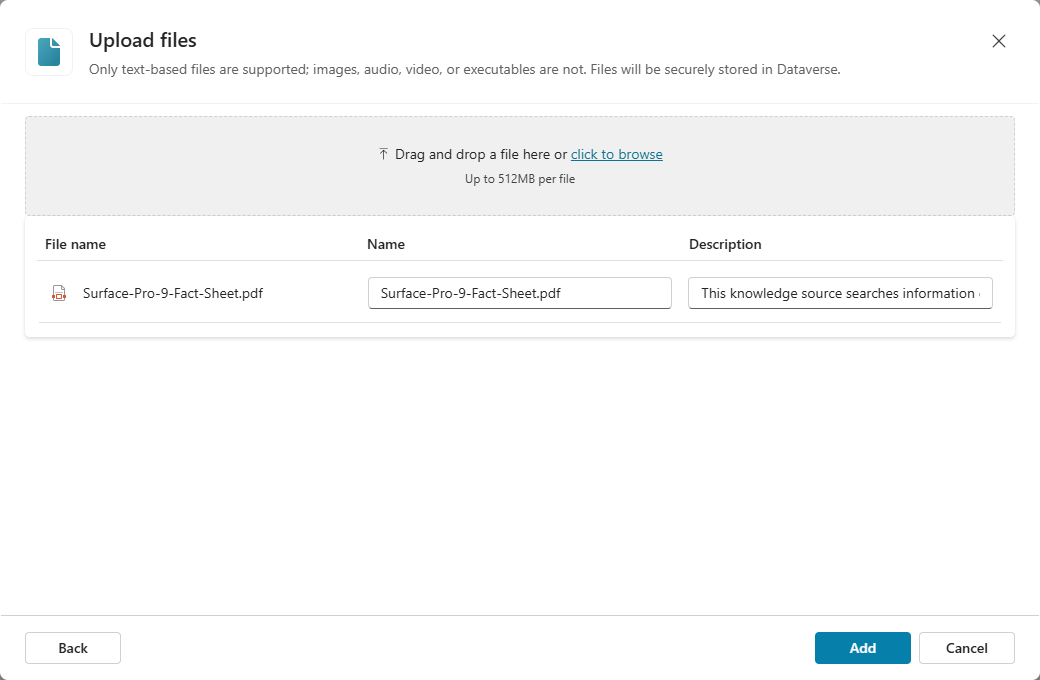
Select Files.
Upload the file by either drag and drop, or browsing to the file location.
Add a name (by default, the file's name is used).
Add a description.
Select Add to finish adding the knowledge source.
Supported document types
- Word (doc, docx)
- Excel (xls, xlsx)
- PowerPoint (ppt, pptx)
- PDF (pdf)
- Text (.txt, .md, .log)
- HTML (html, htm)
- CSV (csv)
- XML (xml)
- OpenDocument (odt, ods, odp)
- EPUB (epub)
- Rich Text Format (rtf)
- Apple iWork (pages, key, numbers)
- JSON (json)
- YAML (yml, yaml)
- LaTeX (tex)
Annotated image support (preview)
Annotated images that are embedded in PDF files are supported, as well. Annotation, also referred to as alt-text, is a textual description of the image. For best results, provide detailed information about the embedded image in the alt-text.
Users can ask questions and receive answers from the information contained in the annotated images. For example, the following image that was embedded in a PDF file provides information about a sales funnel and sales pipeline stages. Users of the copilot containing this embedded image as a knowledge source can ask questions such as, "What are the stages in a sales funnel?" The copilot can then return an answer based on the information in the annotated image.

Important
- Image, video, executables, and audio files can't be used as uploaded documents.
- Images are only supported when they're embedded in PDF files.
- Embedded images are only supported in Switzerland and the United States.
- Icons aren't supported.
- Files greater than 512 MB aren't supported.
- Files that contain encrypted content, are password-protected, or contain confidential tags, aren't supported.
- The maximum number of files that can be included as knowledge in a copilot is 500 files.
SharePoint
Note
For more information on how to use SharePoint content with a generative answers topic, see Use SharePoint content for generative answers.
Select SharePoint and OneDrive.
Provide the SharePoint or OneDrive URL.
Add a name (by default, the file's name is used).
Add a description.
Select Add to finish adding the knowledge source.

Dataverse
Select Dataverse (preview).
Locate one or more Dataverse tables to add. To narrow your selections, use the search field.
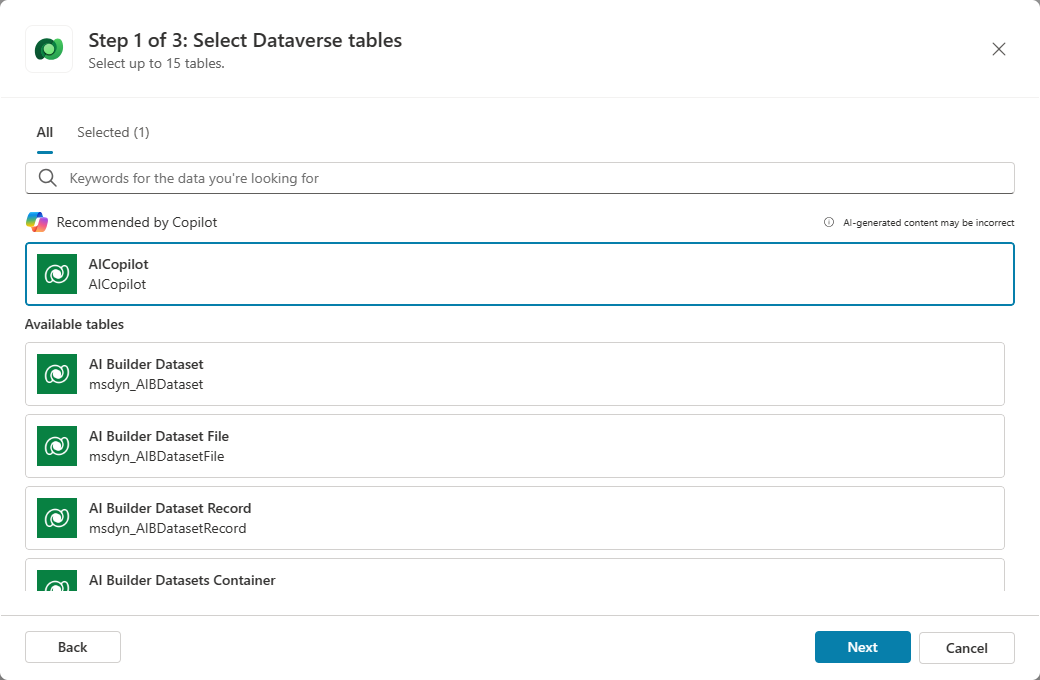
Note
The table recommendation is based on the name of your copilot.
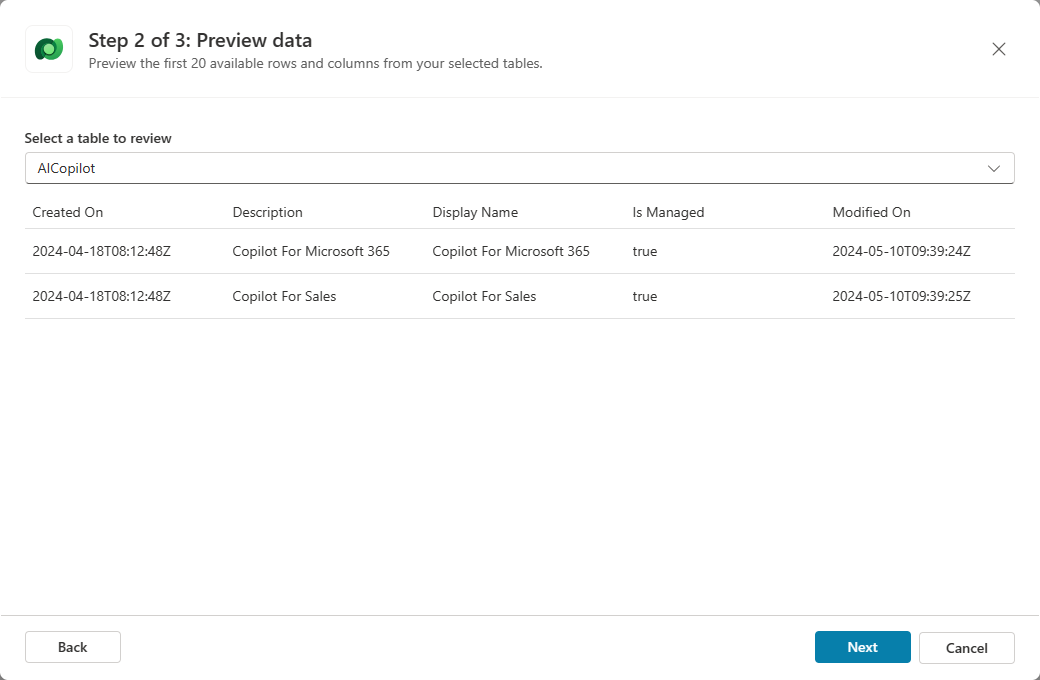
Preview the tables to ensure the appropriate tables were added. The preview only displays 20 rows and a set of columns.
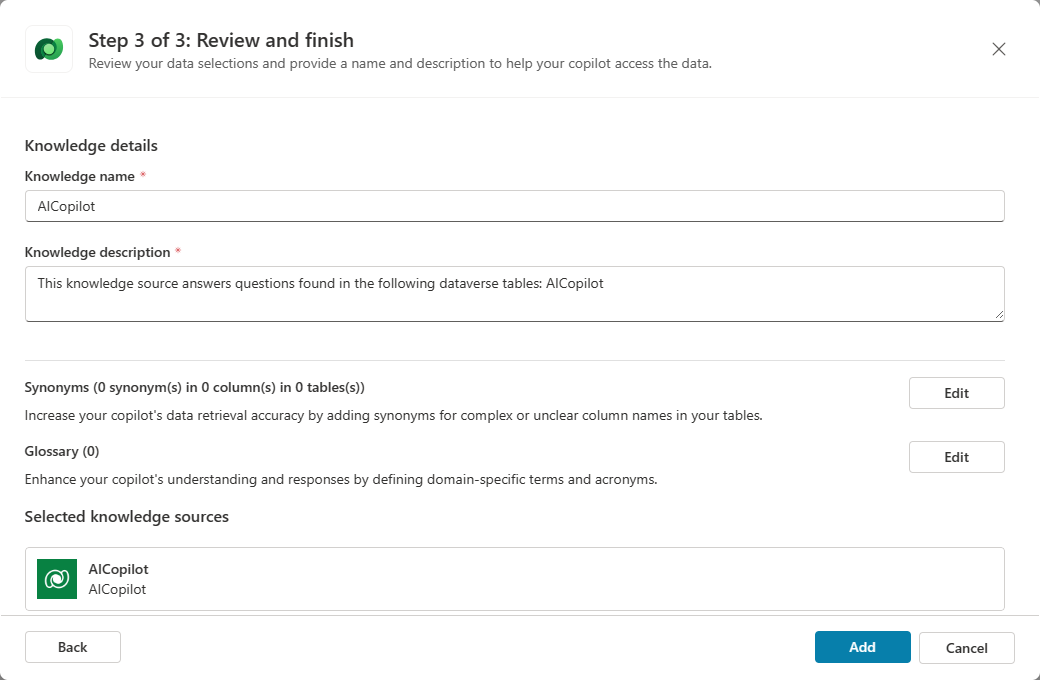
Review the knowledge name and description.
Optionally, to help improve the quality of the answers, add synonyms to columns of the tables that you selected. Select the Back button to accept changes.

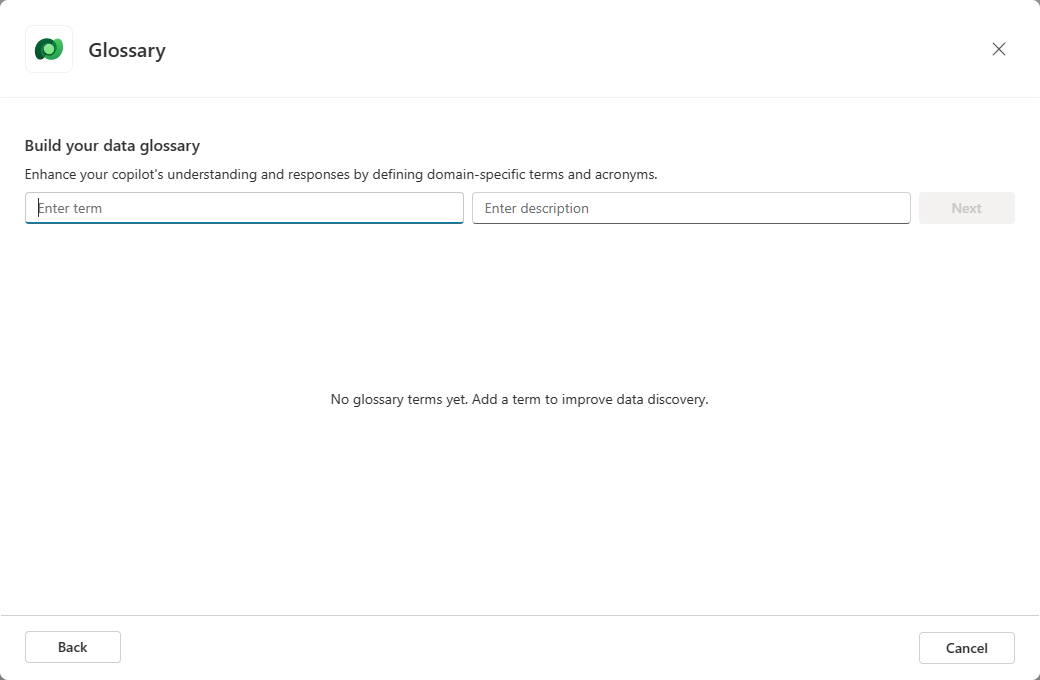
Optionally, to help improve the quality of the answers, add a glossary to knowledge sources. Select the Back button to accept changes.
Select Add to finish adding the knowledge source.
Enterprise data
Note
For more information about enterprise data, see Use connectors with knowledge sources.
Choose from one of the supported data sources:
- Enterprise websites
- Azure SQL
- ADLS Gen2
- MediaWiki
- Salesforce
- ServiceNow Knowledge
- File share
- SharePoint Server
- SAP
- Ado Git
- CSV
- Jira
- Azure DevOps Wiki
- Oracle SQL database
- Microsoft SQL server(New)
- ServiceNow Catalog
- Confluence
- ServiceNow Tickets
- Custom Connector
- Power Platform connector actions
Note
- Graph connection(s) that have been setup by your tenant admin are displayed here.
- If you want to create a new connection, or your graph connection hasn't been setup yet, select Create Actions to use Actions instead.
Add a name (by default, the connection's name is used).
Add a description.
Select Add to finish adding the knowledge source.