Save and load assessments with Data Migration Assistant
Important
Data Migration Assistant (DMA) is deprecated. For migration options from SQL Server to Azure SQL, see the migration options for SQL Server to Azure SQL.
The following step-by-step instructions help you use the Data Migration Assistant v5.0 or later to save a database assessment to a file, and then to load an assessment from a file.
In addition to loading assessments saved using the latest version of DMA, users can also use this feature to load assessments exported as .json files from previous versions of Data Migration Assistant to view the results in v5.0 and later.
Save an assessment to a file
After running an assessment using Data Migration Assistant, select Save Assessment.
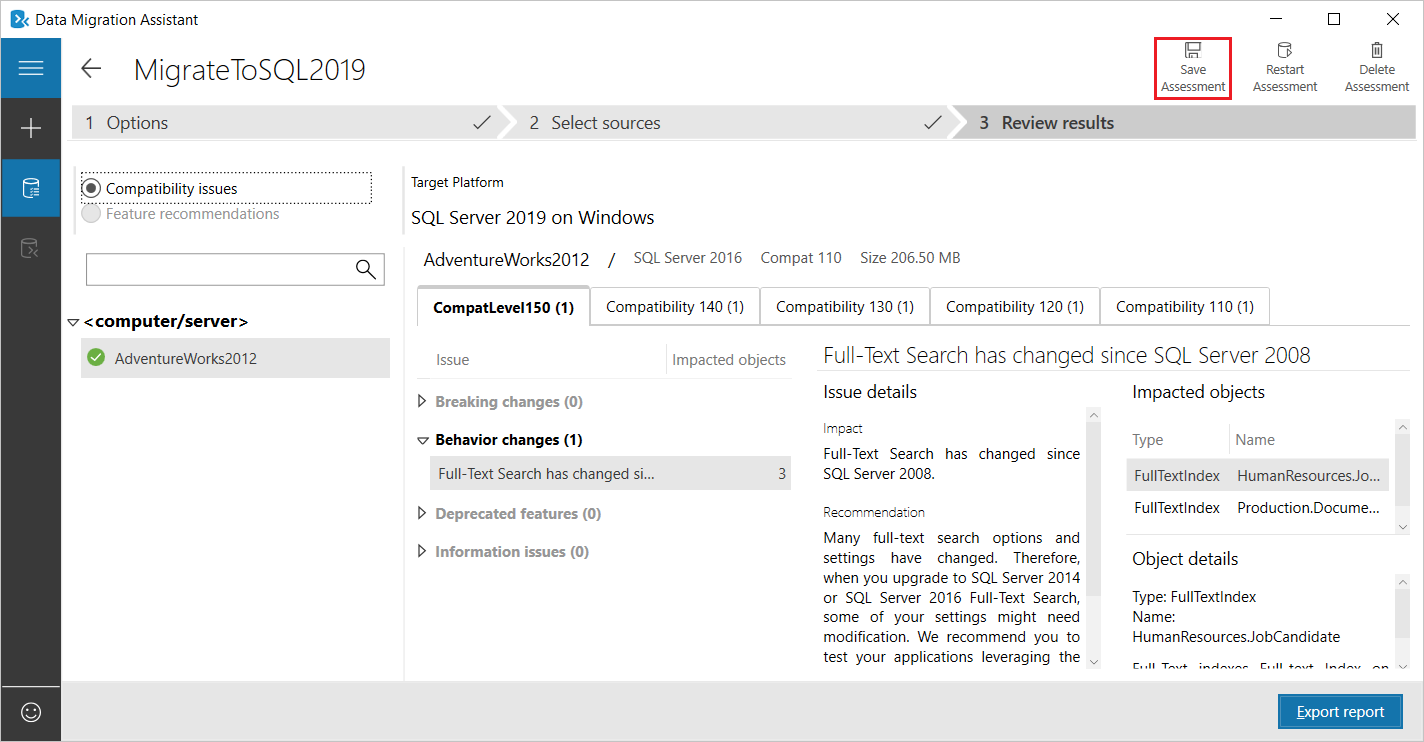
The standard Save... dialog box appears.
Note
For more information about how to run an assessment in Data Migration Assistant, see the article Perform a SQL Server migration assessment with Data Migration Assistant.
Specify a name for the file, and then select Save.


Load an assessment saved to a file
To load an assessment you've previously saved to a file, start Data Migration Assistant, and then on the All Assessments tab, select Load Assessment.

Navigate to the saved assessment file you want to load, select the file, and then select Open.

An entry for the assessment you loaded appears on the All Assessments tab.

Select the assessment entry, and then select Open Assessment.
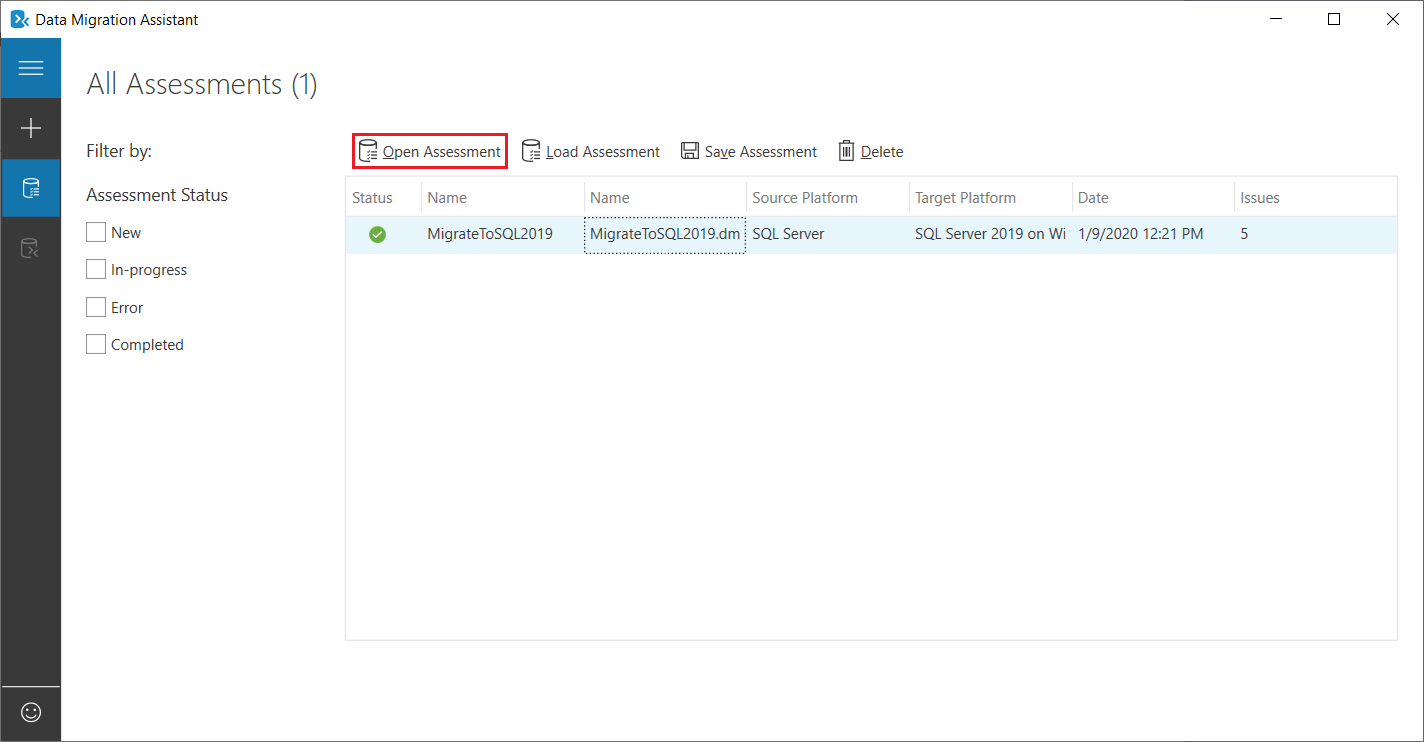
Data Migration Assistant now displays details of the assessment you had run previously.


משוב
בקרוב: במהלך 2024, נפתור בעיות GitHub כמנגנון המשוב לתוכן ונחליף אותו במערכת משוב חדשה. לקבלת מידע נוסף, ראה: https://aka.ms/ContentUserFeedback.
שלח והצג משוב עבור