Create a Power Automate button that sends an email
In this unit, you build an instant flow that sends an email to your manager with your current location and a photo of the vehicle that you're using.
Sign in to Go to Power Automate.
Select + Create on the left menu and then select Instant cloud flow.
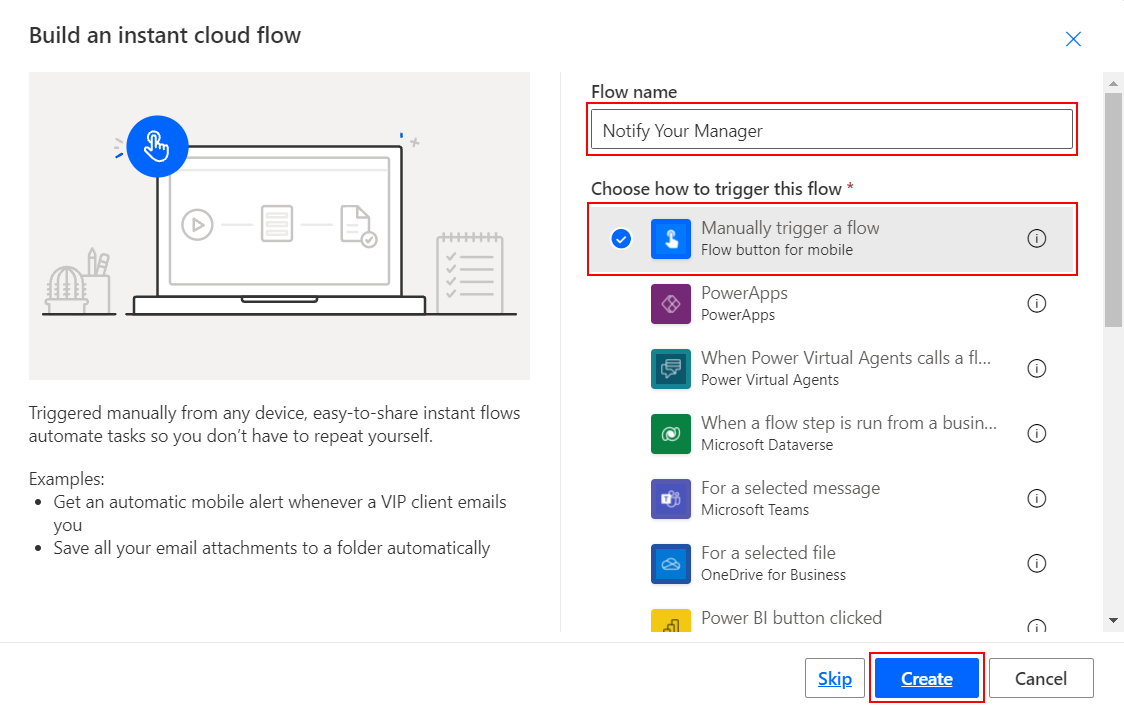
Enter Notify Your Manager as your Flow name. Select the Manually trigger a flow trigger, and then select Create to start building the flow.
Select the Manually trigger a flow trigger and then select + Add an input.
Select File and rename File Content to Image.

Select the plus icon under Manually trigger a flow and select Add an action. Search for Office 365 Users. Under Actions, select the Get manager (V2) option.
In the User (UPN) field, select fx from the blue box to open the expressions panel and type in:
triggerOutputs()['headers']['x-ms-user-email']Then select Add.
Select the plus icon under Get manager (V2) and select Add an action and search for Outlook and select Office 365 Outlook.
Under Actions, find and select the Send an email (V2) option. If using the new designer, you might need to select the See more option.
In the To field, select the lightning bolt (you might need to select Enter custom value) to open the Dynamic content section. Under Get manager (V2), search for and select Mail. You might have to select See more to find Mail.

Set the Subject field to
My current location and vehicle I am using.Set the Body field to the following text:
Hi

I have arrived at my current location and attached is a picture of the vehicle I am currently using.

Address:
In the Body field, after the word Hi, select Display Name from the Dynamic content window under Get manager (V2).
In the Body field, below Address:, select Full address, from the Dynamic content window under Manually trigger a flow. You might have to scroll down a bit to find it.
Select Show All next to Advanced Parameters to add the photo as an attachment.
Select Add new item in the Attachments field.
Set the Attachments Name - 1 field to any name you would like to use followed by the .jpg extension. Then set the Attachments Content - 1 field to the following expression:
base64ToBinary(triggerBody()?['file']?['contentBytes'])Save the flow.
You can now test the instant flow by using your smartphone. Open the app and select the Instant Flows option on the lower horizontal menu. Select Notify Your Manager. To add an image, select the folder icon and add an image by taking a new picture with your camera or by using an existing image from your photo library.
Your manager will get an email with an image attached.


