Configure firewall settings for your Microsoft Purview account
This article describes how to configure firewall settings for Microsoft Purview.
Prerequisites
To configure Microsoft Purview account firewall settings, ensure you meet the following prerequisites:
- An Azure account with an active subscription. Create an account for free.
- An existing Microsoft Purview account.
Microsoft Purview firewall deployment scenarios
To configure Microsoft Purview firewall follow these steps:
Sign in to the Azure portal.
Navigate to your Microsoft Purview account in the portal.
Under *Settings, choose Networking.
In the Firewall tab, under Public network access, change the firewall settings to the option that suits your scenario:
Enabled from all networks
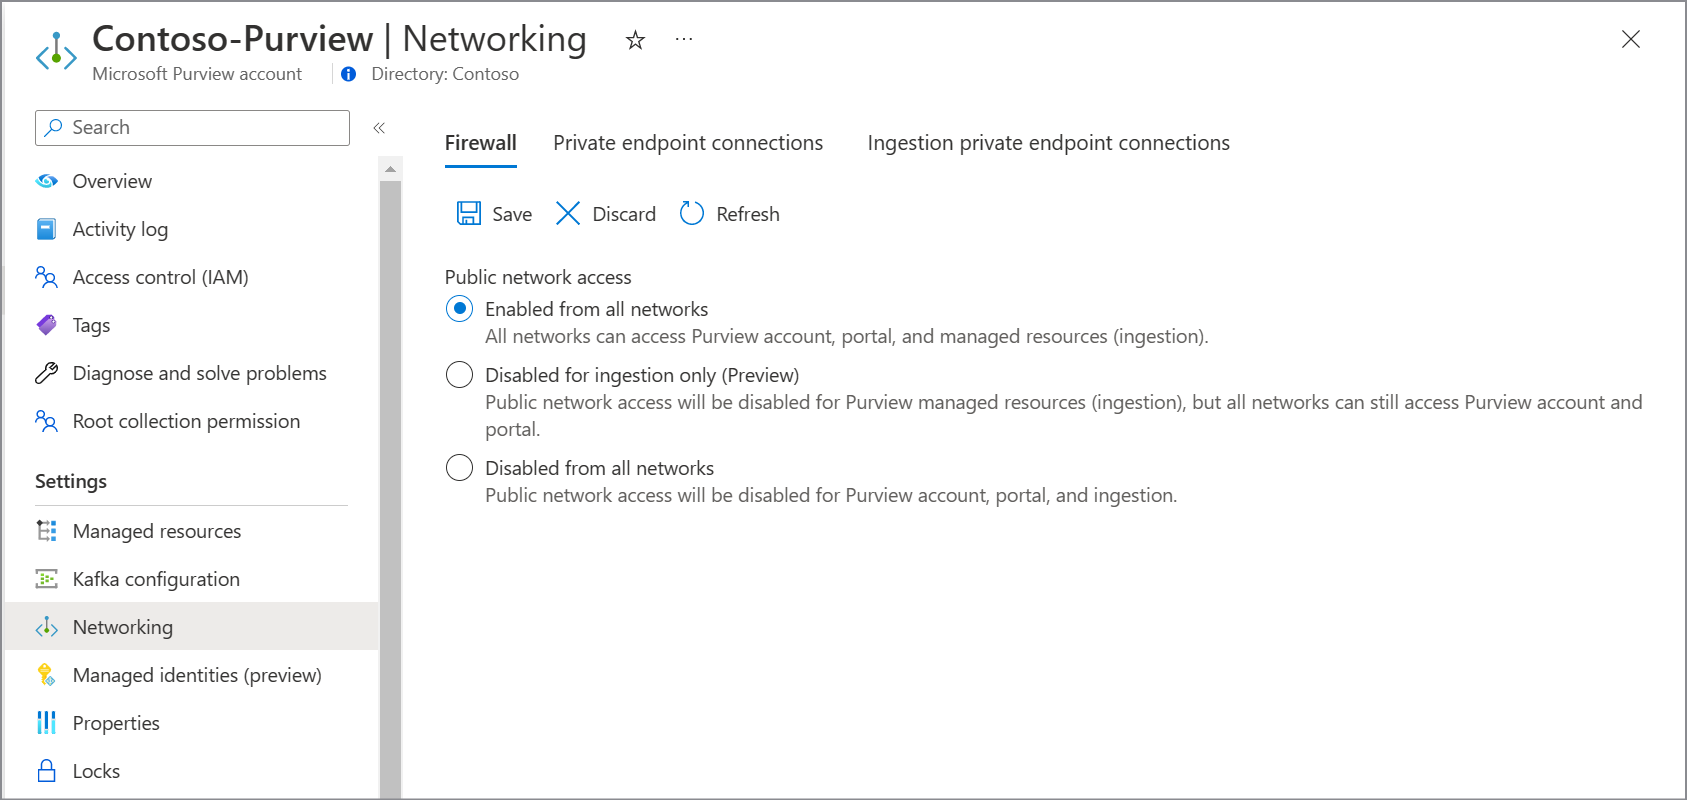
By choosing this option:
- All public network access into your Microsoft Purview account is allowed.
- If you're using a managed Event Hubs for kafka notifications, public network access is set to All networks on your Microsoft Purview account's Event Hubs.
- If you have an account created before December 15, 2023, public network access is set to Enabled from all networks on your Microsoft Purview account's managed storage account. If you have an account created after that date (or deployed using API version 2023-05-01-preview onwards), the public network access on your Microsoft Purview account's ingestion storage account Enabled from all networks.
Note
Even though the network access is enabled through public internet, to gain access to Microsoft Purview governance portal, users must be first authenticated and authorized.
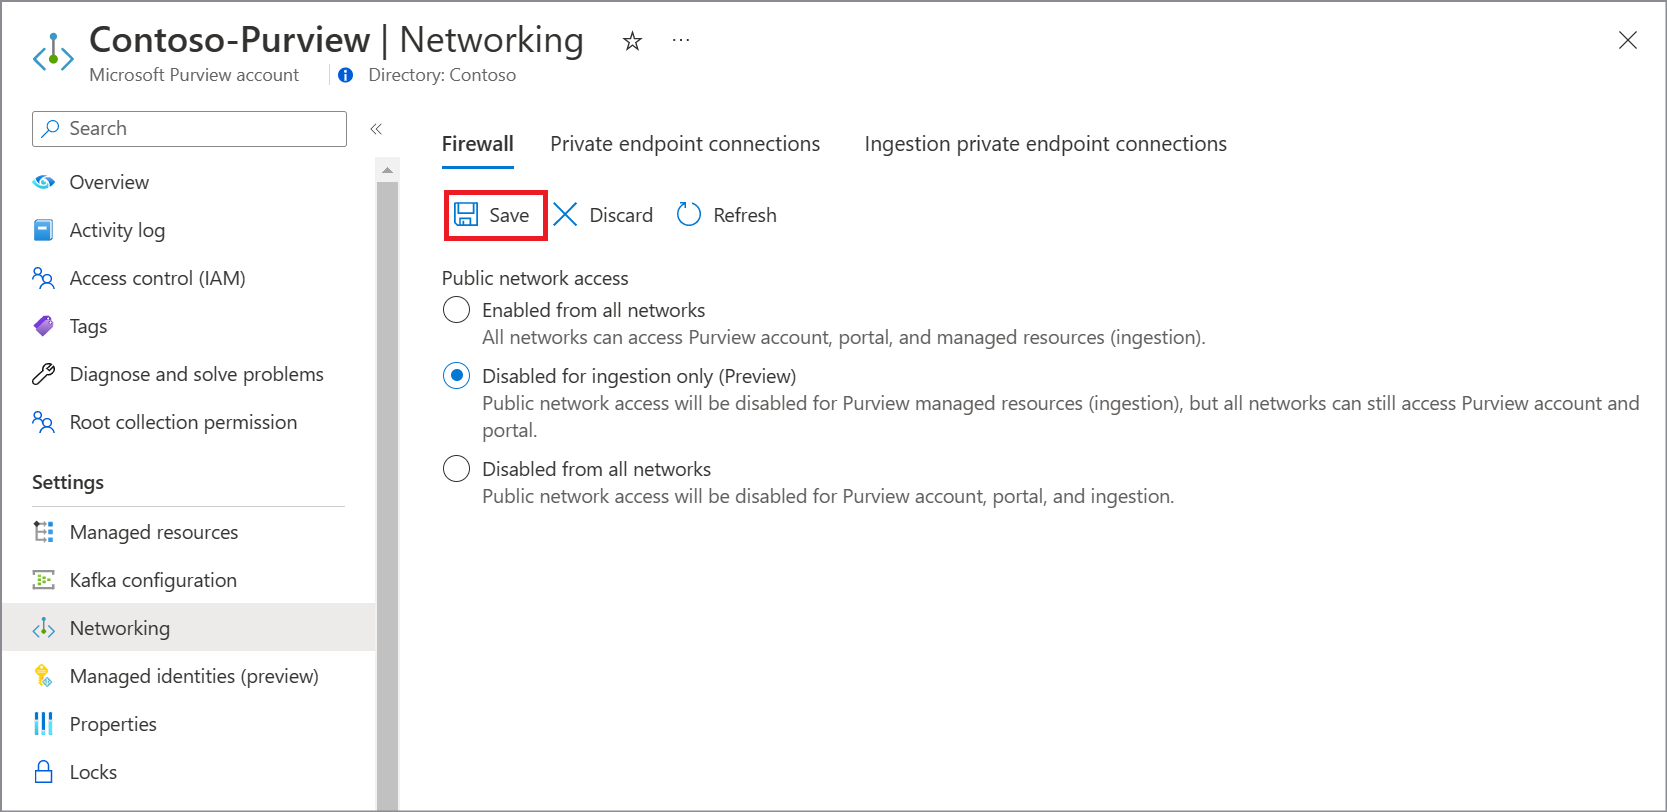
Disabled for ingestion only (Preview)

Note
Currently, this option is available in public preview.
By choosing this option:
- Public network access to your Microsoft Purview account through API and Microsoft Purview governance portal is allowed.
- All public network traffic for ingestion is disabled. In this case, you must configure a private endpoint for ingestion before setting up any scans. For more information, see Use private endpoints for your Microsoft Purview account.
- If you're using a managed Event Hubs for kafka notifications, public network access is set to Disabled on your Microsoft Purview account's Event Hubs.
- If you have an account created before December 15, 2023, public network access is set to Disabled on your Microsoft Purview account's managed storage account. If you have an account created after that date (or deployed using API version 2023-05-01-preview onwards), the public network access on your Microsoft Purview account's ingestion storage account Disabled.
Disabled from all networks
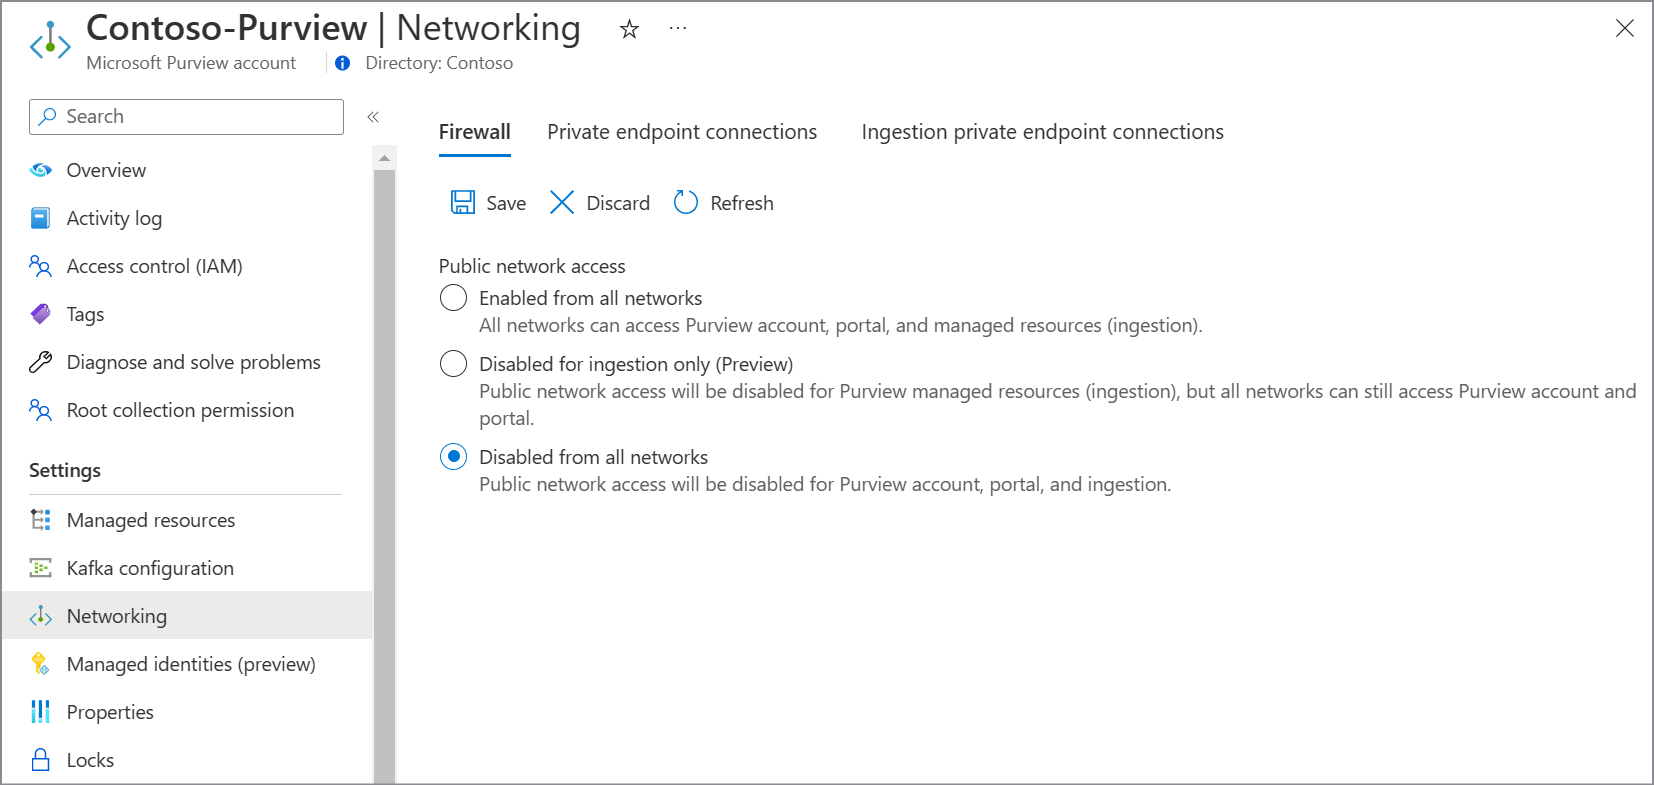
By choosing this option:
- All public network access into your Microsoft Purview account is disabled.
- All network access to your Microsoft Purview account through APIs or Microsoft Purview governance portal including traffic to run scans is allowed only through private network using private endpoints. For more information, see Connect to your Microsoft Purview and scan data sources privately and securely.
- If you're using a managed Event Hubs for kafka notifications, public network access is set to Disabled on your Microsoft Purview account's Event Hubs.
- If you have an account created before December 15, 2023, public network access is set to Disabled on your Microsoft Purview account's managed storage account. If you have an account created after that date (or deployed using API version 2023-05-01-preview onwards), the public network access on your Microsoft Purview account's ingestion storage account is set to Disabled.
Select Save.
Next steps
Visszajelzés
Hamarosan elérhető: 2024-ben fokozatosan kivezetjük a GitHub-problémákat a tartalom visszajelzési mechanizmusaként, és lecseréljük egy új visszajelzési rendszerre. További információ: https://aka.ms/ContentUserFeedback.
Visszajelzés küldése és megtekintése a következőhöz: