Microsoft Purview Data Quality managed virtual networks
Virtual networks or private endpoints are features in cloud computing platforms, like Azure, that enhance the security and isolation of resources. These endpoints allow you to connect to specific Azure services without exposing them to the public internet.
Virtual network protected endpoints allow access to Azure services from within the virtual network while ensuring that traffic stays within the Azure backbone network. It effectively prevents exposure of the service to the public internet. Private endpoints extend the concept of virtual network protected endpoints further by providing a private IP address within your virtual network for the Azure service. This allows you to access the service using its private IP address, effectively keeping traffic within your virtual network and bypassing the public internet altogether. Private endpoints are available for various Azure services, including Azure Storage, Azure SQL Database, Azure App Service, Azure Key Vault, and more.
A virtual network protected endpoint is essential for scenarios where security and network isolation are critical requirements. Virtual network protected endpoints help organizations ensure that their data and resources are accessible only to authorized users and applications within a controlled network environment, minimizing exposure to potential security threats from the public internet. In this article, we'll take you through the steps to create protected data source connections for data profiling and data quality scans.
User permission requirements
- Compute provision – Governance Domain Owner
- Managed private endpoint creation - Governance Domain Owner
- Private endpoint approval – Owner of the Azure storage source
Caution
Compute and Managed Private Endpoint connections are shared across all governance domains of the same purview account for a specific region and datasource.
Configure a data quality managed virtual network
We'll configure a data quality managed virtual network by creating a connection to a protected data source.
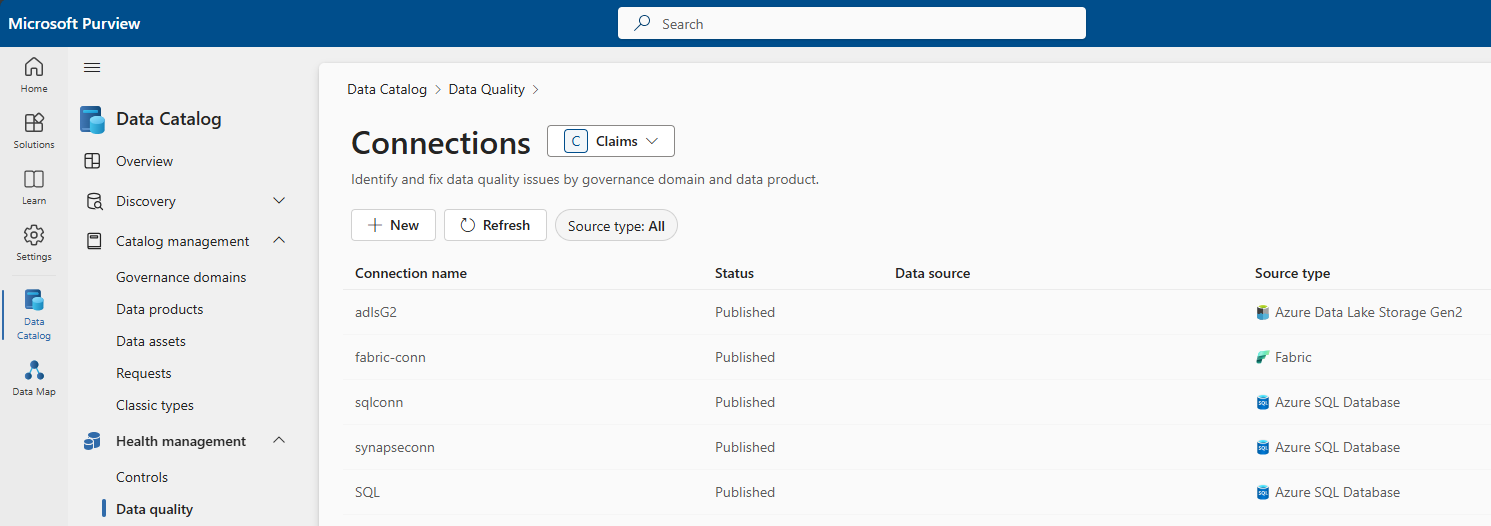
From Microsoft Purview Data Catalog, select the Health Management menu and Data quality submenu.
Select a governance domain from the list
Select the Manage button and select Connections from the menu to open connections page.
Select New tab to create a new connection for the data products and data assets of your governance domain.
In the connection page, add connection display name, description, and select the data source type to be connected.
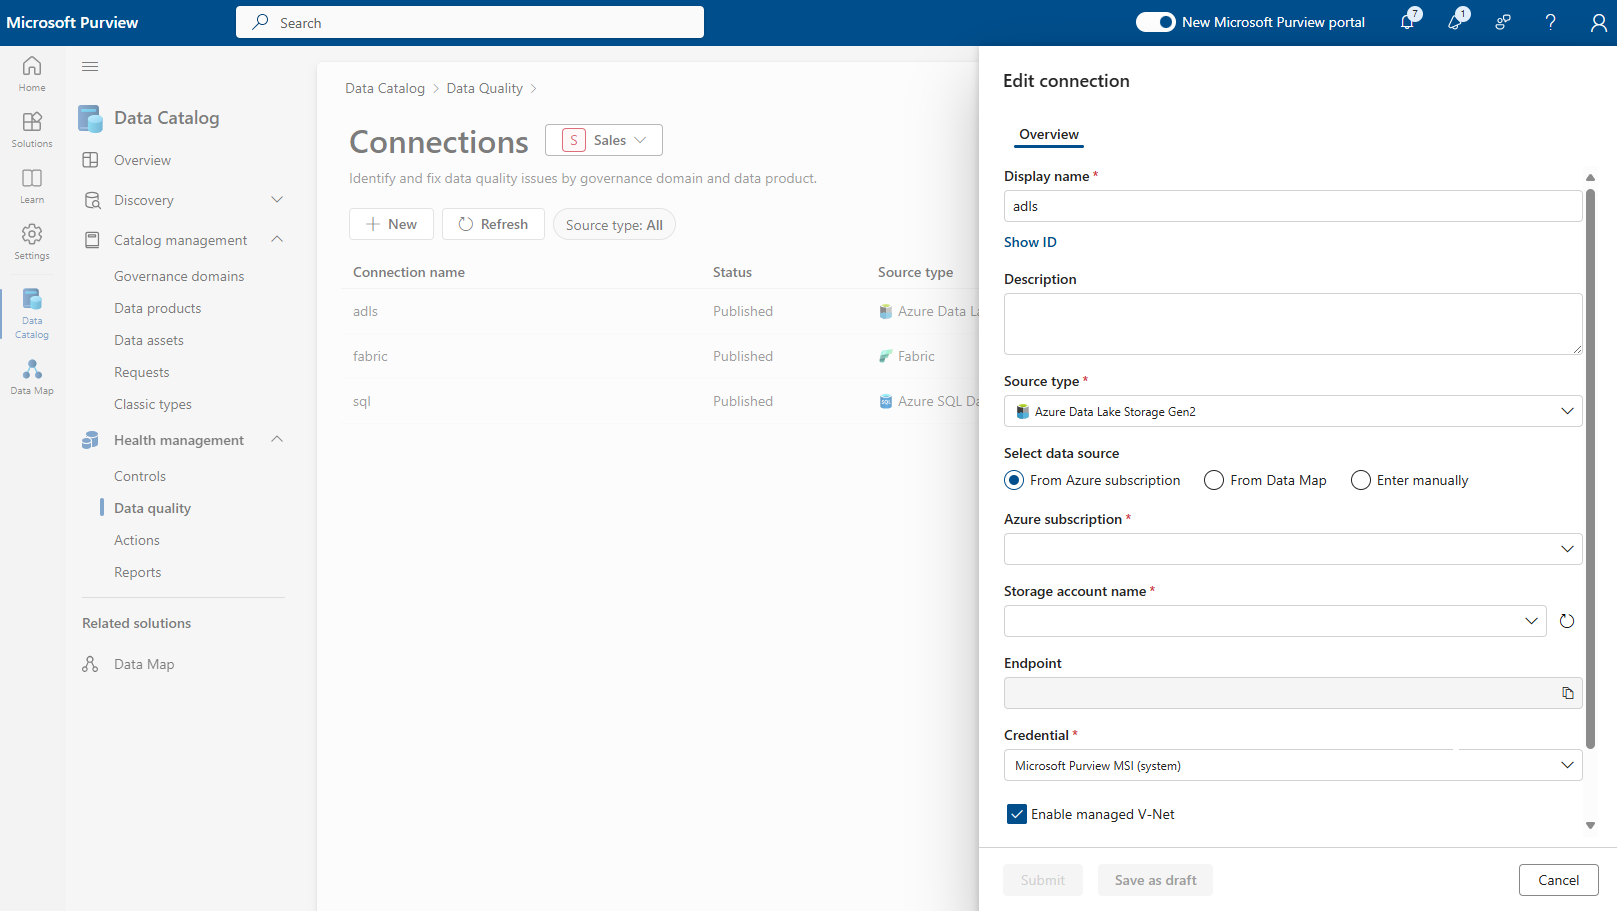
Add other data source details like Subscription and Storage Account name or Server Name and database name, depending on the source.
Select the Enable managed V-Net checkbox.
Select the region where the data source is housed.
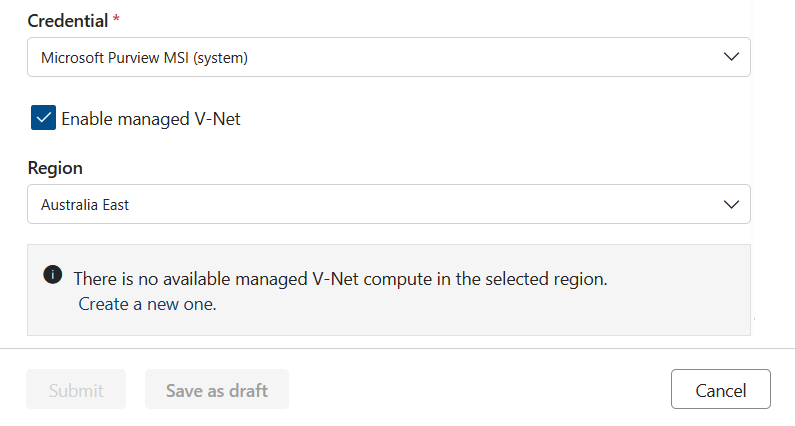
With all these details, Microsoft Purview Data Quality will check if a compute infrastructure has already been created for the account in that region. If not, you're prompted to create a new virtual network dedicated compute.
Tip
Provisioning of compute takes roughly 10 mins, so after requesting compute provisioning, you can save the connection creation request in draft mode and edit it later.
Once the compute is provisioned, data quality will check if a private endpoint connection to asset already exists. If not, you're prompted to create a private endpoint connection.
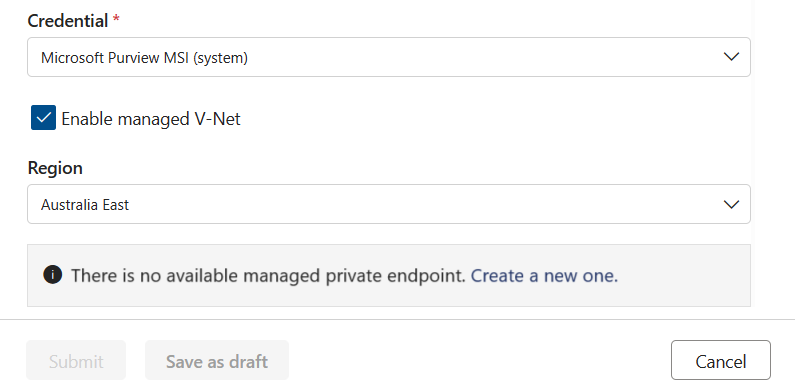
Once the private endpoint is created, or if one already exists but wasn't approved, then you're requested to approve the private endpoint connection request.
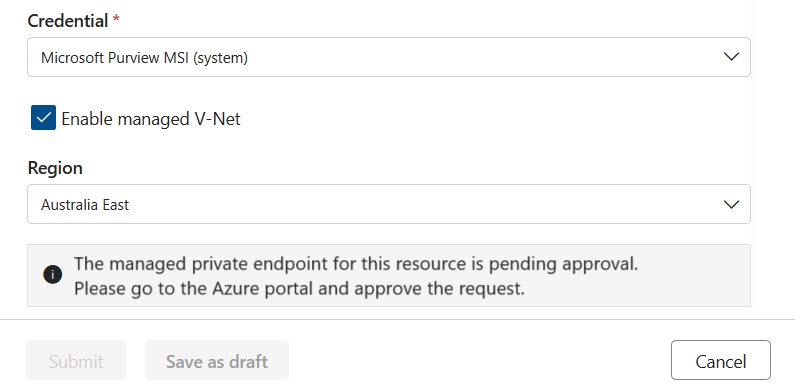
This request can be approved from Networking tab in Storage Account or SQL Server. Select the Private access tab, select a pending connection, and select Approve.

Select Yes to approve the connection.

You can now see that the request shows as Approved.

Tip
After generating the private endpoint connection request, you can save the connection as a draft and resume once the request has been approved.
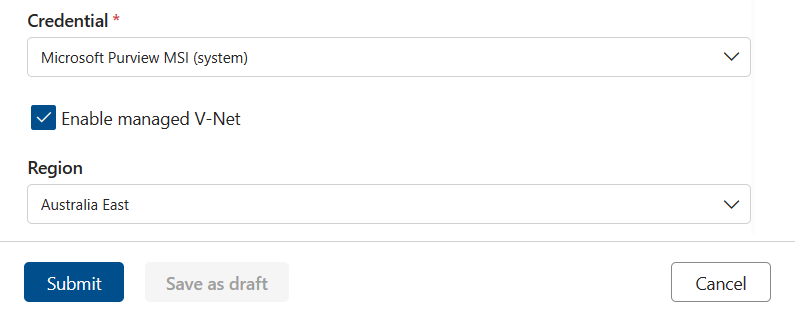
Once the private endpoint connection is created and approved, you can submit the connection.
Caution
Test connection is not currently supported for virtual network protected assets.
After the connection is completed, you can run data quality jobs as usual against the virtual network protected data assets.
