Adding Azure App Configuration by using Visual Studio Connected Services
In this tutorial, you will learn how to easily add everything you need to start using Azure App Configuration to manage your configuration and feature flags for web projects in Visual Studio. By using the Connected Services feature in Visual Studio, you can have Visual Studio automatically add all the code, NuGet packages, and configuration settings you need to connect to your App Configuration resource in Azure. To use this feature, you must be using Visual Studio 2019 version 16.9 or later.
You can use the App Configuration Connected Services feature in the following project types:
- ASP.NET Core
- .NET Core Console
- .NET Framework projects.
Note
This topic applies to Visual Studio on Windows. For Visual Studio for Mac, see Connected services in Visual Studio for Mac.
Prerequisites
- Visual Studio with the Azure workload installed.
- A project of one of the supported types
- An Azure account. If you don't have an Azure account, activate your Azure benefits for Visual Studio subscribers or sign up for a free trial.
Connect to Azure App Configuration using Connected Services
Open your project in Visual Studio.
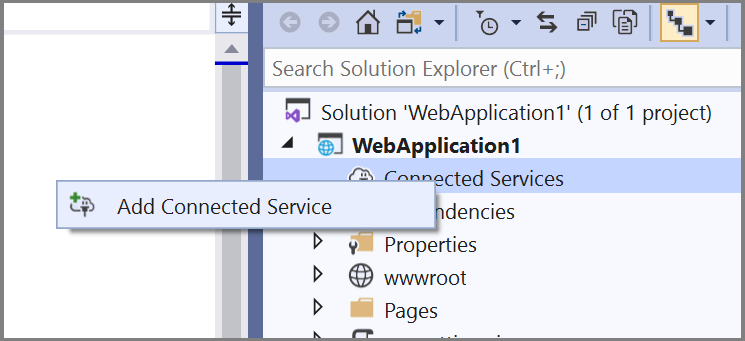
In Solution Explorer, right-click the Connected Services node, and, from the context menu, select Add Connected Service.
In the Connected Services tab, select the + icon for Service Dependencies.
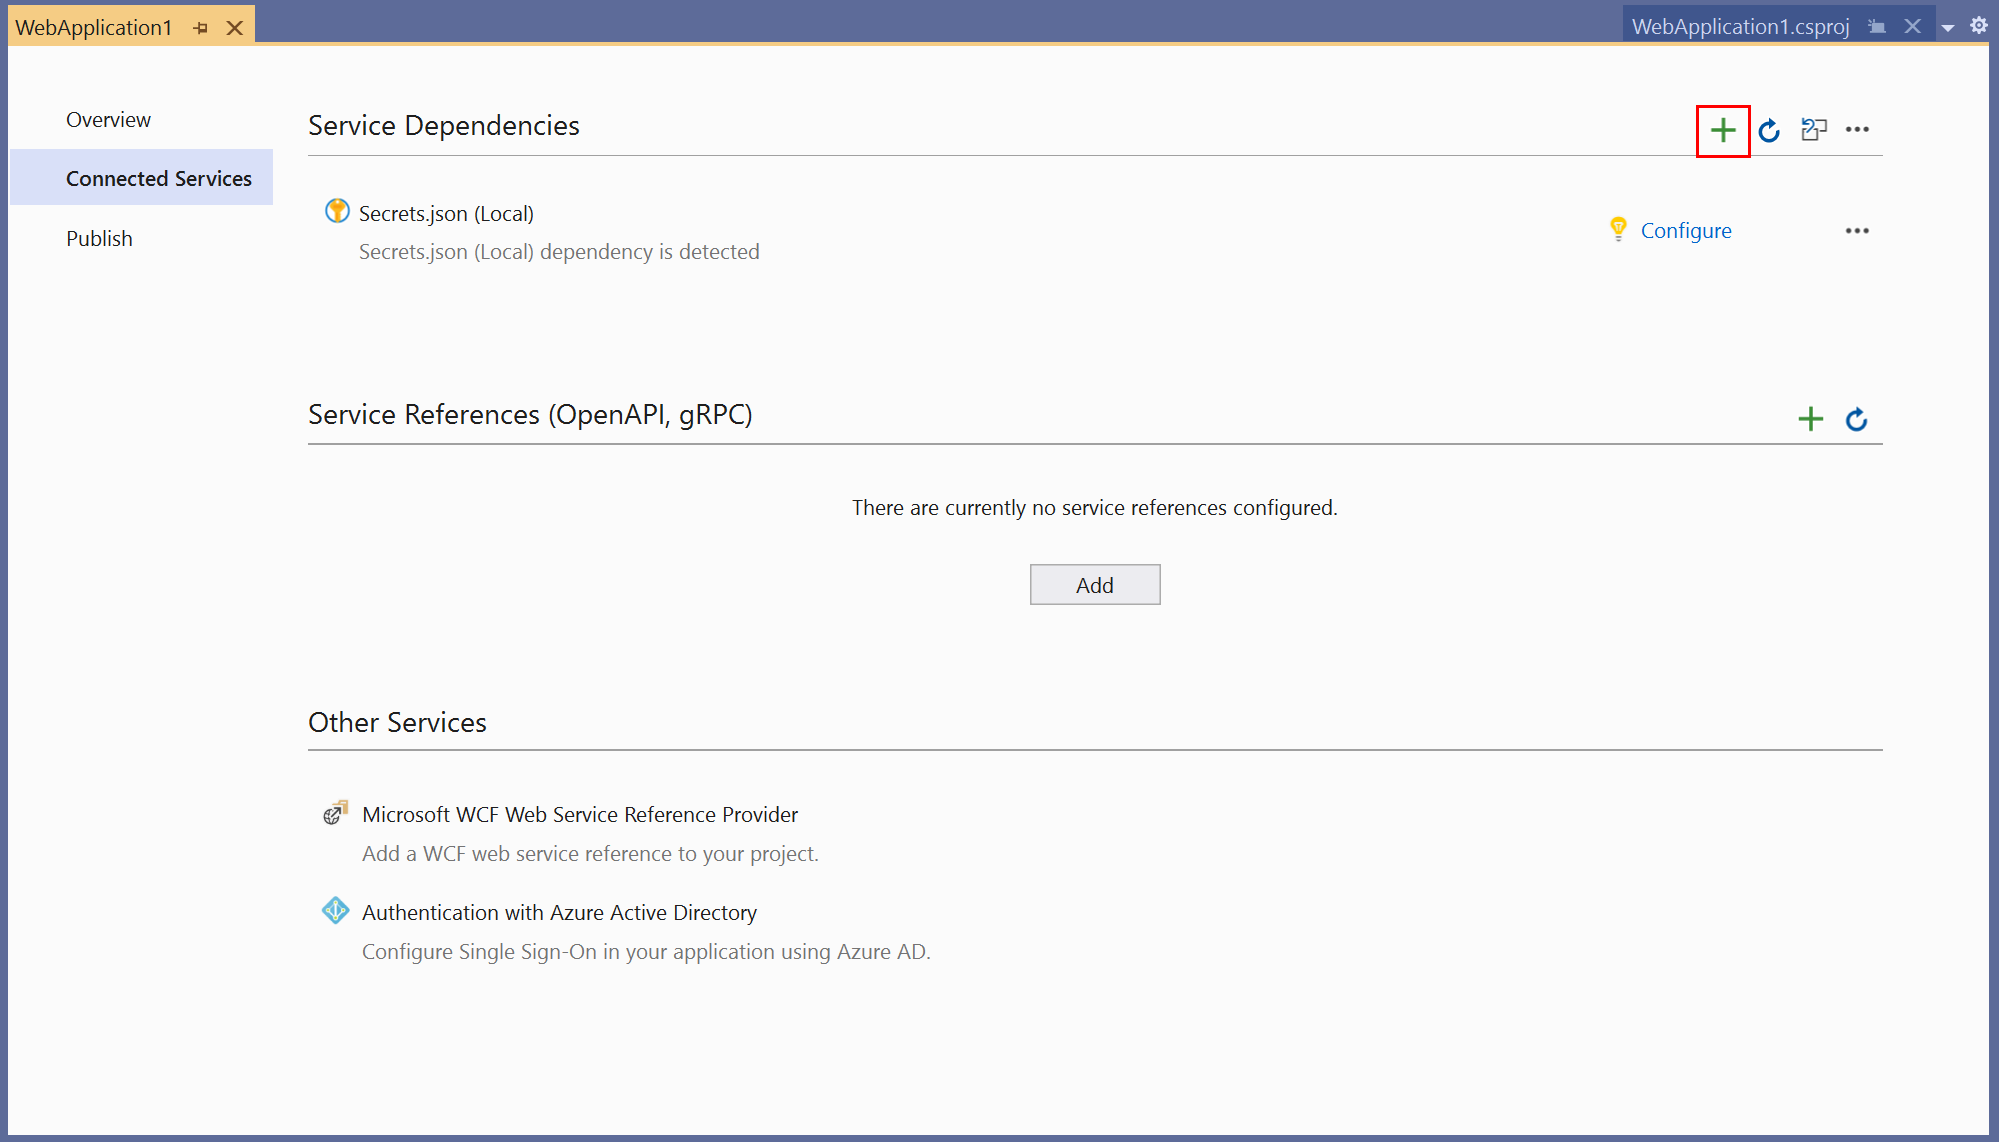
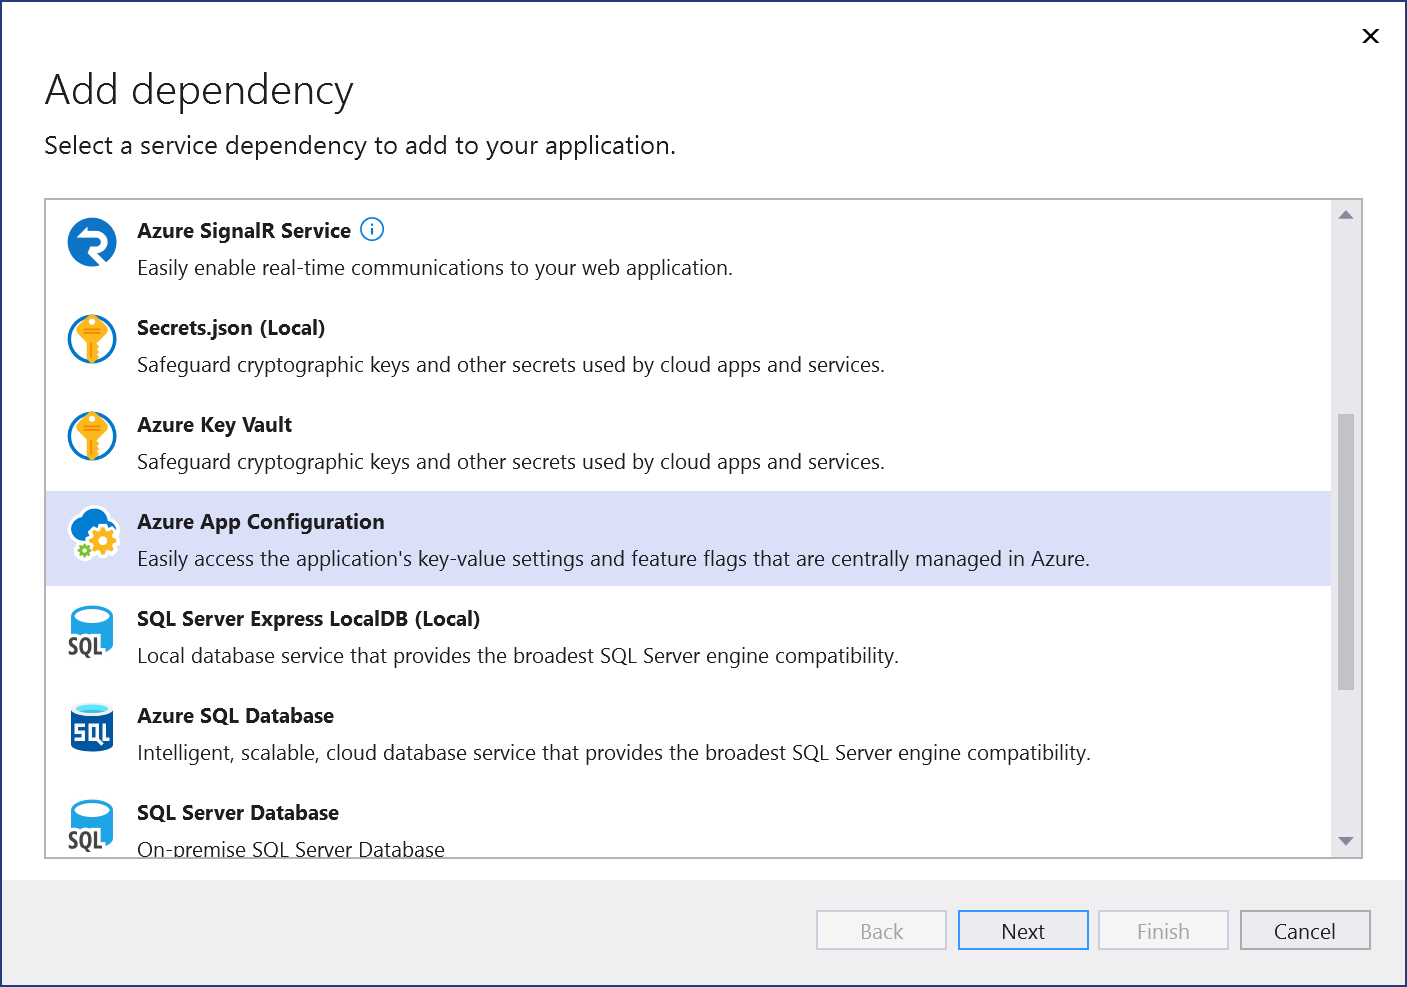
In the Add Dependency page, select Azure App Configuration.
If you aren't signed in already, sign in to your Azure account. If you don't have an Azure account, you can sign up for a free trial.
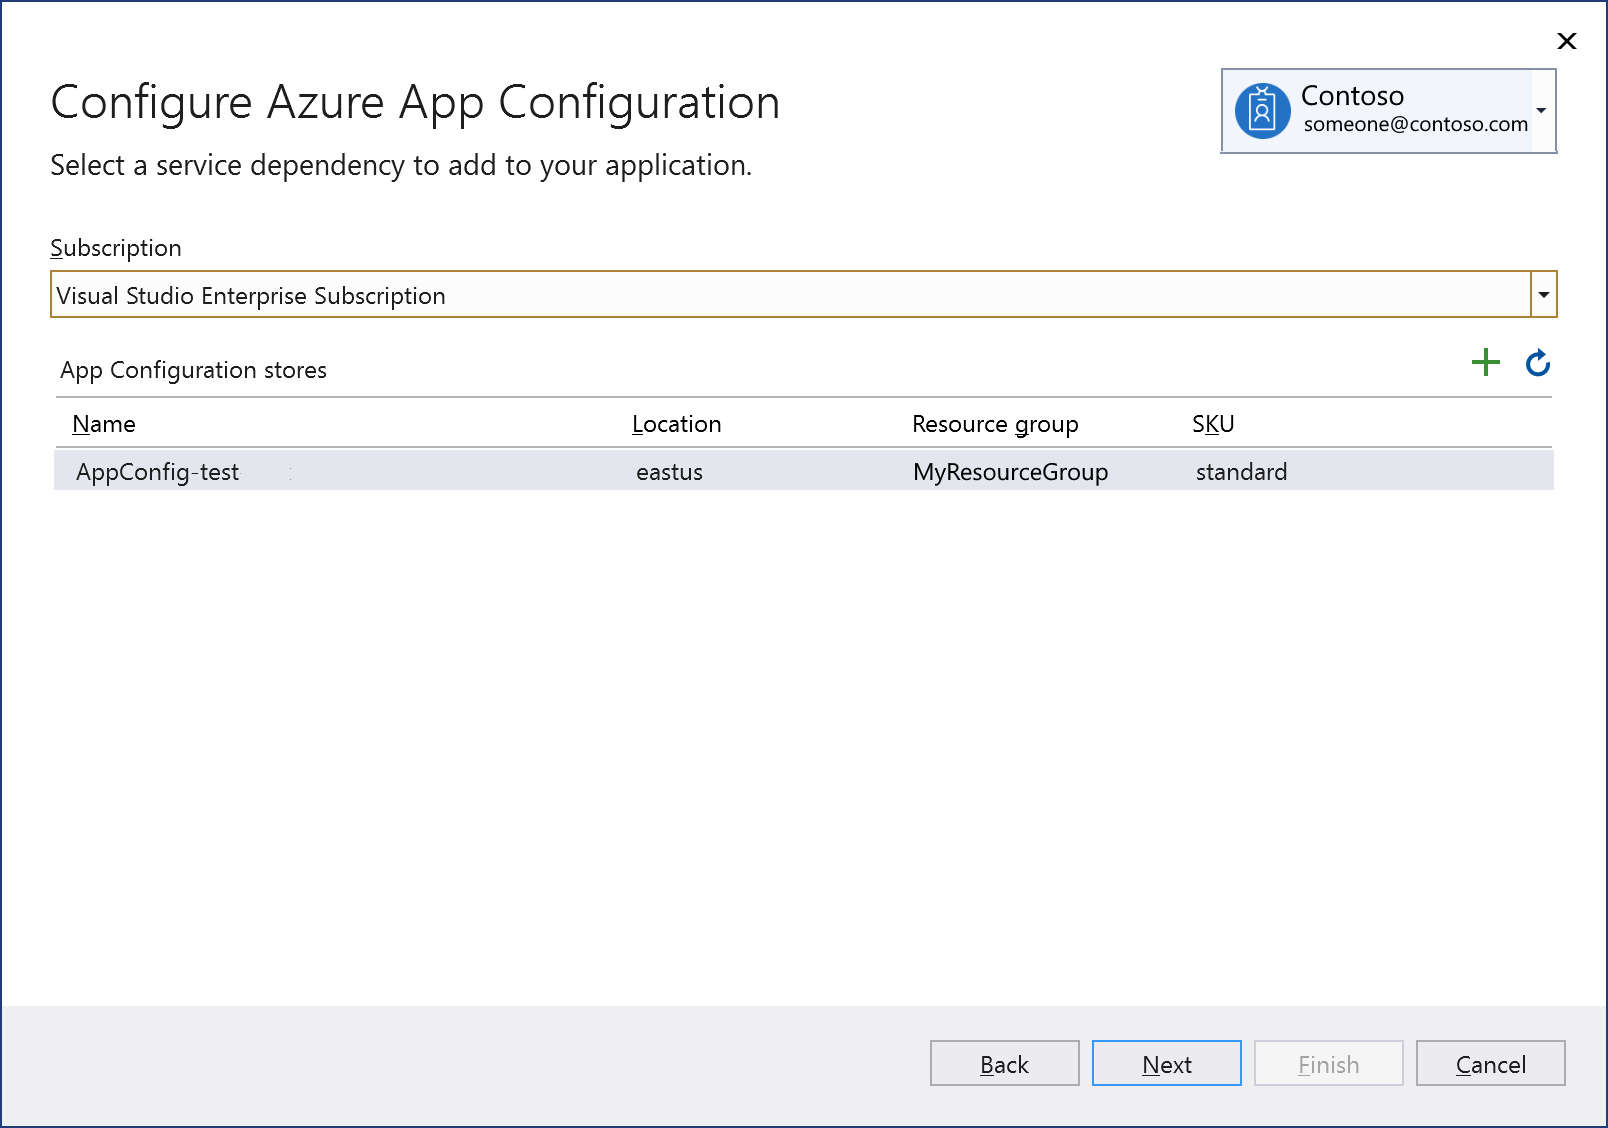
In the Configure Azure App Configuration screen, select your subscription and an existing configuration store. Then select Next.
If you need to create an App Configuration store, go to the next step. Otherwise, skip to step 6.
To create an app configuration store:
Select the + icon to the right of the App Configuration stores header.
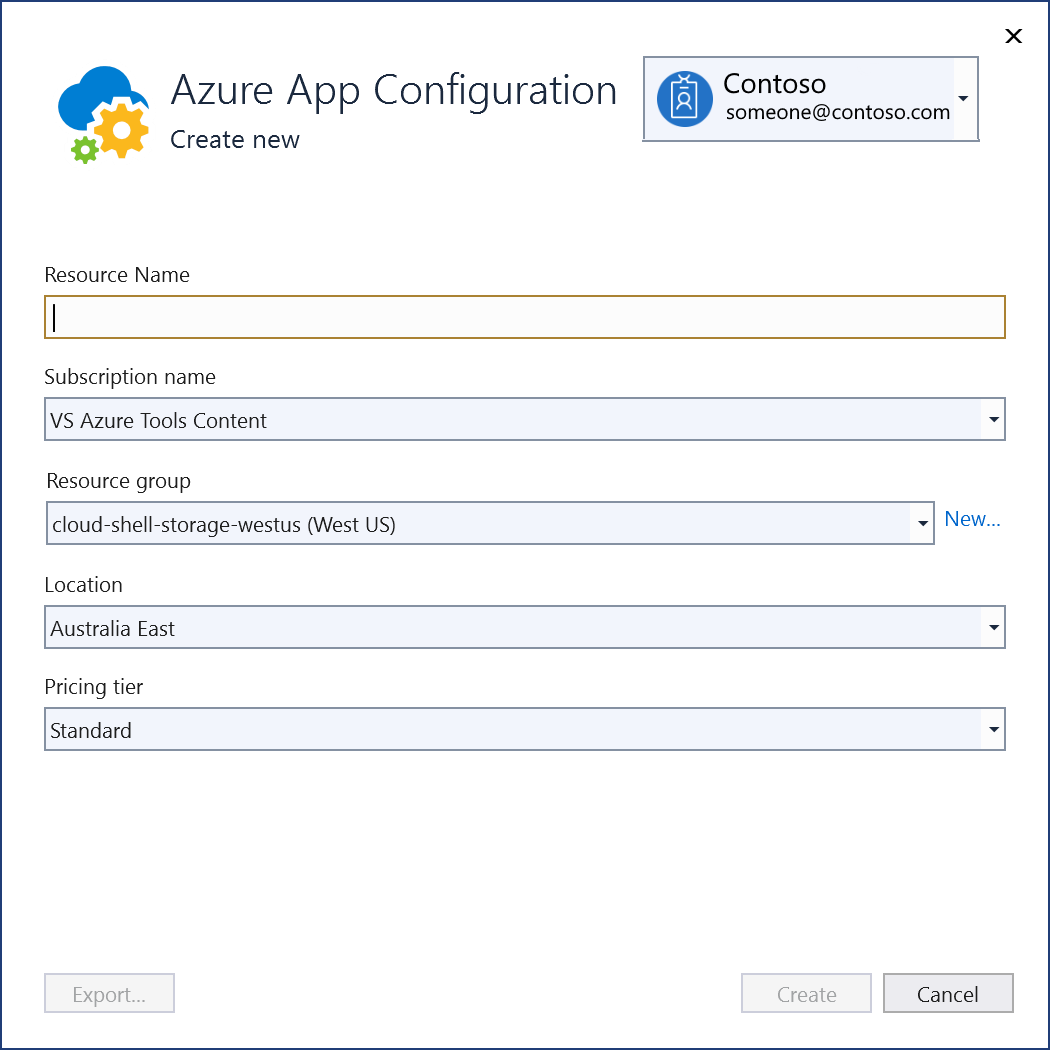
Fill out the Azure App Configuration: Create new dialog, and select Create. Note that the Resource Name field needs to be unique.
When the Azure App Configuration dialog is displayed, the new configuration store appears in the list. Select this new store, then select Next.
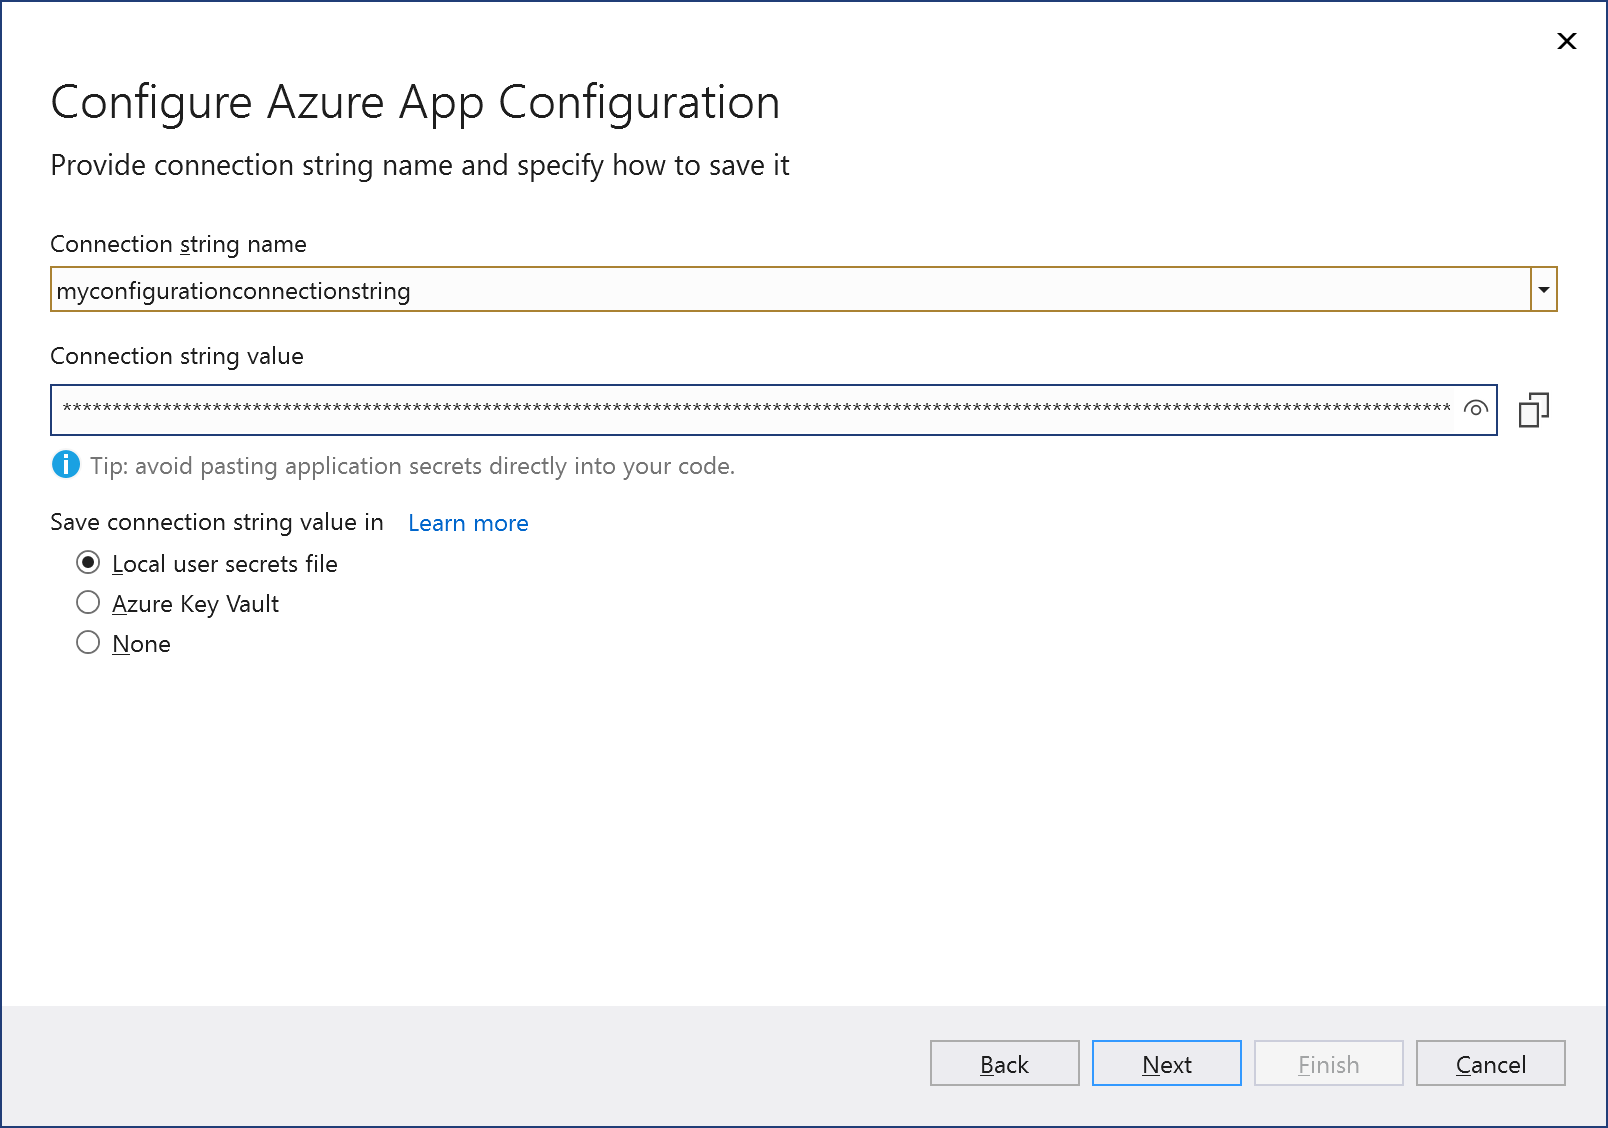
Enter a connection string name, and choose whether you want the connection string stored in a local secrets file, or in Azure Key Vault.
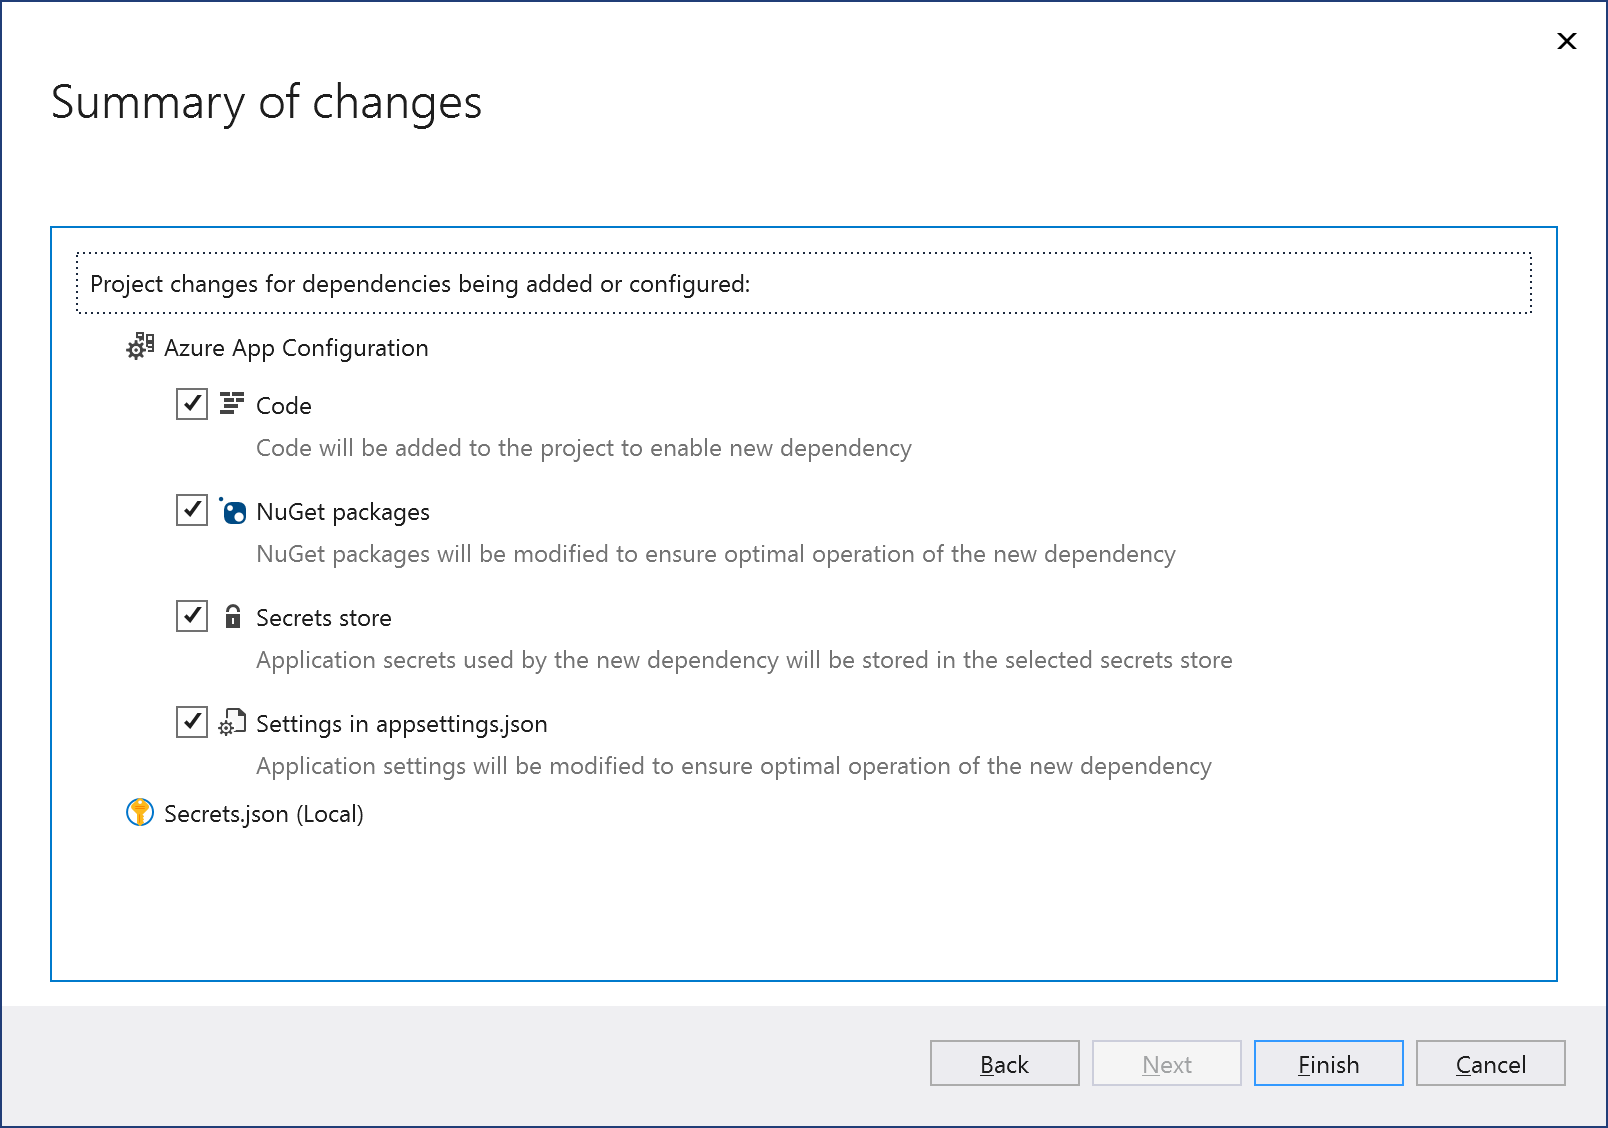
The Summary of changes screen shows all the modifications that will be made to your project if you complete the process. If the changes look OK, choose Finish.
Once the Dependency configuration process has finished, Azure App Configuration now appears under the Service Dependencies node of your project.
Open your project in Visual Studio.
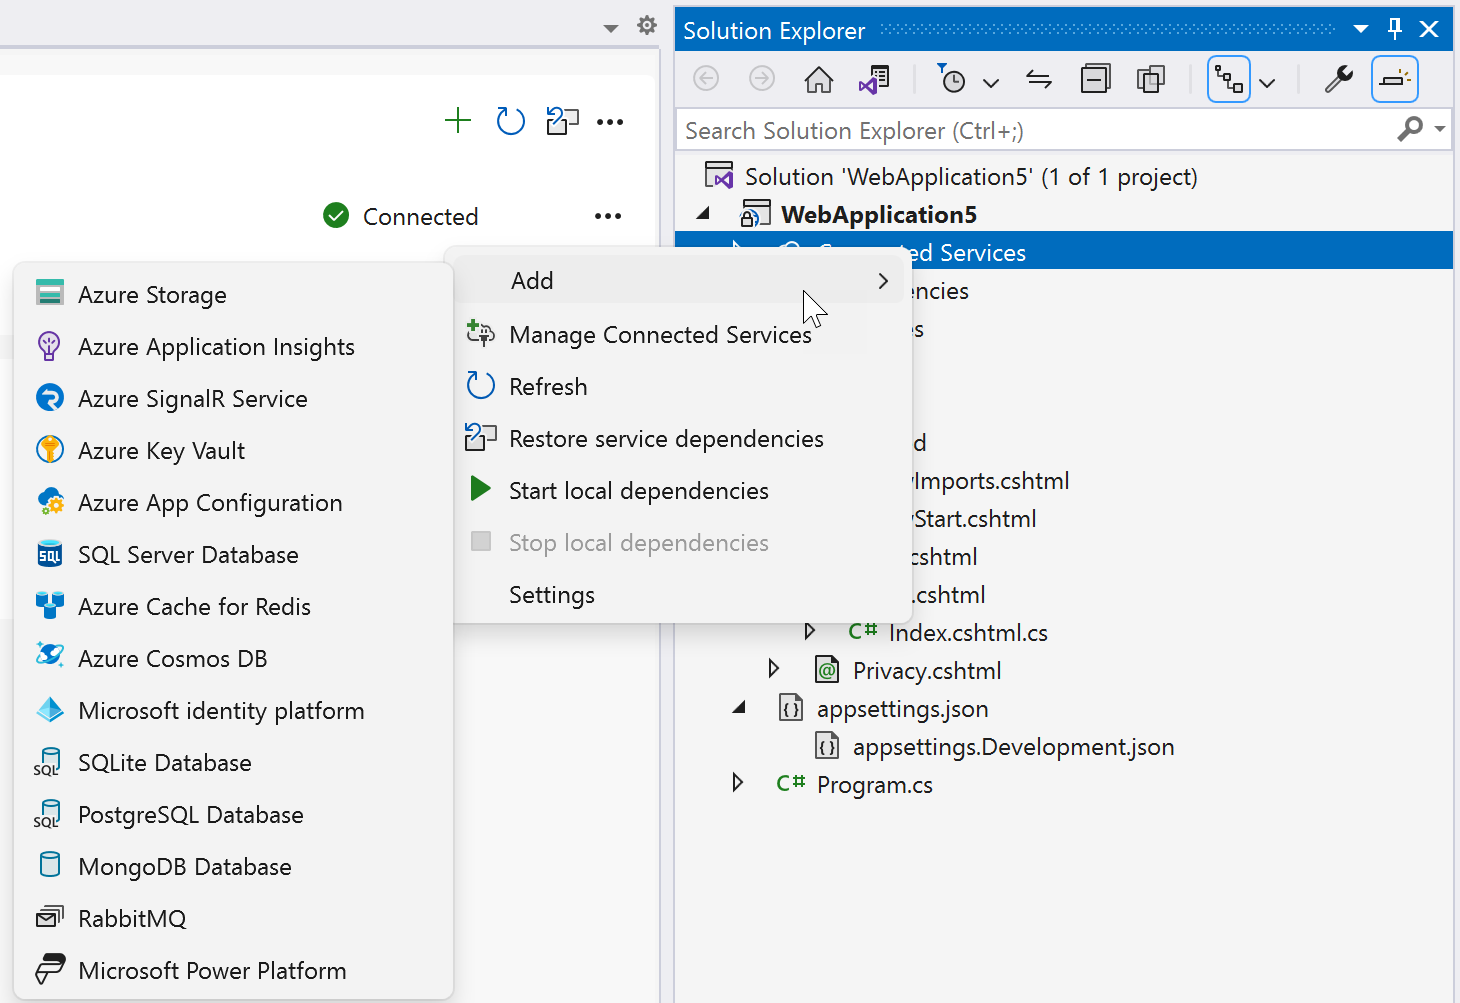
In Solution Explorer, right-click the Connected Services node, and, from the context menu, select Add to open the menu of available services.
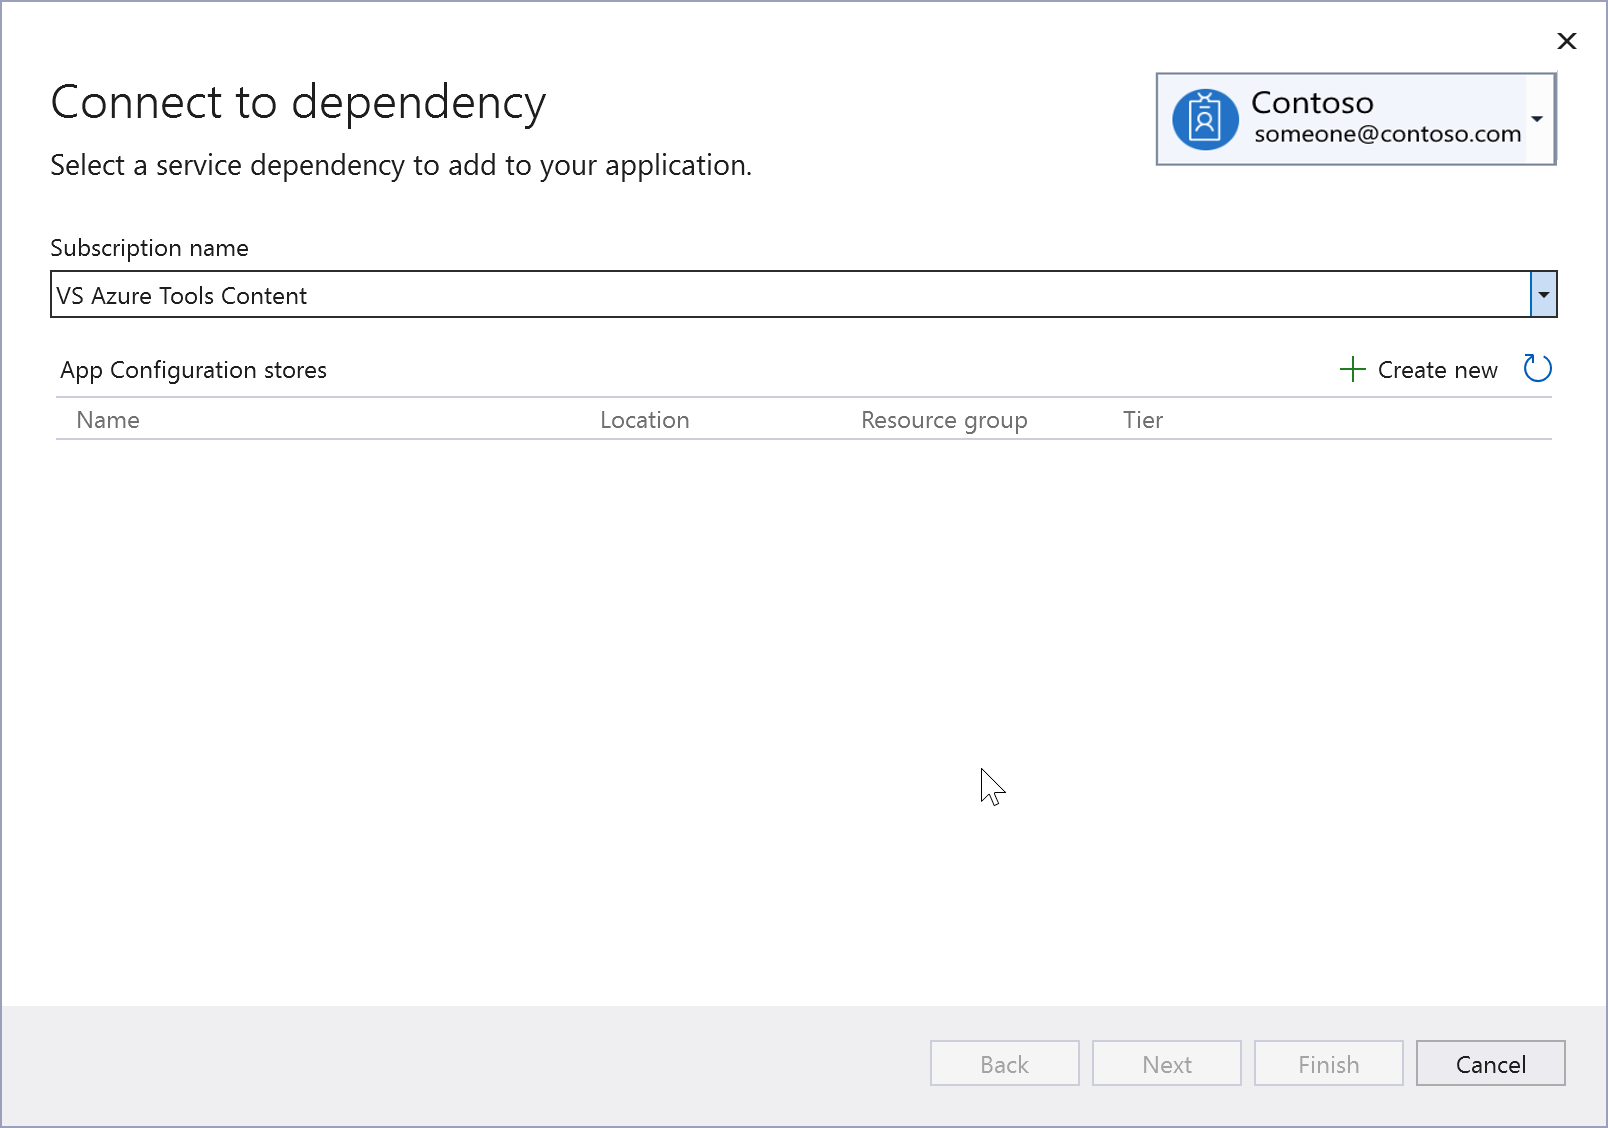
Choose Azure App Configuration. The Connect to dependency page appears.
If you aren't signed in already, sign in to your Azure account. If you don't have an Azure account, you can sign up for a free trial.
In the Configure Azure App Configuration screen, select your subscription and an existing configuration store. Then select Next.
If you need to create an App Configuration store, go to the next step. Otherwise, skip to step 6.
To create an app configuration store:
Select the + icon to the right of the App Configuration stores header.
Fill out the Azure App Configuration: Create new dialog, and select Create. Note that the Resource Name field needs to be unique.
When the Azure App Configuration dialog is displayed, the new configuration store appears in the list. Select this new store, then select Next.
Enter a connection string name, and choose whether you want the connection string stored in a local secrets file, or in Azure Key Vault.
The Summary of changes screen shows all the modifications that will be made to your project if you complete the process. If the changes look OK, choose Finish.
Once the Dependency configuration process has finished, Azure App Configuration now appears under the Service Dependencies node of your project.
In Solution Explorer, double-click on the Connected Services node to open the Connected Services tab. The connection appears under the Service Dependencies section:

There's also a Secrets.json entry that supports secure storage of the connection string locally. Read about how this works at Screenshot showing safe storage of app secrets in development in ASP.NET Core.
If you click on the three dots next to the dependencies you added, you can see various options such as Connect to reopen the wizard and change the connection, and for Secrets.json, the option to manage secrets. You can also click the three dots at the top right of the window to see options to start local dependencies, change settings, and more.
Related content
Visszajelzés
Hamarosan elérhető: 2024-ben fokozatosan kivezetjük a GitHub-problémákat a tartalom visszajelzési mechanizmusaként, és lecseréljük egy új visszajelzési rendszerre. További információ: https://aka.ms/ContentUserFeedback.
Visszajelzés küldése és megtekintése a következőhöz: