Menjalankan dan mengelola eksperimen di Azure Chaos Studio
Anda dapat menggunakan eksperimen chaos untuk memverifikasi bahwa aplikasi Anda tahan terhadap kegagalan dengan menyebabkan kegagalan tersebut dalam lingkungan yang terkendali. Artikel ini memberikan gambaran umum tentang cara menggunakan Azure Chaos Studio dengan eksperimen chaos yang telah Anda buat sebelumnya.
Memulai eksperimen
Buka portal Microsoft Azure.
Cari Chaos Studio di bilah pencarian.
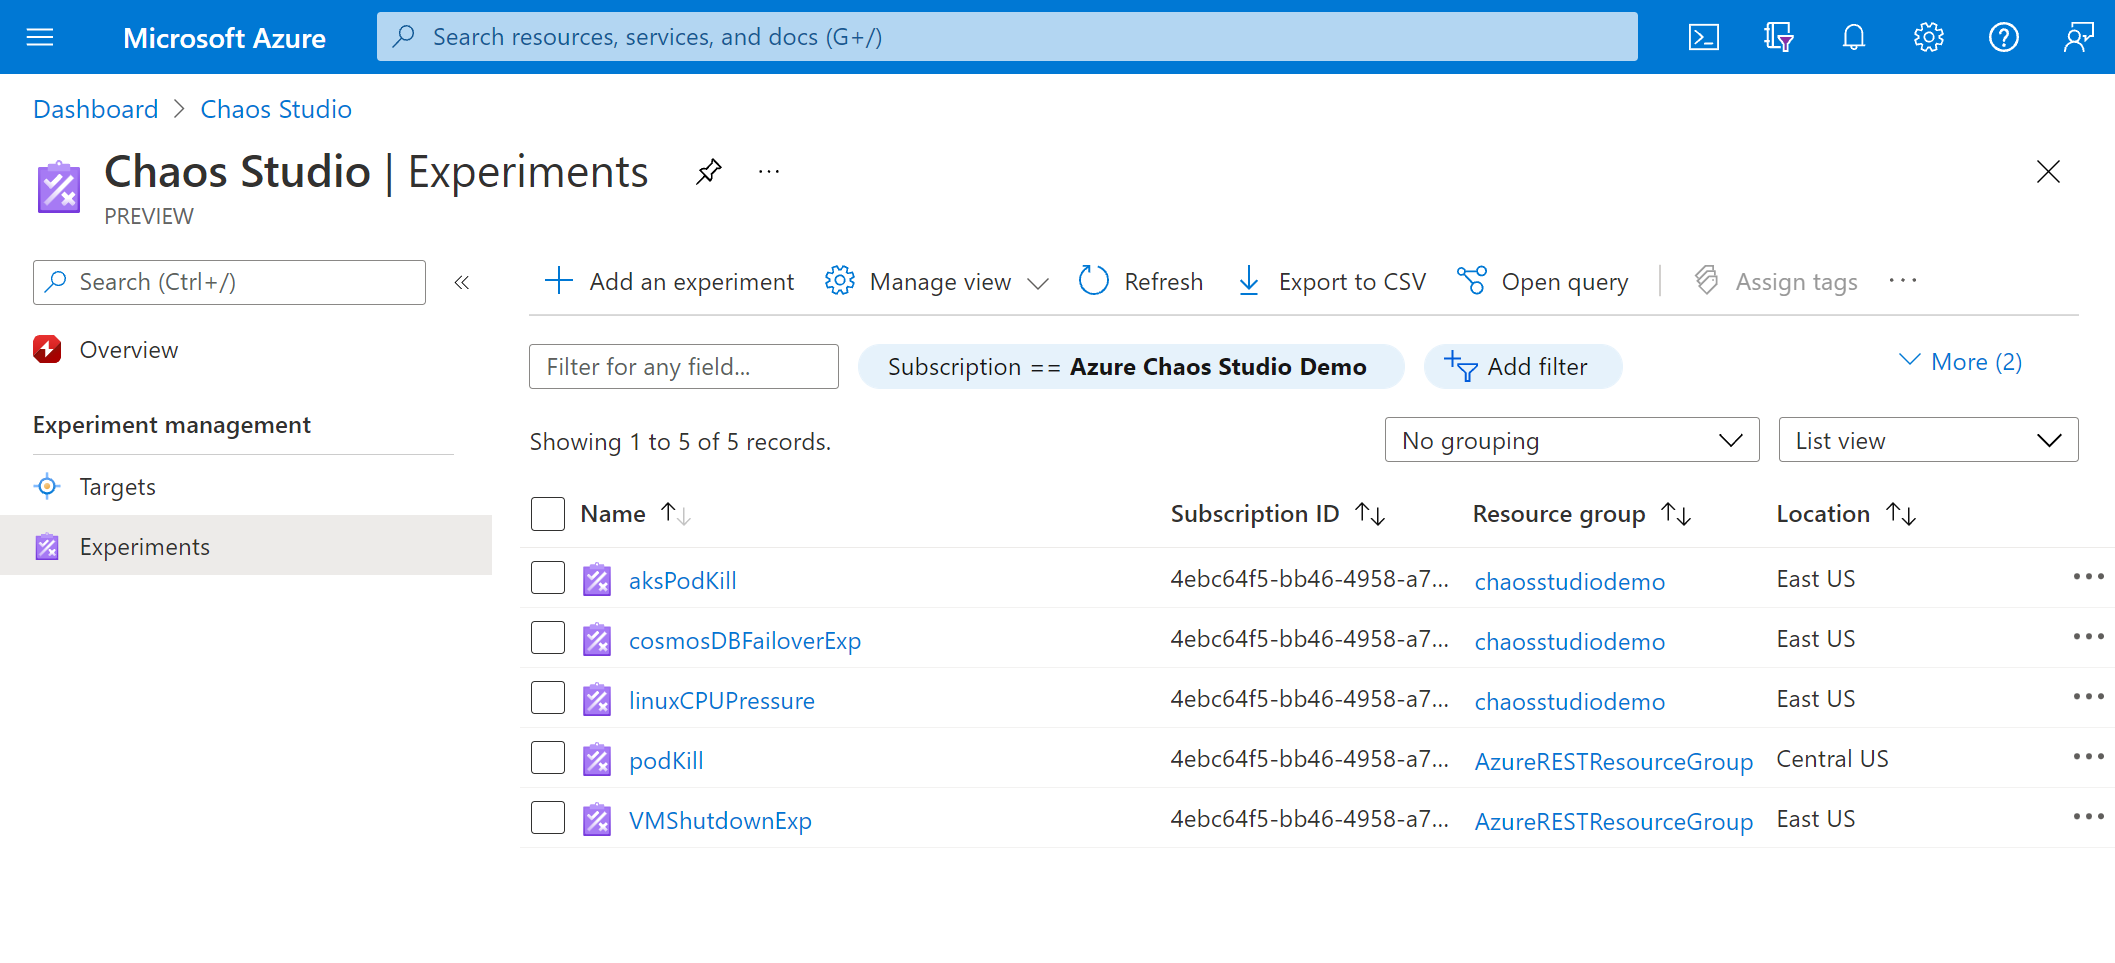
Pilih Eksperimen. Tampilan daftar eksperimen ini adalah tempat Anda dapat memulai, menghentikan, atau menghapus eksperimen secara massal. Anda juga dapat membuat eksperimen baru.
Pilih eksperimen Anda. Pada halaman Gambaran Umum eksperimen, Anda dapat memulai, menghentikan, dan mengedit eksperimen Anda. Anda juga dapat melihat detail penting tentang sumber daya dan riwayatnya. Pilih Mulai lalu pilih OK untuk memulai eksperimen Anda.
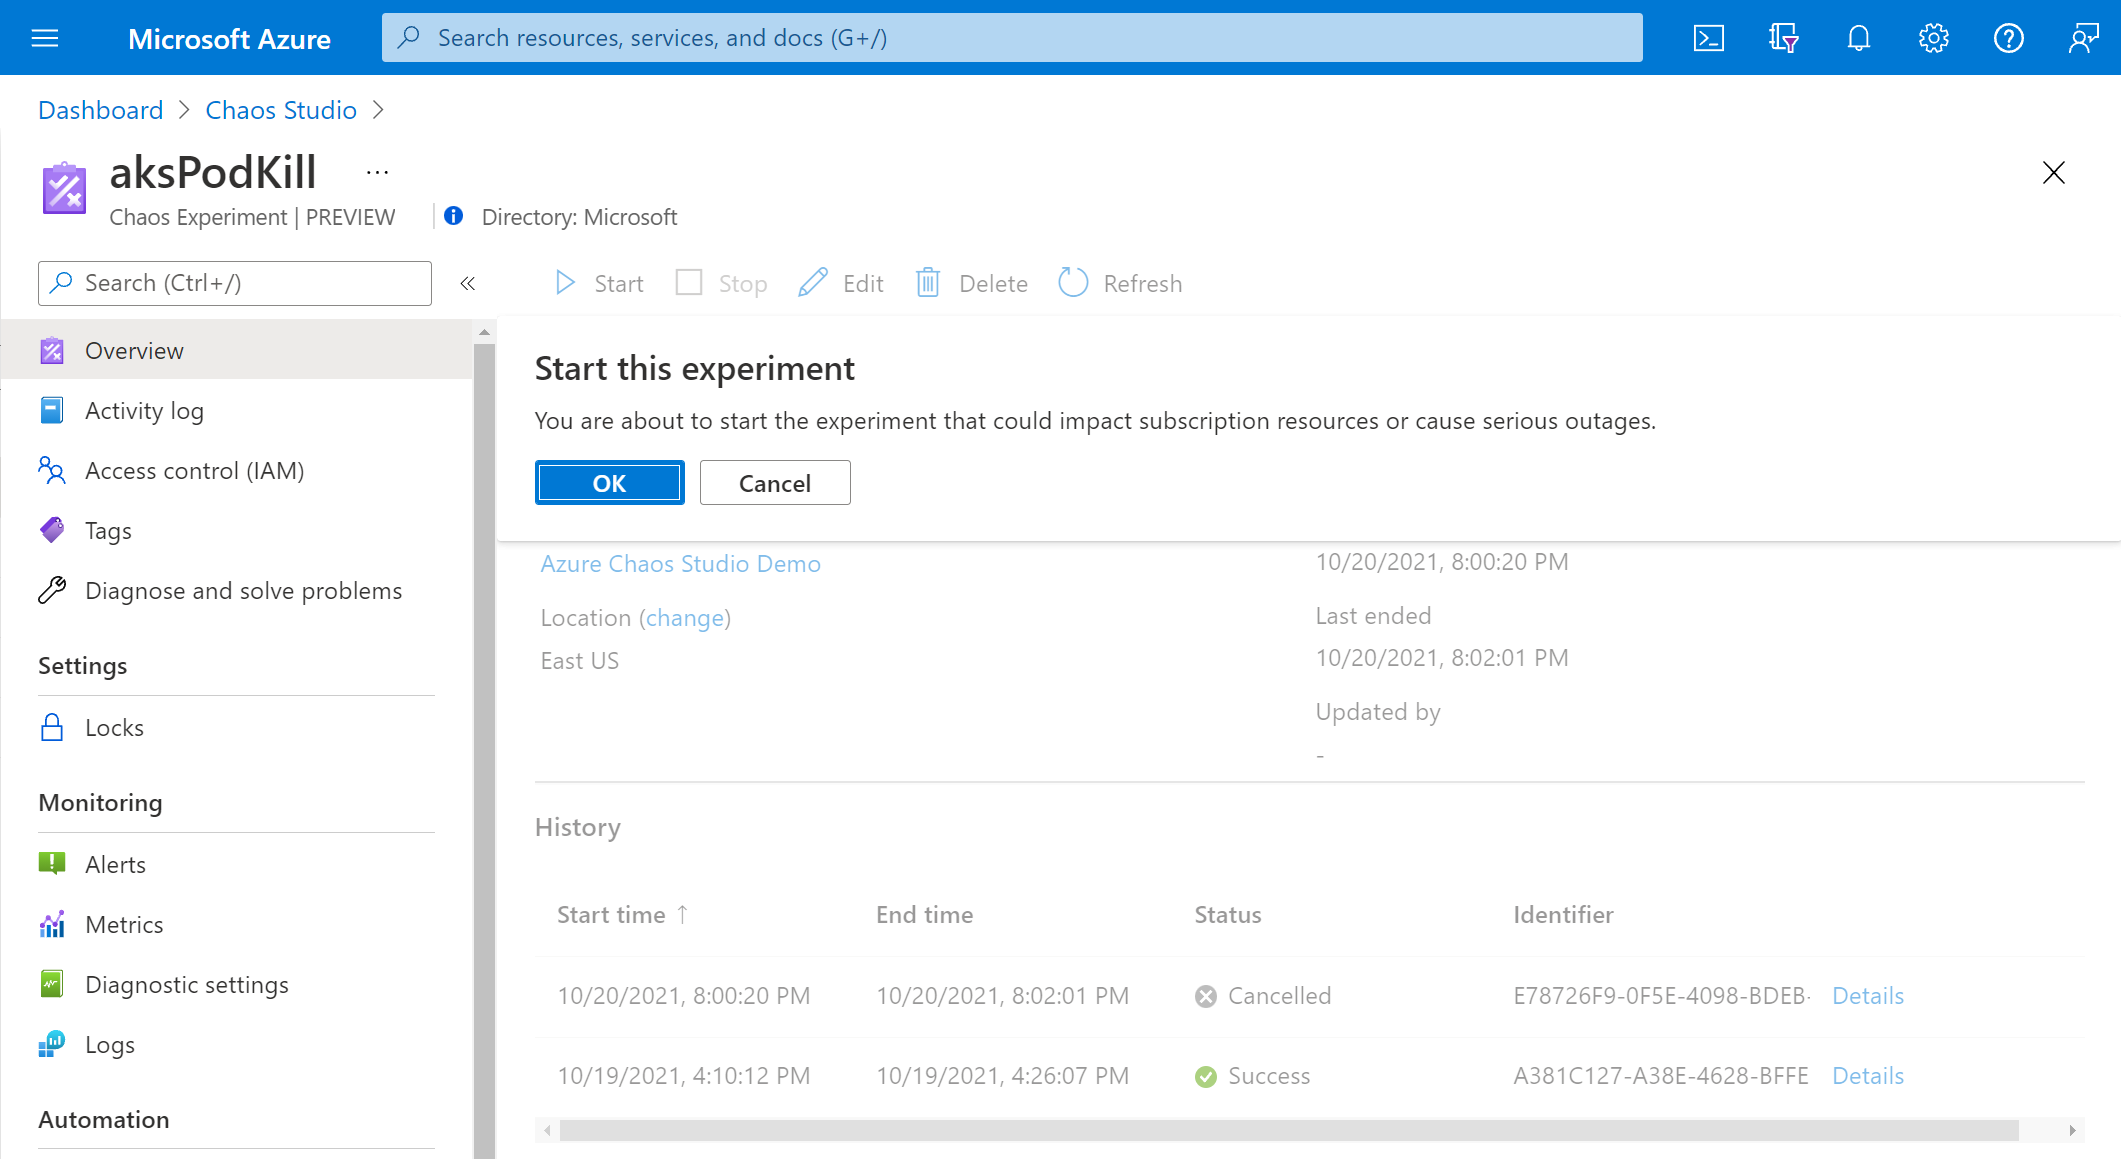
Status eksperimen menunjukkan sebagai PreProcessingQueued, lalu WaitingToStart, dan akhirnya Berjalan.
Melihat riwayat dan detail eksperimen
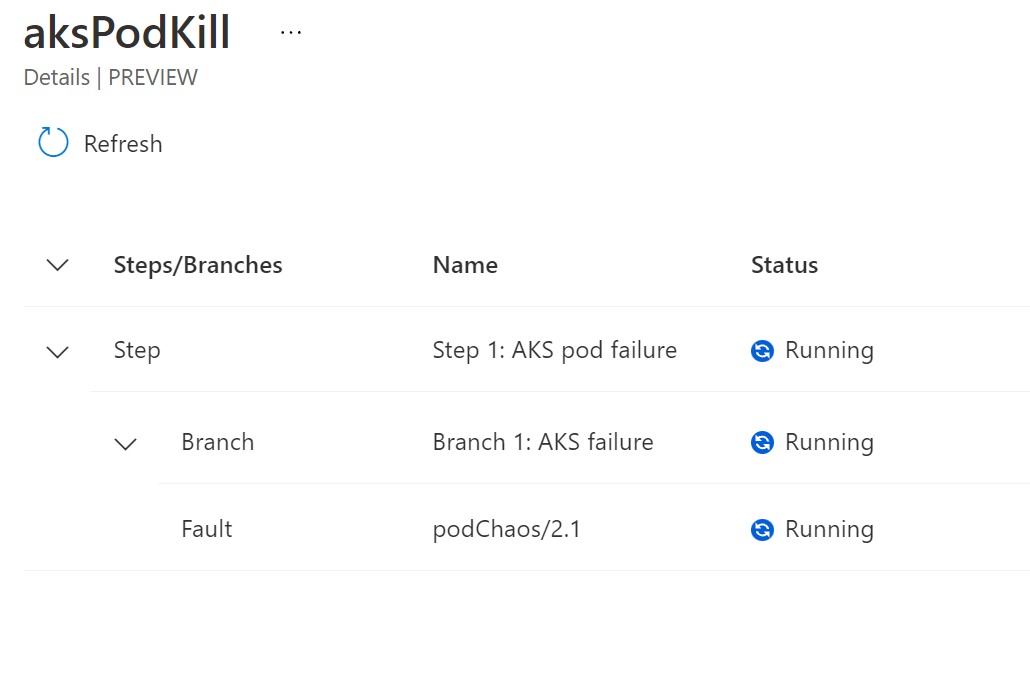
Setelah eksperimen berjalan, di bawah Riwayat, pilih Detail tentang eksekusi saat ini untuk melihat status dan kesalahan.

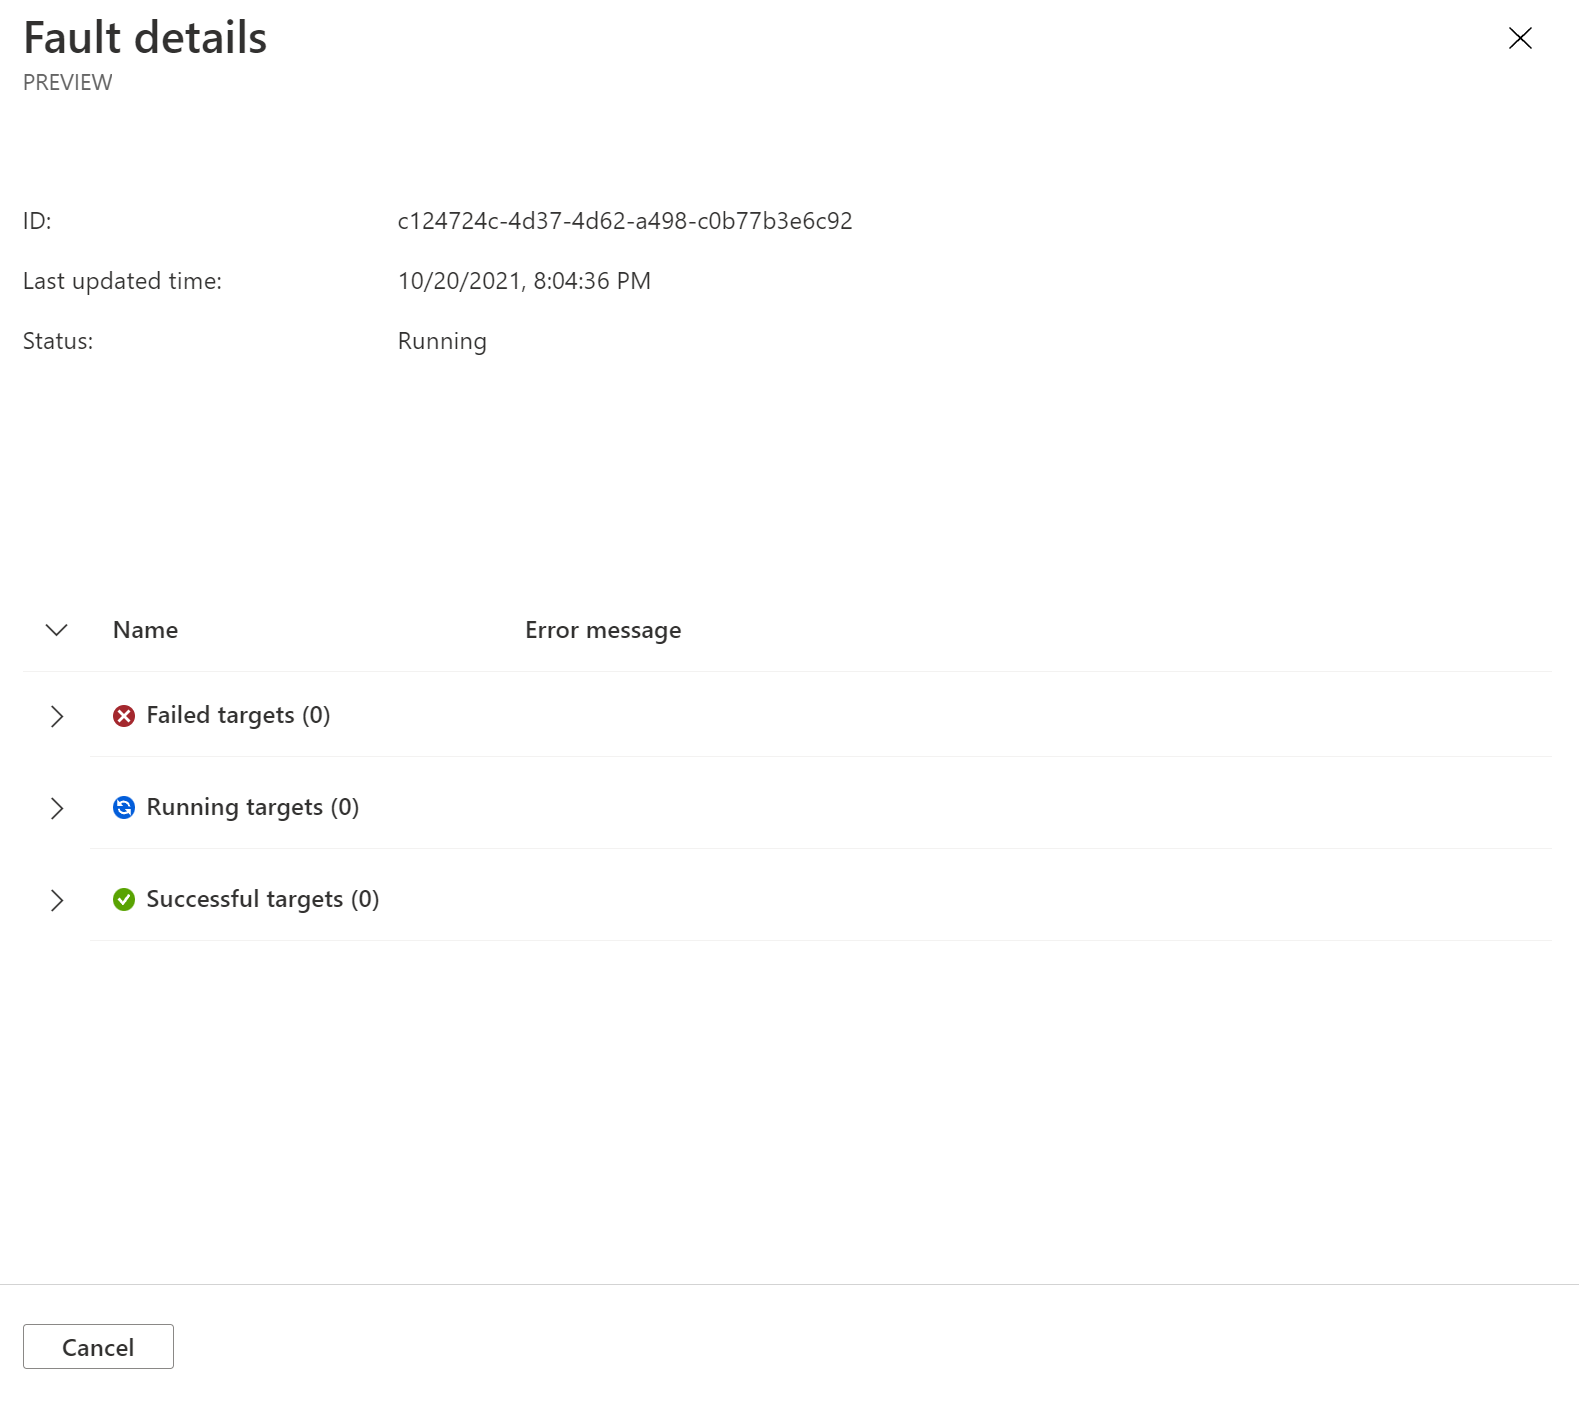
Tampilan Detail eksperimen menunjukkan status eksekusi setiap langkah, cabang, dan kesalahan. Pilih kesalahan.
Detail kesalahan menunjukkan informasi lain tentang eksekusi kesalahan. Ini termasuk target mana yang gagal atau berhasil dan mengapa. Jika ada kesalahan saat menjalankan eksperimen Anda, informasi penelusuran kesalahan akan muncul di sini.
Mengedit eksperimen
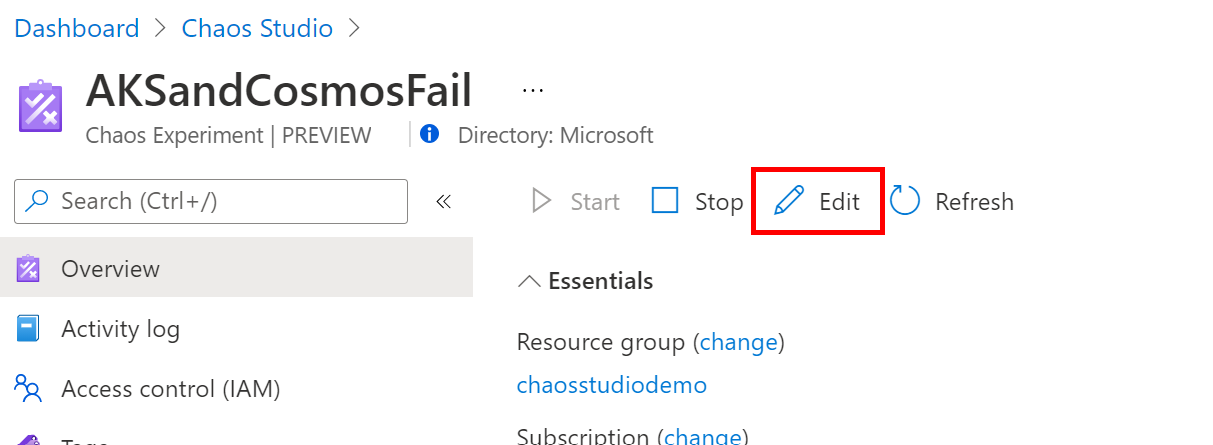
Kembali ke halaman Gambaran Umum eksperimen dan pilih Edit.
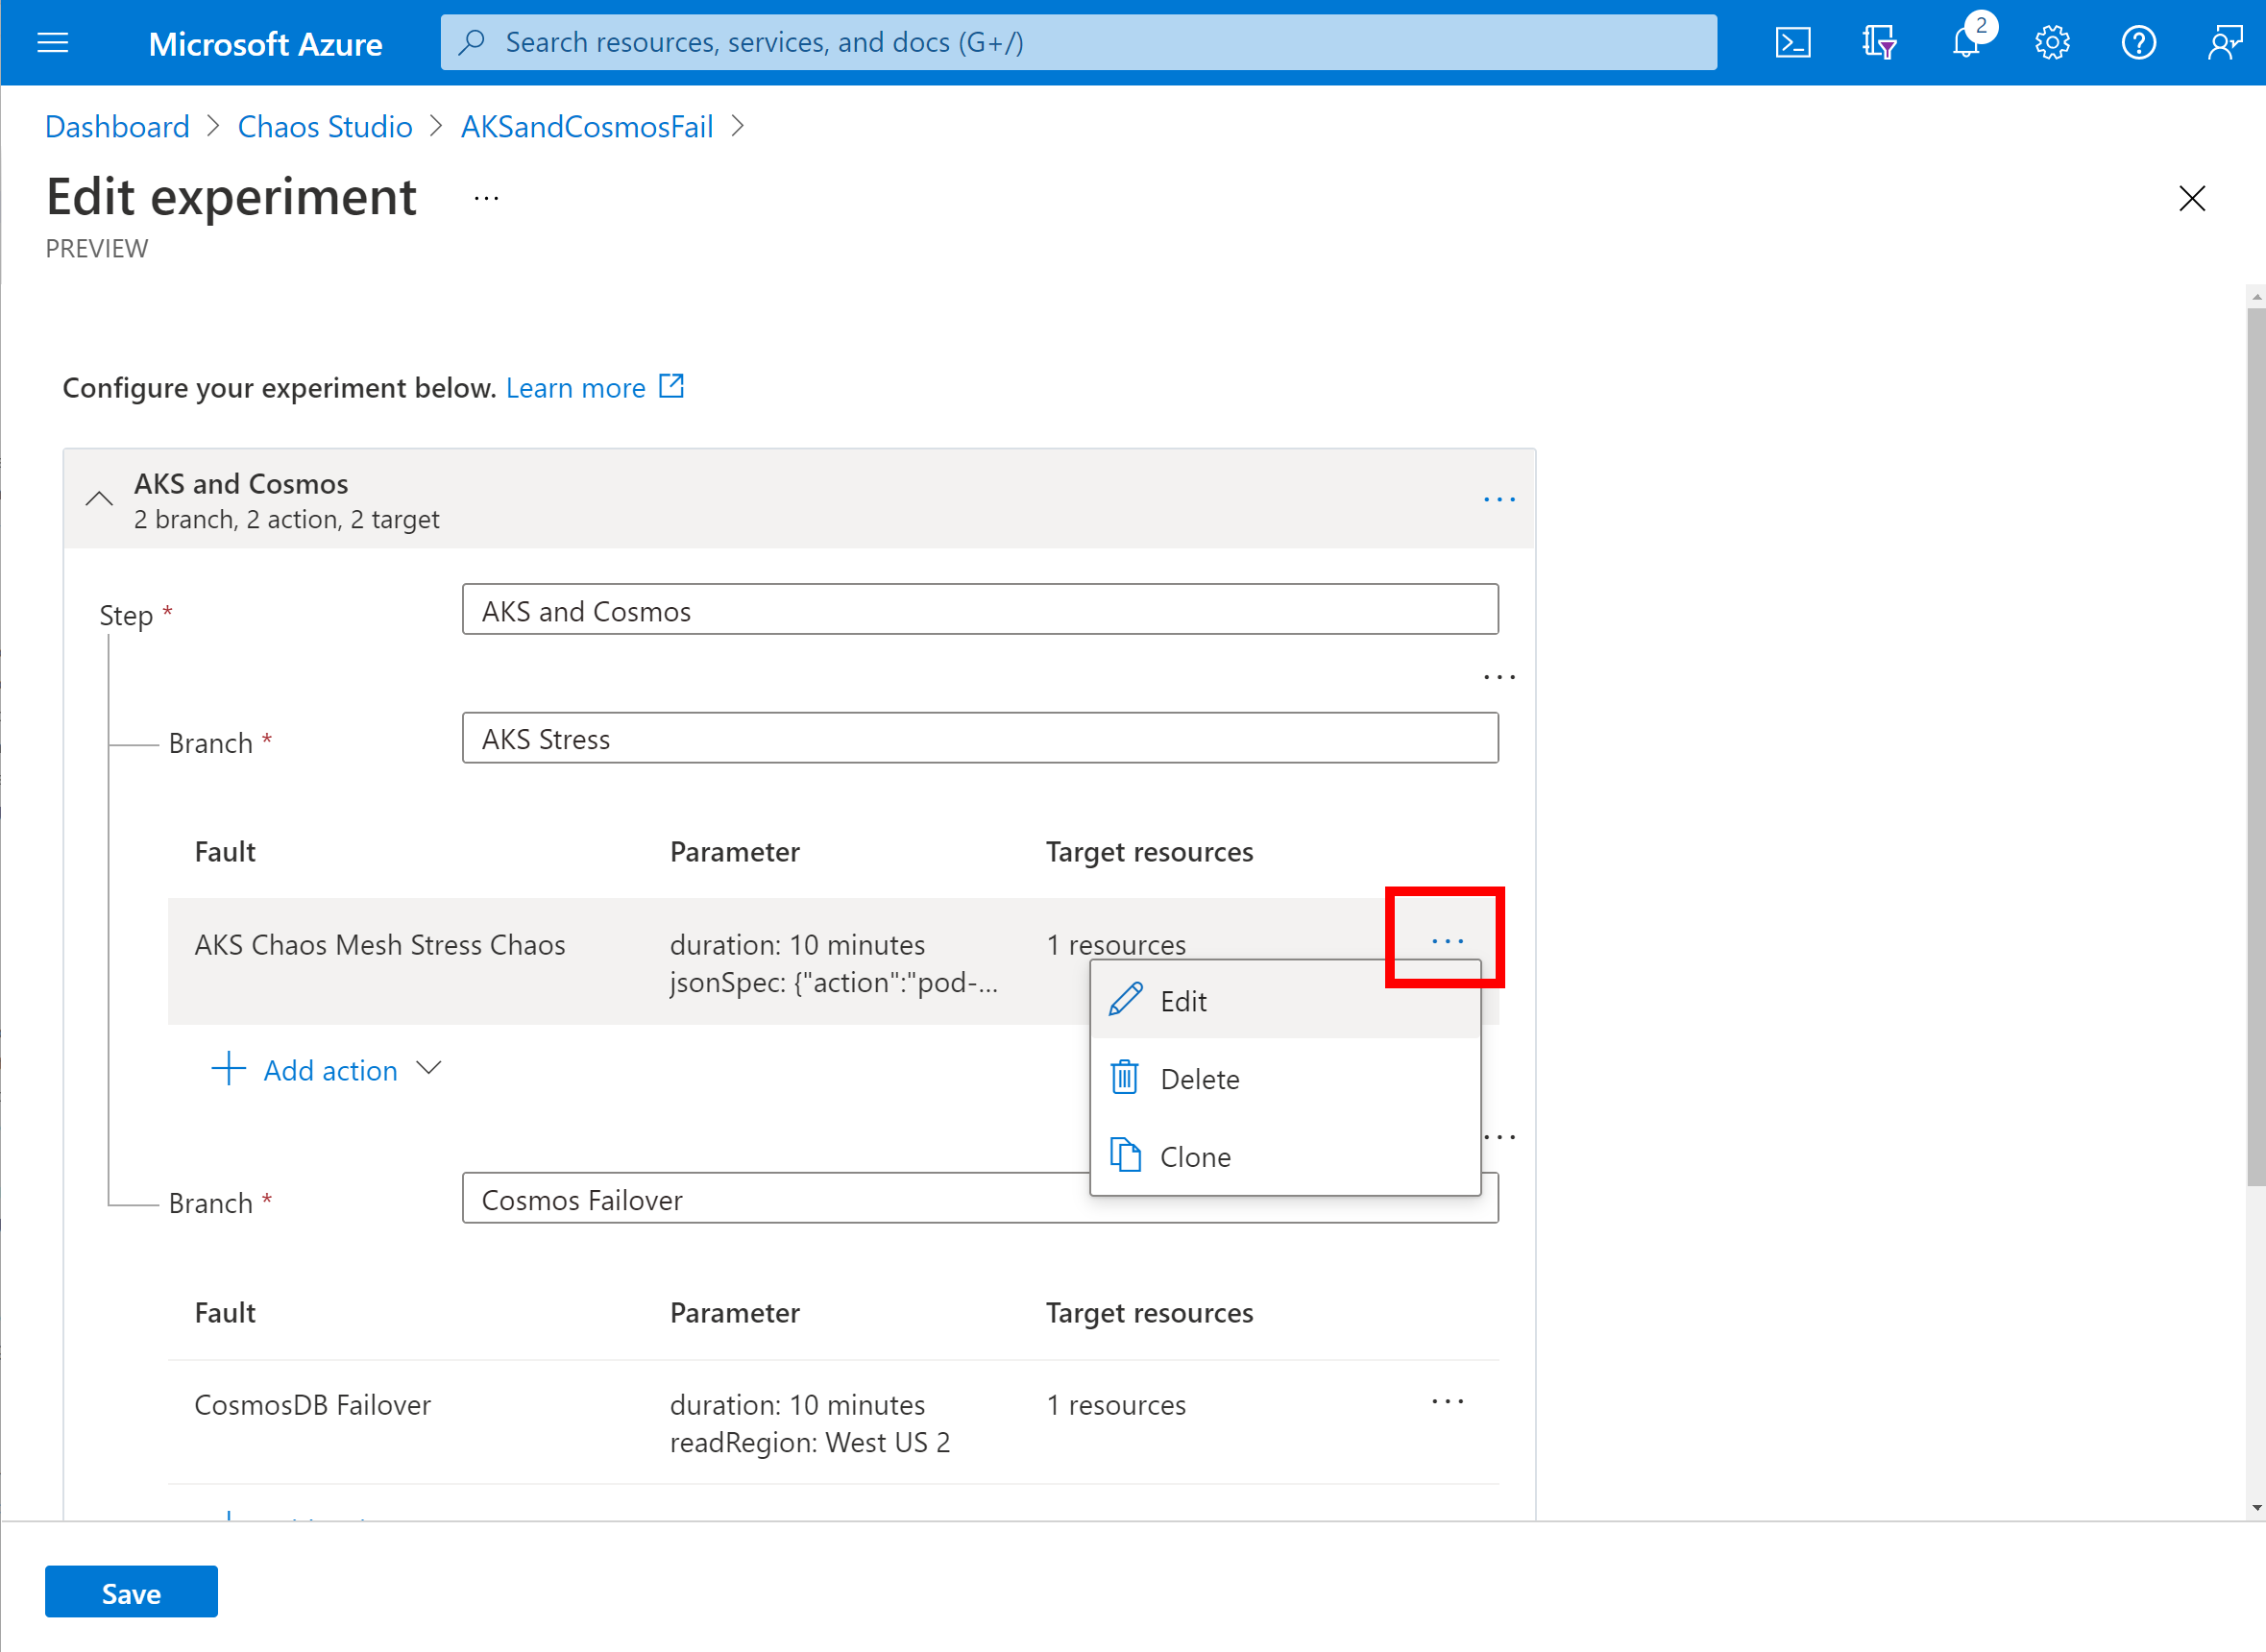
Perancang eksperimen ini sama dengan yang Anda gunakan untuk membuat eksperimen. Anda dapat menambahkan atau menghapus langkah, cabang, dan kesalahan. Anda juga dapat mengedit parameter dan target kesalahan. Untuk mengedit kesalahan, pilih ... di samping kesalahan.
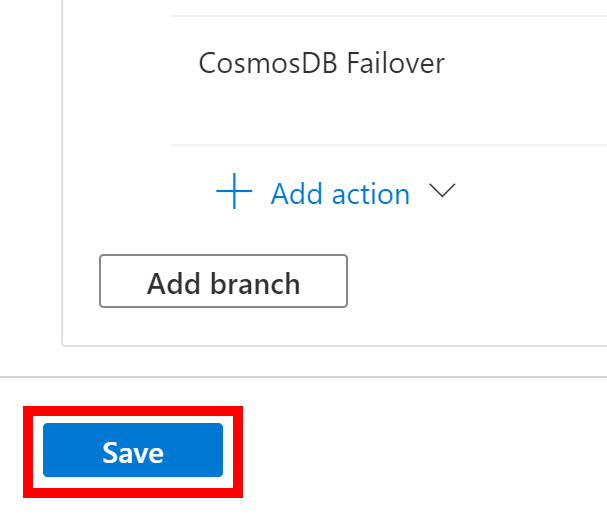
Setelah selesai mengedit, pilih Simpan. Jika Anda ingin membuang perubahan tanpa menyimpan, pilih tombol Tutup di sudut kanan atas.
Peringatan
Jika Anda menambahkan target ke eksperimen Anda, ingatlah untuk menambahkan tugas peran pada sumber daya target untuk identitas eksperimen Anda.
Menghapus eksperimen
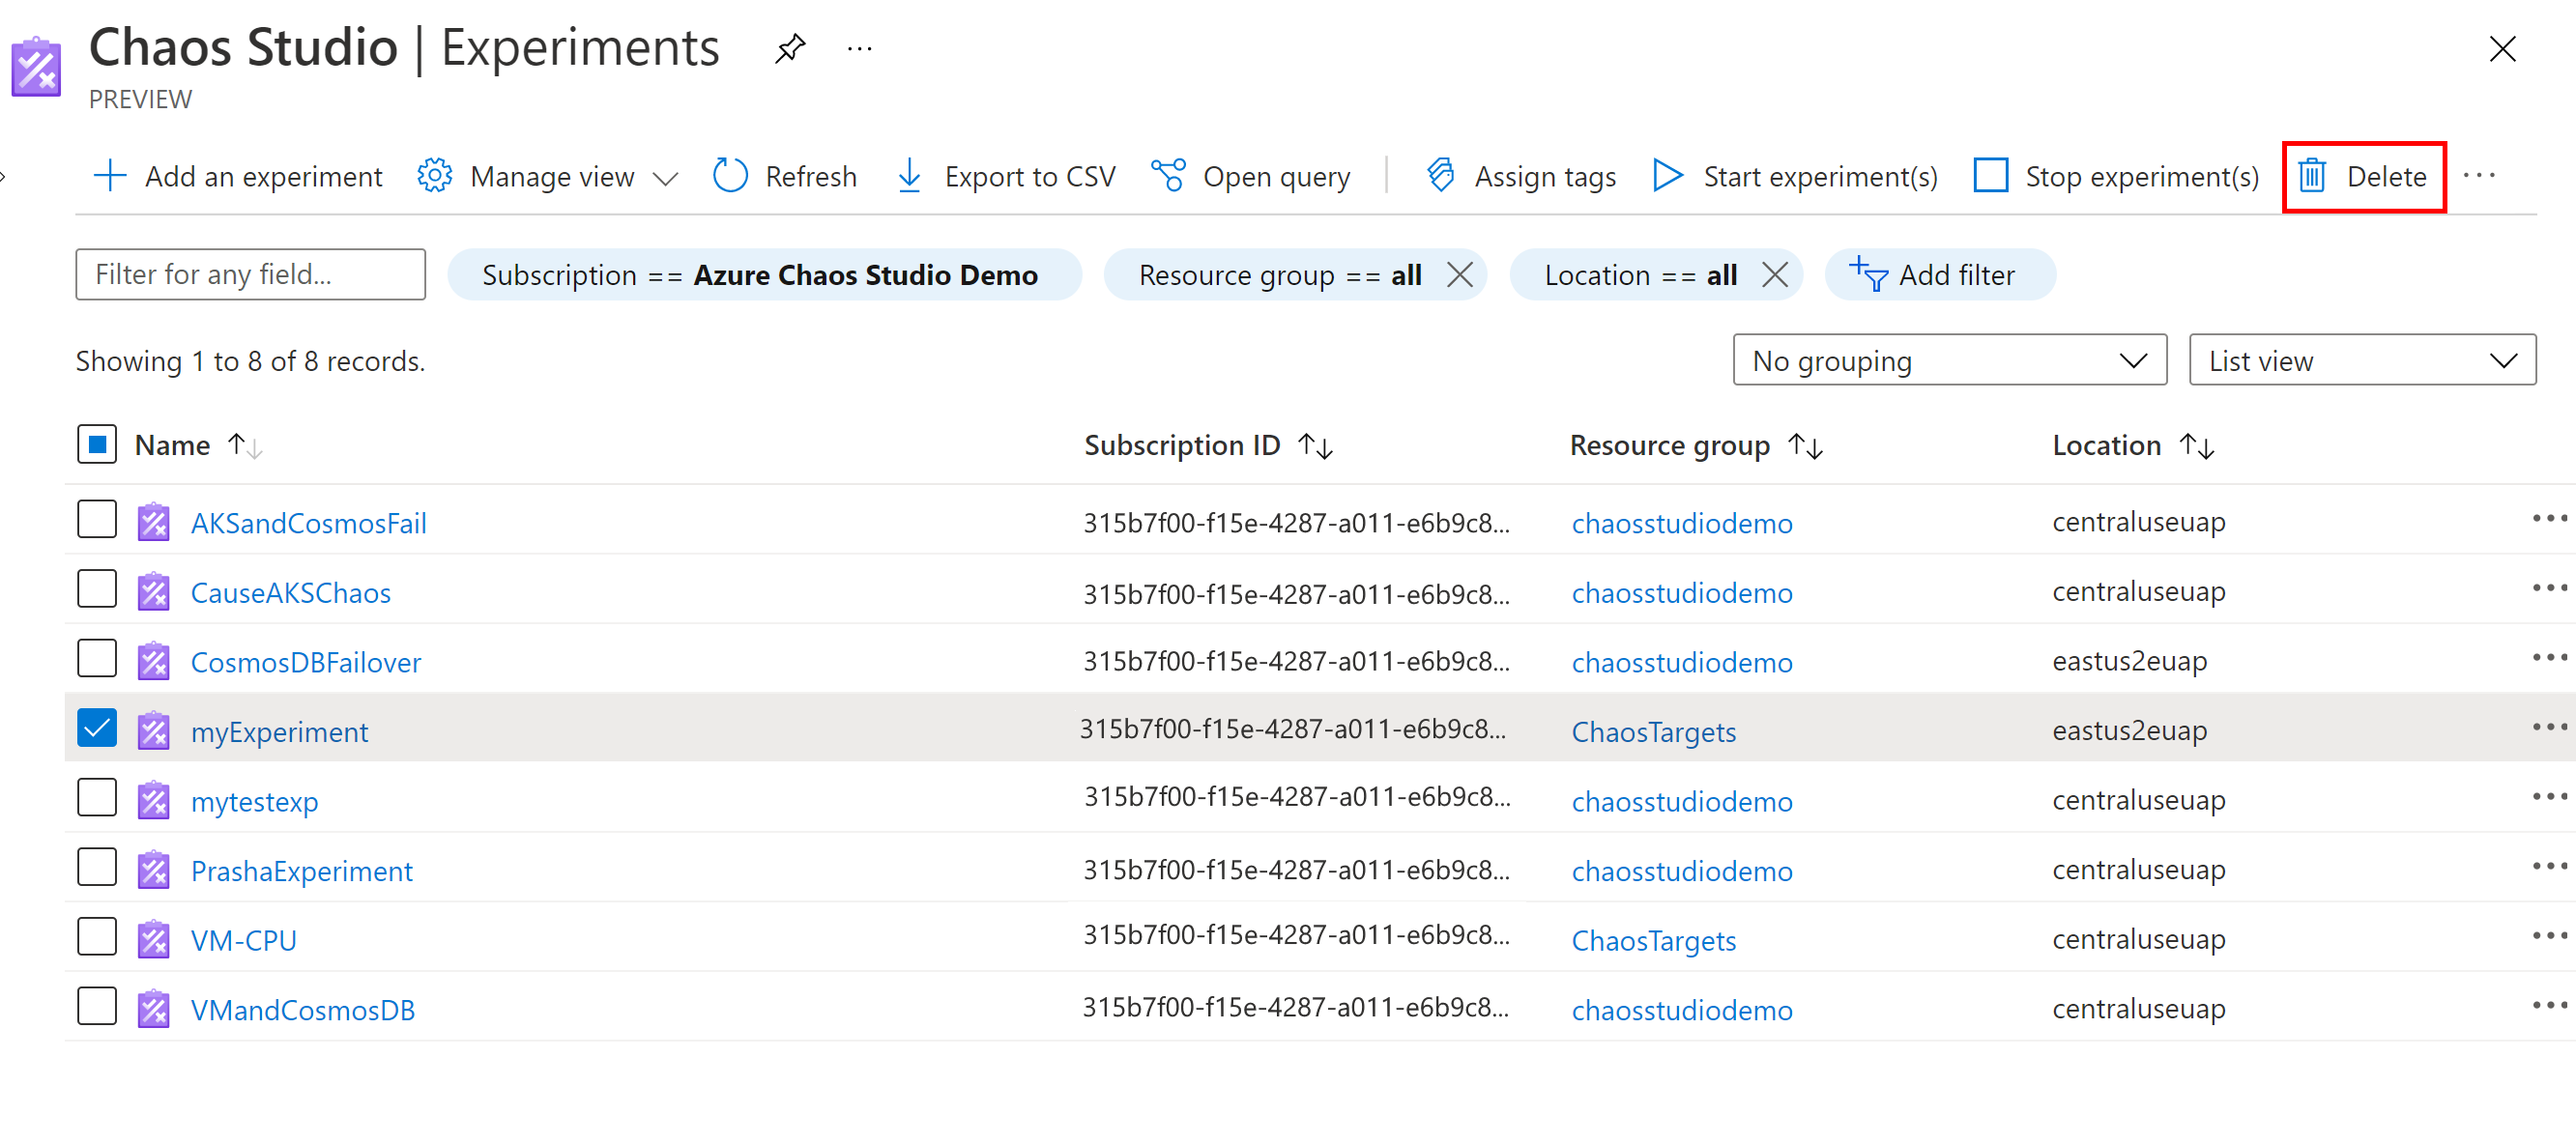
Kembali ke daftar Eksperimen dan pilih kotak centang di samping eksperimen yang ingin Anda hapus. Pilih Hapus. Anda mungkin perlu memilih ... untuk melihat opsi hapus tergantung pada resolusi layar Anda.
Pilih Ya untuk mengonfirmasi bahwa Anda ingin menghapus sumber daya.
Atau, Anda dapat membuka eksperimen dan memilih Hapus.