Menyiapkan sertifikat untuk diunggah di Azure Stack Edge Pro GPU Anda
BERLAKU UNTUK:  Azure Stack Edge Pro - GPUAzure Stack Edge Pro 2Azure Stack Edge Pro RAzure Stack Edge Mini R
Artikel ini menjelaskan cara mengonversi sertifikat menjadi format yang sesuai untuk diunggah di perangkat Azure Stack Edge Anda. Prosedur ini biasanya diperlukan ketika Anda membawa sertifikat Anda sendiri.
Untuk mengetahui selengkapnya tentang cara membuat sertifikat ini, lihat Membuat sertifikat menggunakan Azure PowerShell.
Mempersiapkan sertifikat
Jika Anda membawa sertifikat Anda sendiri, maka sertifikat yang Anda buat untuk perangkat Anda secara default berada di penyimpanan Pribadi pada klien Anda. Sertifikat ini harus diekspor ke klien Anda ke dalam file format yang sesuai yang kemudian dapat diunggah ke perangkat Anda.
Siapkan sertifikat akar: Sertifikat akar harus diekspor sebagai format DER dengan ekstensi
.cer. Untuk langkah-langkah mendetail, lihat Mengekspor sertifikat sebagai format DER.Siapkan sertifikat titik akhir: Sertifikat titik akhir harus diekspor sebagai file .pfx dengan kunci privat. Untuk langkah-langkah mendetail, lihat Mengekspor sertifikat sebagai file .pfx dengan kunci privat.
Mengimpor sertifikat sebagai format DER
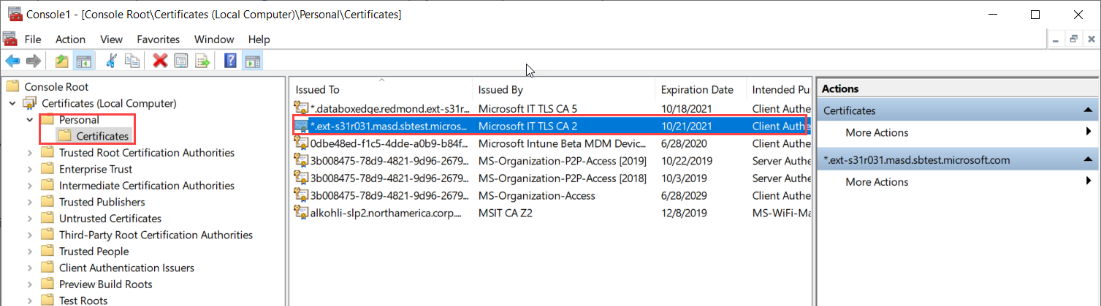
Jalankan certlm.msc untuk meluncurkan penyimpanan sertifikat komputer lokal.
Di penyimpanan sertifikat Pribadi, pilih sertifikat akar. Klik kanan dan pilih Semua Ekspor Tugas > ...
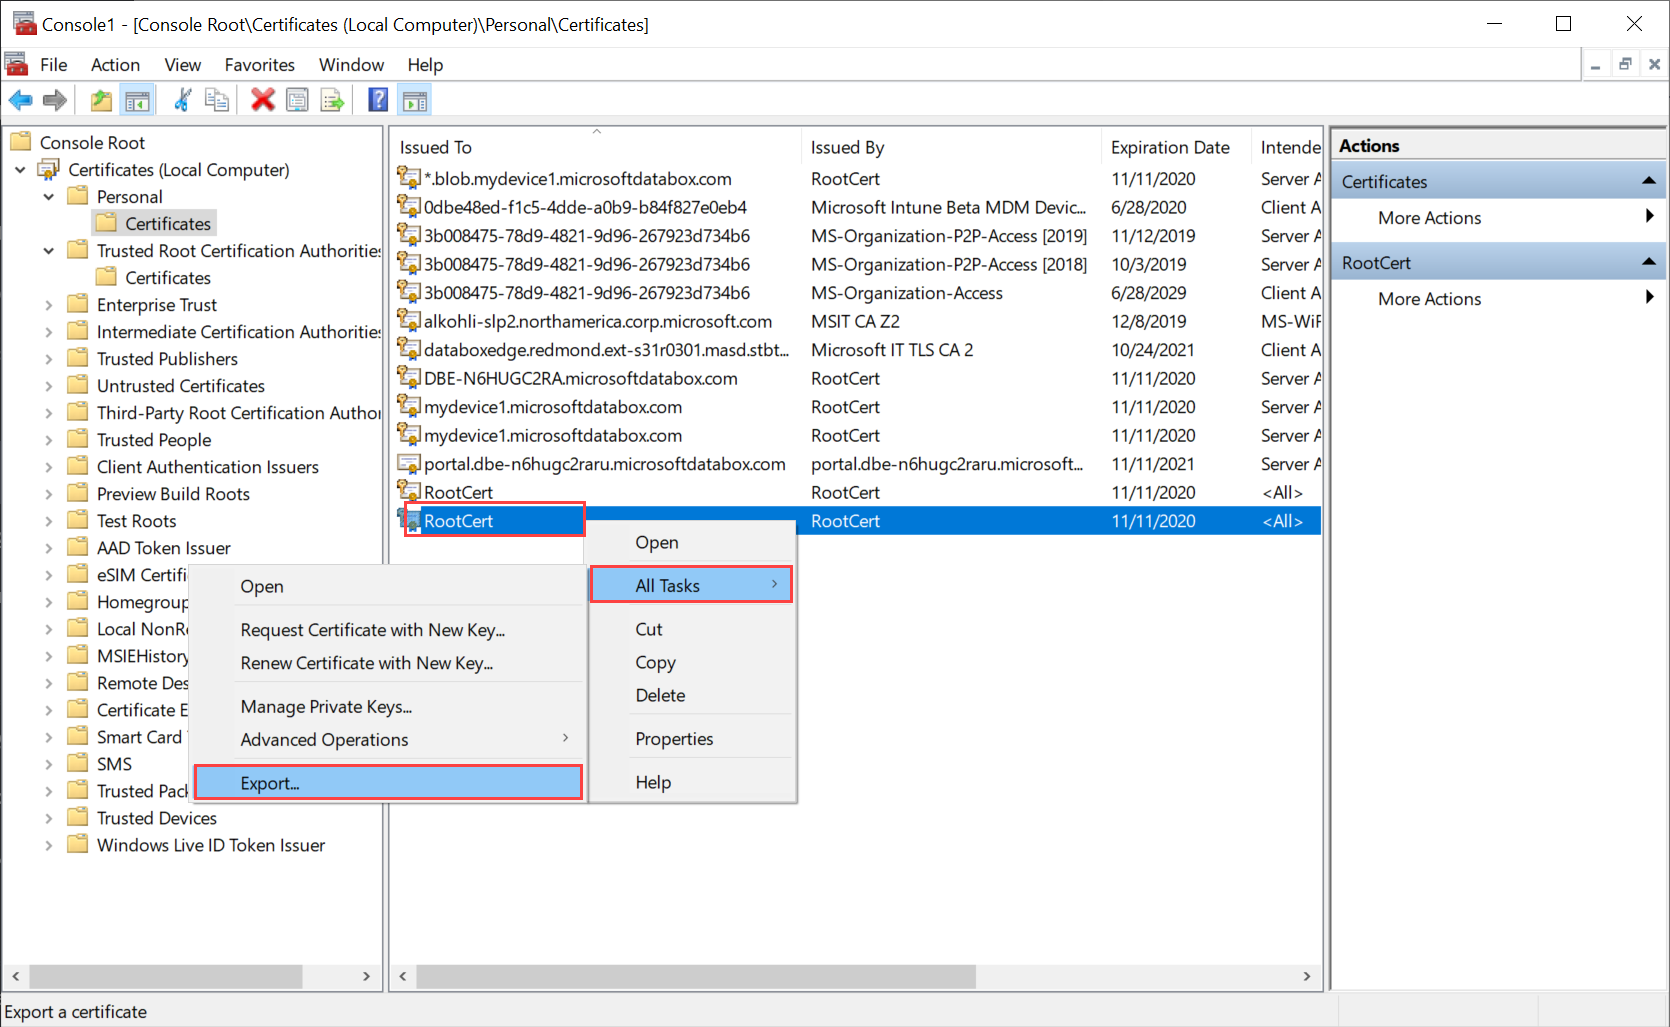
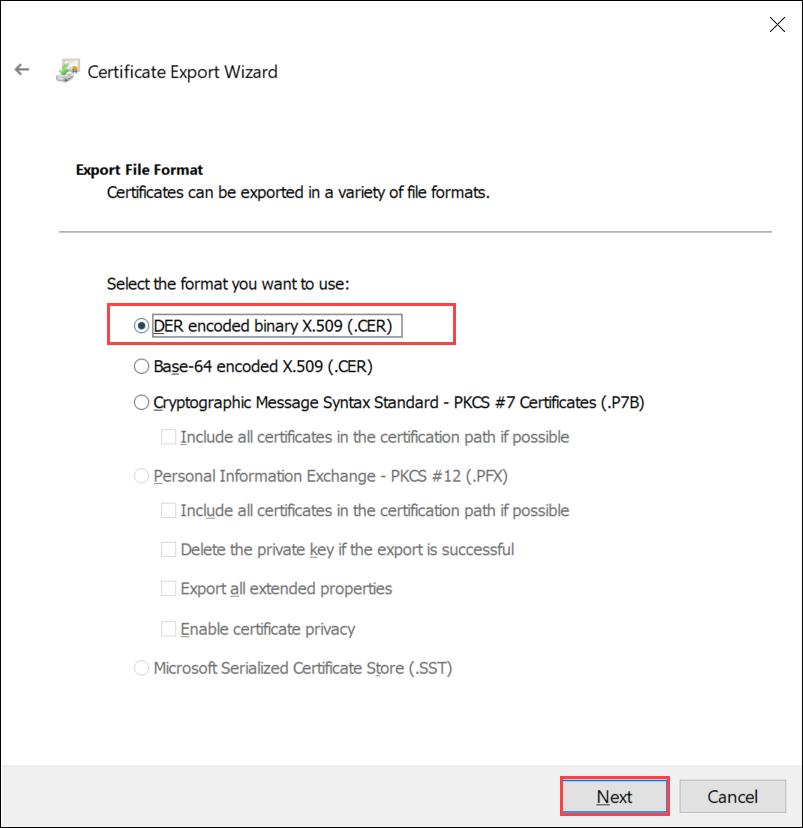
Wizard sertifikat terbuka. Pilih format BINer yang dikodekan DER X.509 (.cer). Pilih Selanjutnya.
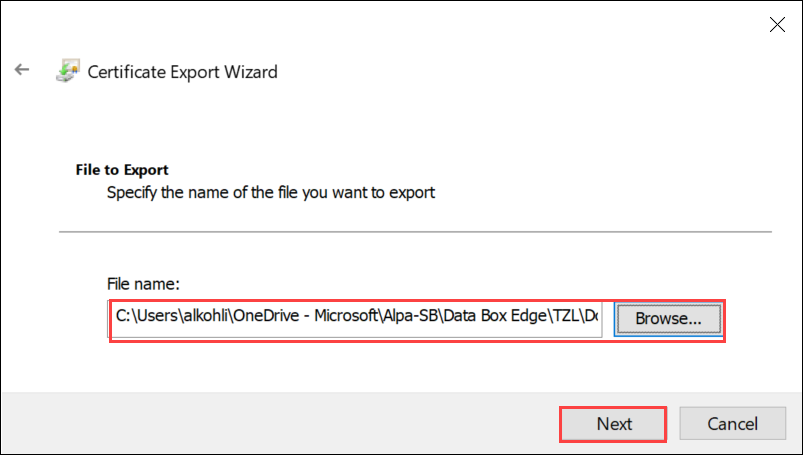
Telusuri dan pilih lokasi tempat Anda ingin mengekspor file format .cer.
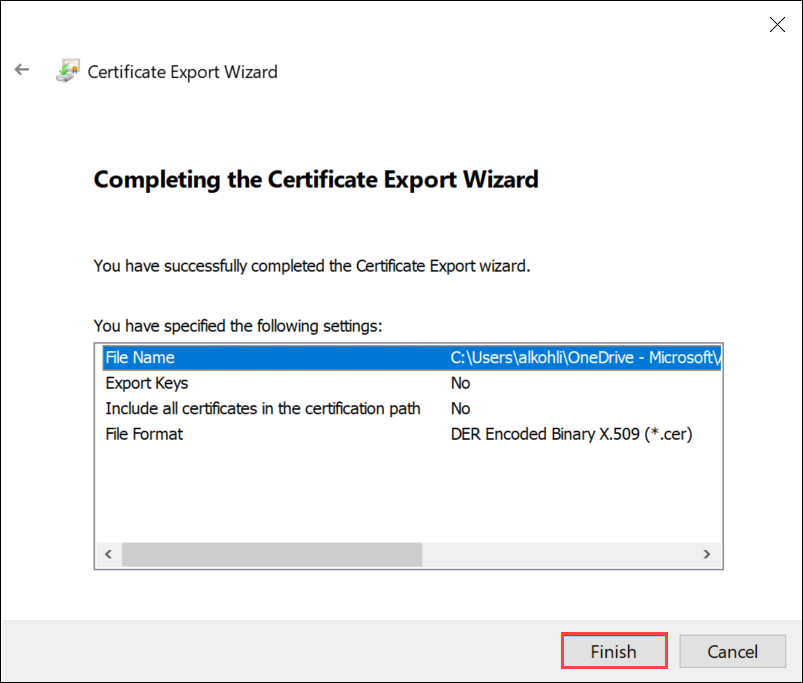
Pilih Selesai.
Ekspor sertifikat sebagai format .pfx dengan kunci privat
Ambil langkah-langkah berikut untuk mengekspor sertifikat SSL dengan kunci privati pada komputer Windows.
Penting
Lakukan langkah-langkah ini pada komputer yang sama dengan yang Anda gunakan untuk membuat sertifikat.
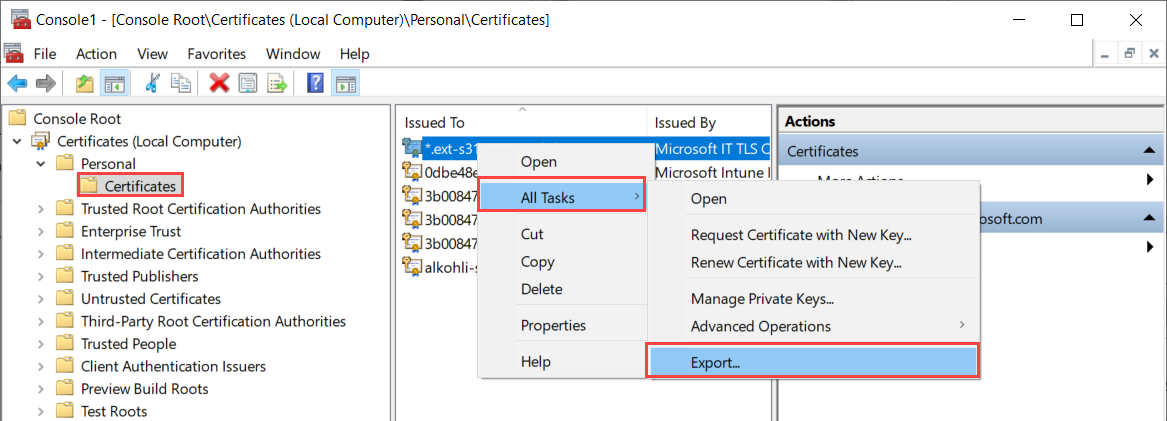
Jalankan certlm.msc untuk meluncurkan penyimpanan sertifikat komputer lokal.
Klik dua kali pada folder Pribadi, lalu pada Sertifikat.
Klik kanan pada sertifikat yang ingin Anda cadangkan dan pilih Semua tugas > Ekspor....
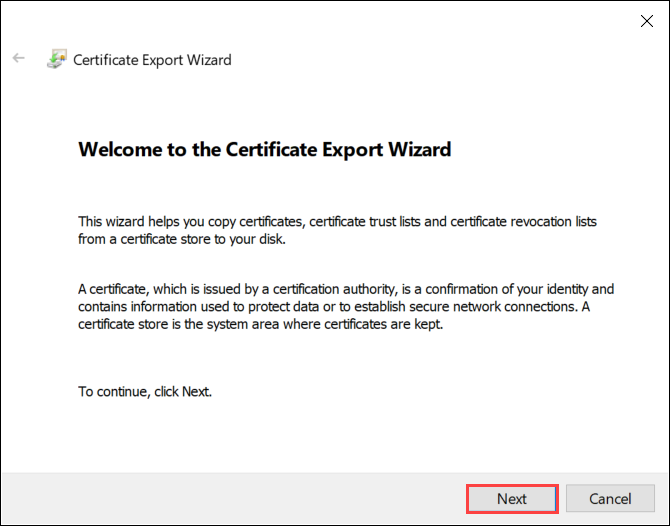
Ikuti Pemandu Ekspor Sertifikat untuk mencadangkan sertifikat Anda ke file .pfx.
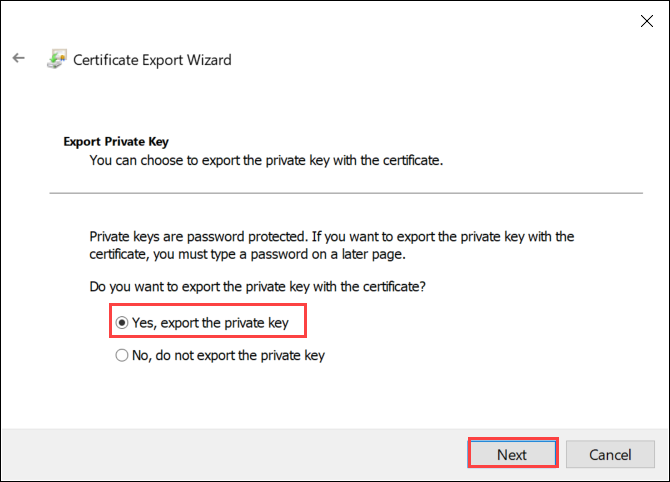
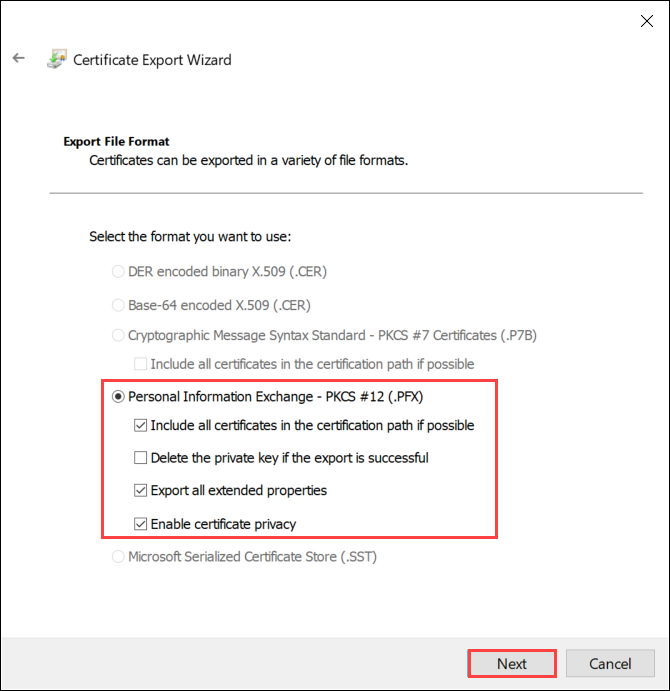
Pilih Ya, ekspor kunci privat.
Pilih Sertakan semua sertifikat dalam jalur sertifikat jika memungkinkan, Ekspor semua properti yang diperluas dan Aktifkan privasi sertifikat.
Saat menyertakan semua sertifikat dalam ekspor, Anda tidak perlu menambahkan rantai penandatanganan secara terpisah sebelum menambahkan sertifikat tersebut saat mengonfigurasi sertifikat menggunakan UI web lokal. Untuk informasi selengkapnya, lihat Membawa sertifikat Anda sendiri.
Penting
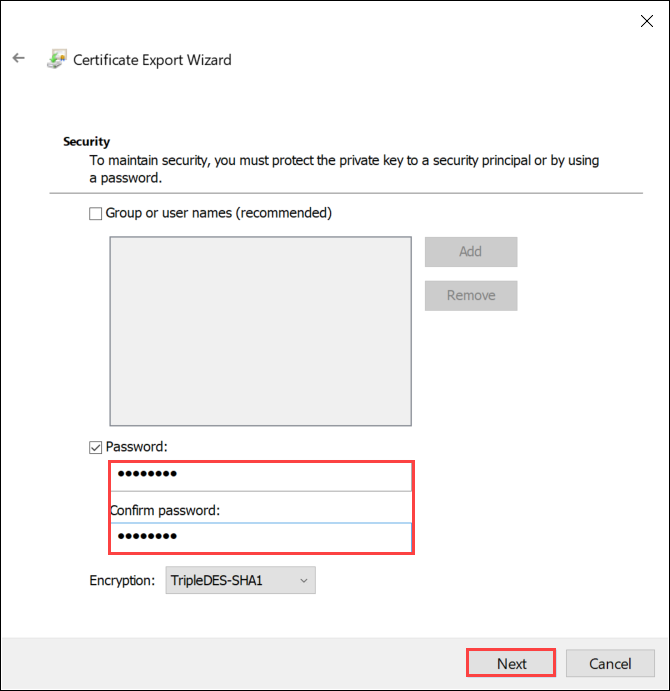
JANGAN pilih opsi Hapus Kunci Privat jika ekspor berhasil.
Masukkan kata sandi yang mudah diingat. Konfirmasikan kata sandi. Kata sandi melindungi kunci privat.
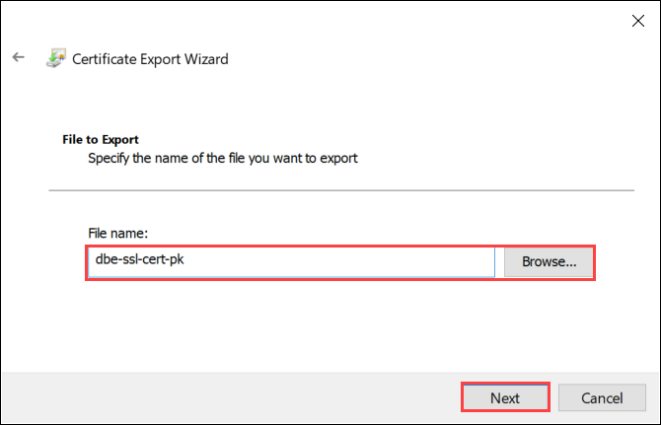
Pilih untuk menyimpan file di lokasi yang ditetapkan.
Pilih Selesai.
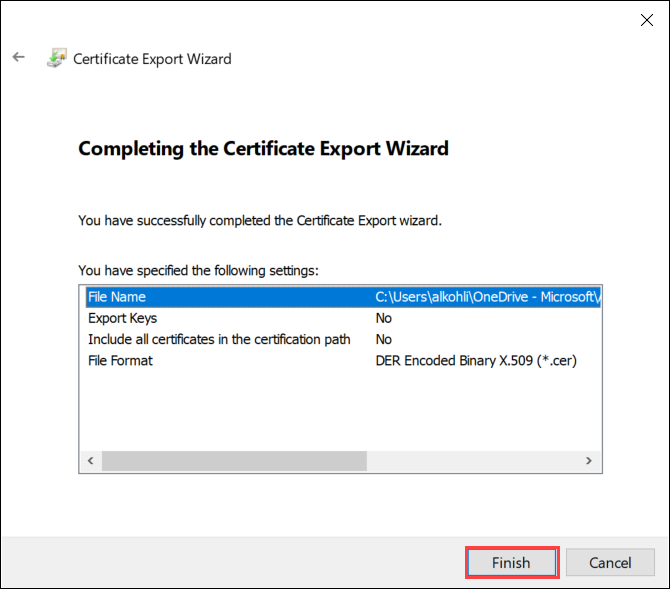
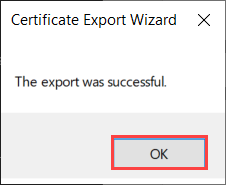
Anda menerima pesan bahwa ekspor berhasil. Pilih OK.
Cadangan file .pfx sekarang disimpan di lokasi yang dipilih, dan siap untuk dipindahkan atau disimpan untuk pengamanan.
Langkah berikutnya
Pelajari cara Mengunggah sertifikat di perangkat Anda.