Tutorial: Deploy a .NET Aspire project with a SQL Server Database to Azure
In this tutorial, you learn to configure an ASP.NET Core app with a SQL Server Database for deployment to Azure. .NET Aspire provides multiple SQL Server component configurations that provision different database services in Azure. You'll learn how to:
- Create a basic ASP.NET Core app that is configured to use the .NET Aspire SQL Server component
- Configure the app to provision an Azure SQL Database
- Configure the app to provision a containerized SQL Server database
Note
This document focuses specifically on .NET Aspire configurations to provision and deploy SQL Server resources in Azure. Visit the Azure Container Apps deployment tutorial to learn more about the full .NET Aspire deployment process.
Prerequisites
To work with .NET Aspire, you need the following installed locally:
- .NET 8.0
- .NET Aspire workload:
- Installed with the Visual Studio installer or the .NET CLI workload.
- An OCI compliant container runtime, such as:
- Docker Desktop or Podman.
- An Integrated Developer Environment (IDE) or code editor, such as:
- Visual Studio 2022 version 17.10 or higher (Optional)
- Visual Studio Code (Optional)
- C# Dev Kit: Extension (Optional)
For more information, see .NET Aspire setup and tooling.
Create the sample solution
- At the top of Visual Studio, navigate to File > New > Project.
- In the dialog window, search for Aspire and select .NET Aspire - Starter Application. Choose Next.
- On the Configure your new project screen:
- Enter a Project Name of AspireSQL.
- Leave the rest of the values at their defaults and select Next.
- On the Additional information screen:
- Verify that .NET 8.0 is selected and choose Create.
Visual Studio creates a new ASP.NET Core solution that is structured to use .NET Aspire. The solution consists of the following projects:
- AspireSQL.Web: A Blazor project that depends on service defaults.
- AspireSQL.ApiService: An API project that depends on service defaults.
- AspireSQL.AppHost: An orchestrator project designed to connect and configure the different projects and services of your app. The orchestrator should be set as the startup project.
- AspireSQL.ServiceDefaults: A shared class library to hold configurations that can be reused across the projects in your solution.
Configure the app for SQL Server deployment
.NET Aspire provides two built-in configuration options to streamline SQL Server deployment on Azure:
- Provision a containerized SQL Server database using Azure Container Apps
- Provision an Azure SQL Database instance
Add the .NET Aspire component to the app
Add the appropriate .NET Aspire component to the AspireSQL.AppHost project for your desired hosting service.
Add the Aspire.Hosting.Azure.Sql package to the AspireSQL.AppHost project:
dotnet add package Aspire.Hosting.Azure.Sql
Configure the AppHost project
Configure the AspireSQL.AppHost project for your desired SQL database service.
Replace the contents of the Program.cs file in the AspireSQL.AppHost project with the following code:
var builder = DistributedApplication.CreateBuilder(args);

var apiService = builder.AddProject<Projects.AspireSql_ApiService>("apiservice");

// Provisions an Azure SQL Database when published
var sqlServer = builder.AddSqlServer("sqlserver")
                       .PublishAsAzureSqlDatabase()
                       .AddDatabase("sqldb");

builder.AddProject<Projects.AspireSql_Web>("webfrontend")
    .WithExternalHttpEndpoints()
    .WithReference(apiService);

builder.Build().Run();
The preceding code adds a SQL Server Container resource to your app and configures a connection to a database called sqldata. The PublishAsAzureSqlDatabase method ensures that tools such as the Azure Developer CLI or Visual Studio create an Azure SQL Database resource during the deployment process.
Deploy the app
Tools such as the Azure Developer CLI (azd) support .NET Aspire SQL Server component configurations to streamline deployments. azd consumes these settings and provisions properly configured resources for you.
Initialize the template
Open a new terminal window and
cdinto the AppHost project directory of your .NET Aspire solution.Execute the
azd initcommand to initialize your project withazd, which will inspect the local directory structure and determine the type of app.azd initFor more information on the
azd initcommand, see azd init.Select Use code in the current directory when
azdprompts you with two app initialization options.? How do you want to initialize your app? [Use arrows to move, type to filter] > Use code in the current directory Select a templateAfter scanning the directory,
azdprompts you to confirm that it found the correct .NET Aspire AppHost project. Select the Confirm and continue initializing my app option.Detected services: .NET (Aspire) Detected in: D:\source\repos\AspireSample\AspireSample.AppHost\AspireSample.AppHost.csproj azd will generate the files necessary to host your app on Azure using Azure Container Apps. ? Select an option [Use arrows to move, type to filter] > Confirm and continue initializing my app Cancel and exitEnter an environment name, which is used to name provisioned resources in Azure and managing different environments such as
devandprod.Generating files to run your app on Azure: (✓) Done: Generating ./azure.yaml (✓) Done: Generating ./next-steps.md SUCCESS: Your app is ready for the cloud! You can provision and deploy your app to Azure by running the azd up command in this directory. For more information on configuring your app, see ./next-steps.md
azd generates a number of files and places them into the working directory. These files are:
- azure.yaml: Describes the services of the app, such as .NET Aspire AppHost project, and maps them to Azure resources.
- .azure/config.json: Configuration file that informs
azdwhat the current active environment is. - .azure/aspireazddev/.env: Contains environment specific overrides.
Deploy the template
Once an
azdtemplate is initialized, the provisioning and deployment process can be executed as a single command from the AppHost project directory using azd up:azd upSelect the subscription you'd like to deploy to from the list of available options:
Select an Azure Subscription to use:  [Use arrows to move, type to filter]
  1. SampleSubscription01 (xxxxxxx-xxxx-xxxx-xxxx-xxxxxxxxxx)
  2. SamepleSubscription02 (xxxxxxx-xxxx-xxxx-xxxx-xxxxxxxxxx)
Select the desired Azure location to use from the list of available options:
Select an Azure location to use:  [Use arrows to move, type to filter]
  42. (US) Central US (centralus)
  43. (US) East US (eastus)
> 44. (US) East US 2 (eastus2)
  46. (US) North Central US (northcentralus)
  47. (US) South Central US (southcentralus)
After you make your selections, azd executes the provisioning and deployment process.
By default, a service can only be reached from inside the Azure Container Apps environment it is running in. Selecting a service here will also allow it to be reached from the Internet.
? Select which services to expose to the Internet webfrontend
? Select an Azure Subscription to use: 1. <YOUR SUBSCRIPTION>
? Select an Azure location to use: 1. <YOUR LOCATION>
Packaging services (azd package)
SUCCESS: Your application was packaged for Azure in less than a second.
Provisioning Azure resources (azd provision)
Provisioning Azure resources can take some time.
Subscription: <YOUR SUBSCRIPTION>
Location: <YOUR LOCATION>
You can view detailed progress in the Azure Portal:
<LINK TO DEPLOYMENT>
(✓) Done: Resource group: <YOUR RESOURCE GROUP>
(✓) Done: Container Registry: <ID>
(✓) Done: Log Analytics workspace: <ID>
(✓) Done: Container Apps Environment: <ID>
SUCCESS: Your application was provisioned in Azure in 1 minute 13 seconds.
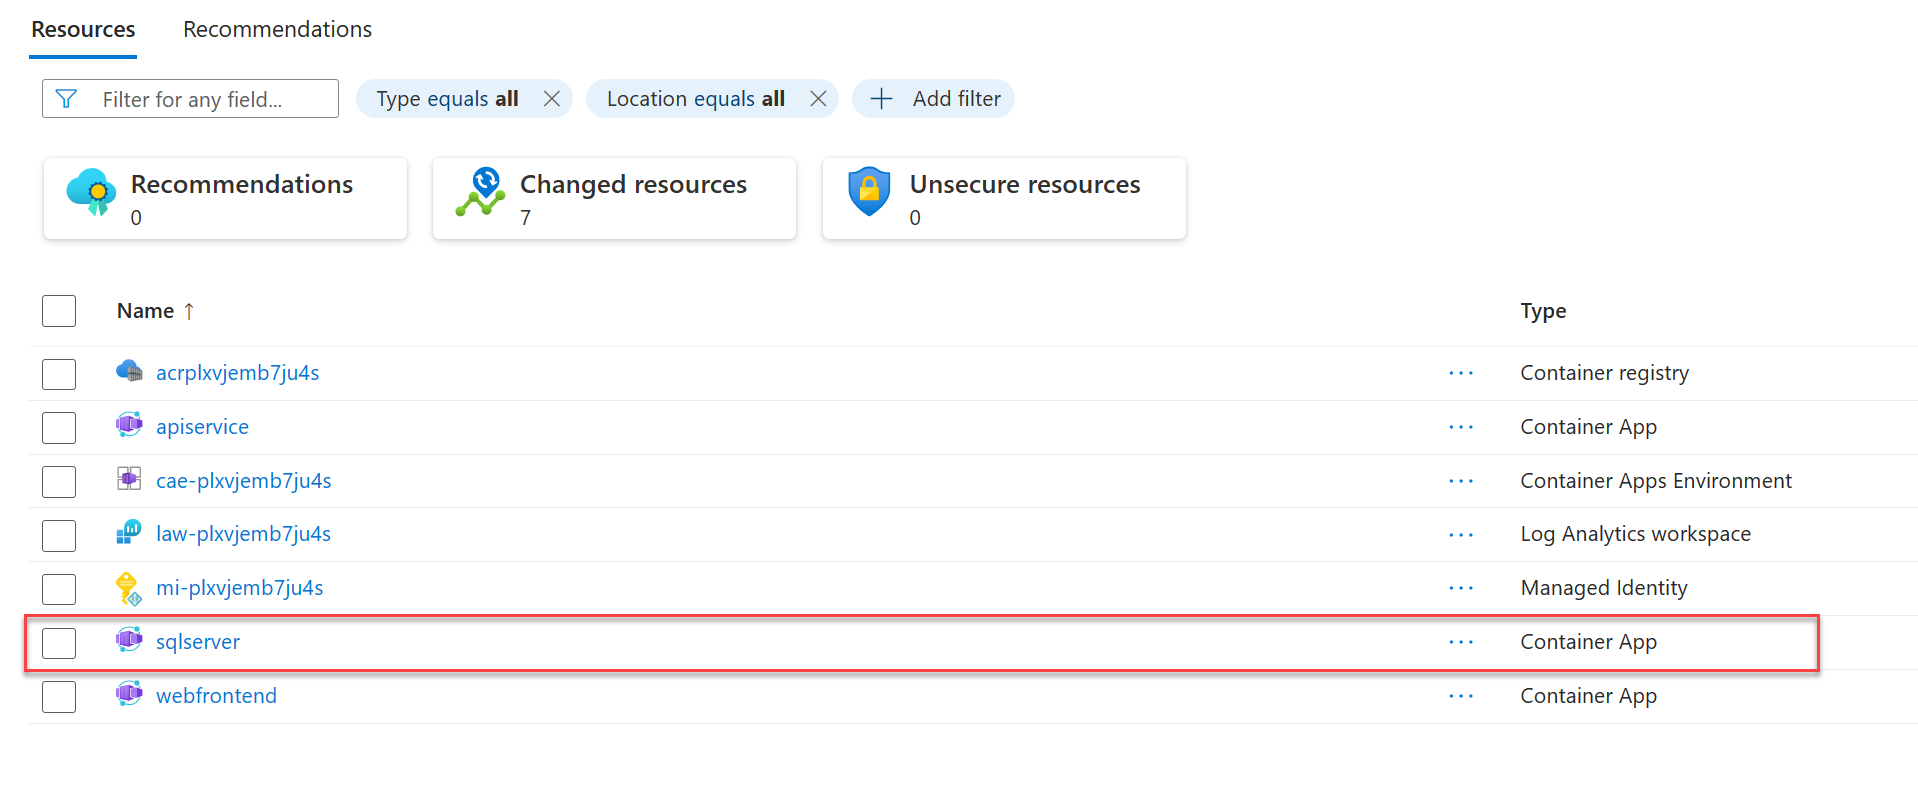
You can view the resources created under the resource group <YOUR RESOURCE GROUP> in Azure Portal:
<LINK TO RESOURCE GROUP OVERVIEW>
Deploying services (azd deploy)
(✓) Done: Deploying service apiservice
- Endpoint: <YOUR UNIQUE apiservice APP>.azurecontainerapps.io/
(✓) Done: Deploying service webfrontend
- Endpoint: <YOUR UNIQUE webfrontend APP>.azurecontainerapps.io/
SUCCESS: Your application was deployed to Azure in 1 minute 39 seconds.
You can view the resources created under the resource group <YOUR RESOURCE GROUP> in Azure Portal:
<LINK TO RESOURCE GROUP OVERVIEW>
SUCCESS: Your up workflow to provision and deploy to Azure completed in 3 minutes 50 seconds.
The azd up command acts as wrapper for the following individual azd commands to provision and deploy your resources in a single step:
azd package: The app projects and their dependencies are packaged into containers.azd provision: The Azure resources the app will need are provisioned.azd deploy: The projects are pushed as containers into an Azure Container Registry instance, and then used to create new revisions of Azure Container Apps in which the code will be hosted.
When the azd up stages complete, your app will be available on Azure, and you can open the Azure portal to explore the resources. azd also outputs URLs to access the deployed apps directly.
The deployment process provisioned an Azure SQL Database resource due to the .AppHost configuration you provided.

Clean up resources
Run the following Azure CLI command to delete the resource group when you no longer need the Azure resources you created. Deleting the resource group also deletes the resources contained inside of it.
az group delete --name <your-resource-group-name>
For more information, see Clean up resources in Azure.
See also
.NET Aspire
Saran dan Komentar
Segera hadir: Sepanjang tahun 2024 kami akan menghentikan penggunaan GitHub Issues sebagai mekanisme umpan balik untuk konten dan menggantinya dengan sistem umpan balik baru. Untuk mengetahui informasi selengkapnya, lihat: https://aka.ms/ContentUserFeedback.
Kirim dan lihat umpan balik untuk