Configure Sitecore OrderCloud connector (preview)
Important
Some or all of this functionality is available as part of a preview release. The content and the functionality are subject to change.
After you successfully deployed Retail data solutions and Sitecore OrderCloud connector, you can configure the various features available in the solution capability.
Configure authentication for data ingestion to Power BI
Open the deployed artifacts page and select the Dataset Semantic Model artifact.
The Dataset page opens and the items used in the Dataset artifact is listed. Select File > Settings.
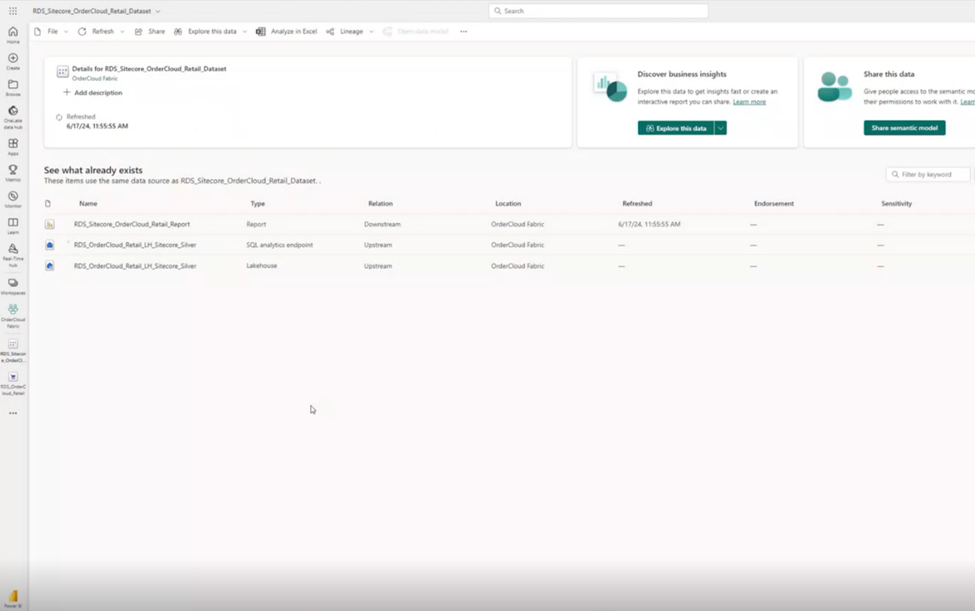
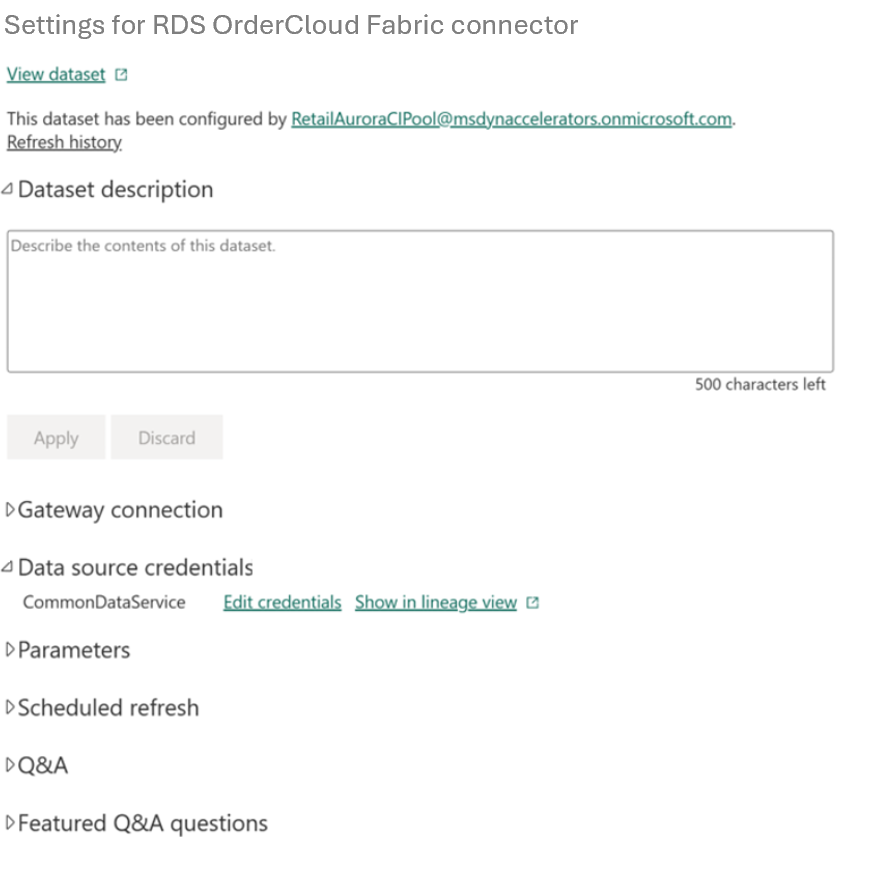
The settings page for the OrderCloud connector opens. Under Data source credentials, select Edit credentials. Enter authentication method as OAuth2 and select Sign in. This step refreshes the data for your Power BI report and you can see the sample data in the Power BI dashboard.


Configure data ingestion from OrderCloud to Fabric
To configure data ingestion from OrderCloud to Fabric, perform the steps in the following sections:
Configure Eventstream
To manually configure Eventstream and set up the Orders, Products, and Webhooks entities, perform the following steps:
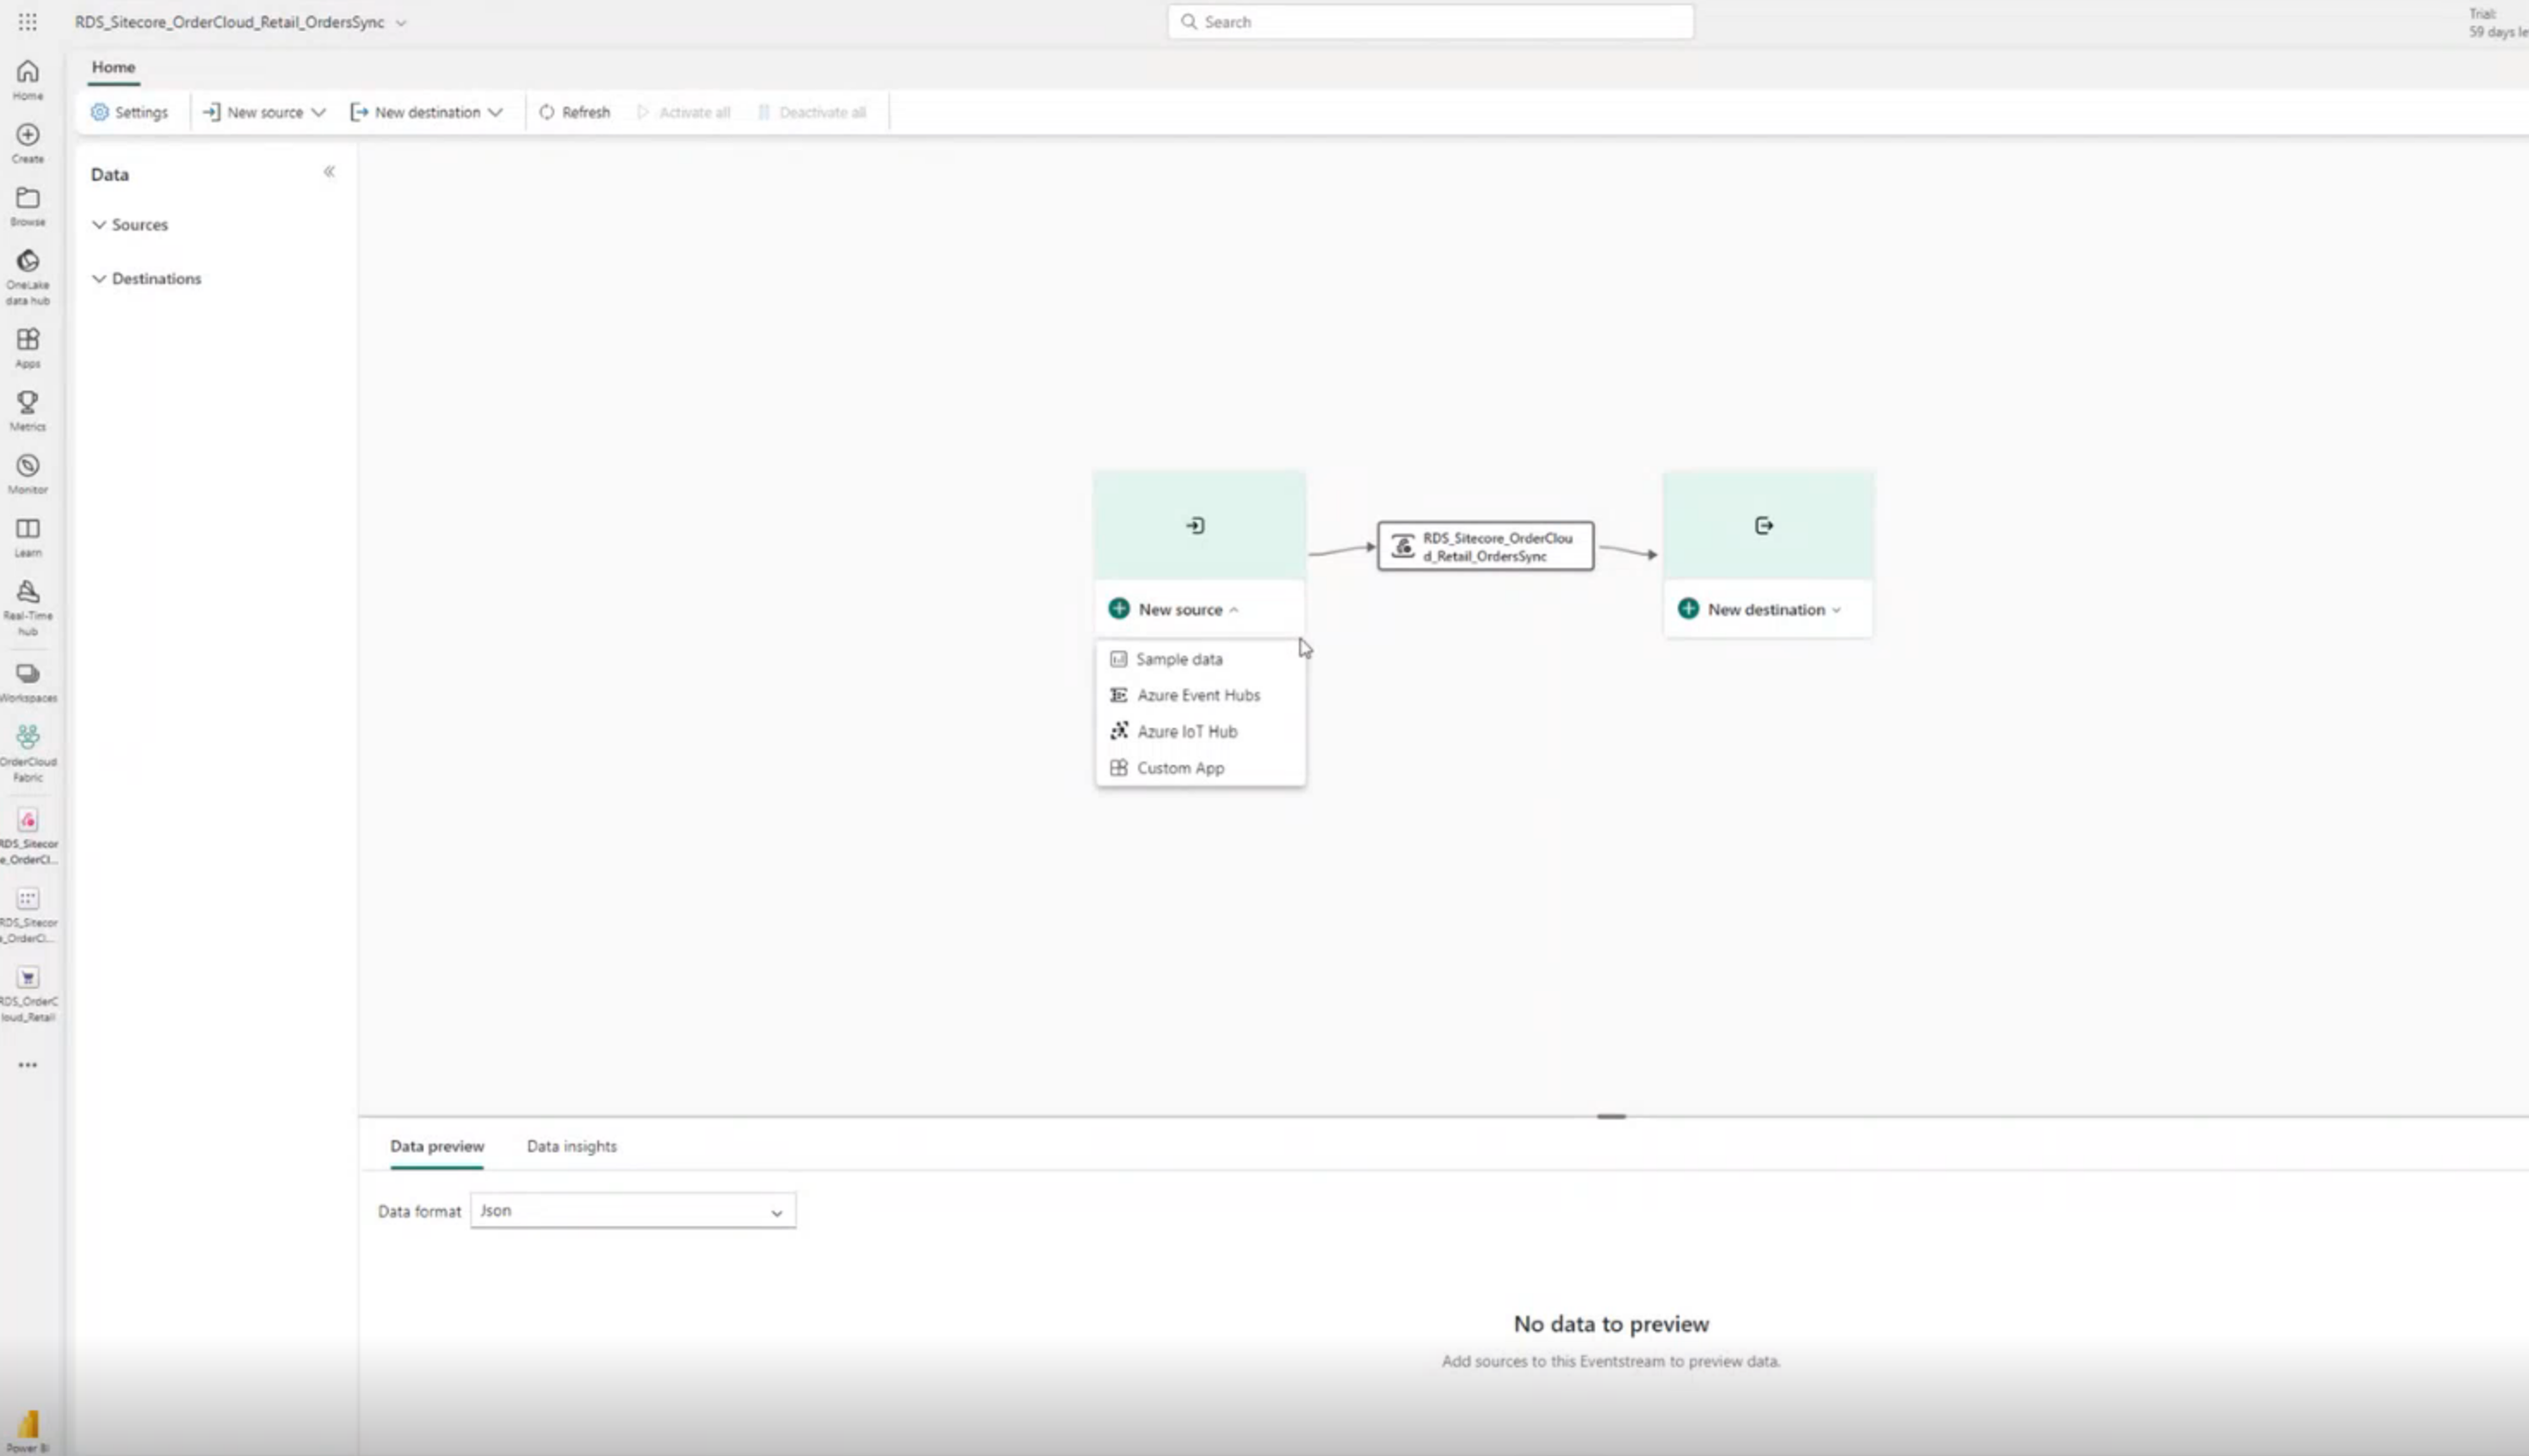
Go back to the deployed artifacts page and select the OrderSync Eventstream. Select Create a new Eventstream artifact in Microsoft Fabric.
Create a new OrderCloud source in your Eventstream artifact and select Custom App as the source type.
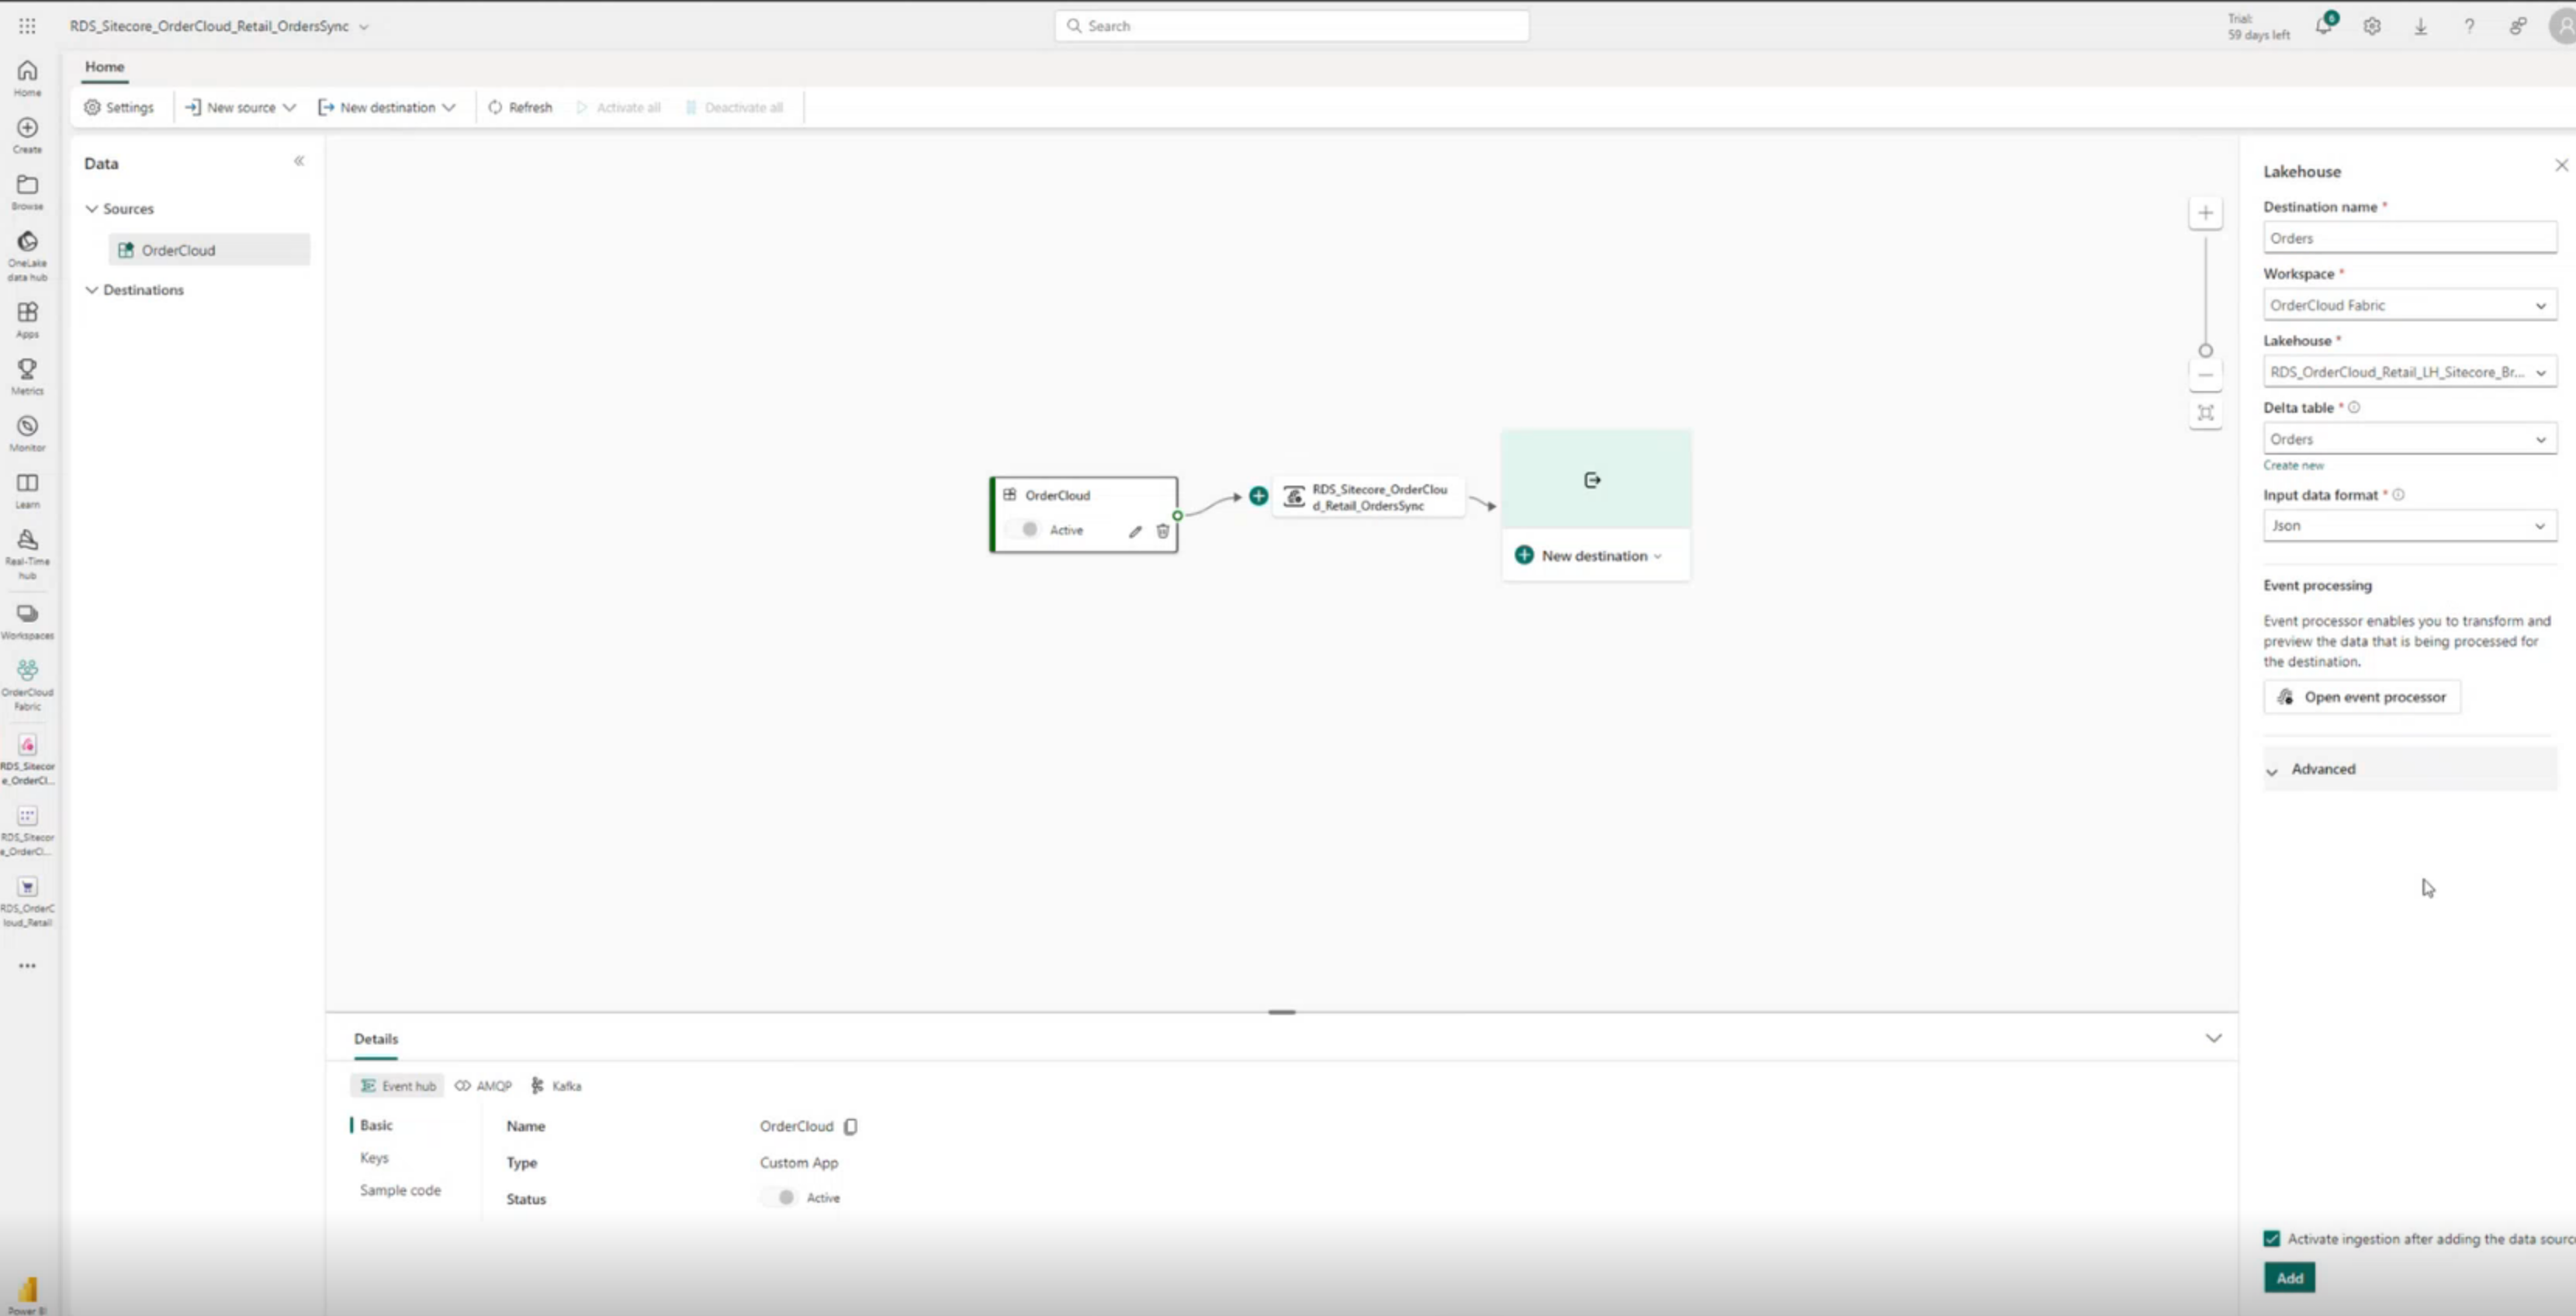
Create a new Lakehouse destination in your Eventstream artifact. Select the workspace, Lakehouse, and the Delta table you want as the destination. Leave the input data format as Json.


Set up Delivery Configuration in OrderCloud
Select the OrderCloud source in your Eventstream artifact, then select Keys in the navigation bar.
Copy the Entity name and Connection string-primary key values, you need these values in a forthcoming step.
Open your OrderCloud workspace and navigate to the API Console.
Select the Delivery Configurations options in the left navigation bar.
Change the operation to POST Create a new delivery configuration to create a new delivery configuration item.
Enter the values for the following properties:
- ID (optional, if this field is empty, a GUID is generated for you)
- Name
- Check the Enabled checkbox
- Delivery Targets
- Event Hub Name (this value is the Entity name value from the Eventstream source)
- Connection String (this value is the Connection string-primary key value from the Eventstream source)
Copy the DeliveryConfig ID since you'll need this value in a forthcoming step. At this point, you need to set up an Event synchronization and Webhook synchronization. The steps for each are outlined in the following sections.
Configure Event Synchronization in OrderCloud
Note
This step is only applicable to the Orders and Products entities coming from OrderCloud. Other entities will require different steps to configure and set-up.
In the OrderCloud API Console, select the Order Synchronization option in the left navigation bar. Change the operation to PUT Create or update an order sync to create a new order synchronization item.
Enter the Delivery Config ID created in a previous step.
In the OrderCloud API Console, select the Product Synchronization option in the left navigation bar. Change the operation to PUT Create or update a product sync to create a new product synchronization item.
Select both the Sync Product Changed and Sync Product Deleted checkboxes.
Enter the Delivery Config ID created in a previous step. Select Sync for one-time upload of existing data.
Configure Webhook Synchronization in OrderCloud
In the OrderCloud API Console, select the Webhooks option in the left navigation bar. Change the operation to POST Create a new webhook to create a new webhook item.
Select the lightening bolt in the top left corner and open the raw API view. This step allows you to enter the required JSON payload.
In the JSON field, enter the following payload modified to suit your requirements and select Send to create the webhook. Refer to the following example for addresses. Check the API structure for other entities in OrderCloud.
{
  "Name": "<NAME_OF_YOUR_WEBHOOK>",
  "ApiClientIDs": ["<API_CLIENT_IDS>"],
  "WebhookRoutes": [
    {
      "Route": "v1/buyers/{buyerID}/addresses",
      "Verb": "POST"
    },
    {
      "Route": "v1/buyers/{buyerID}/addresses/{addressID}",
      "Verb": "DELETE"
    },
    {
      "Route": "v1/buyers/{buyerID}/addresses/{addressID}",
      "Verb": "PATCH"
    },
    {
      "Route": "v1/buyers/{buyerID}/addresses/{addressID}",
      "Verb": "PUT"
    }
  ],
  "DeliveryConfigID": "<DELIVERY_CONFIG_FROM_EARLIER>"
}
The WebhookRoutes property is an array of objects. Each object represents a route and verb combination that you want to trigger the webhook. You can add as many of these objects as you need, but be sure to include the {buyerID} and {addressID} placeholders in the route, as these objects are replaced with the actual values when the webhook is triggered.
For more information, see Use Webhooks and Introduction to API Clients
Congratulations, you have configured data ingestion from OrderCloud to Fabric.
Important
For detailed support, contact the Microsoft Cloud for Retail team at mcfrcommunity@microsoft.com.