Deploy Retail industry data model (preview)
Important
Some or all of this functionality is available as part of a preview release. The content and the functionality are subject to change.
The Retail industry data model is a key capability of the Retail data solutions in Azure Synapse. It helps you standardize your data from different retail applications and store it in a common format. You can then use it to generate insights that help you drive timely actions.
Prerequisites
You need the Fabric Administrator (Workspace Contributor) permission.
You should have enabled Retail Data solutions.
You should have created a workspace with Retail data solutions deployed. Dataset generation requires a personal workspace (not My workspace) configured with a license with Premium or Fabric capacity and XMLA endpoint to be enabled with Write permission in Admin portal.
Configure Admin portal settings to deploy Retail industry data model
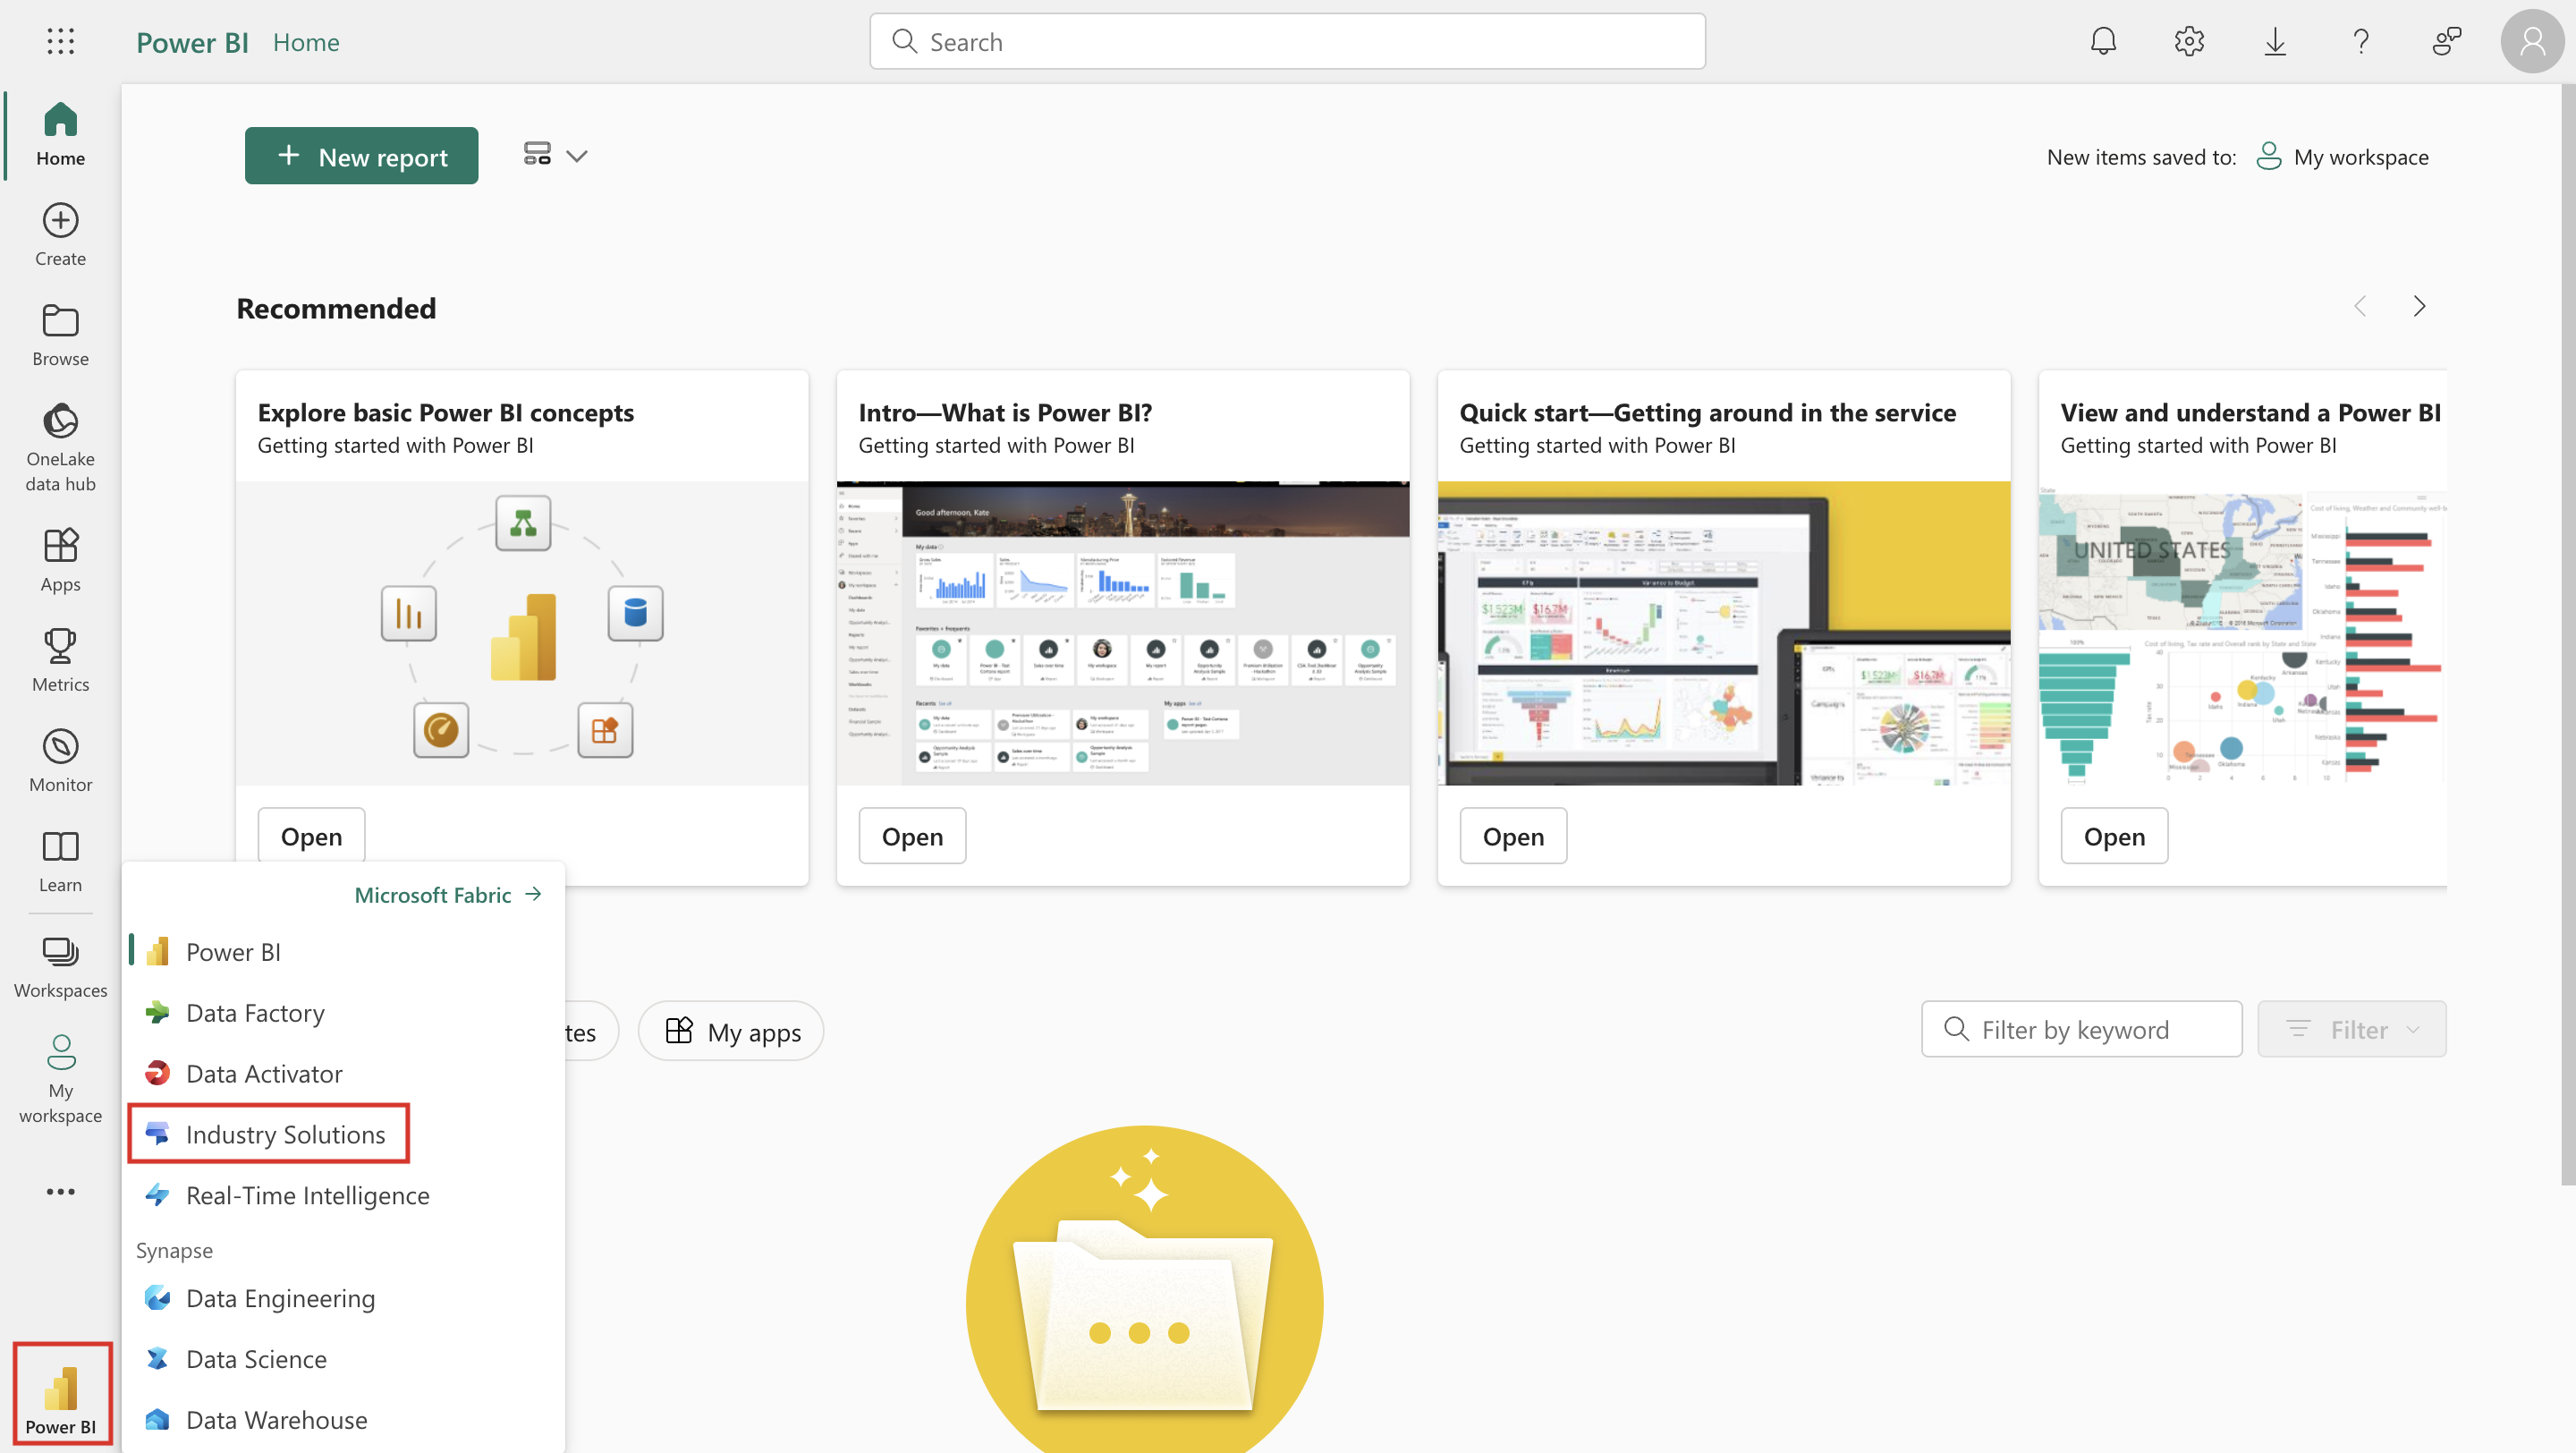
In a new Incognito or InPrivate browsing session, sign in to your Microsoft Power BI home page with your Fabric Administrator credentials.
From the lower left, select the Power BI icon and then select Industry Solutions from the list.
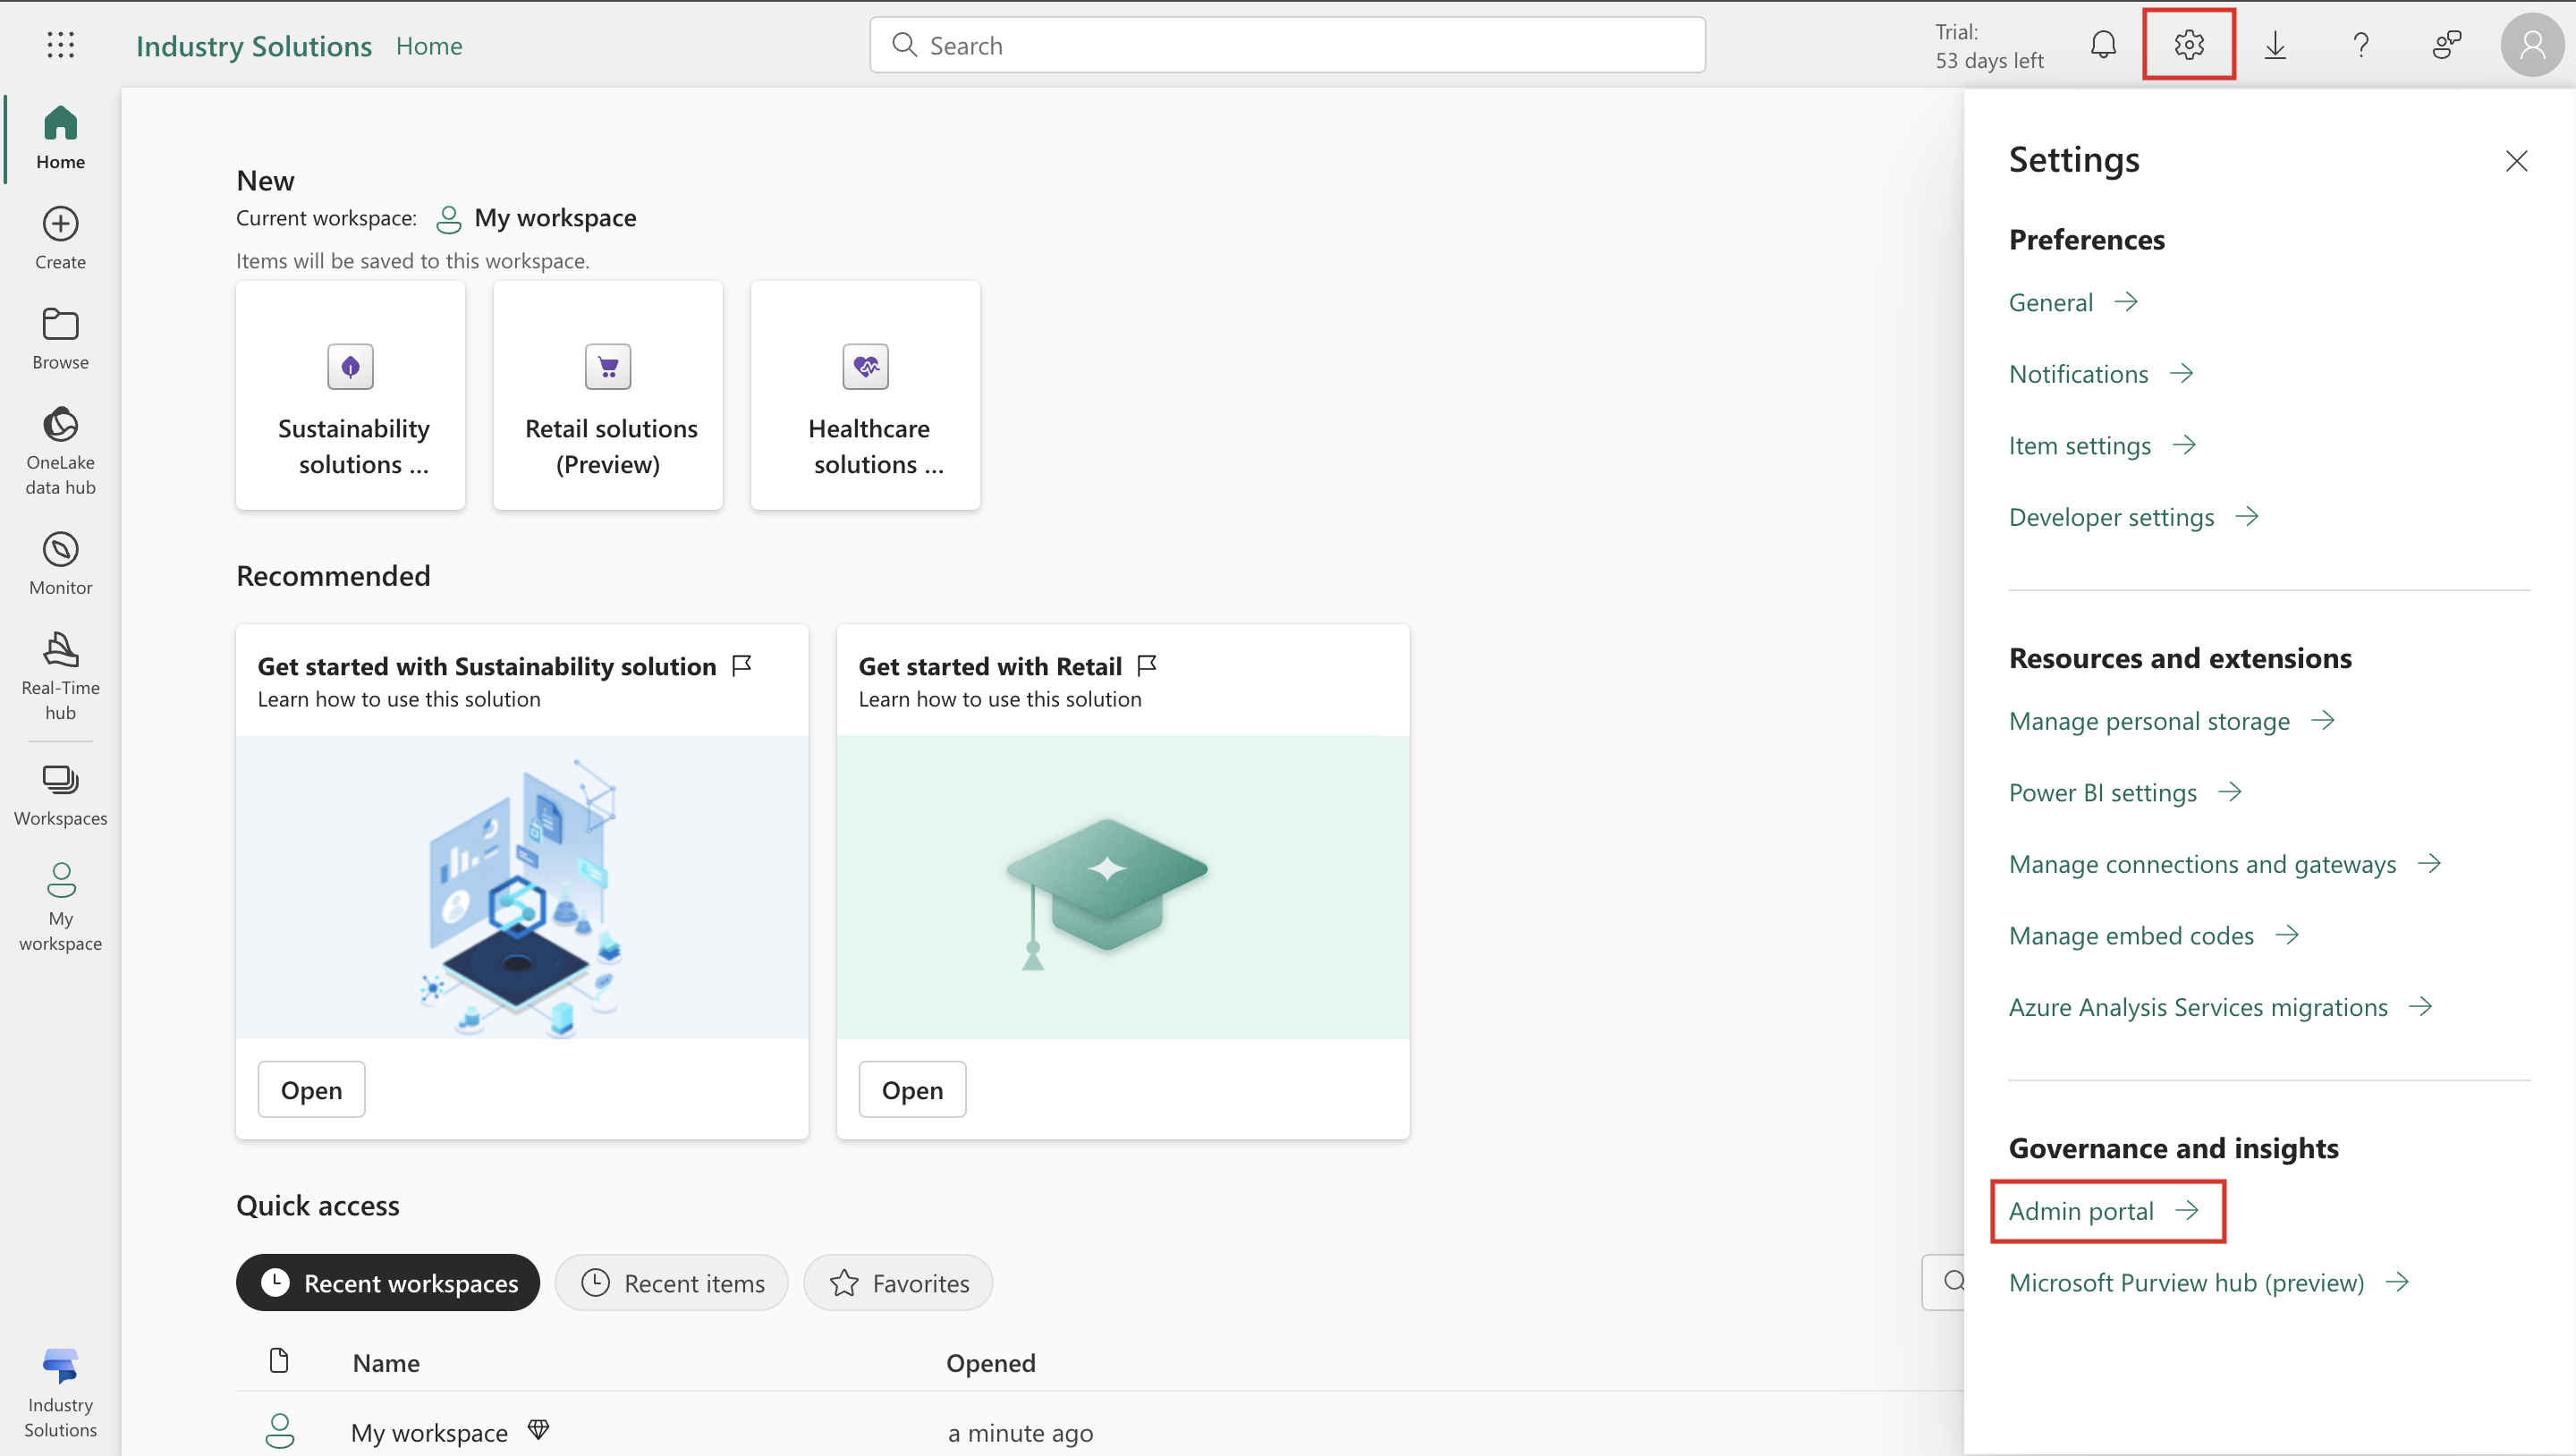
Select Settings > Admin portal.
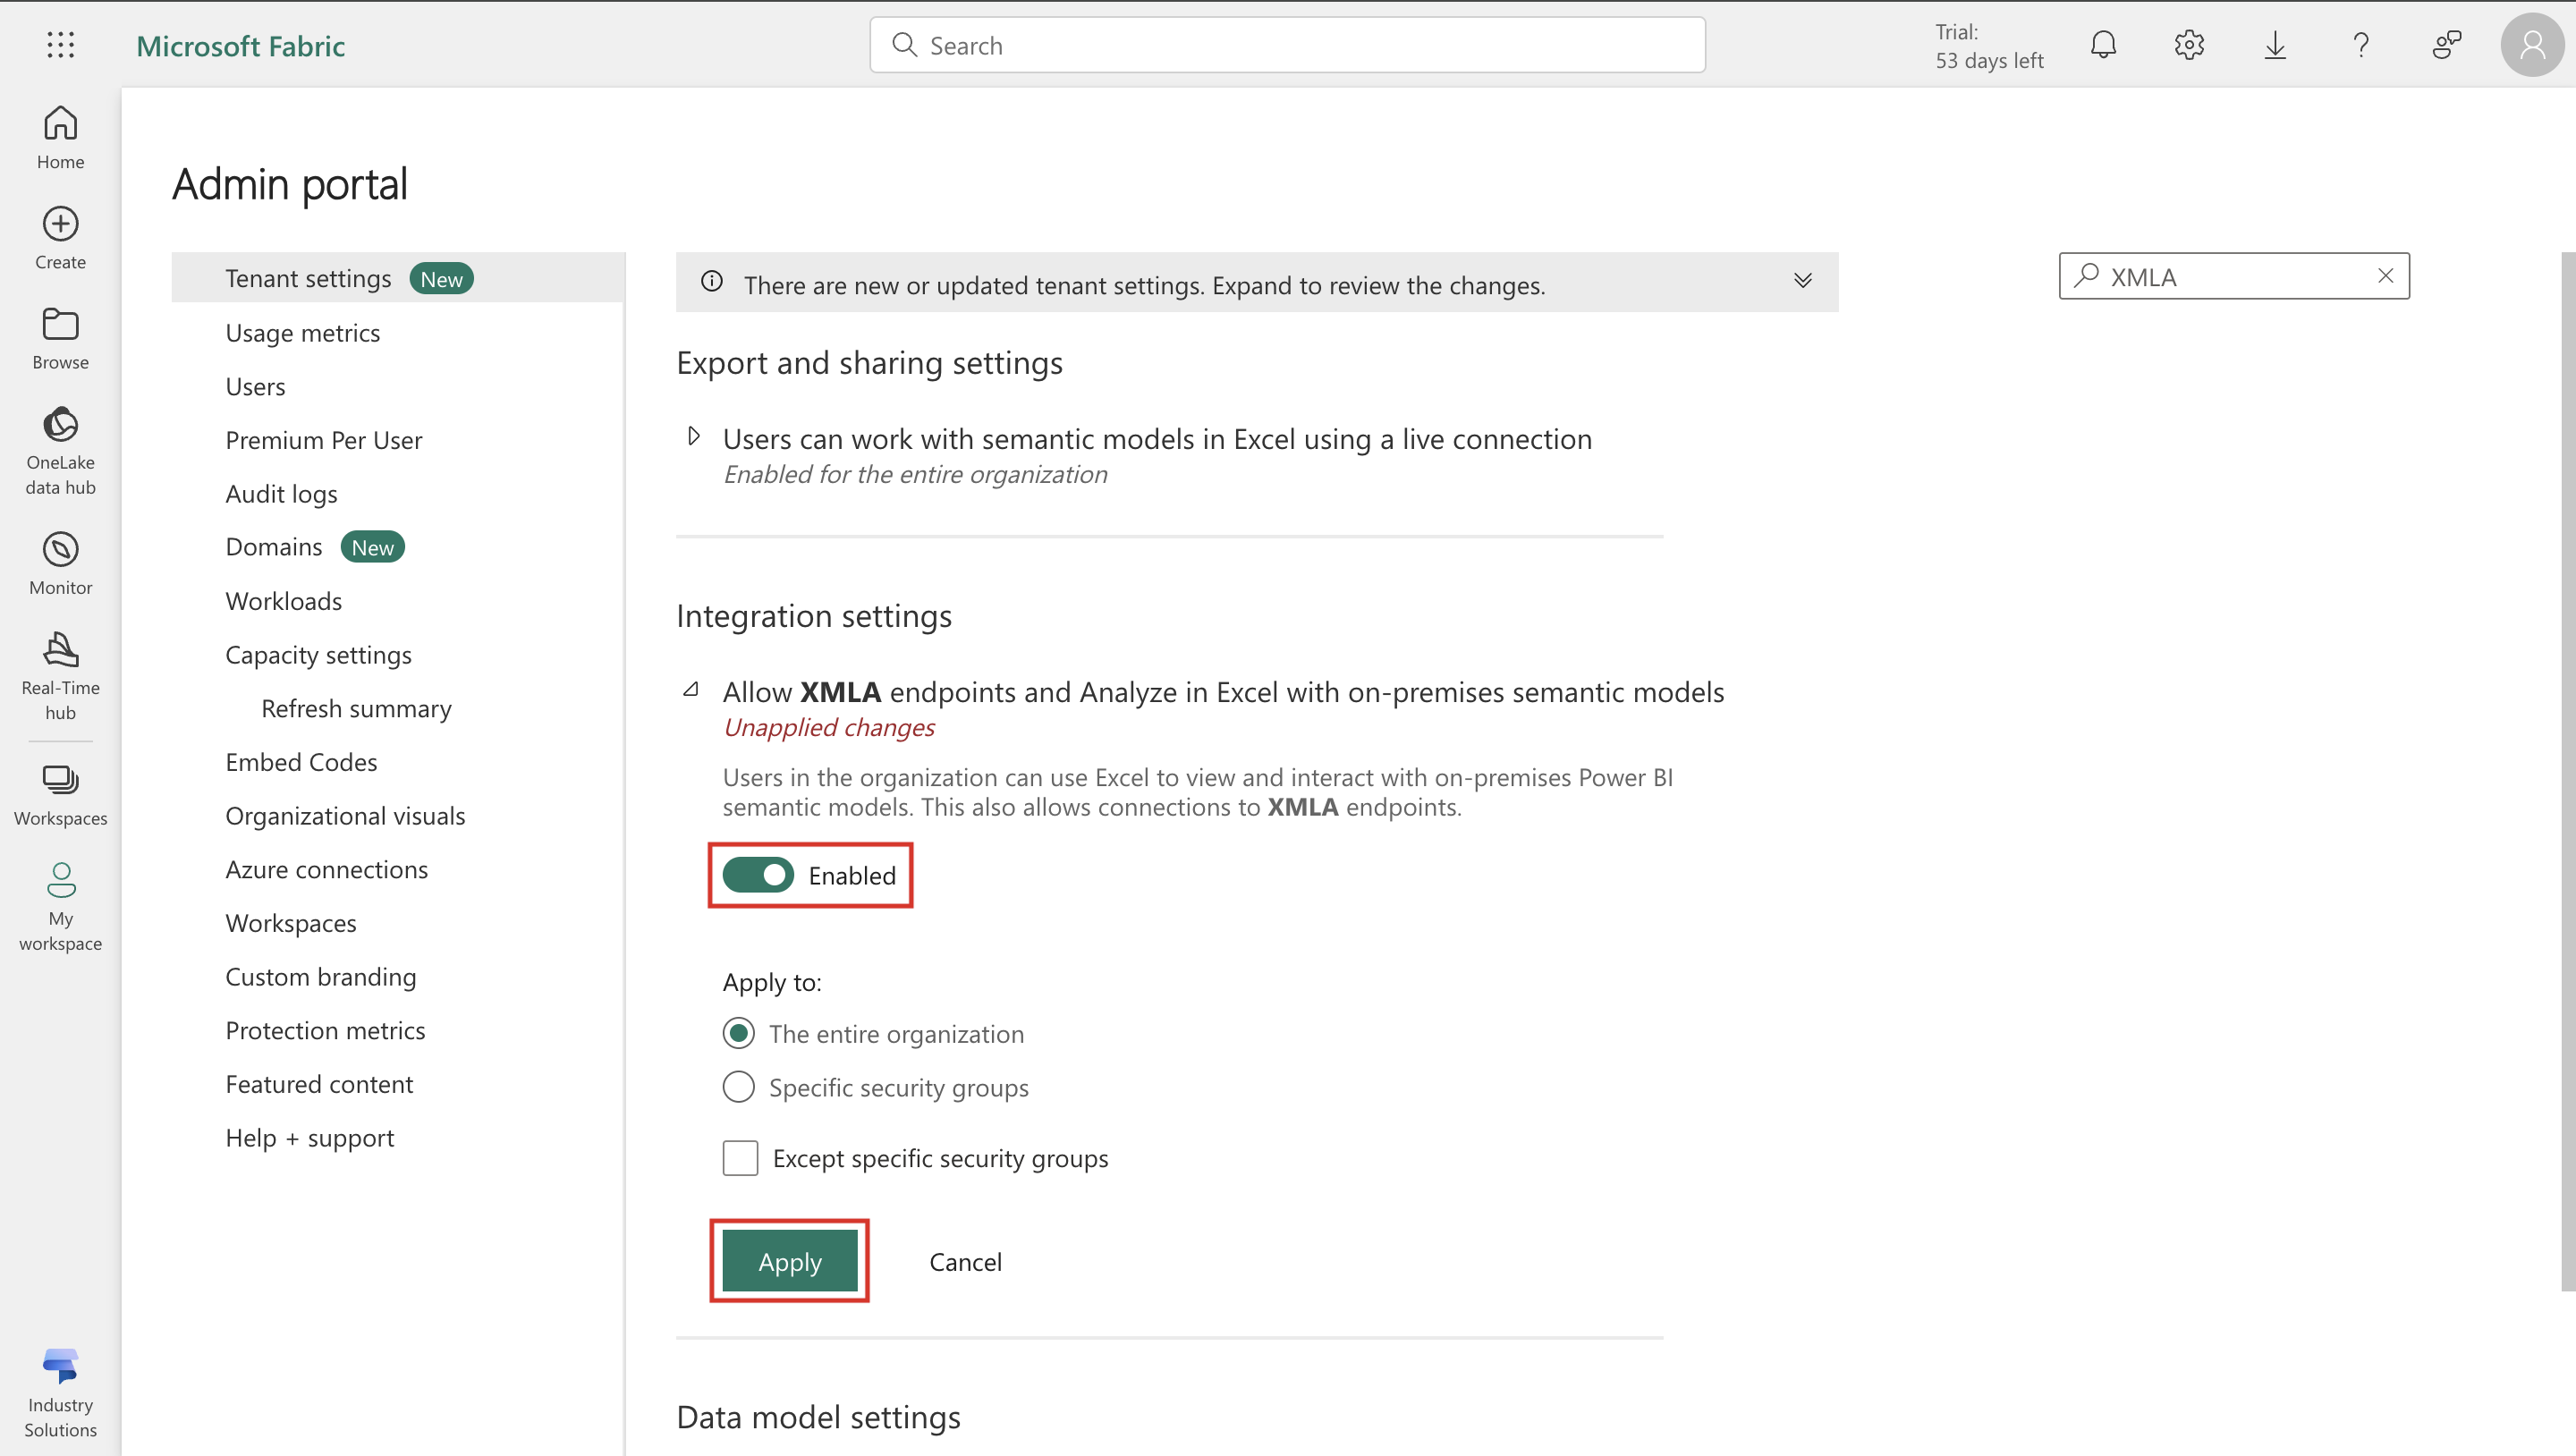
In Tenant settings, in the Filter by keyword field, search for XMLA.

Under Integration settings, make sure that Allow XMLA endpoints and Analyze in Excel with on-premises semantic models is set as Enabled. If not, turn on the setting and then select Apply.
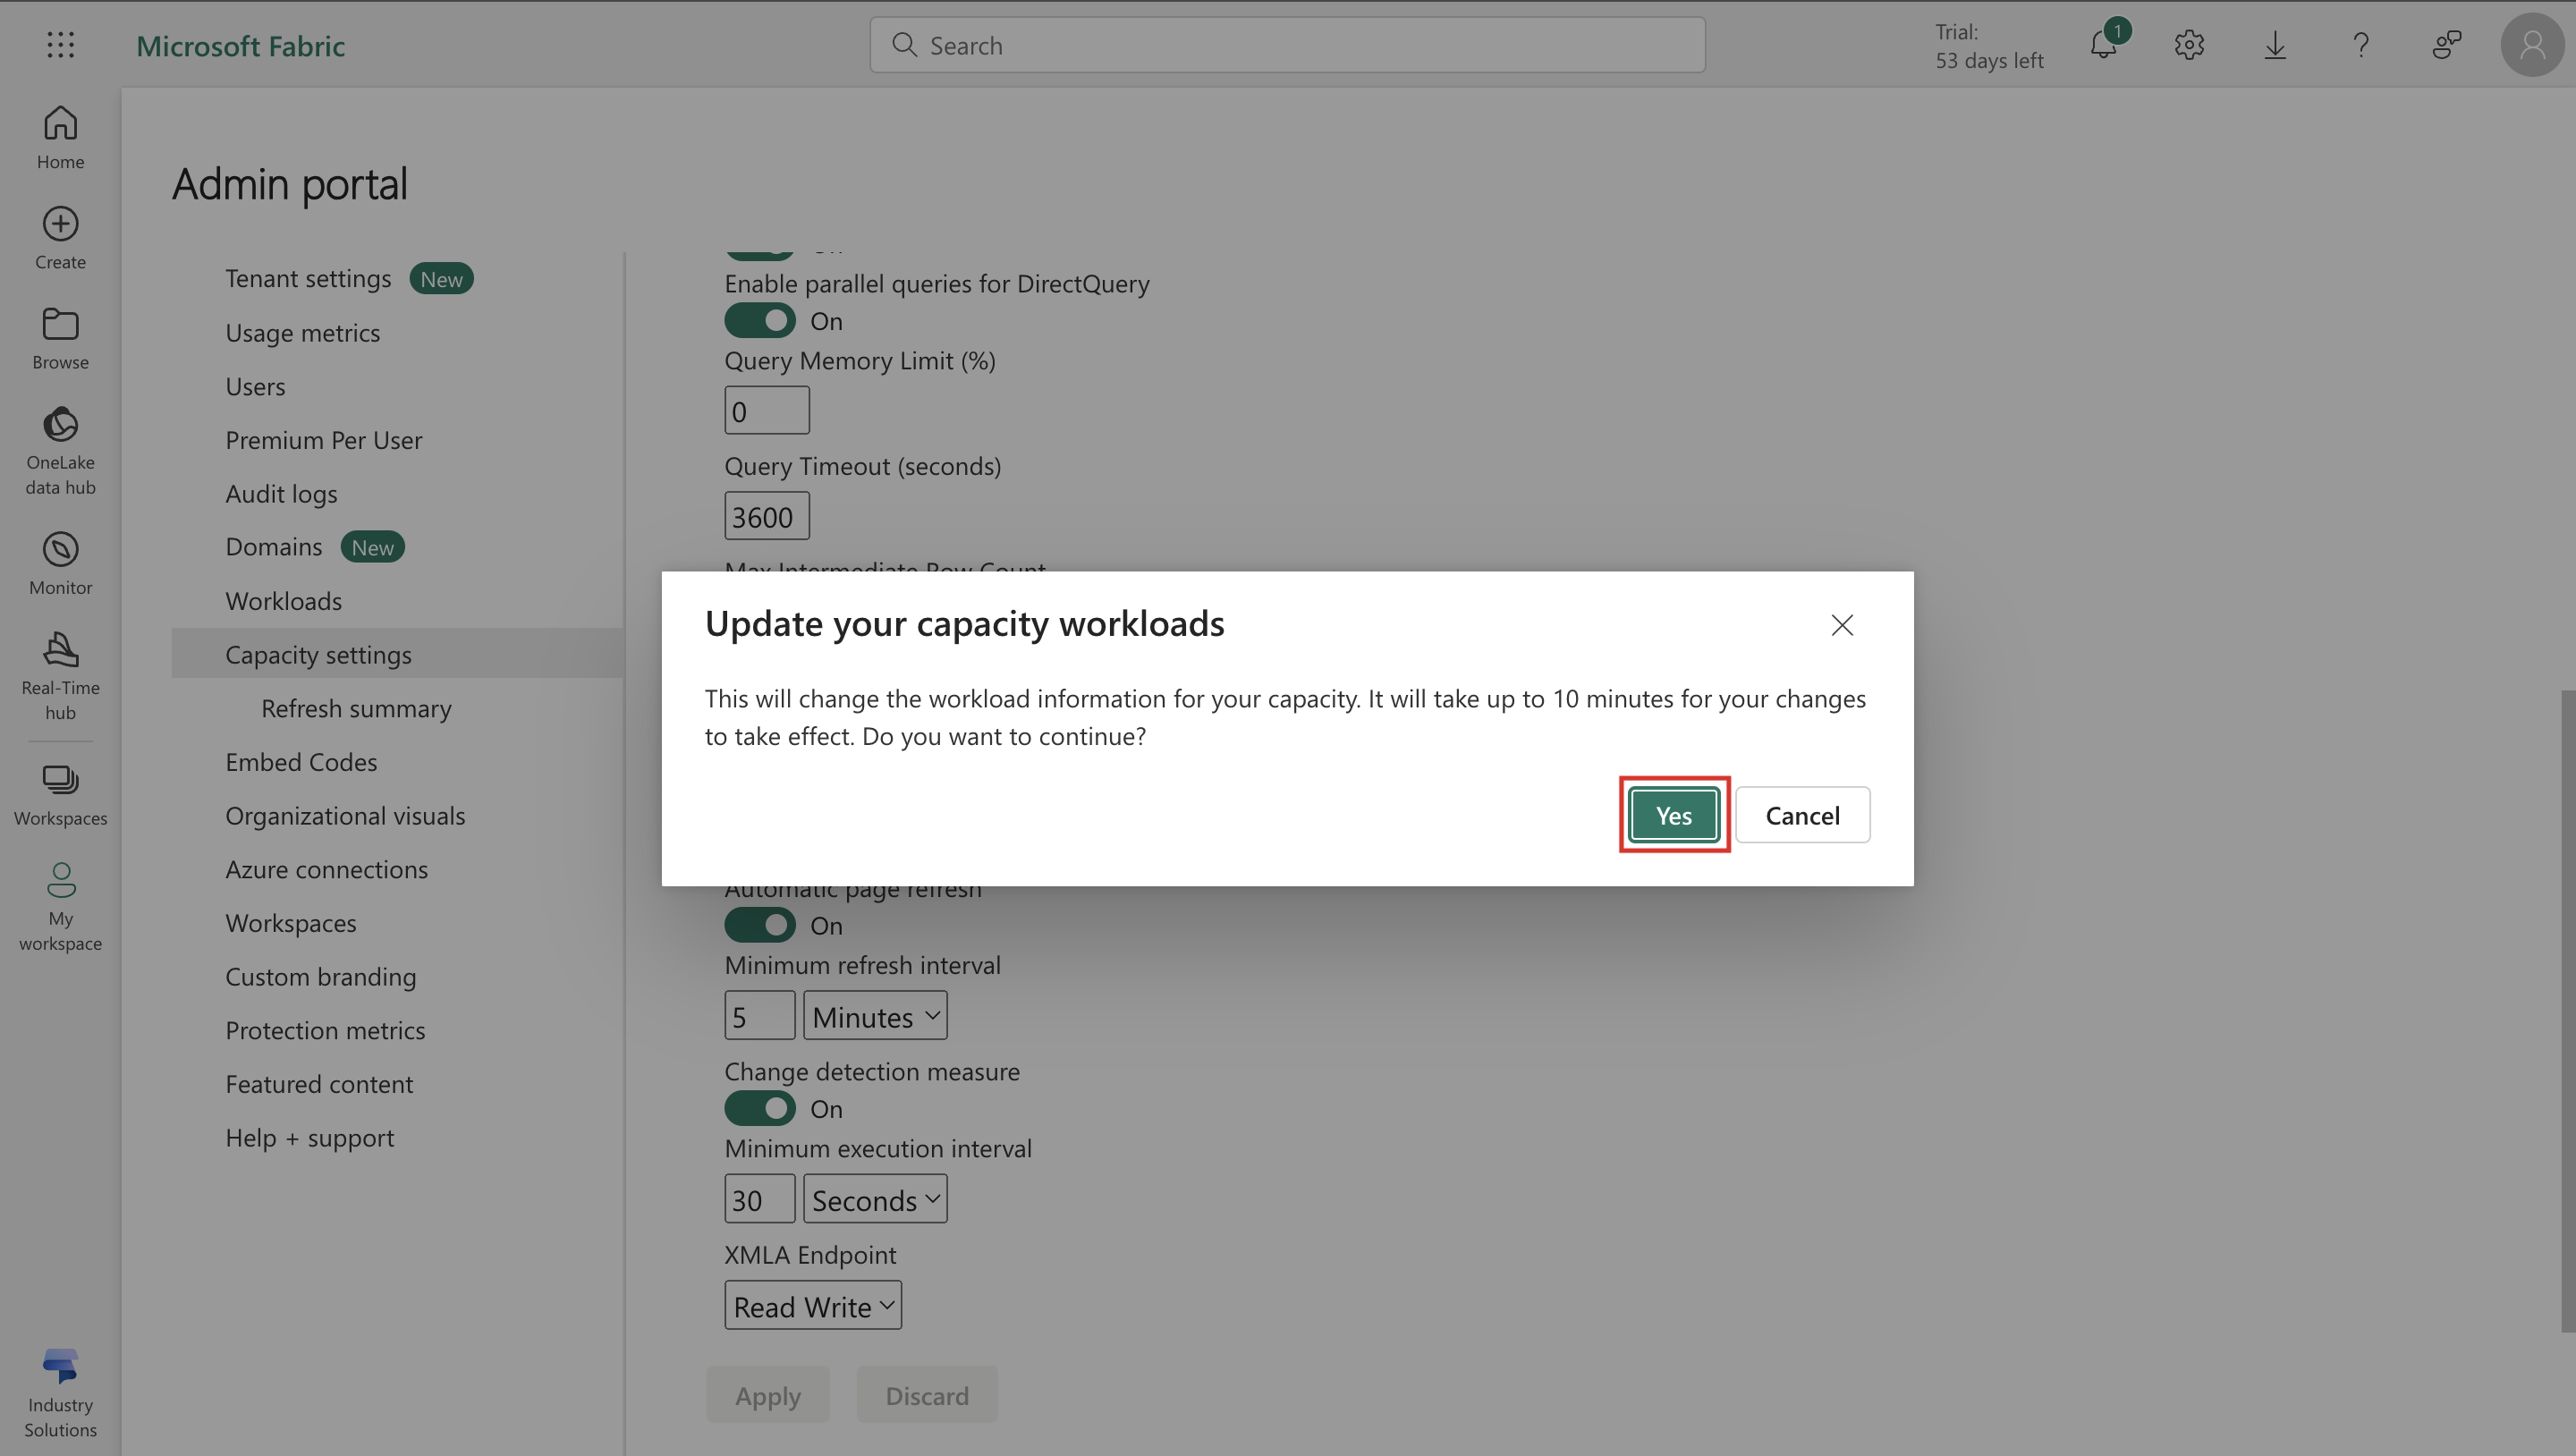
In the Admin portal, select Capacity settings > Trial and then select your capacity name.
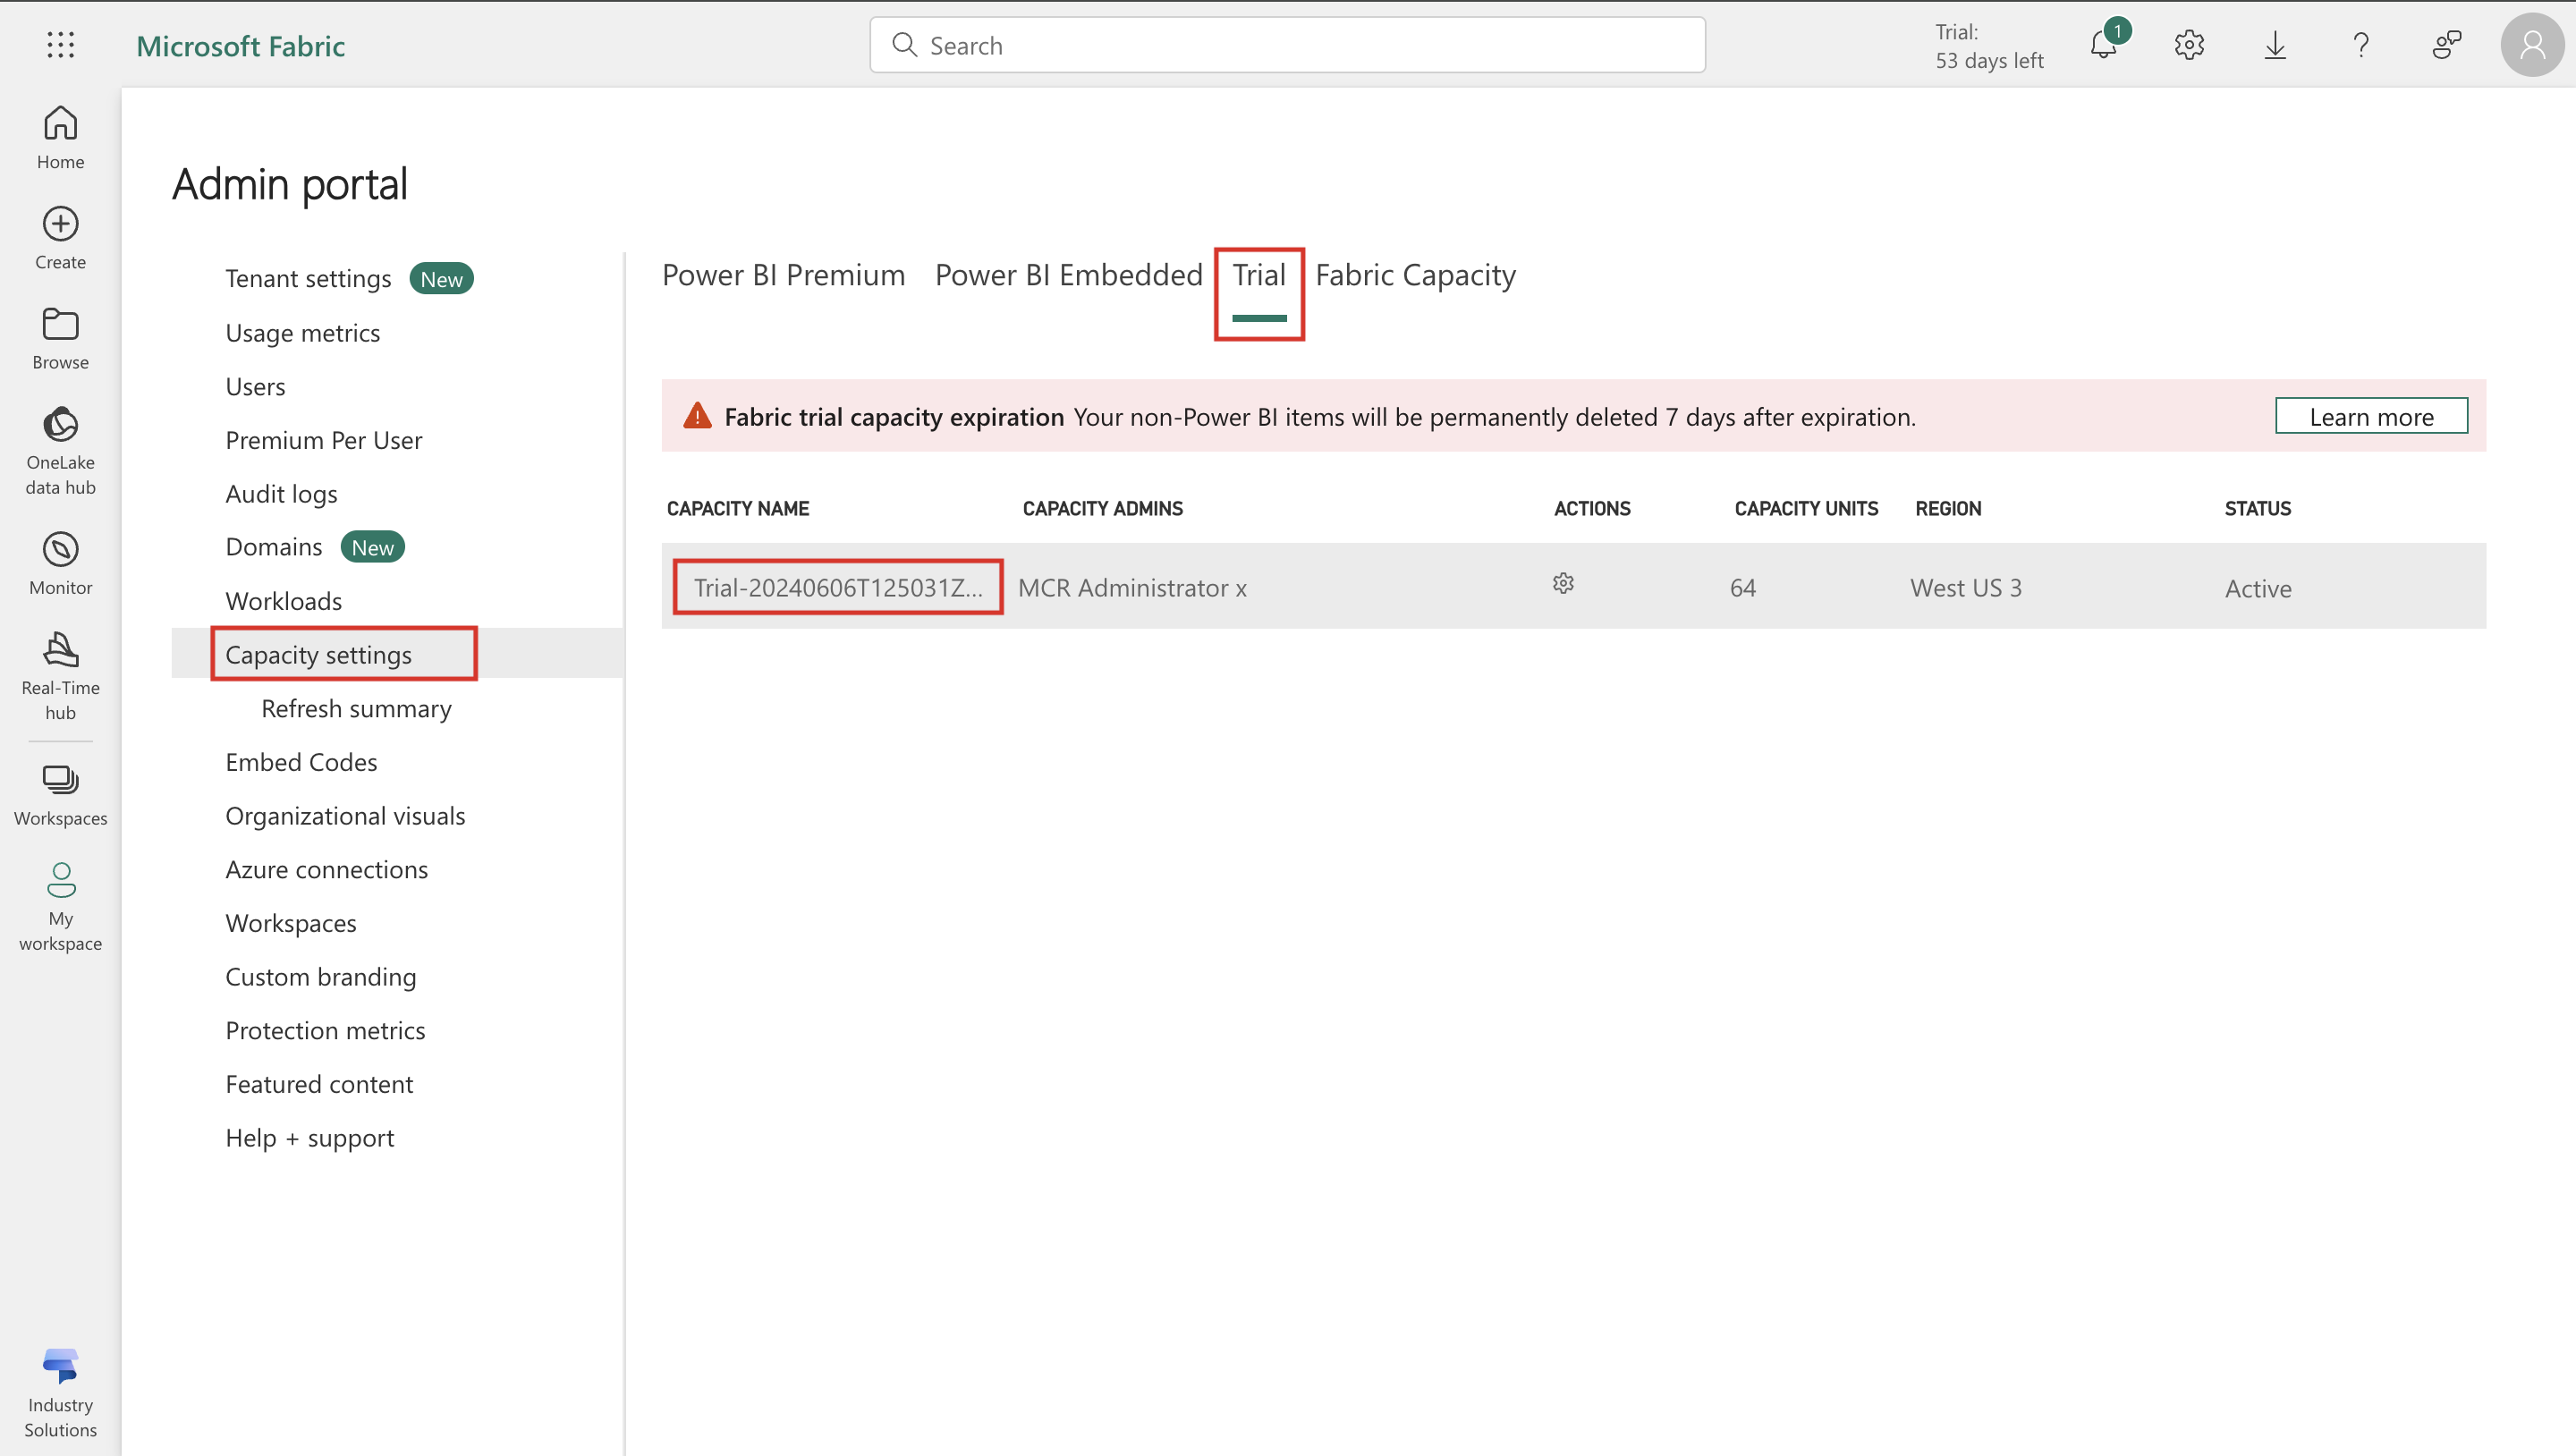
Expand Power BI workloads. Under XMLA Endpoint, change the permissions to Read Write and then select Apply.

On the Update your capacity workloads pop-up window, select Yes to continue.


Deploy the Retail industry data model
To deploy the Retail industry data model, follow these steps:
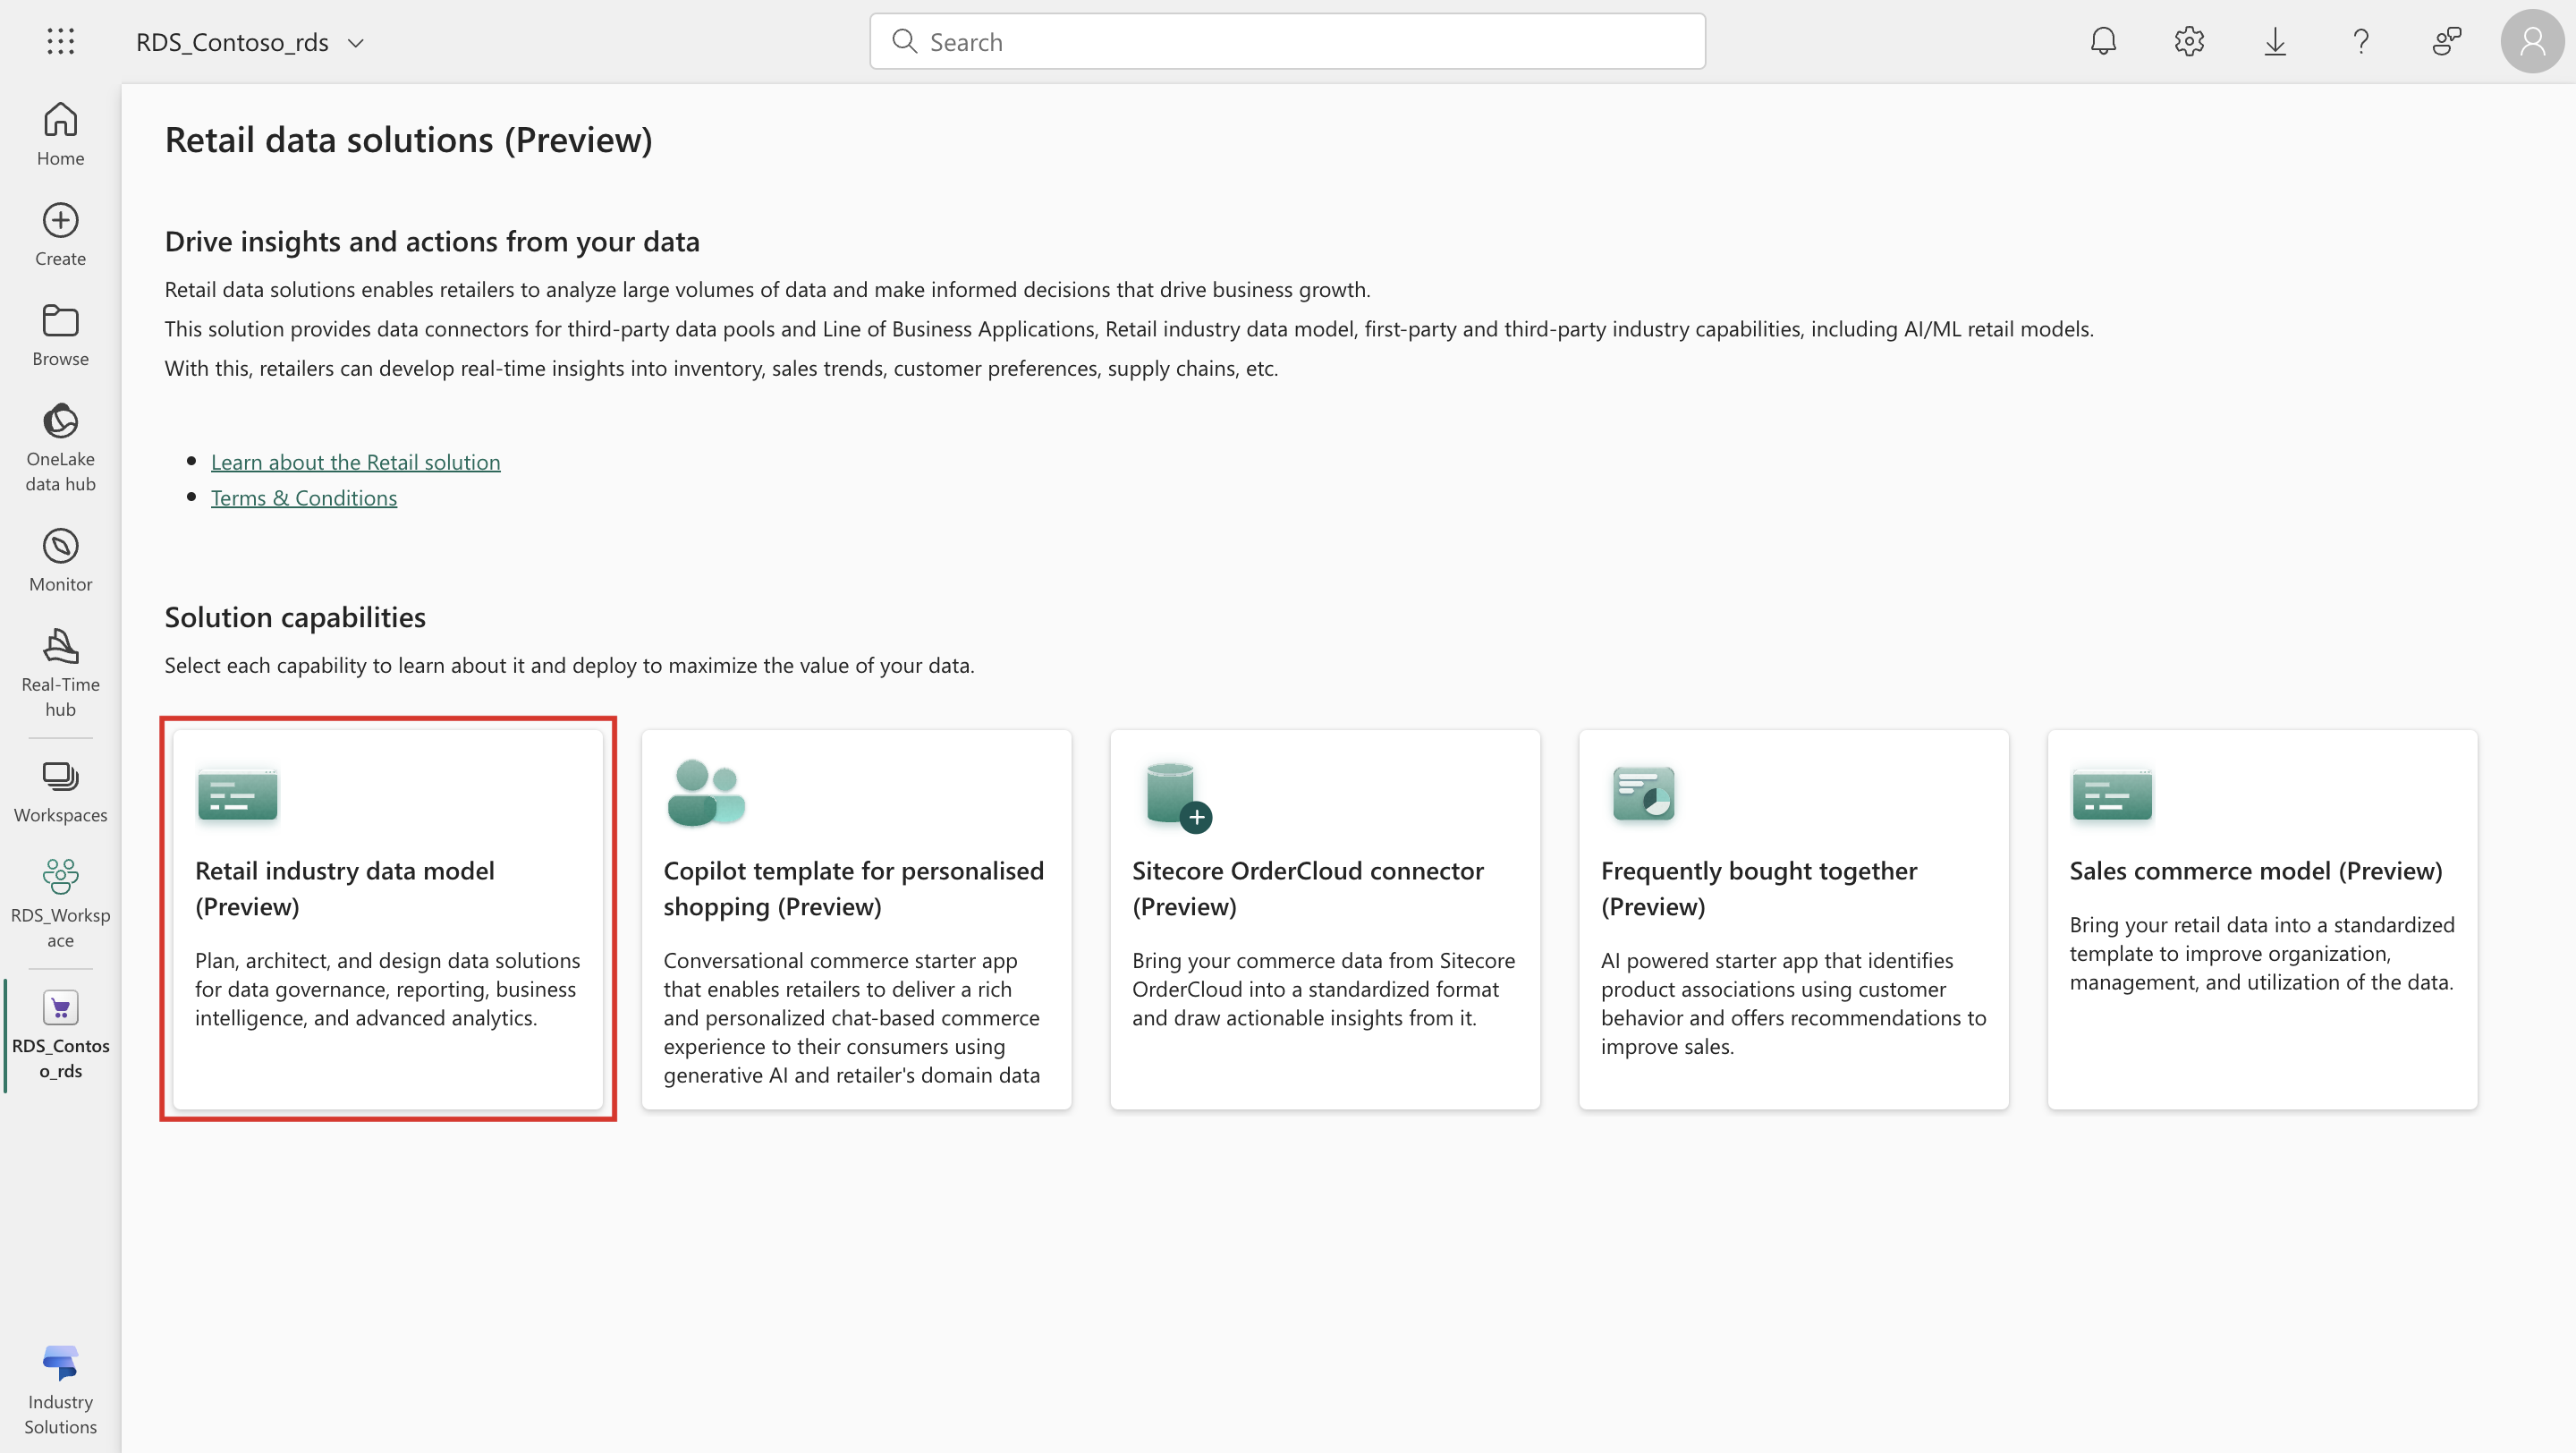
Go to the Retail solution homepage, where you can see the list of capabilities as tiles.
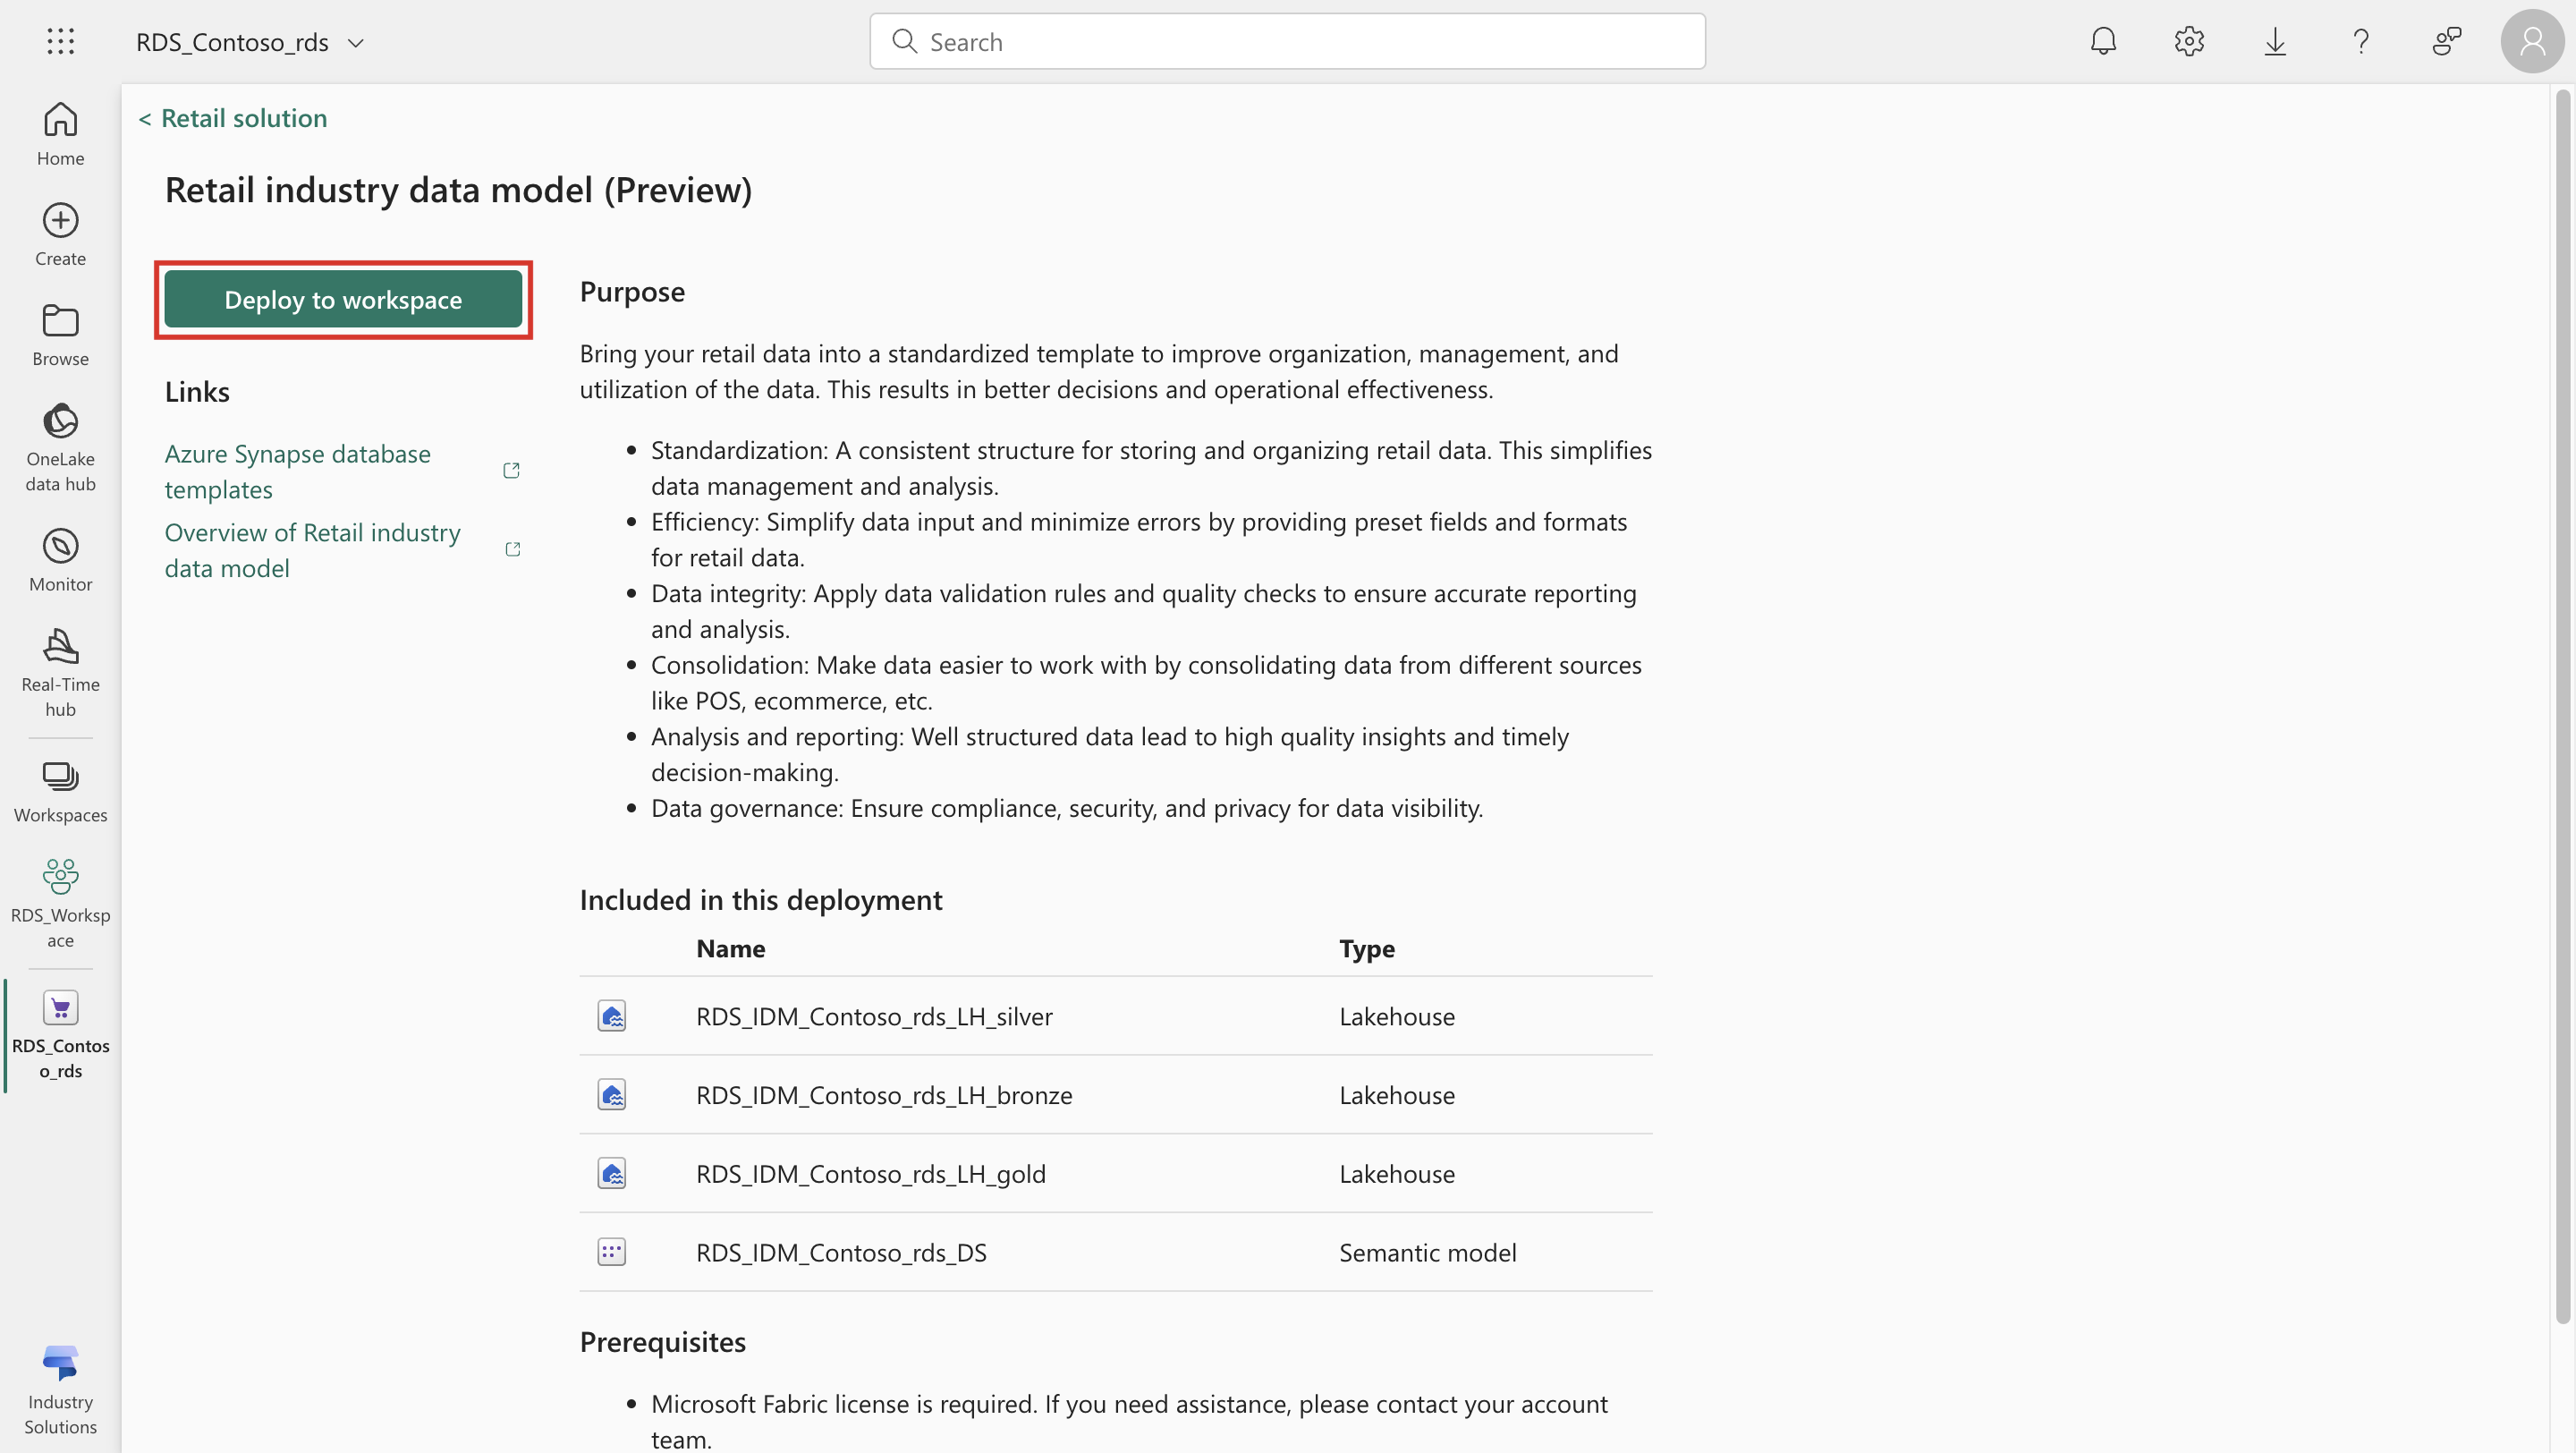
Select Retail industry data model from the list of solution capabilities. You see the application details page, where you can view detailed information about the capability.
Select Deploy to workspace. This step initiates the deployment process for deploying the Retail industry data model in your tenant.
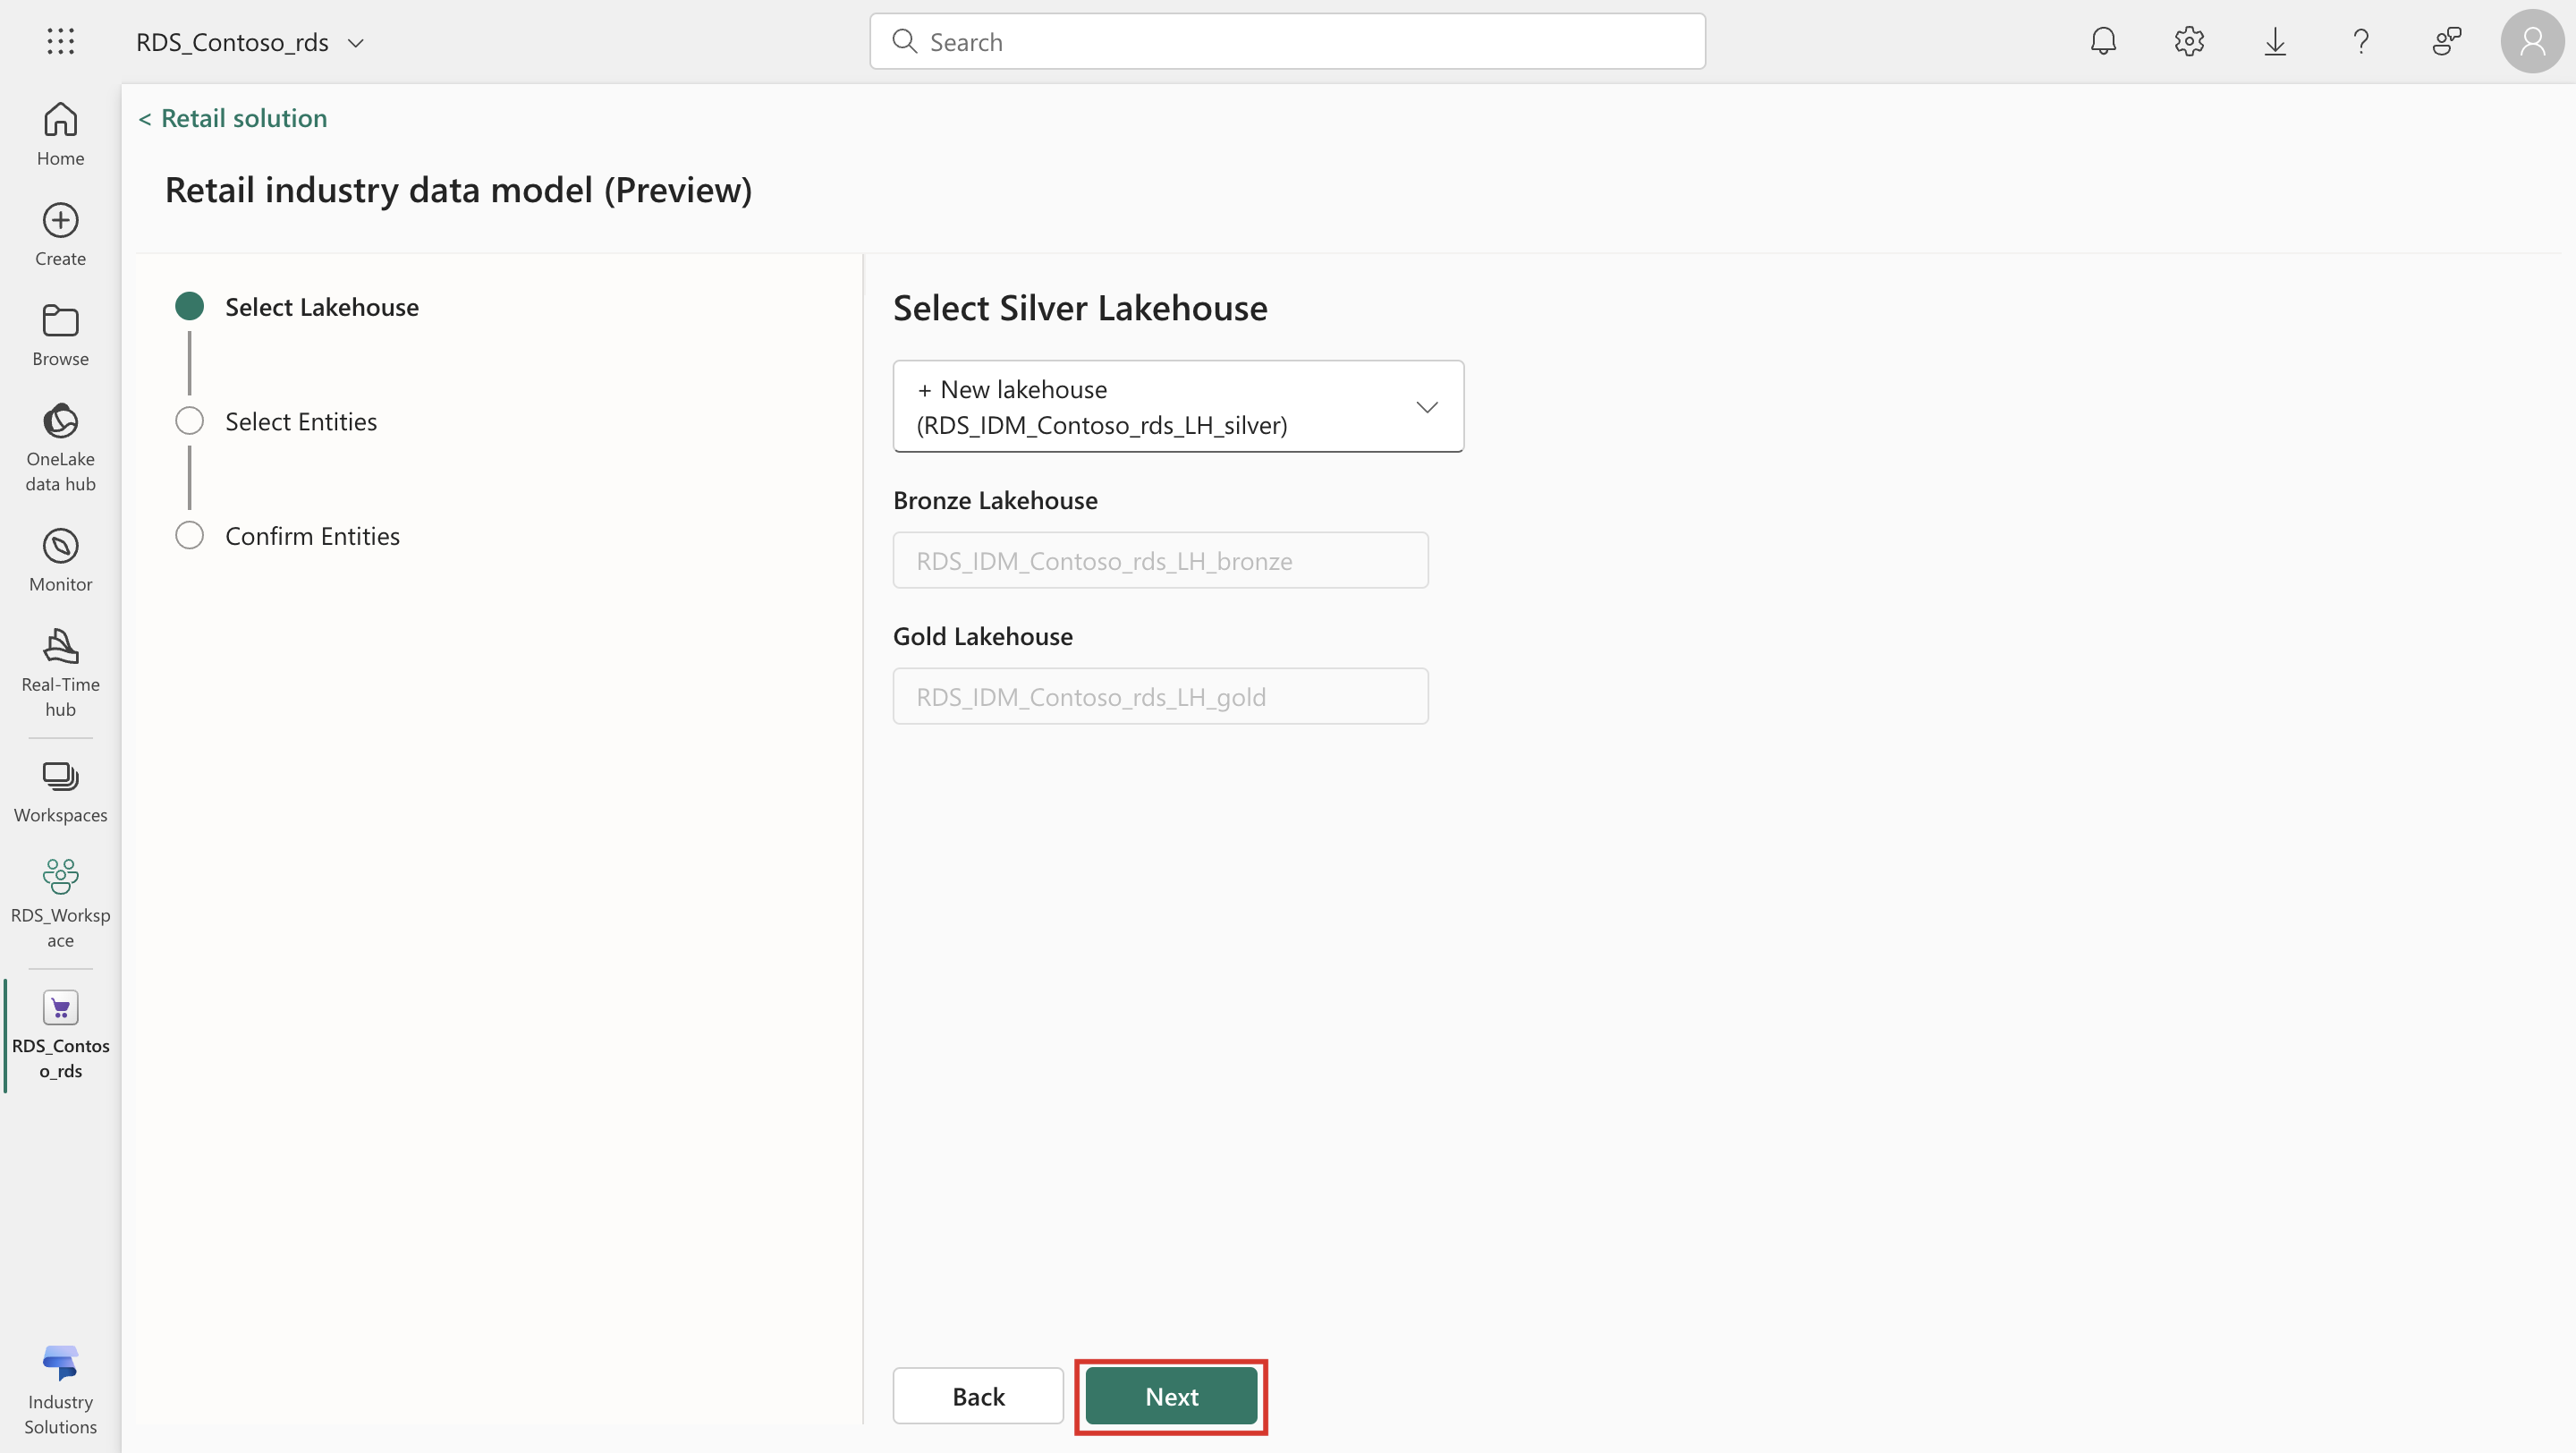
Select the workspace where you want to deploy the Retail industry data model. You can select an existing Lakehouse or create a new Lakehouse. Select Next.
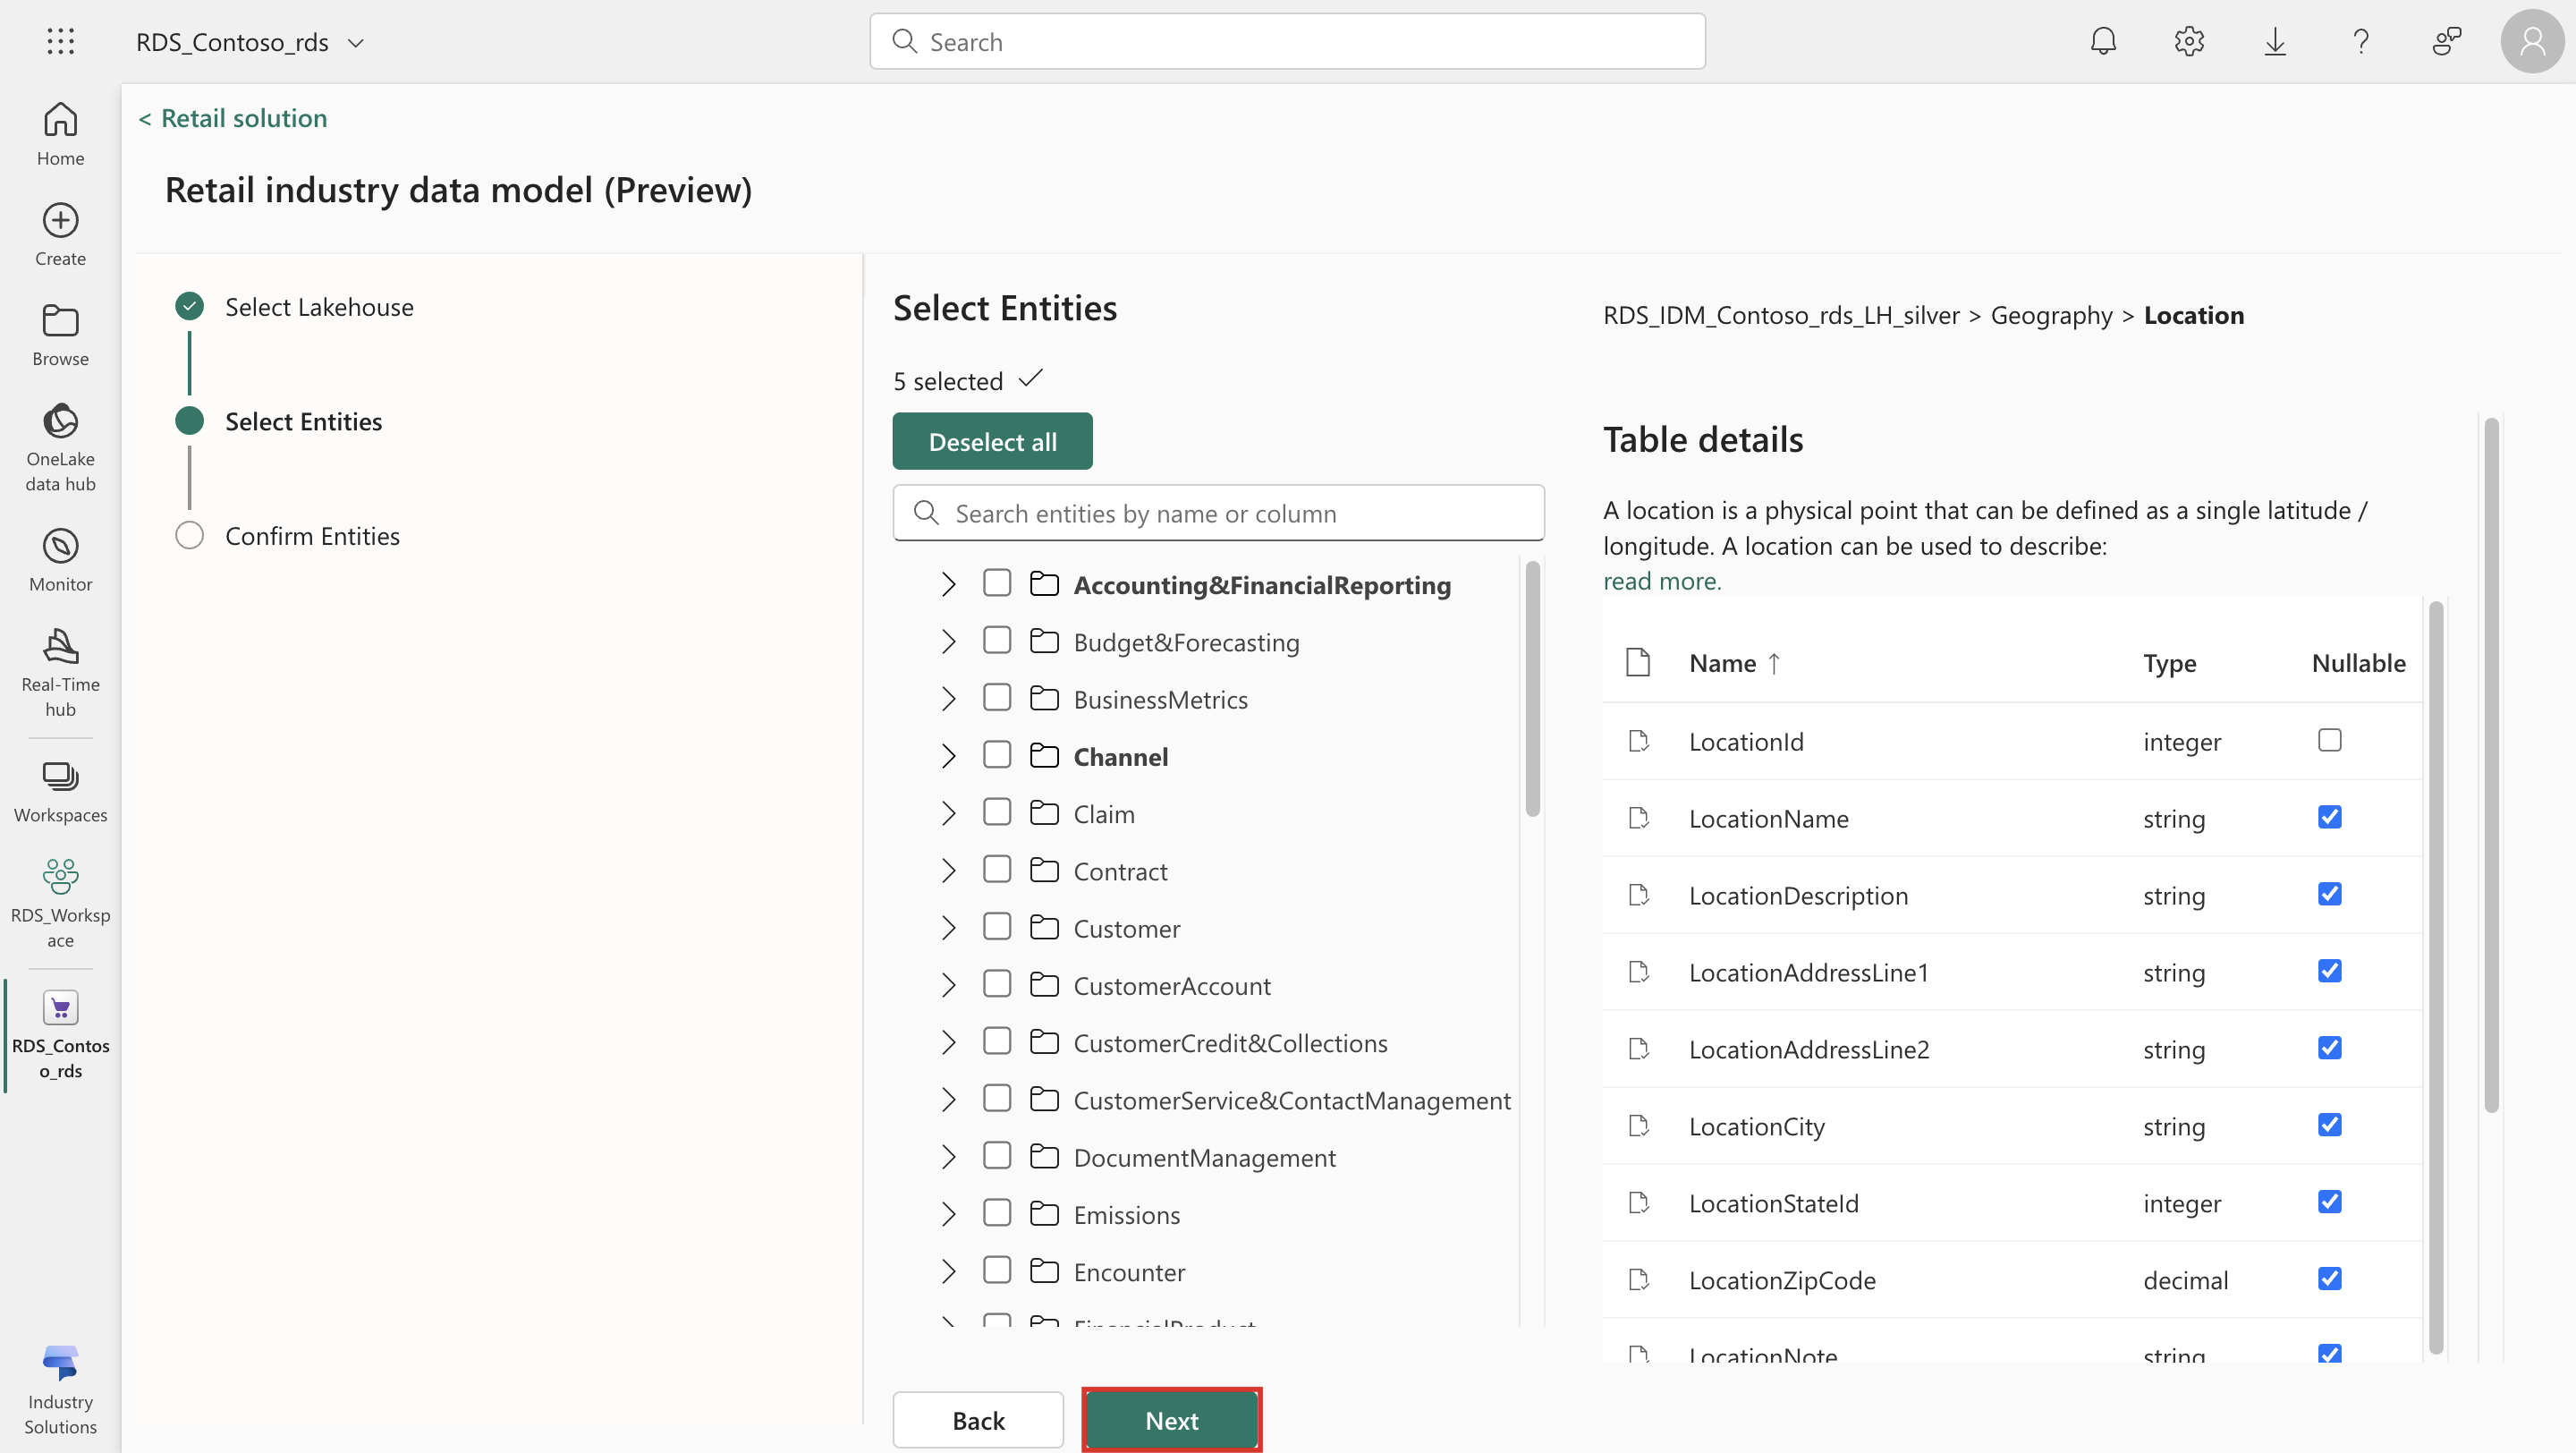
You can now select the entities that you want to deploy from the Retail industry data model. You can select one or more specific entities or all entities in a business area or multiple business areas that you want to configure. For example, if you would like to deploy all the entities related to Budgeting and Forecasting, you can select this business group and configure all the entities related to that business area. If you want to select only a few entities from each of the business areas, you can also do the same by individually selecting the entities from various business areas. Select Next.
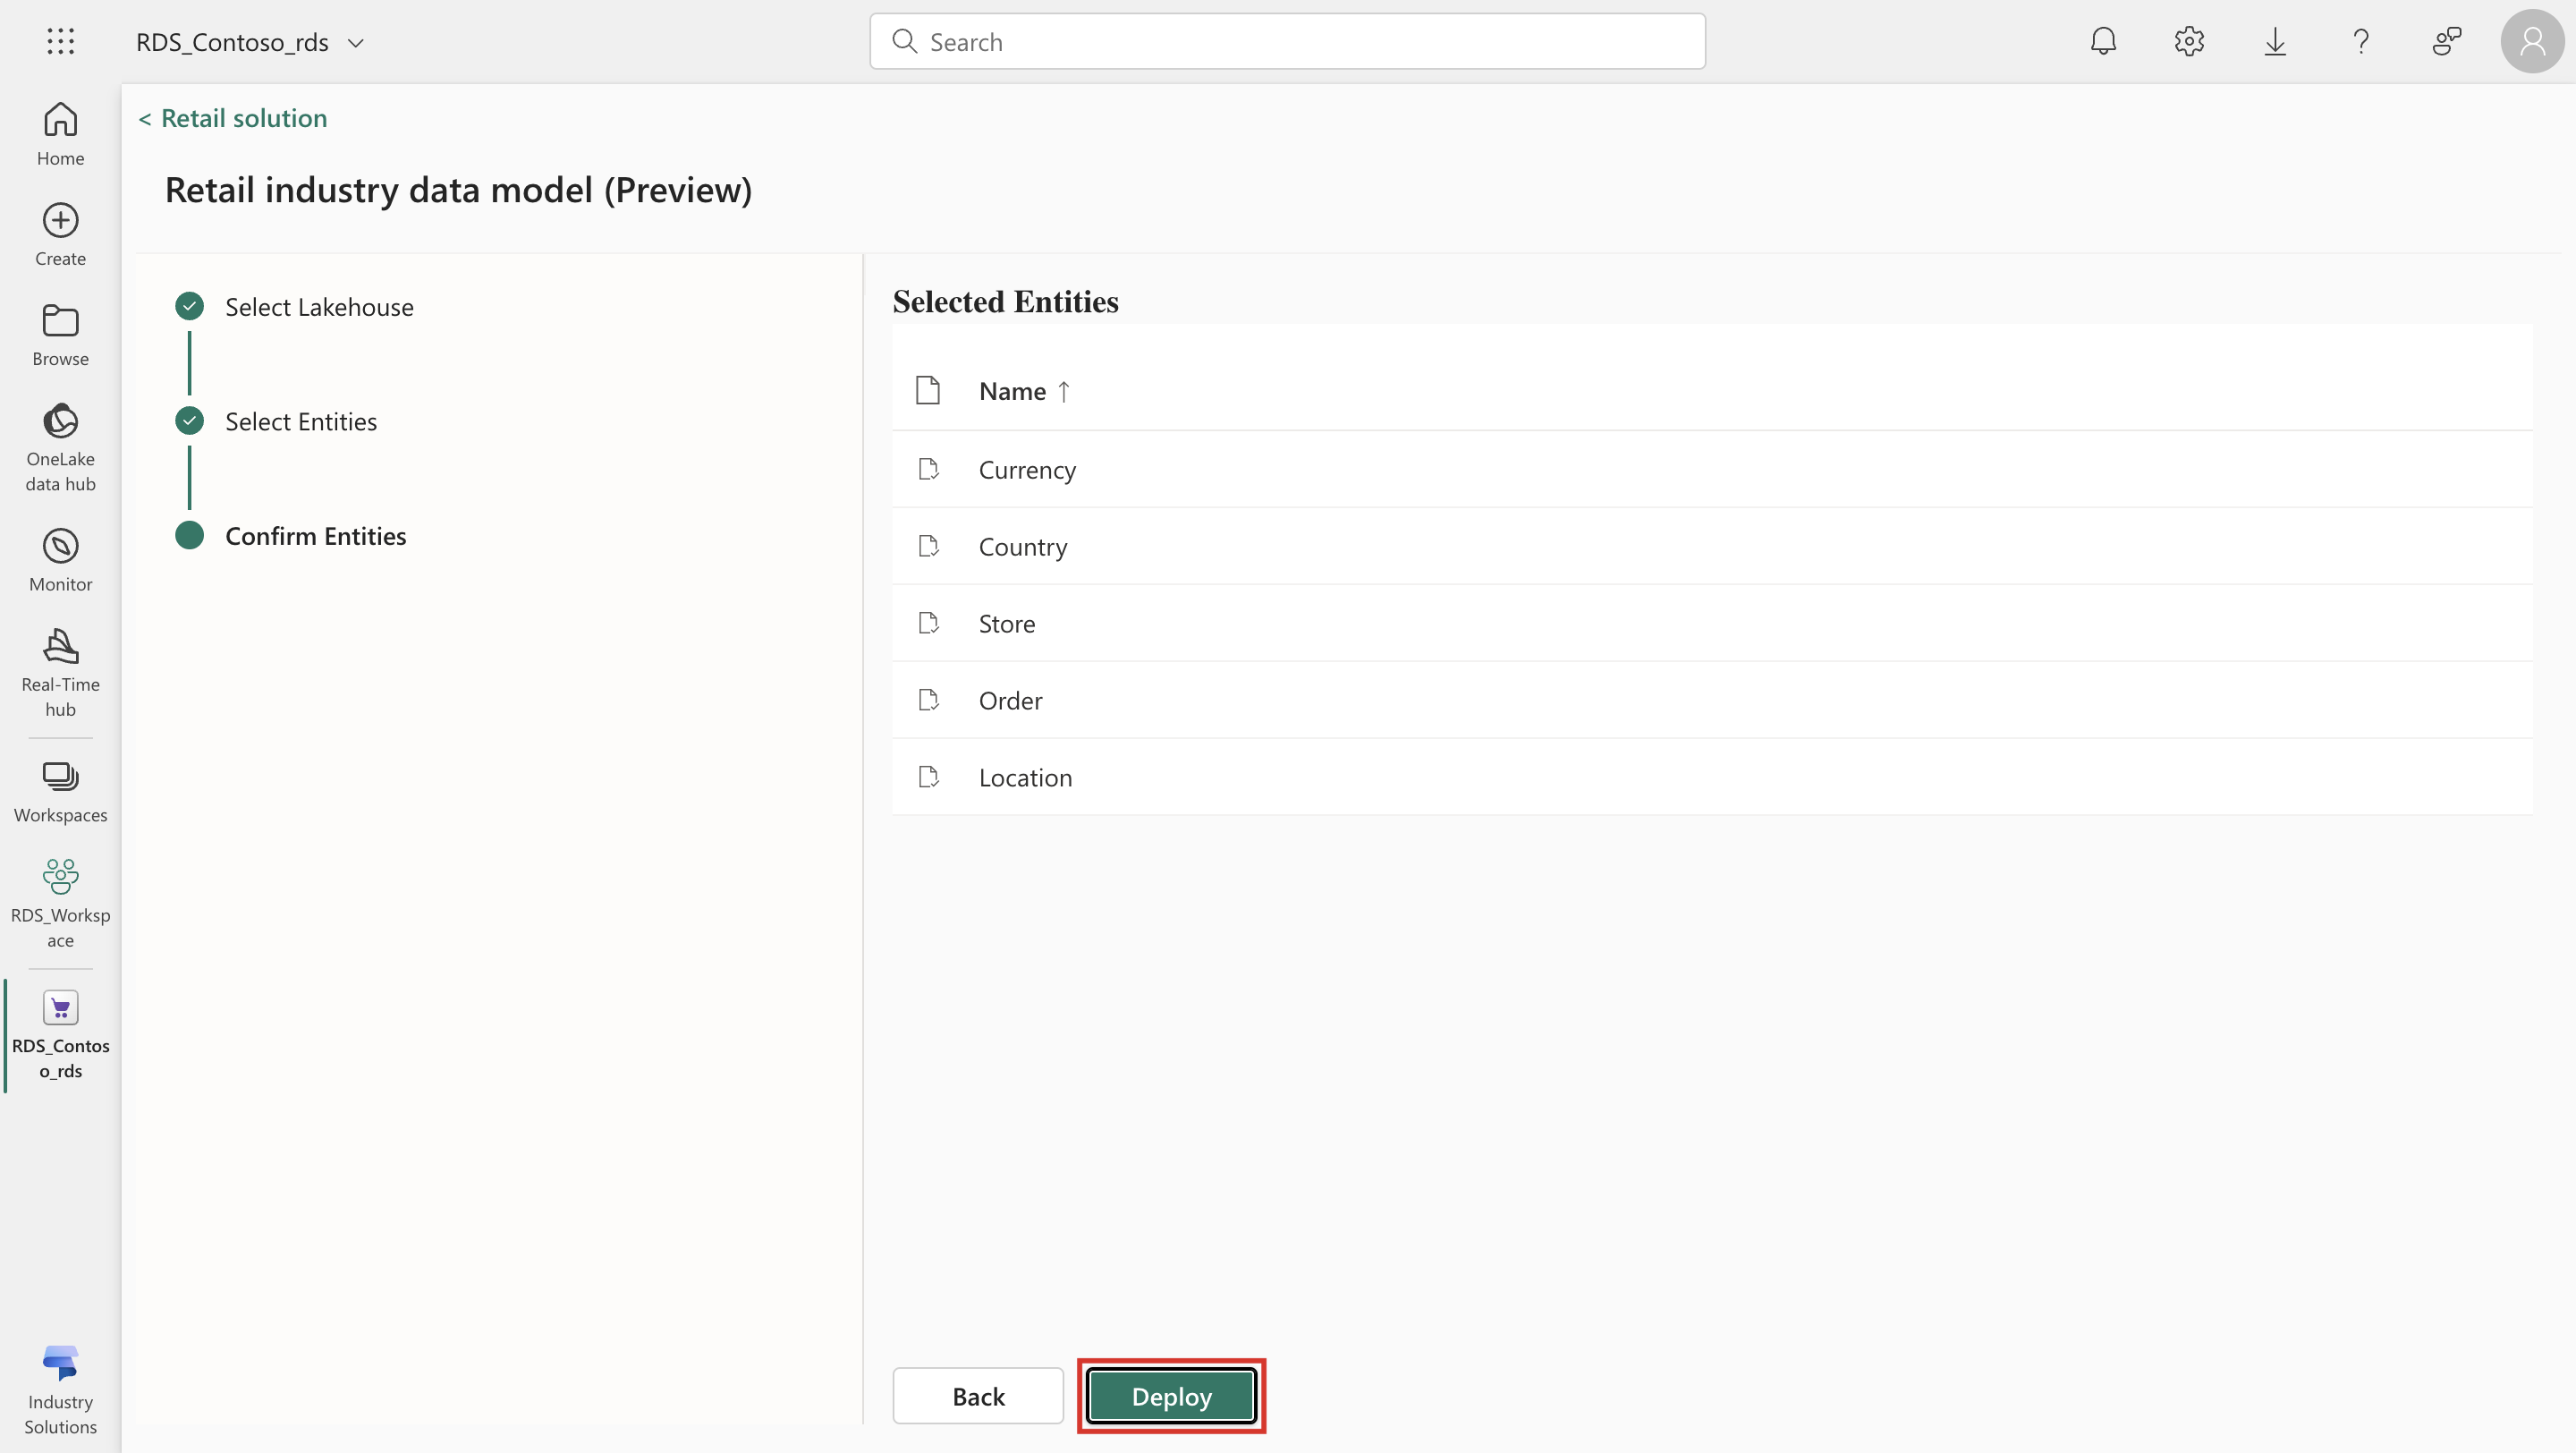
You can now review the selected list of entities chosen in the previous screen. Select Deploy.
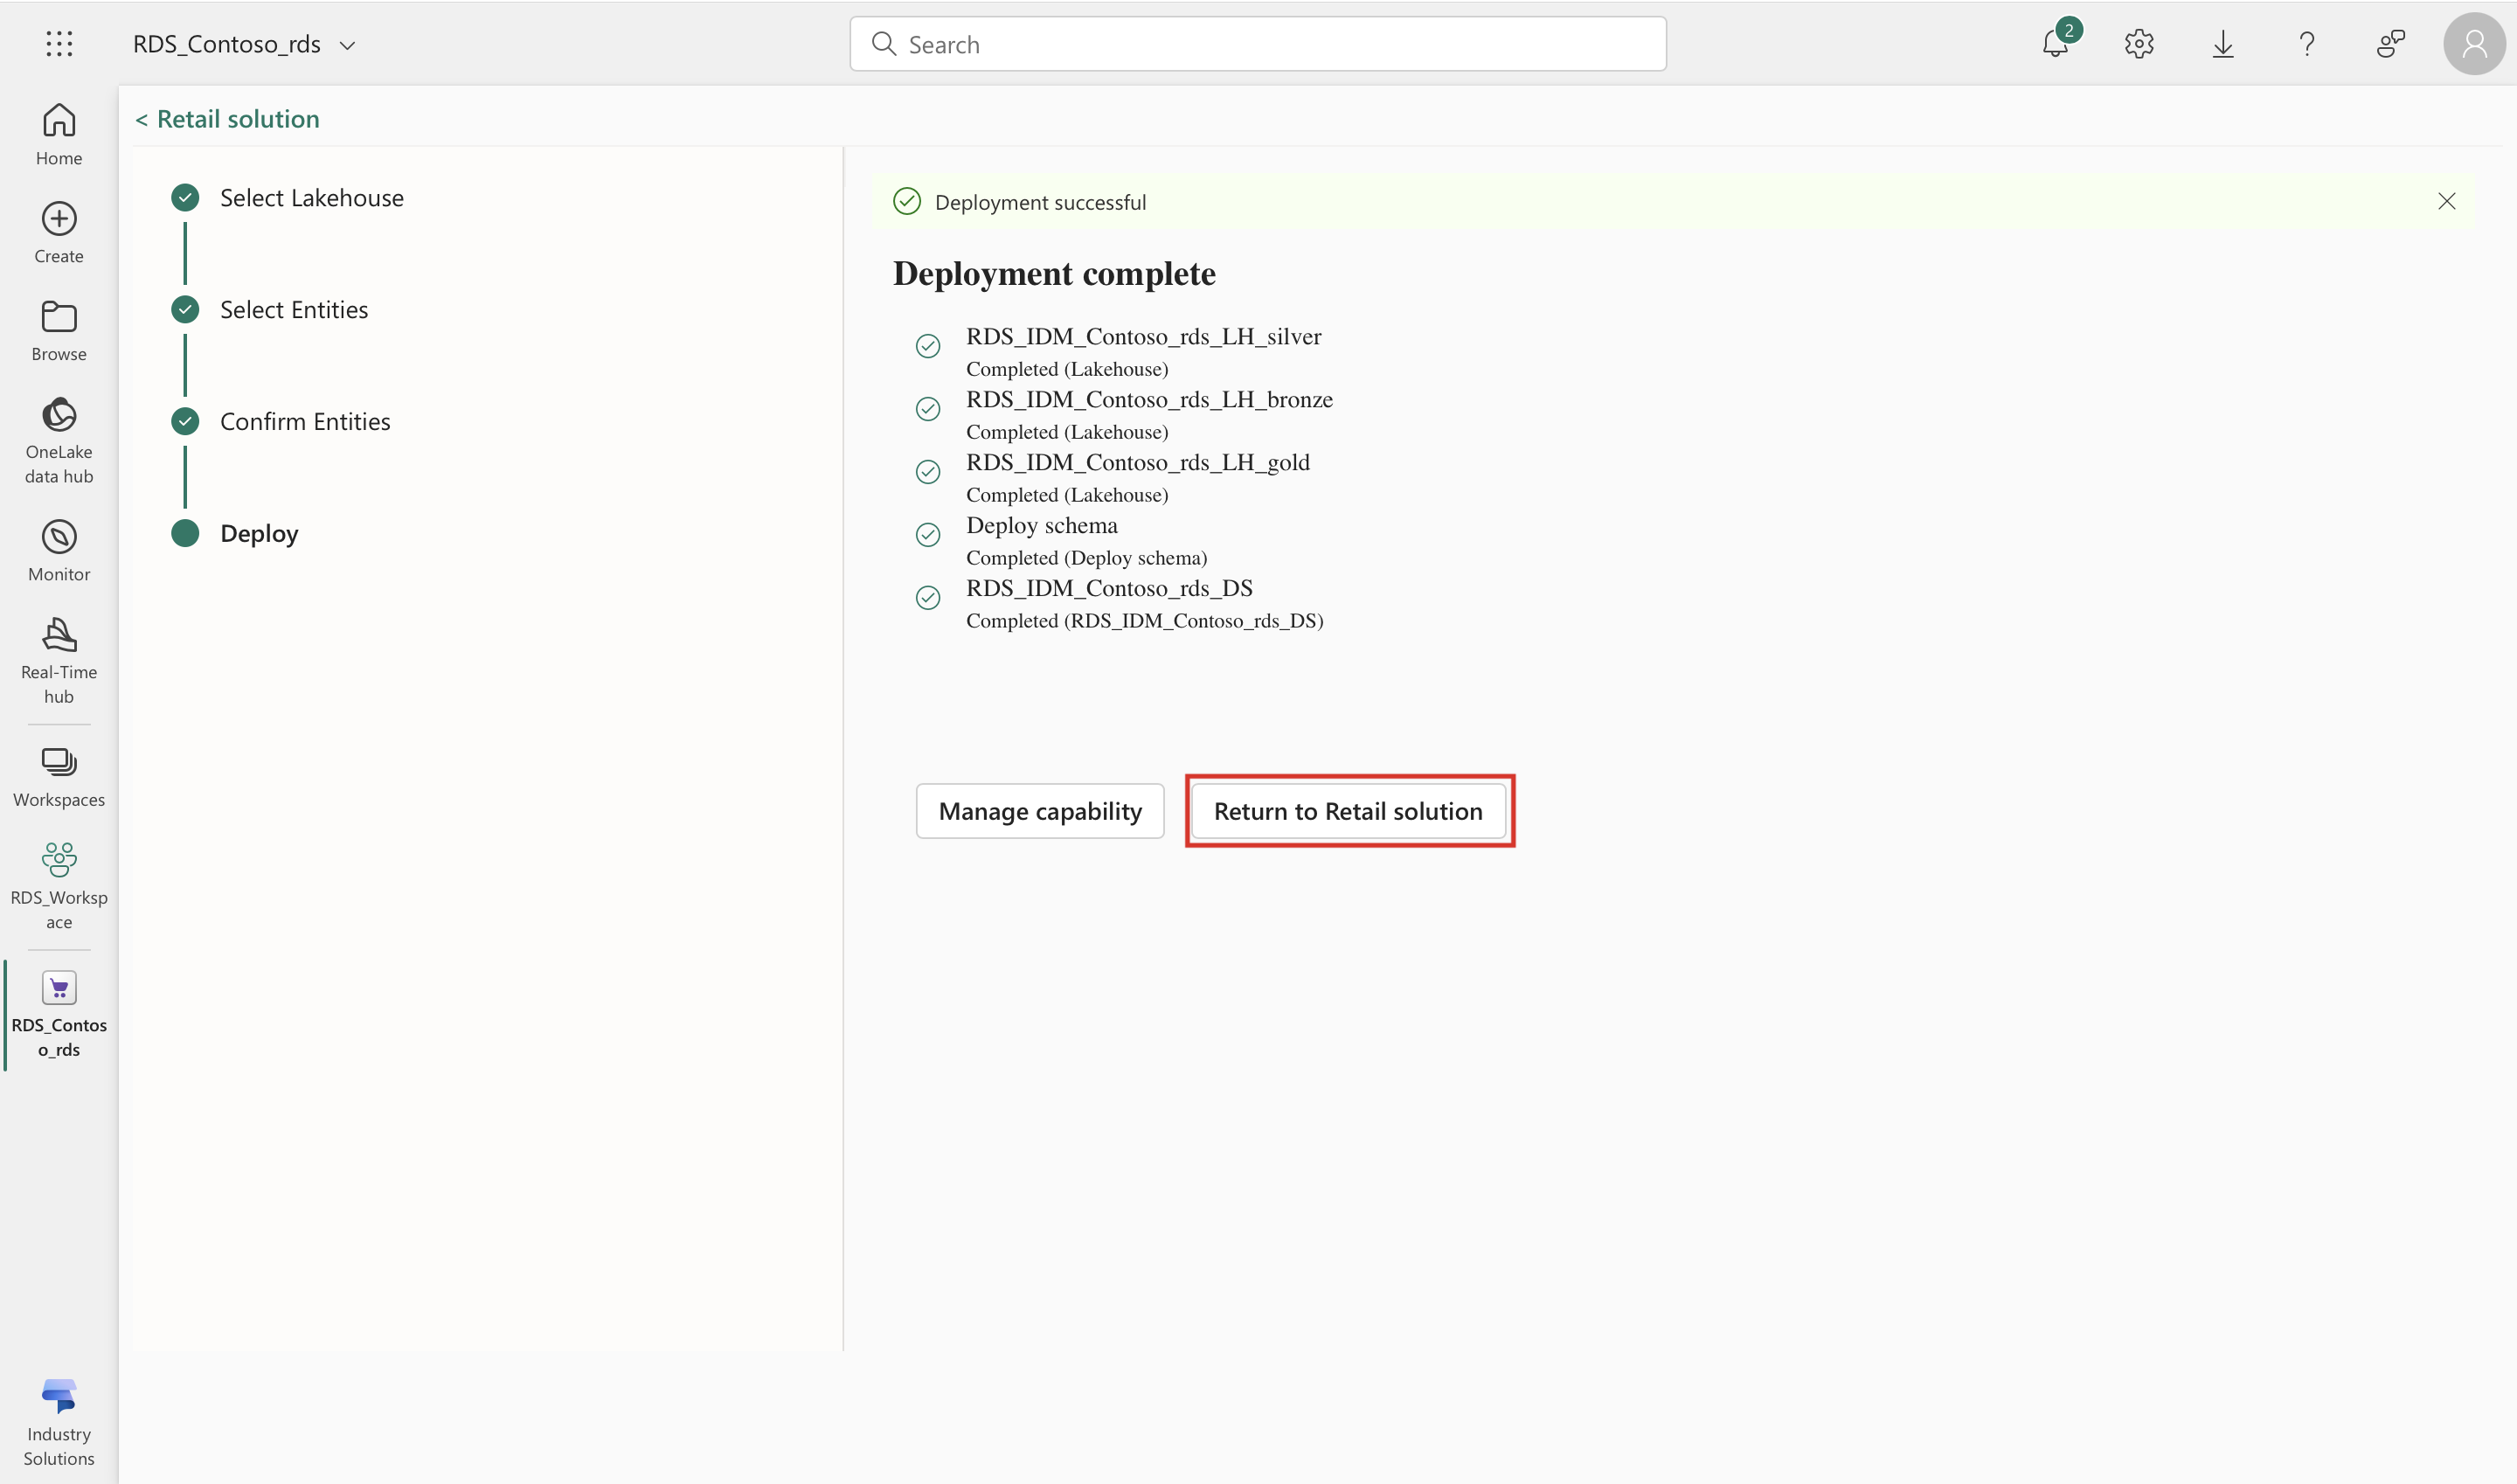
The selected entities are deployed in your tenant. If there's any error in deploying the entities in the customer tenant of Fabric, an appropriate error message is displayed, and you can take necessary action to fix the same. If the deployment is successful, you see a success message. Select Return to Retail solution to go back to the Retail solution homepage.
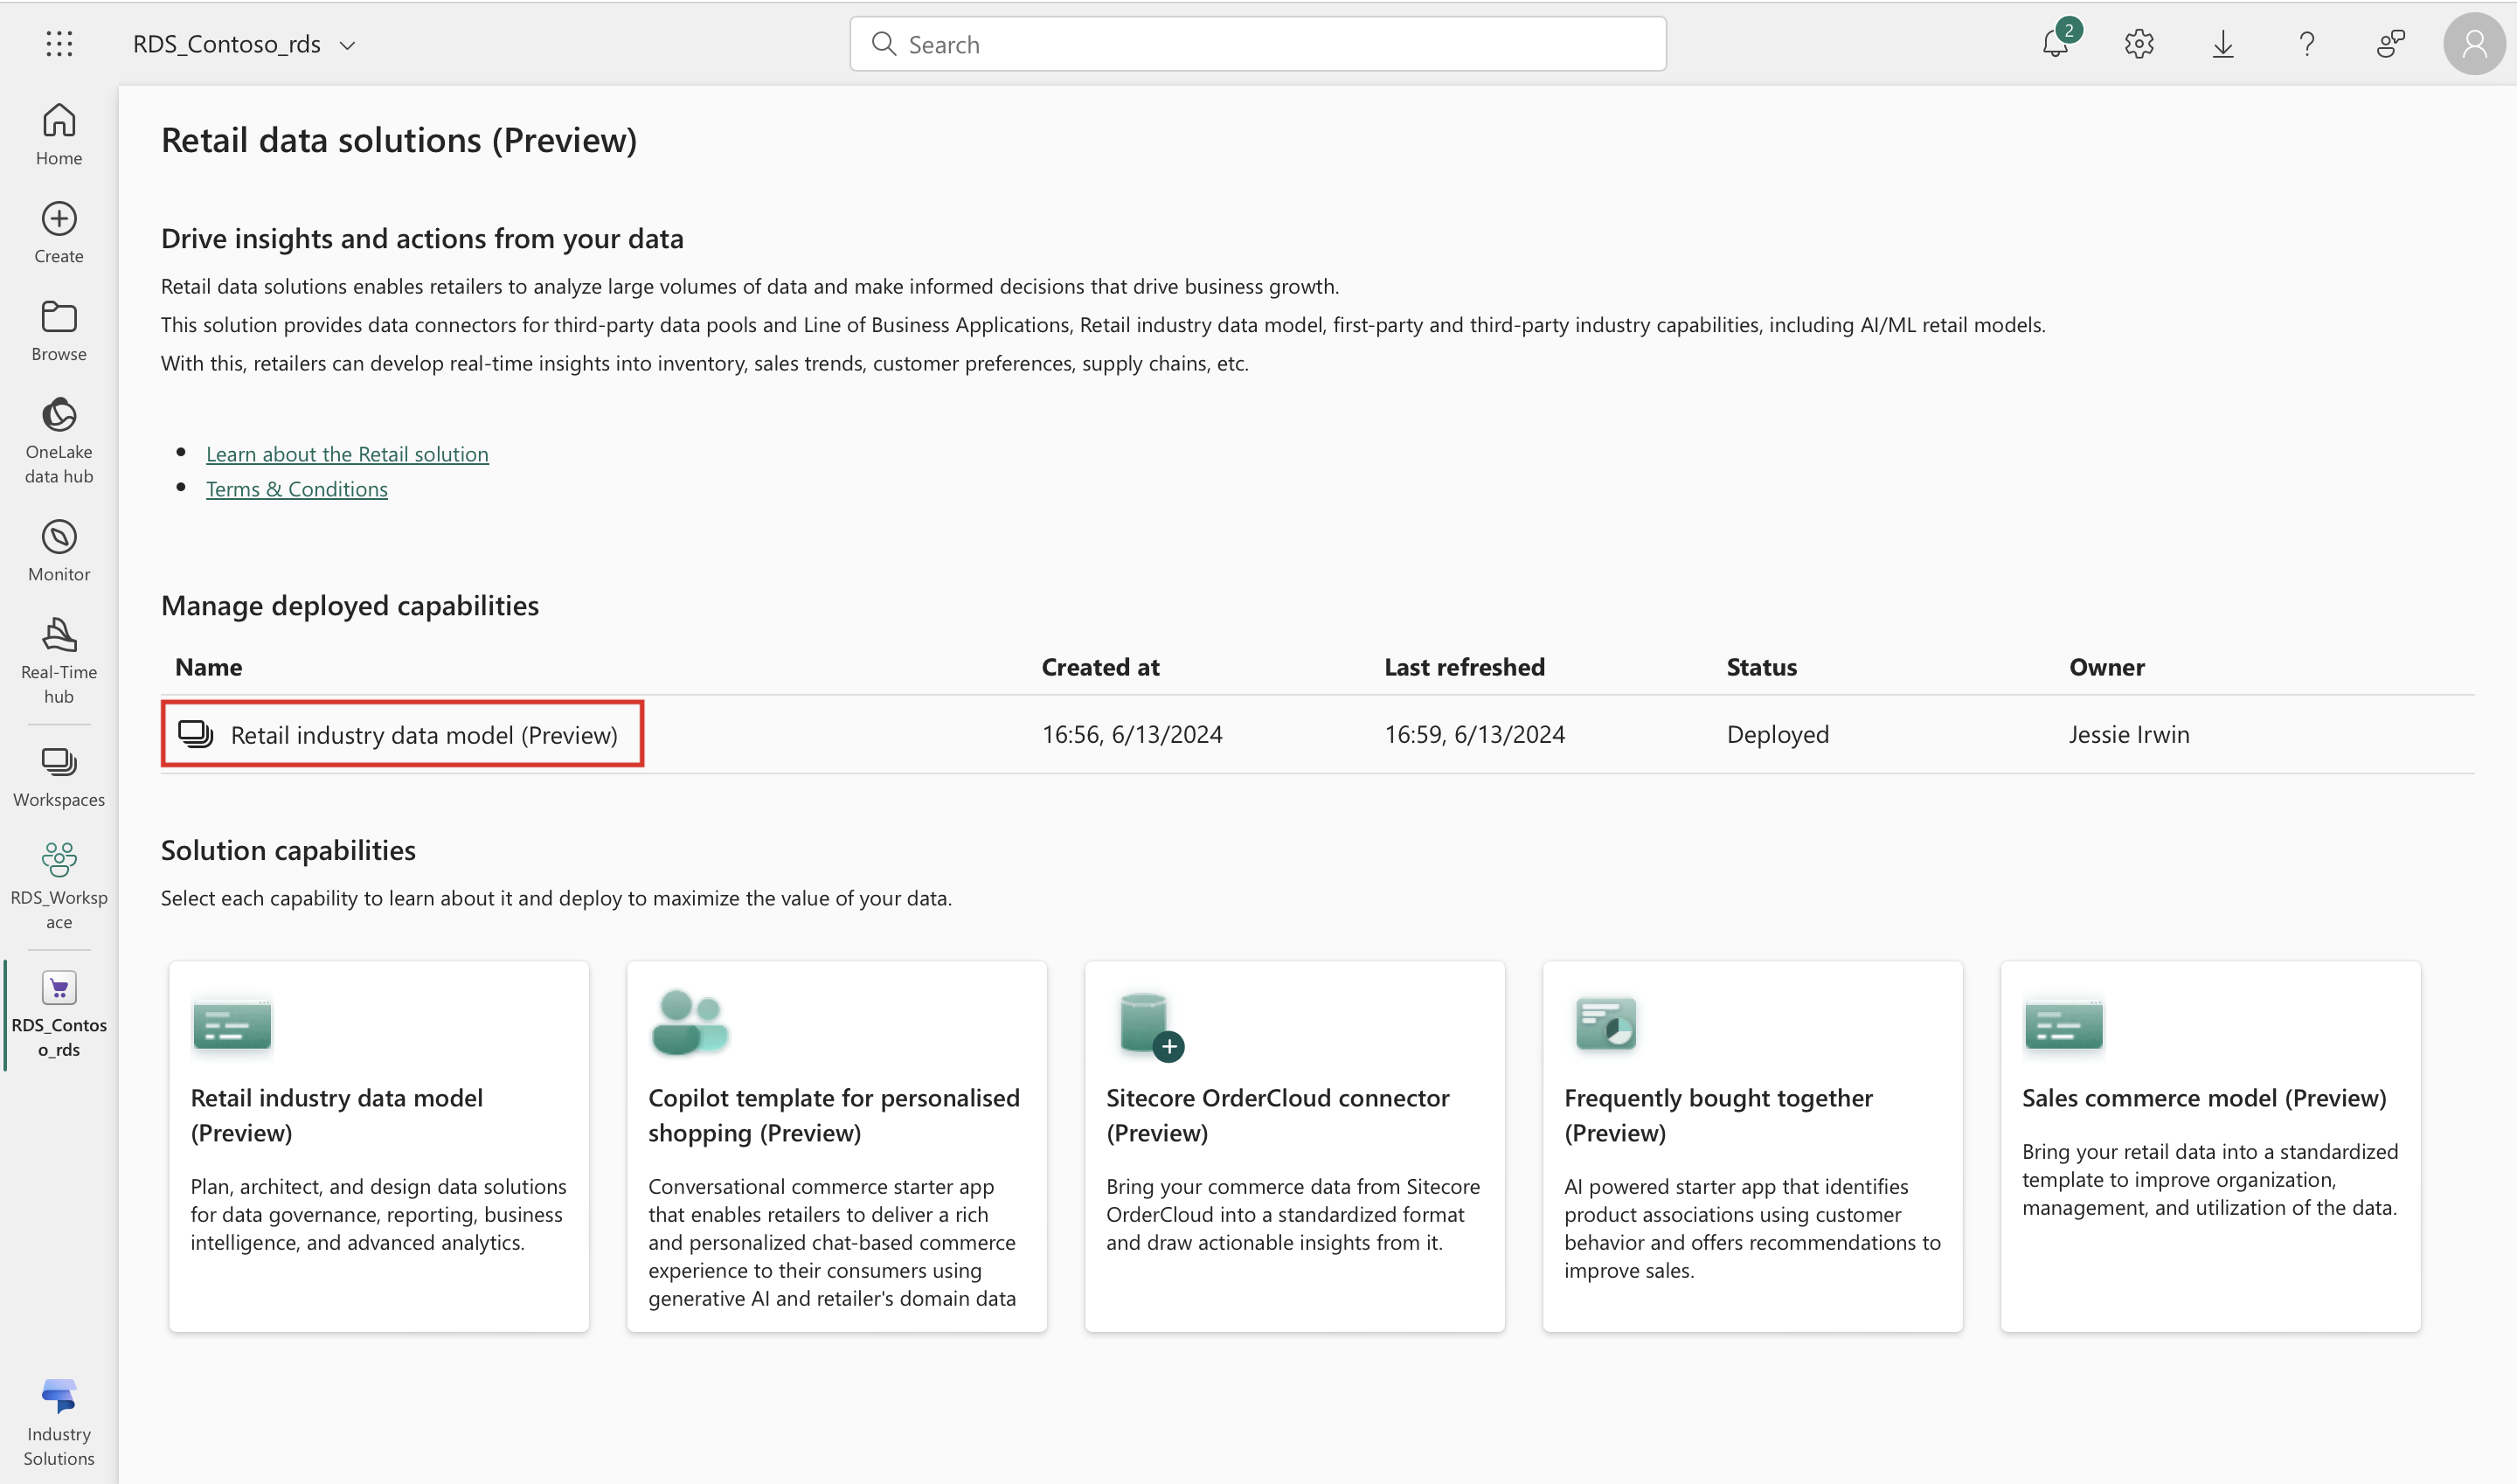
You can now verify that a new instance of Retail industry data model is displayed in the list of capabilities under Manage deployed capabilities. Select Retail industry data model.
You can view the details of the artifacts that are installed as part of the Retail industry data model solution. You also see some key metrics like modified by, last updated date, etc.


You can select any of the deployed artifacts from the deployed solution to open the artifact within the Fabric UI.