Catatan
Akses ke halaman ini memerlukan otorisasi. Anda dapat mencoba masuk atau mengubah direktori.
Akses ke halaman ini memerlukan otorisasi. Anda dapat mencoba mengubah direktori.
The Network Planner tool is available in the Teams admin center. It helps you determine network requirements for your organization. This example scenario shows how you can use the tool to create sites, personas, and running reports for a company called Contoso.
Before you begin
We assume you already know your way around the Teams admin center, and you're familiar with what you need to do to prepare your network for Teams. If this article is where you're starting with Network Planner, we recommend you read the following articles first:
Overview of Contoso network
Contoso has three locations:
- Seattle Headquarters: The main location for Contoso. It has 1,000 employees and 25 of them are calling only. The site is connected to the internet, and there's a local telephone connection (PSTN). Contoso has Direct Routing set up to be able to use the local telephone connection with Teams.
- Kirkland Office: This branch office has 400 employees and 10 are calling only. The site uses its connection to the headquarters for both internet and phone (PSTN) traffic. This office is connected to the Seattle headquarters using a WAN connection.
- Denver Office: This office has 250 employees and 50 are calling only. The site has its own local internet connection, but has no direct telephone connection (PSTN).
Let's get started!
Add a network plan
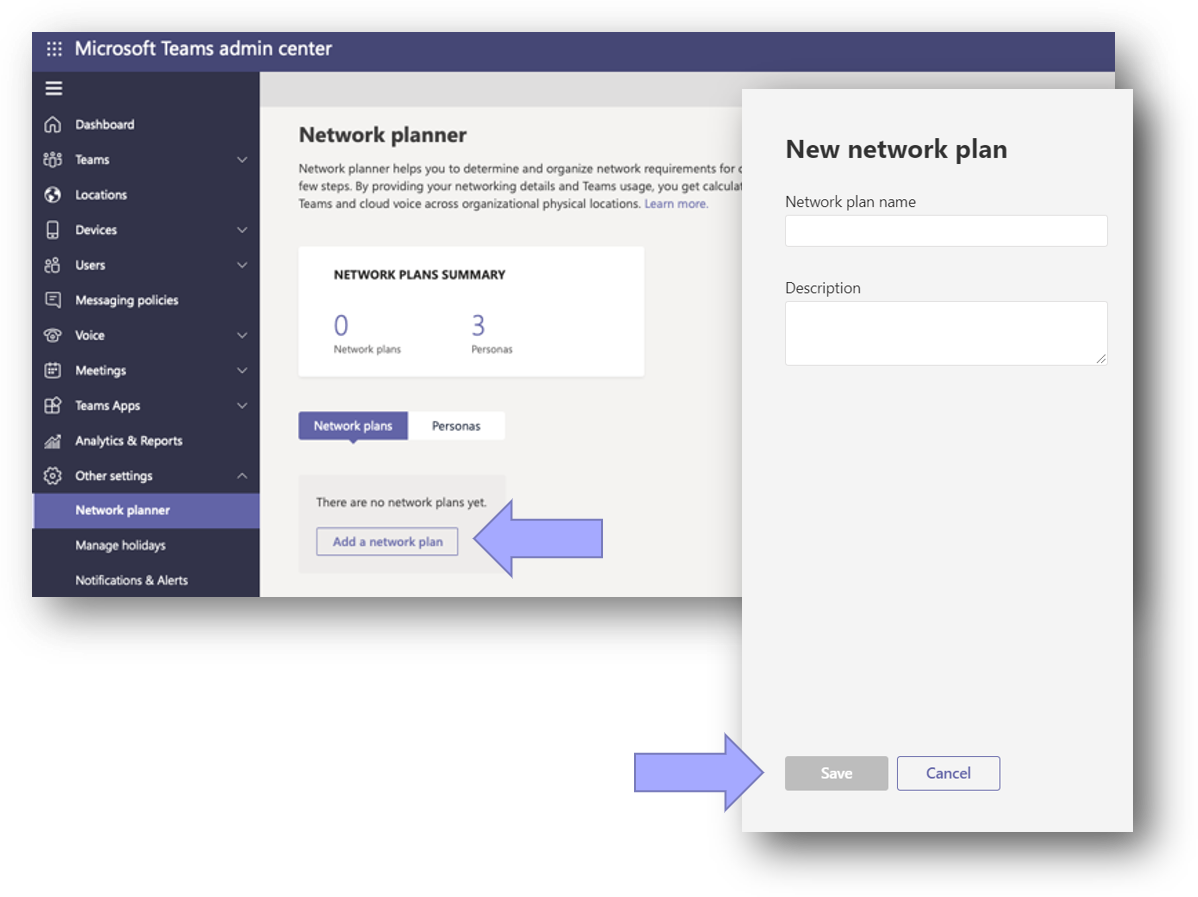
In the Teams admin center, expand Org-wide settings and then select Network planner. The first thing you need to do is create a network plan.
- Select Add a network plan.
- In the New network plan pane, add a name and description for your network plan. For this example, we use Contoso1 as the plan name, and Contoso network plan as the description.
- Select Save.
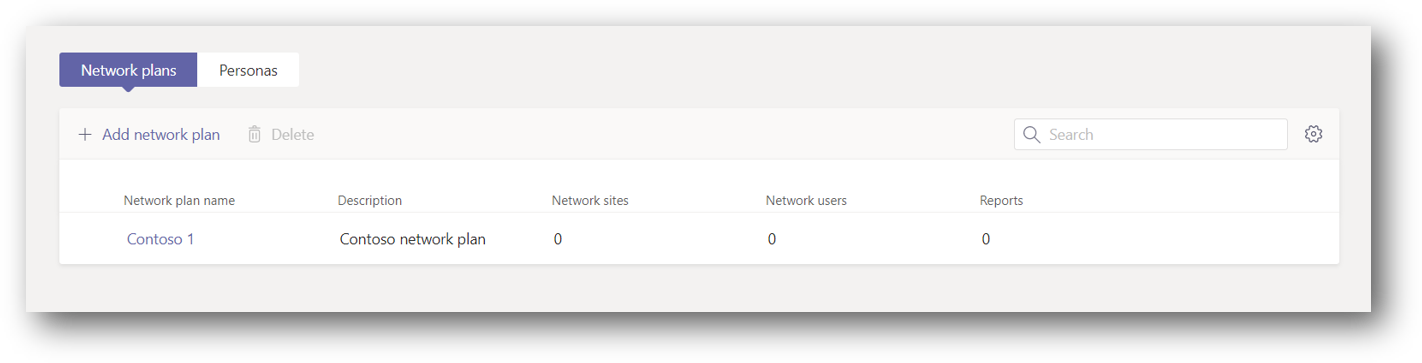
After you save your network plan, it displays in your network plans list.
Create custom personas
Next you need to create the necessary personas to represent your users. Since each location has specialized users who only make phone calls, you need to create that persona.
- On the Network planner page, select the Personas tab, and then select + Custom persona.
- Add a name and description for this persona. For this example, we name it Calling only.
- Turn on Audio and turn off everything else so that calling is the only permission turned on.
- Select Save to add the persona to the list.

Add sites to your network plan
Now, you need to add the three sites to your network plan. The following table summarizes the characteristics of Contoso's network locations.
| Location | Total number of employees | Calling only employees | Internet connection | PSTN connection | WAN link capacity | Internet link capacity |
|---|---|---|---|---|---|---|
| Seattle HQ | 1000 | 25 | Local Internet | Local PSTN using Direct Routing | 200 Mbps | 500 Mbps |
| Kirkland Office | 400 | 10 | Remote Internet through HQ | Remote PSTN through HQ | 200 Mbps | N/A |
| Denver Office | 250 | 50 | Local Internet | No PSTN connection | N/A | 150 Mbps |
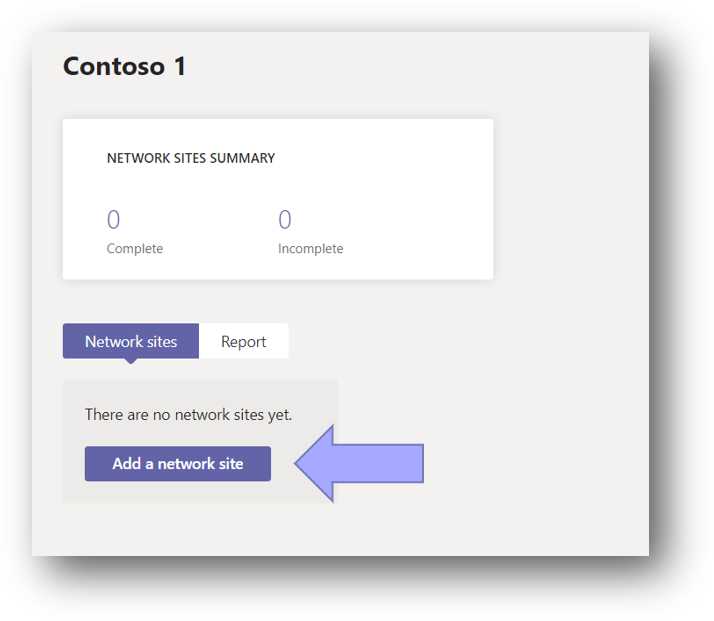
- Select your network plan in Network Planner.
- Select the Network sites tab and select Add a network site.
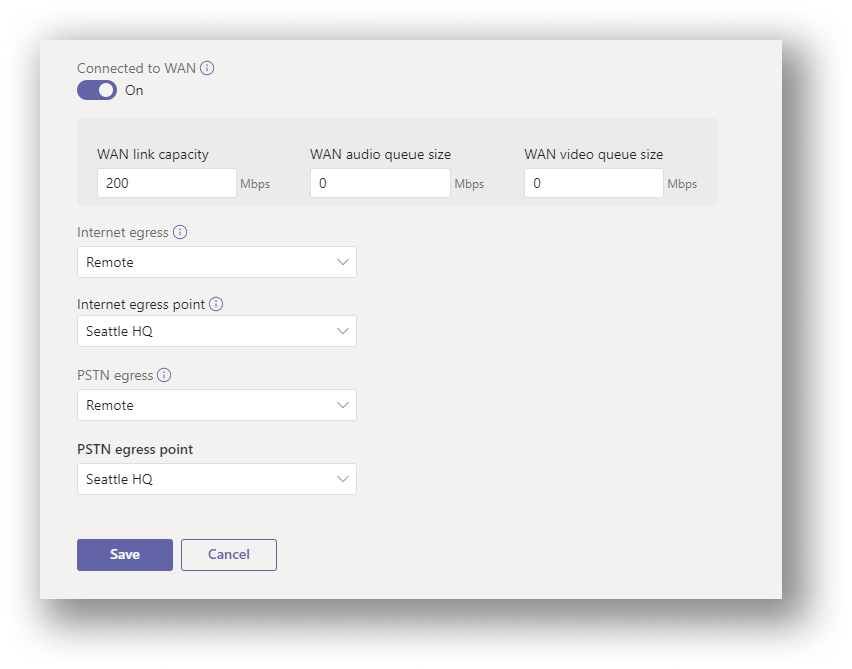
- Using the table in this section, fill in the details for the Seattle HQ site. Turn on both the ExpressRoute and Connected to WAN toggles.
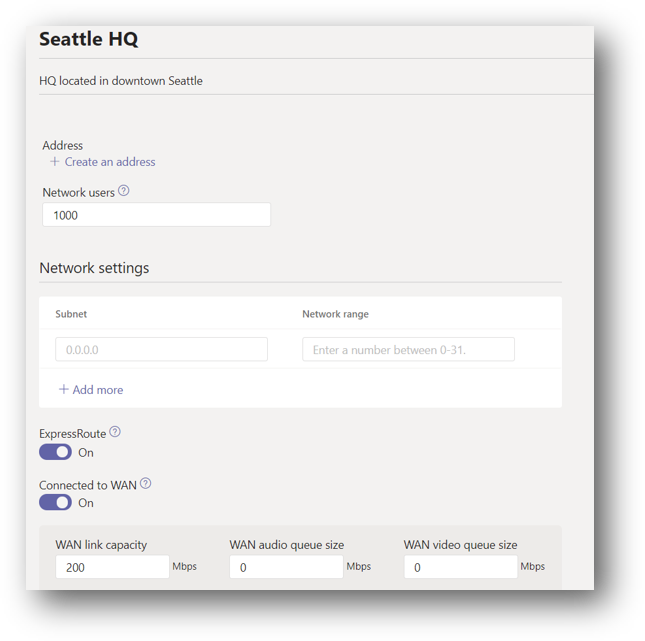
- Since the Seattle HQ site has local internet and local PSTN connections, you need to correctly specify these characteristics.
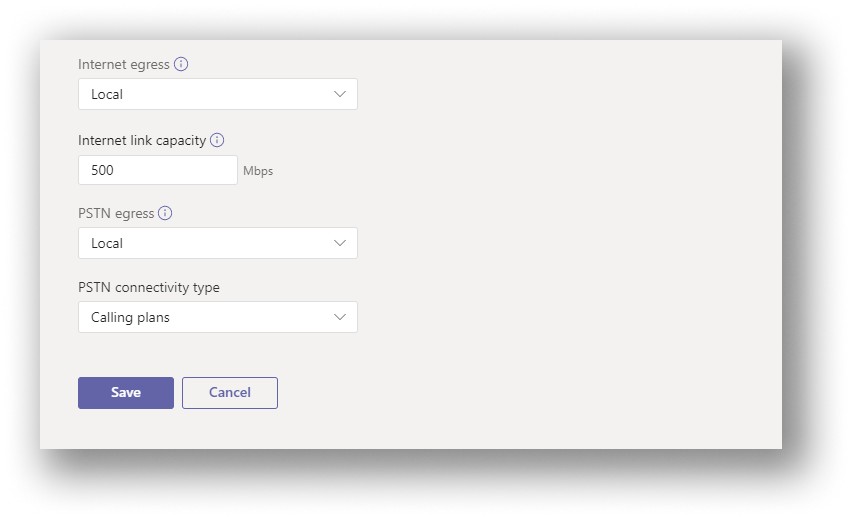
- Select Save to complete adding the Seattle HQ site.
- Create the Denver site using the same process. WAN shouldn't be enabled.
- Since the Kirkland site uses the connection to Seattle HQ for both internet and PSTN connectivity, we considered it to be a remote site. When creating the Kirkland site, specify that it's connected to the WAN and select Remote for both Internet egress and PSTN egress.
Create a report
Now that you have your sites added, you can create a report. You define your user distribution while creating the report.
- Select the Report tab, and then select Start a report to open the user distribution page. Add a name and a description for your report to begin.
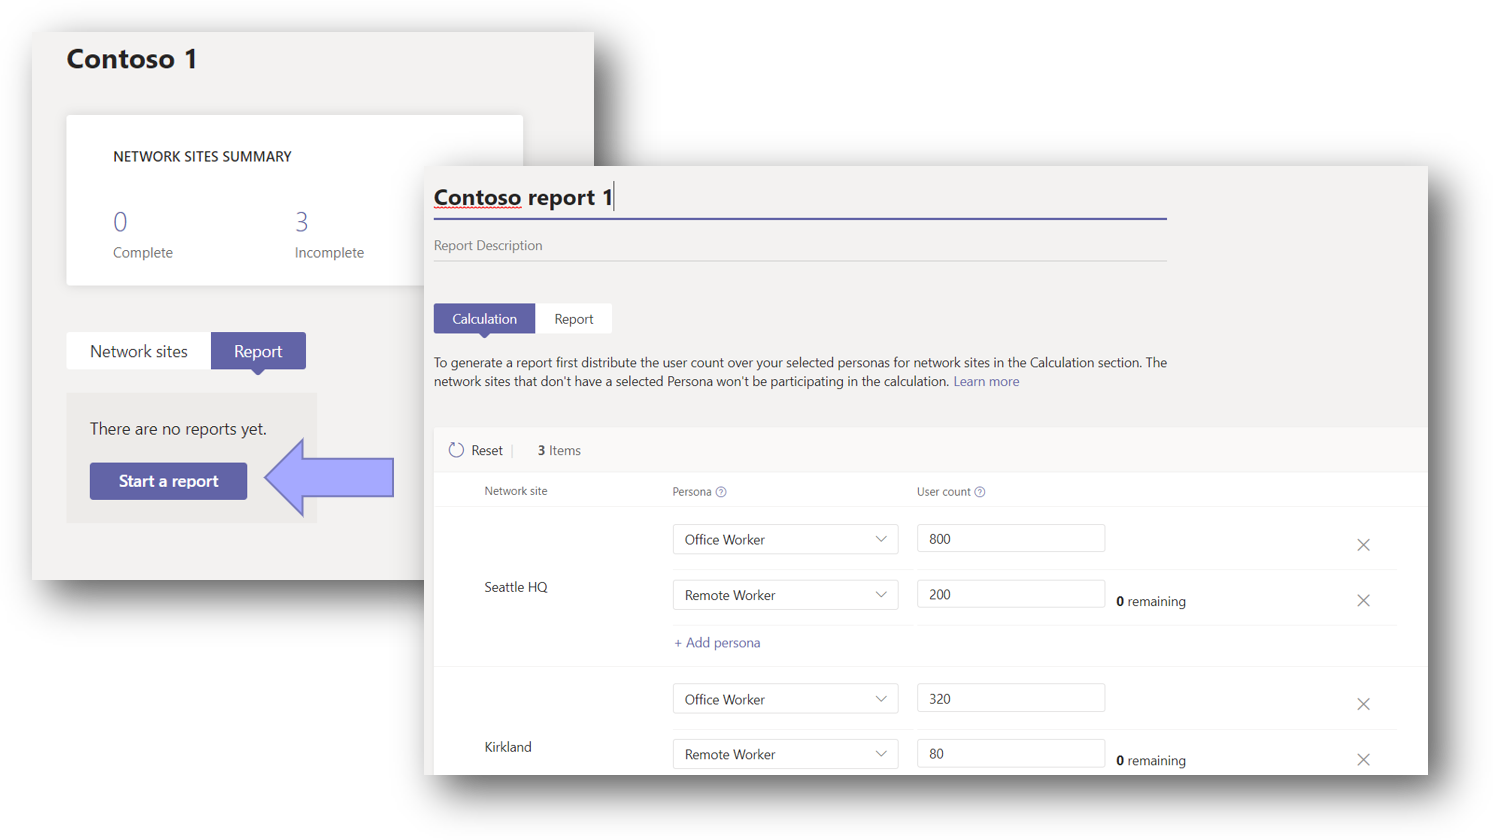
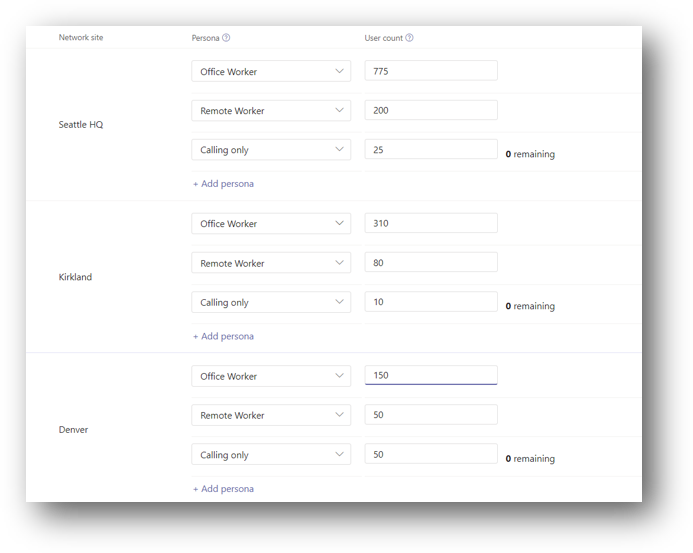
- When you first start a report, the user counts for each site are distributed automatically, for example 80% to office workers, 20% to remote workers. You can adjust the number of users for each persona to match your user population at this point. Let's assume that Contoso has the same 80/20 split between office workers and remote workers for each site. Be sure to take the calling only personas out of the number of users in the office. The resulting distribution should look like this image:
Analyze report output
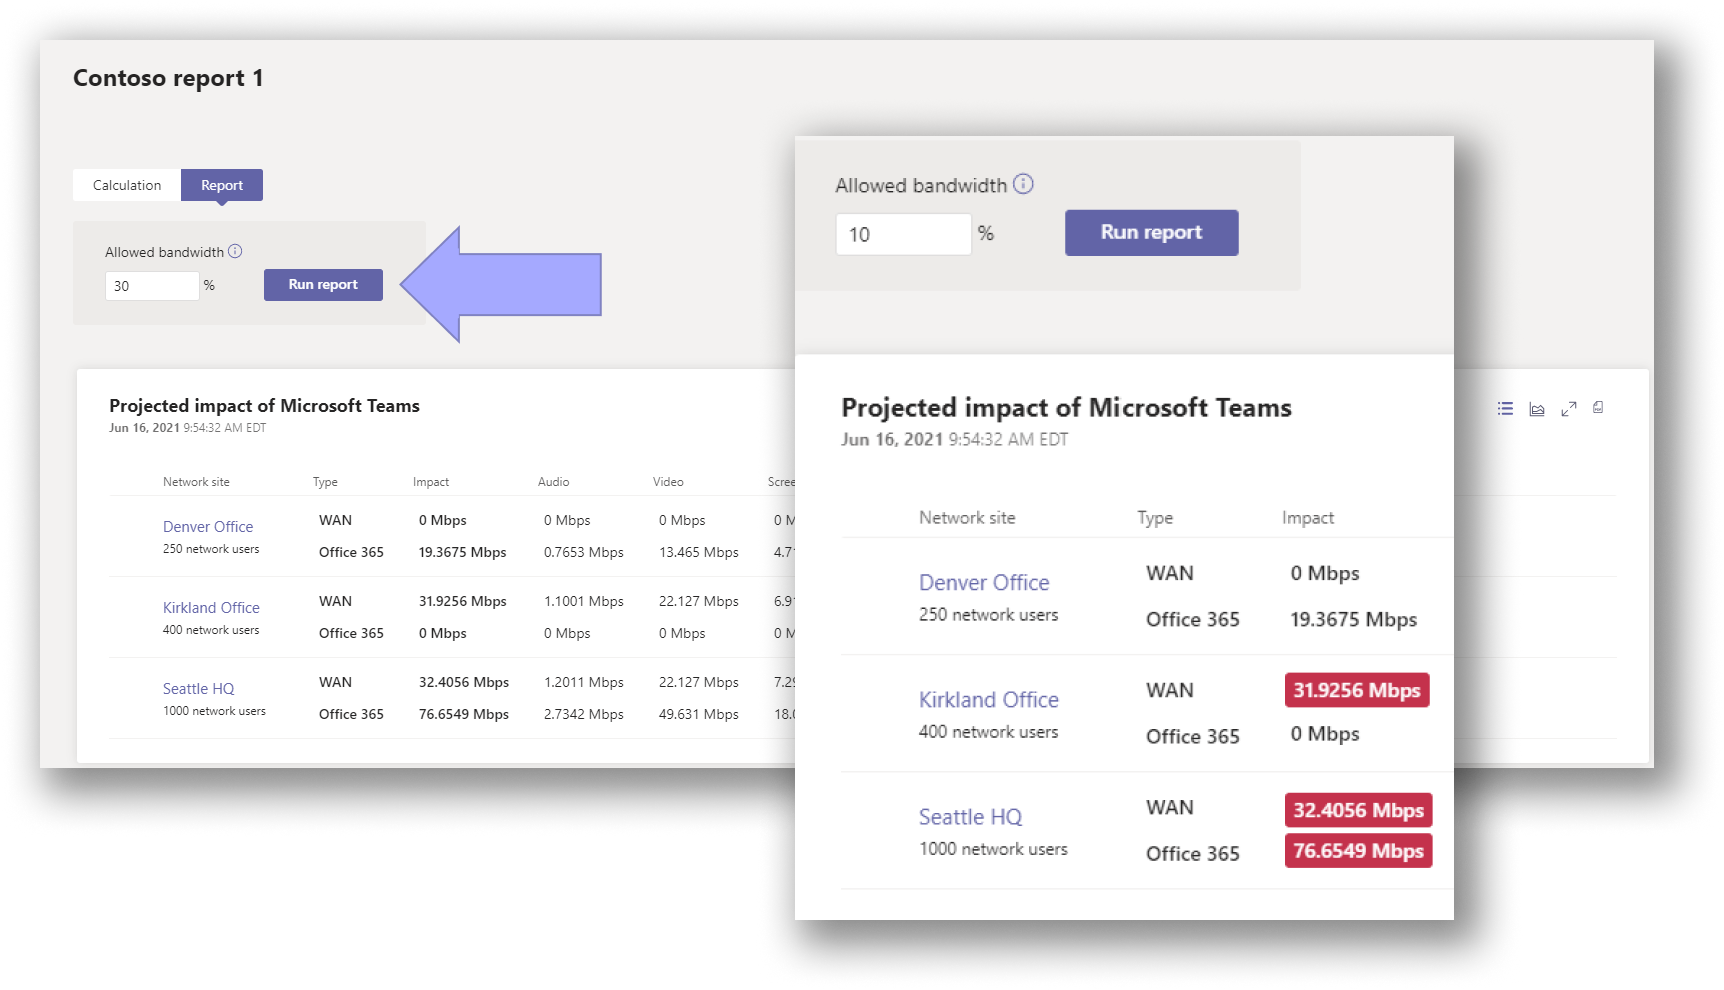
Once you generate the report, you see a screen displaying your bandwidth requirements both as overall and modality specific values. By default, the allowed bandwidth is set to 30%. By changing this value and selecting Run report, you can see the different impact on the bandwidth for your network. Any areas that need more bandwidth are highlighted in red.
Network planner also gives you recommendations based on the projected impact of Teams on your network. Select the recommendation view icon to see recommendations for each site, if there are any. The following image shows a sample recommendation view.
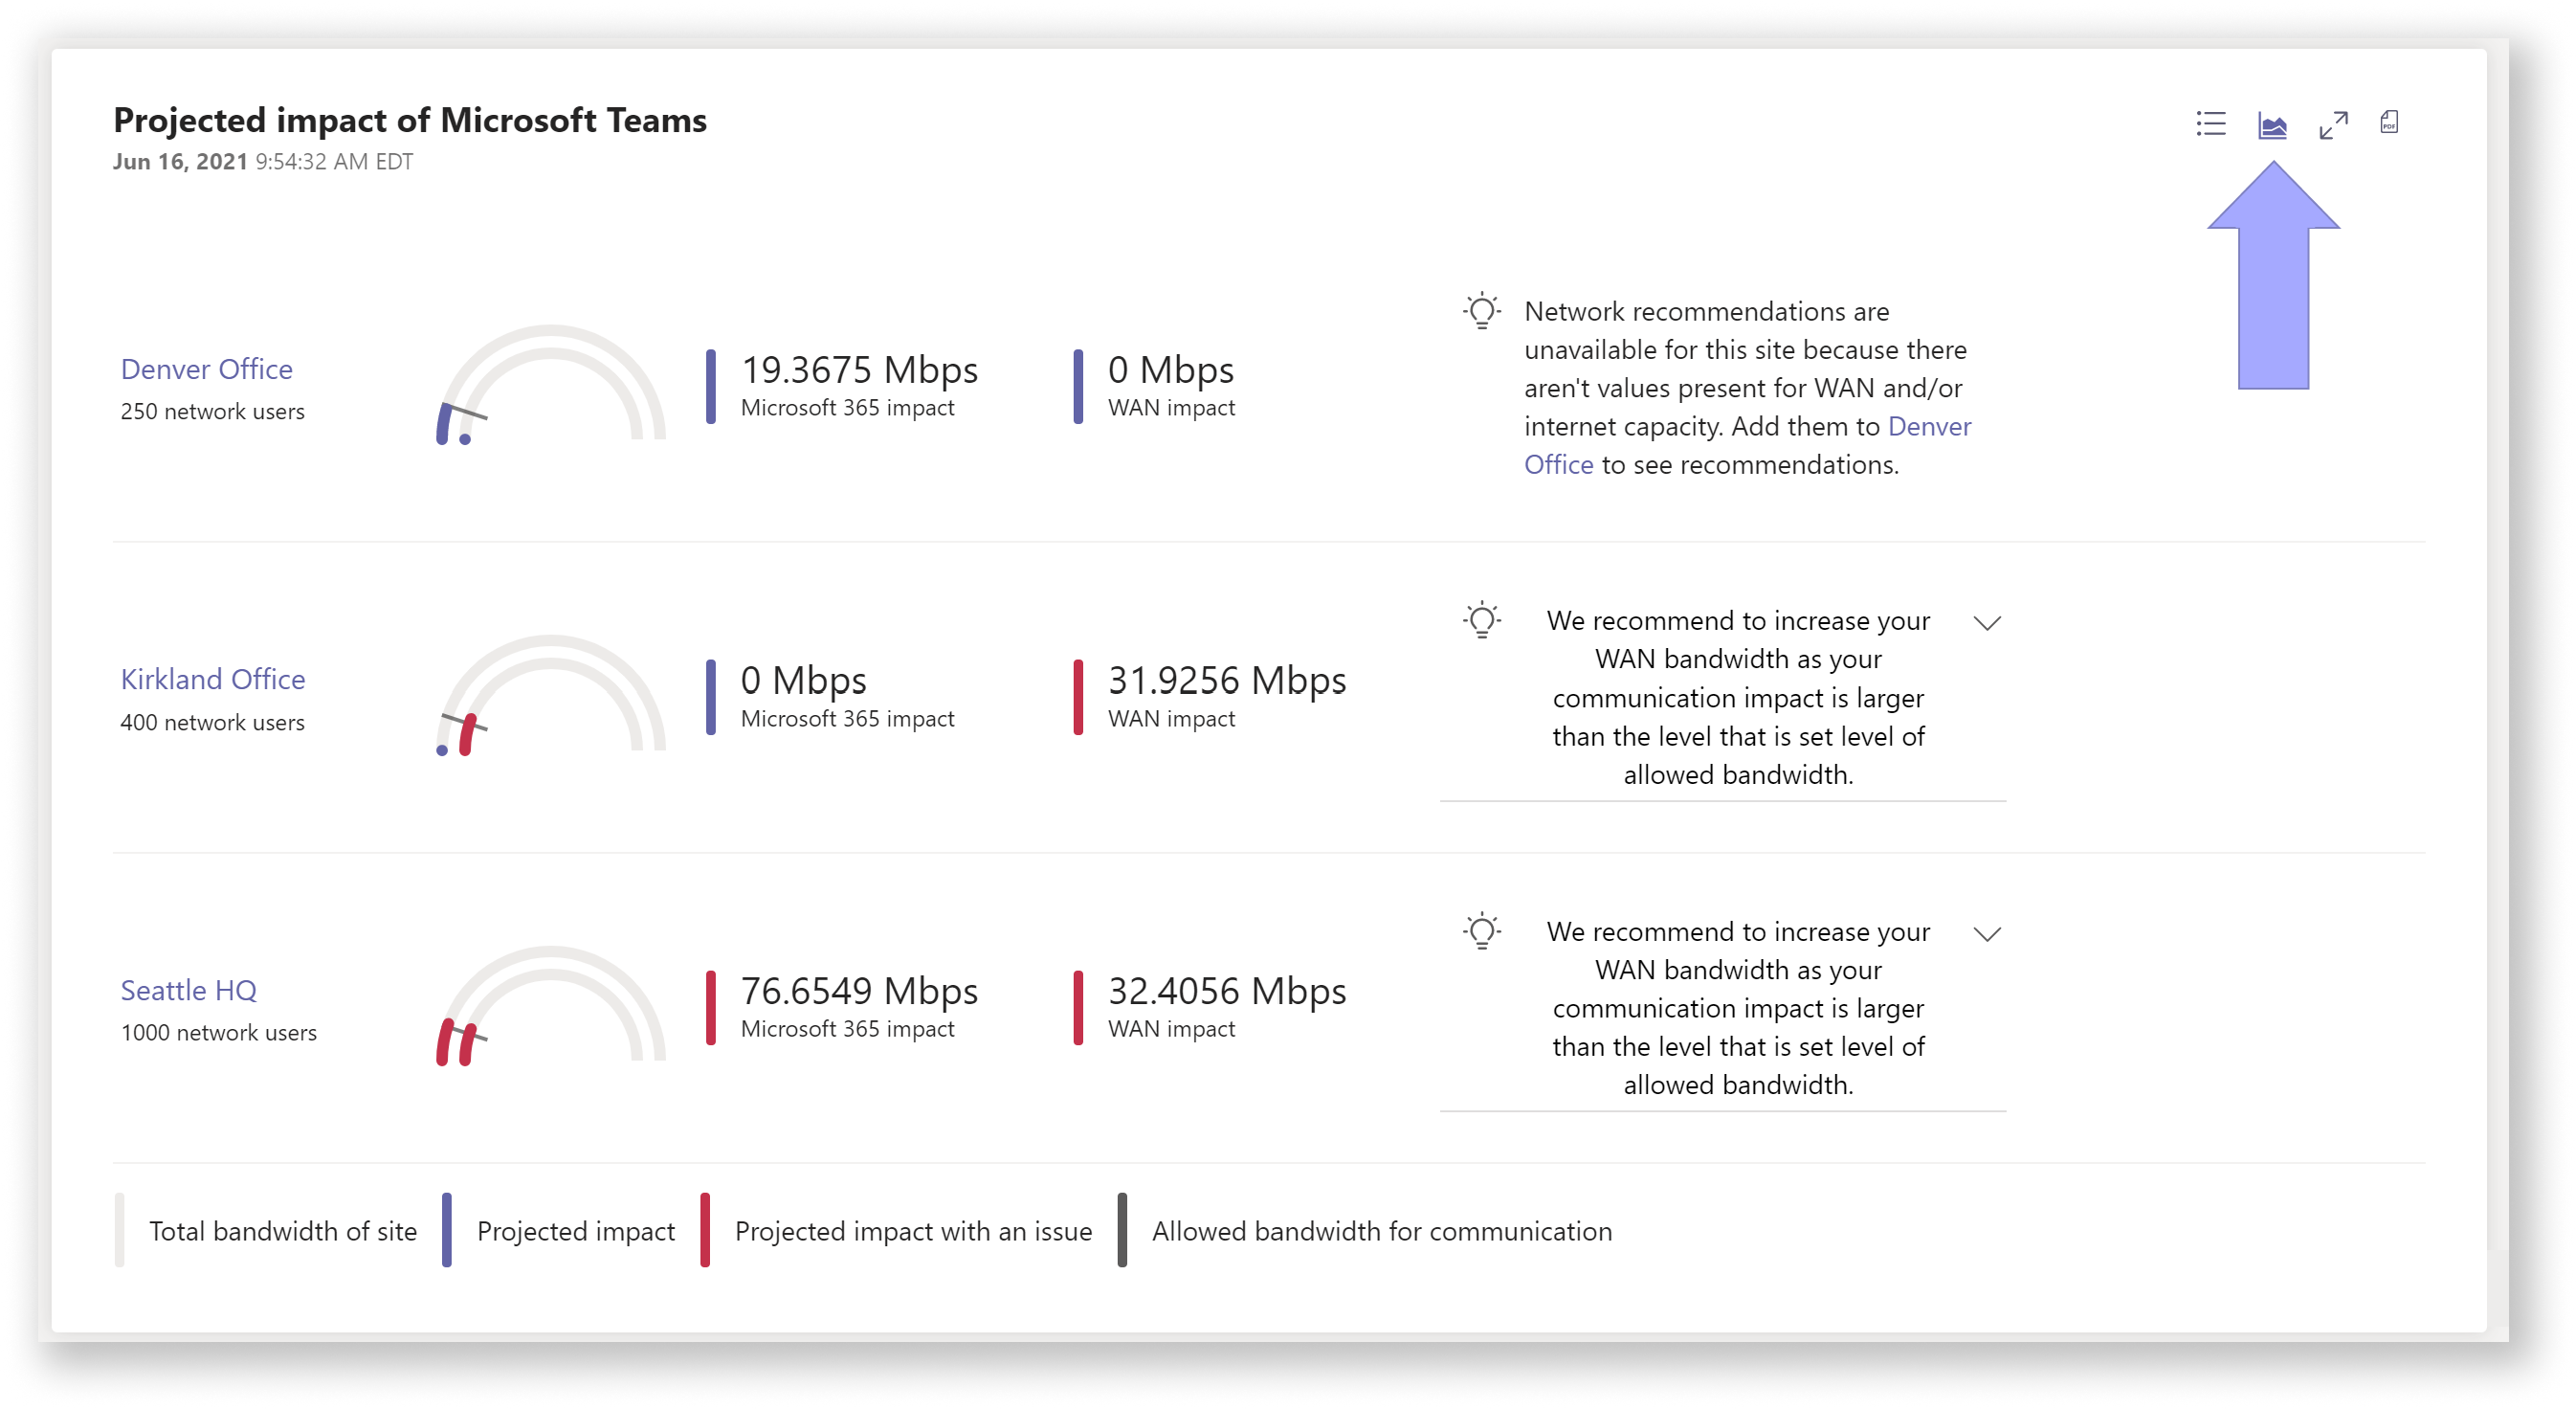
Here, you can see that currently the Kirkland site's bandwidth needs to be increased to get the best performance from Teams.
Learn more
The example scenario for Network Planner is complete. You can go back to the Network Planner article, or check out the following resources for more information on getting your organization ready for Teams: