Add and edit wiki pages
TFS 2018
You can add a title and content to a page, after the wiki Git repository is provisioned for your team project. There's a side-by-side edit and preview experience where you can edit the page and preview the content as you go.
While you author pages using Markdown format, you can also use the format pane for rich-text formatting and inserting images, attachments, and links.

As you edit the page, save it by entering Ctrl+S. To save with a custom revision message, select ![]() next to Save. For more shortcuts, see Keyboard shortcuts to manage wiki pages.
next to Save. For more shortcuts, see Keyboard shortcuts to manage wiki pages.

Prerequisites
- You must have a provisioned wiki.
- You must be a member of the team project as a contributor to add or update wiki pages.
- You must have Basic access level to edit the project wiki.
Open the Wiki
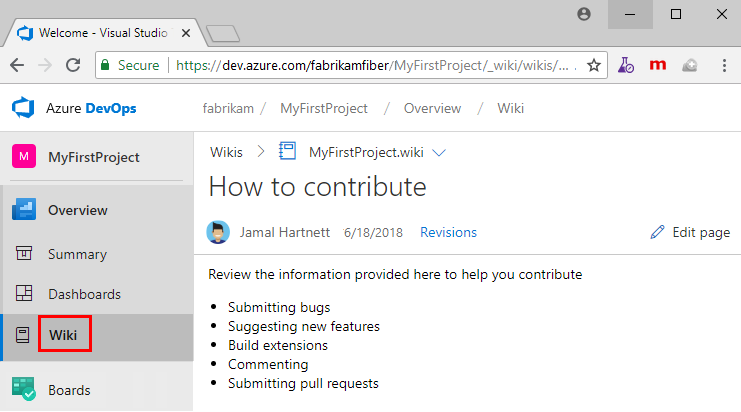
Connect to your project using a supported web browser and choose Wiki.

If you need to switch your team project, choose ![]() Azure DevOps to browse all team projects and teams.
Azure DevOps to browse all team projects and teams.
Add a wiki page
To add another page, choose New page. Or, to add a subpage, open the context menu of an existing page and select Add subpage.
Specify a unique title of 235 characters or less. Page titles are case-sensitive. For other title restrictions, see Wiki Git repository files and file structure, File naming conventions.

You can also use keyboard shortcuts to add a new page by pressing n or add a subpage by pressing c. For a complete list of keyboard shortcuts, see Keyboard shortcuts to manage wiki pages.
Wiki page title naming restrictions
Each wiki page corresponds to a file within the wiki Git repo. Names you assign to a wiki page title must conform to the following restrictions.
| Restriction type | Restriction |
|---|---|
| File name | The fully qualified page path shouldn't exceed 235 characters. |
| Uniqueness | Page titles are case sensitive and must be unique within the wiki hierarchy. |
| Special characters | - Must not contain any Unicode control characters or surrogate characters. - Must not contain the following printable characters: / \ : < > * ? | - #.- Must not start or end with a period ..- Titles of pages added offline must not contain a blank space. |
| File size | Must not exceed the maximum of 18 MB. |
| Attachment file size | Must not exceed the maximum of 19 MB. |
Edit and delete wiki pages
To edit an existing wiki page, open the page and select Edit, or open the context menu and select Edit. You can also use keyboard shortcut e to go to the edit of the current page quickly.
To delete a page, open the context menu from the tree or the one inside the page and select Delete. Confirm the delete in the dialog that opens.
Note
When you delete a page, you also delete all the metadata and all its subpages (if any) in the hierarchy.
Reorder a wiki page
You can reorder pages within the wiki tree view to have pages appear in the order and hierarchy you want. You can drag-and-drop a page title in the tree view to do the following operations:
- Change the parent-child relationship of a page.
- Change the order of the page within the hierarchy.
Note
Moving a page in the hierarchy may break links to it from other pages. You can always fix the links manually after you move. Reordering a page within a hierarchy has no impact on page links.
You can also use keyboard shortcuts to reorder pages. Select a page and press CTRL + UP ARROW or CTRL + DOWN ARROW to change page orders. To change the parent-child relationship of a page, open its context menu and select Move. The Move page dialog opens. Select a parent page under which you can move the current page.

For a complete list of keyboard shortcuts, see Keyboard shortcuts to manage wiki pages.
Make a page the wiki home page
By default, the first page you add when you create a wiki is set as the wiki home page. You can change your wiki homepage if another page becomes more relevant by dragging and dropping the page to the top of the tree.