Deploy and run containers on Azure Container Instance
With the following steps, scale Azure AI services applications in the cloud easily with Azure Container Instances. Containerization helps you focus on building your applications instead of managing the infrastructure. For more information on using containers, see features and benefits.
Prerequisites
The recipe works with any Azure AI services container. The Azure AI services resource must be created before using the recipe. Each Azure AI service that supports containers has a "How to install" article for installing and configuring the service for a container. Some services require a file or set of files as input for the container, it is important that you understand and have used the container successfully before using this solution.
An Azure resource for the Azure AI service you're using.
Azure AI service resource endpoint URL - review your specific service's "How to install" for the container, to find where the endpoint URL is from within the Azure portal, and what a correct example of the URL looks like. The exact format can change from service to service.
Azure AI service resource key - the keys are on the Keys page for the Azure resource. You only need one of the two keys. The key is a string of 84 alpha-numeric characters.
A single Azure AI services container on your local host (your computer). Make sure you can:
- Pull down the image with a
docker pullcommand. - Run the local container successfully with all required configuration settings with a
docker runcommand. - Call the container's endpoint, getting a response of HTTP 2xx and a JSON response back.
- Pull down the image with a
All variables in angle brackets, <>, need to be replaced with your own values. This replacement includes the angle brackets.
Important
The LUIS container requires a .gz model file that is pulled in at runtime. The container must be able to access this model file via a volume mount from the container instance. To upload a model file, follow these steps:
- Create an Azure file share. Take note of the Azure Storage account name, key, and file share name as you'll need them later.
- export your LUIS model (packaged app) from the LUIS portal.
- In the Azure portal, navigate to the Overview page of your storage account resource, and select File shares.
- Select the file share name that you recently created, then select Upload. Then upload your packaged app.
Create an Azure Container Instance resource using the Azure portal
Go to the Create page for Container Instances.
On the Basics tab, enter the following details:
Setting Value Subscription Select your subscription. Resource group Select the available resource group or create a new one such as cognitive-services.Container name Enter a name such as cognitive-container-instance. The name must be in lower caps.Location Select a region for deployment. Image type If your container image is stored in a container registry that doesn’t require credentials, choose Public. If accessing your container image requires credentials, choosePrivate. Refer to container repositories and images for details on whether or not the container image isPublicorPrivate("Public Preview").Image name Enter the Azure AI services container location. The location is what's used as an argument to the docker pullcommand. Refer to the container repositories and images for the available image names and their corresponding repository.
The image name must be fully qualified specifying three parts. First, the container registry, then the repository, finally the image name:<container-registry>/<repository>/<image-name>.
Here is an example,mcr.microsoft.com/azure-cognitive-services/keyphrasewould represent the Key Phrase Extraction image in the Microsoft Container Registry under the Azure AI services repository. Another example is,containerpreview.azurecr.io/microsoft/cognitive-services-speech-to-textwhich would represent the Speech to text image in the Microsoft repository of the Container Preview container registry.OS type LinuxSize Change size to the suggested recommendations for your specific Azure AI container:
2 CPU cores
4 GBOn the Networking tab, enter the following details:
Setting Value Ports Set the TCP port to 5000. Exposes the container on port 5000.On the Advanced tab, enter the required Environment Variables for the container billing settings of the Azure Container Instance resource:
Key Value ApiKeyCopied from the Keys and endpoint page of the resource. It is a 84 alphanumeric-character string with no spaces or dashes, xxxxxxxxxxxxxxxxxxxxxxxxxxxxxxxx.BillingYour endpoint URL copied from the Keys and endpoint page of the resource. EulaacceptSelect Review and Create
After validation passes, click Create to finish the creation process
When the resource is successfully deployed, it's ready
Use the Container Instance
Select the Overview and copy the IP address. It will be a numeric IP address such as
55.55.55.55.Open a new browser tab and use the IP address, for example,
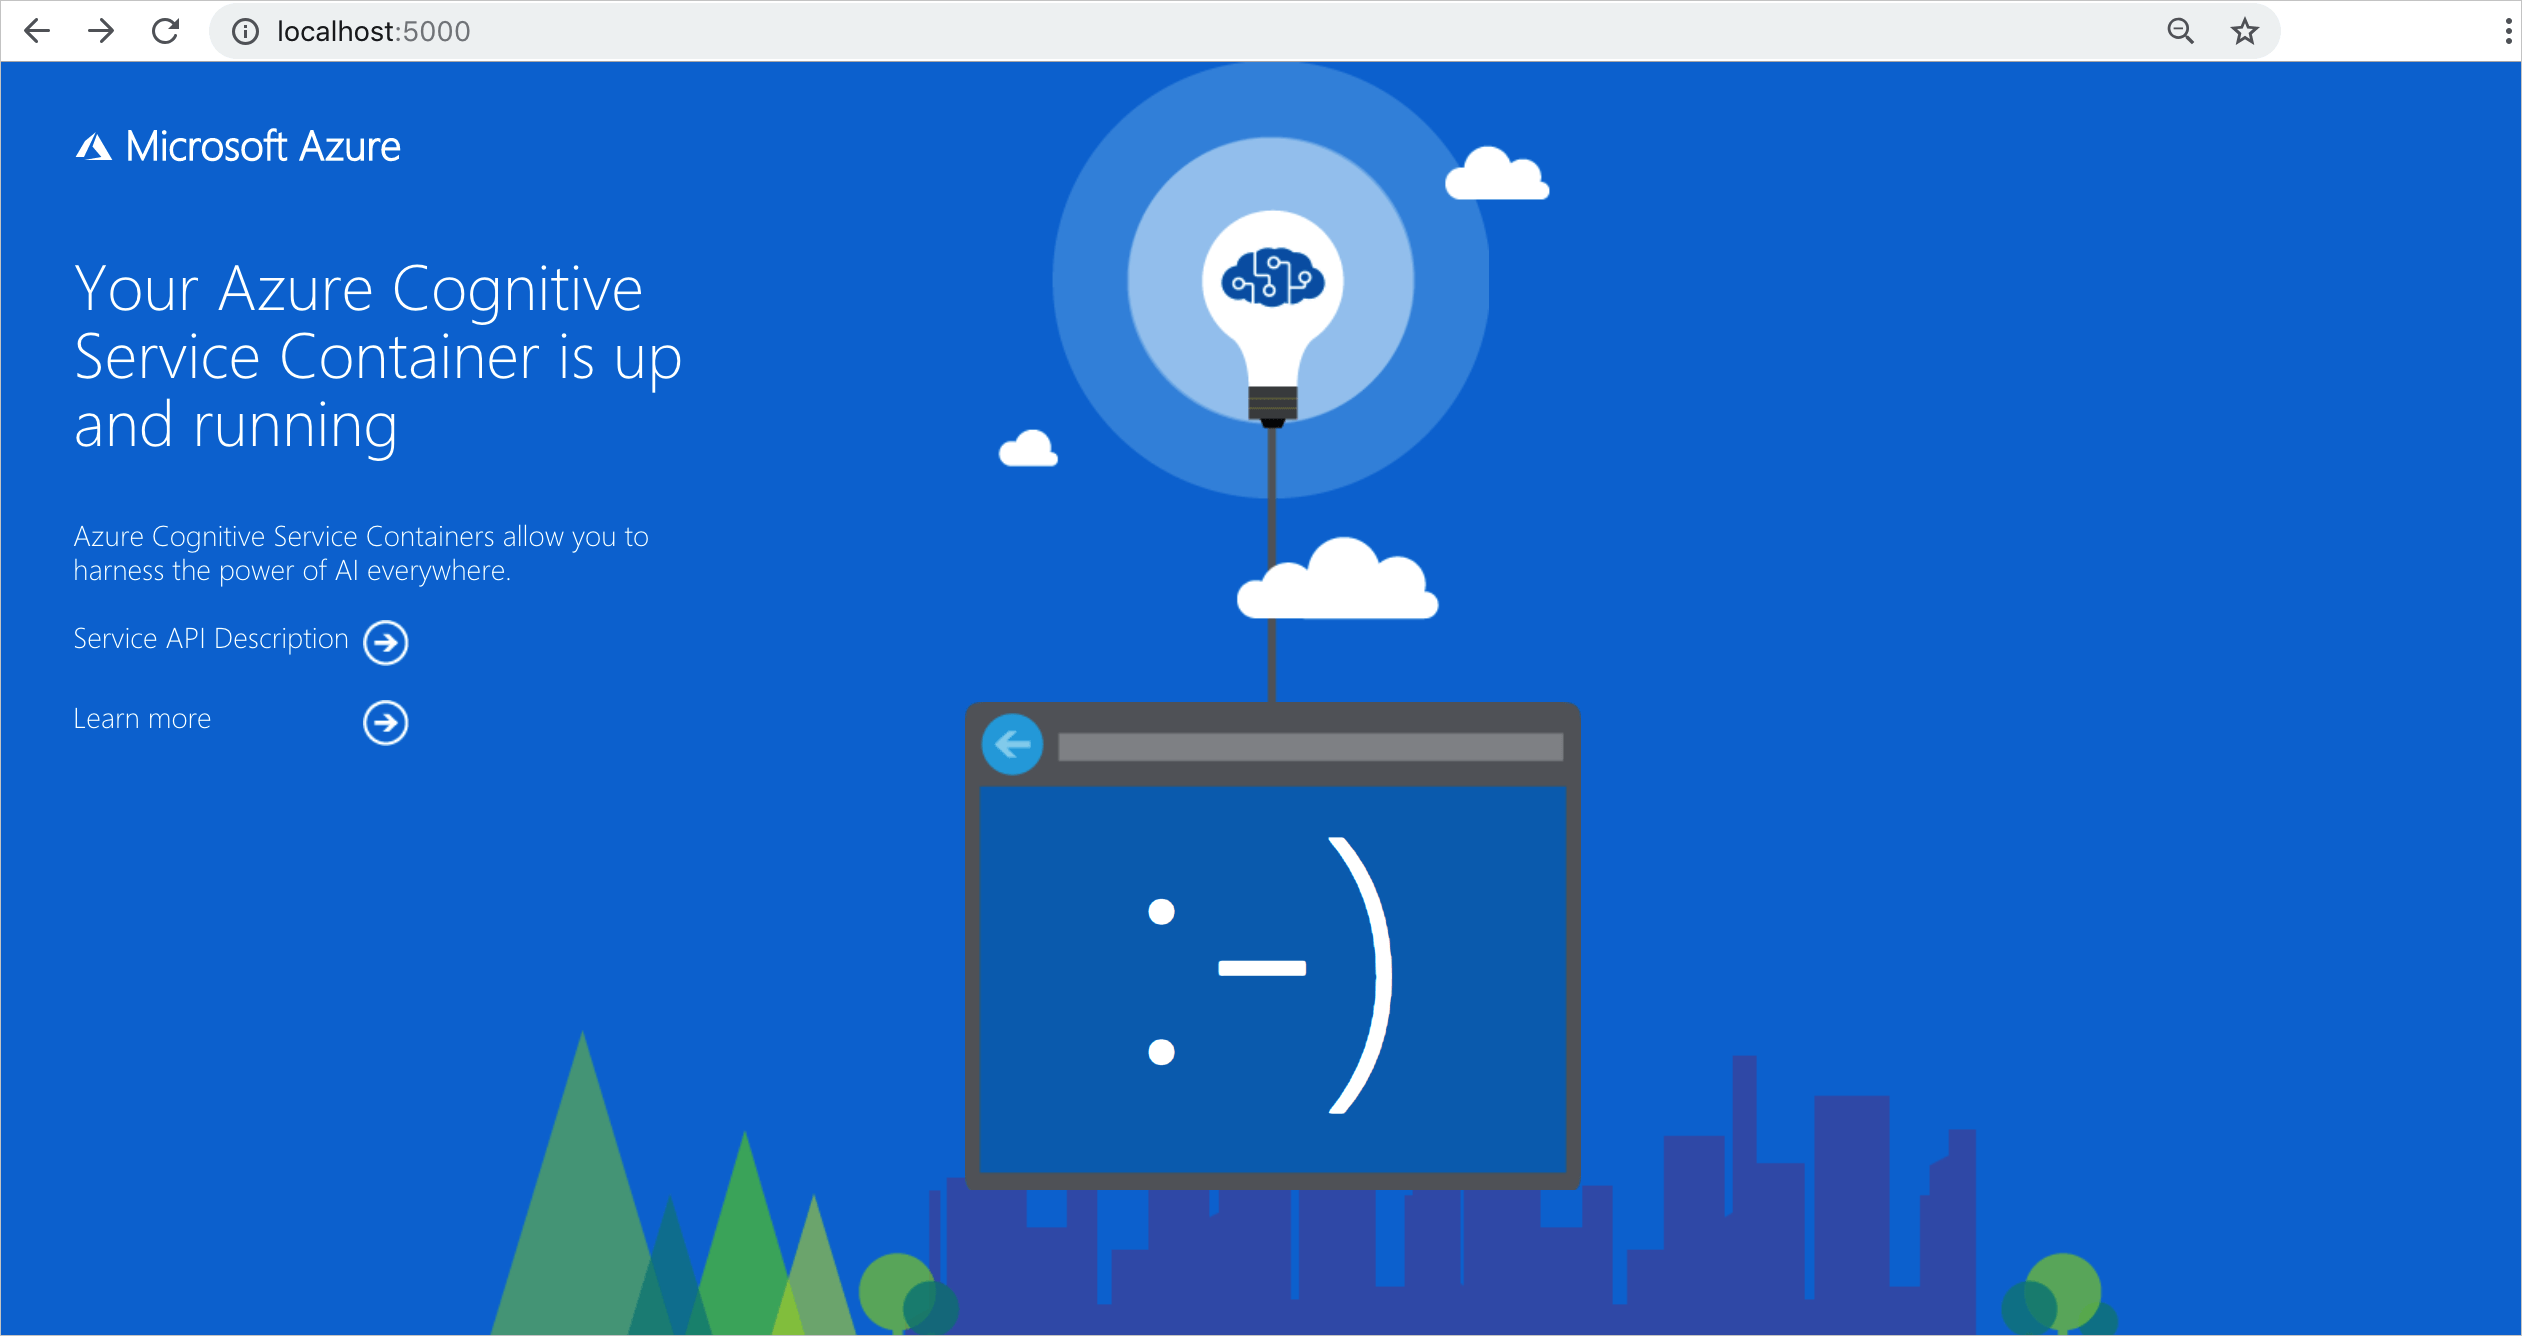
http://<IP-address>:5000 (http://55.55.55.55:5000). You will see the container's home page, letting you know the container is running.
Select Service API Description to view the swagger page for the container.
Select any of the POST APIs and select Try it out. The parameters are displayed including the input. Fill in the parameters.
Select Execute to send the request to your Container Instance.
You have successfully created and used Azure AI containers in Azure Container Instance.