座標から情報を取得する
この記事では、選択したポップアップの場所のアドレスを表示するように、逆アドレスの検索を行う方法を示しています。
逆アドレスの検索を行うには、2 つの方法があります。 1 つの方法は、TypeScript REST SDK @azure-rest/maps-search を使用して逆アドレス検索 API に対してクエリを実行することです。 もう 1 つの方法は、Fetch API を使用して、アドレスを検索するように Reverse Address Search API に要求する方法です。 どちらの方法も、この記事内で説明します。
REST SDK を使用して逆方向の検索要求を行う
import * as atlas from "azure-maps-control";
import MapsSearch from "@azure-rest/maps-search";
import "azure-maps-control/dist/atlas.min.css";

const onload = () => {
  // Initialize a map instance.
  const map = new atlas.Map("map", {
    view: "Auto",
    // Add authentication details for connecting to Azure Maps.
    authOptions: {
      // Use Azure Active Directory authentication.
      authType: "aad",
      clientId: "<Your Azure Maps Client Id>",
      aadAppId: "<Your Azure Active Directory Client Id>",
      aadTenant: "<Your Azure Active Directory Tenant Id>"
    }
  });

  map.events.add("load", async () => {
    // Use the access token from the map and create an object that implements the TokenCredential interface.
    const credential = {
      getToken: () => {
        return {
          token: map.authentication.getToken()
        };
      }
    };

    // Create a Search client.
    const client = MapsSearch(credential, "<Your Azure Maps Client Id>");

    // Update the style of mouse cursor to a pointer
    map.getCanvasContainer().style.cursor = "pointer";

    // Create a popup
    const popup = new atlas.Popup();

    // Upon a mouse click, open a popup at the selected location and render in the popup the address of the selected location
    map.events.add("click", async (e) => {
      const position = [e.position[1], e.position[0]];

      // Execute the reverse address search query and open a popup once a response is received
      const response = await client.path("/search/address/reverse/{format}", "json").get({
        queryParameters: { query: position }
      });

      // Get address data from response
      const data = response.body.addresses;

      // Construct the popup
      var popupContent = document.createElement("div");
      popupContent.classList.add("popup-content");
      popupContent.innerHTML = data.length !== 0 ? data[0].address.freeformAddress : "No address for that location!";
      popup.setOptions({
        position: e.position,
        content: popupContent
      });

      // Render the popup on the map
      popup.open(map);
    });
  });
};

document.body.onload = onload;
上記のコード例において、最初のブロックはマップ オブジェクトを構築し、Microsoft Entra ID を使用するための認証メカニズムを設定します。 詳細については、「マップの作成」を参照してください。
2 つ目のコード ブロックはアクセス トークンを使用して Azure Maps に対して HTTP 要求を認証するための TokenCredential インターフェイスを実装するオブジェクトを作成します。 その後、資格情報オブジェクトを MapsSearch に渡し、クライアントのインスタンスを作成します。
3 番目のコード ブロックでは、マウス カーソルのスタイルがポインターに更新されて、popup オブジェクトが作成されます。 詳細については、マップへのポップアップの追加に関するページを参照してください。
4 番目のコード ブロックでは、マウス クリックのイベント リスナーが追加されます。 トリガーされると、選択されたポイントの座標を使用して検索クエリが作成されます。 次に、Get Search Address Reverse API に対する GET 要求が実行され、座標のアドレスについてクエリが実行されます。
5 番目のコード ブロックでは、選択された座標位置の応答アドレスを表示する HTML ポップアップ コンテンツが設定されます。
カーソルの変更、ポップアップ オブジェクト、およびclick イベントは、いずれもマップのロード イベント リスナーで作成されます。 このコード構造により、座標情報を取得する前にマップ全体が確実に読み込まれます。
Fetch API を使用して逆方向の検索要求を行う
マップ上の場所を選択し、Fetch を使用してその場所に対する逆ジオコーディング要求を行います。
import * as atlas from "azure-maps-control";
import "azure-maps-control/dist/atlas.min.css";

const onload = () => {
  // Initialize a map instance.
  const map = new atlas.Map("map", {
    view: "Auto",
    // Add authentication details for connecting to Azure Maps.
    authOptions: {
      // Use Azure Active Directory authentication.
      authType: "aad",
      clientId: "<Your Azure Maps Client Id>",
      aadAppId: "<Your Azure Active Directory Client Id>",
      aadTenant: "<Your Azure Active Directory Tenant Id>"
    }
  });

  map.events.add("load", async () => {
    // Update the style of mouse cursor to a pointer
    map.getCanvasContainer().style.cursor = "pointer";

    // Create a popup
    const popup = new atlas.Popup();

    // Upon a mouse click, open a popup at the selected location and render in the popup the address of the selected location
    map.events.add("click", async (e) => {
      //Send a request to Azure Maps reverse address search API
      let url = "https://atlas.microsoft.com/search/address/reverse/json?";
      url += "&api-version=1.0";
      url += "&query=" + e.position[1] + "," + e.position[0];

      // Process request
      fetch(url, {
        headers: {
          Authorization: "Bearer " + map.authentication.getToken(),
          "x-ms-client-id": "<Your Azure Maps Client Id>"
        }
      })
        .then((response) => response.json())
        .then((response) => {
          const popupContent = document.createElement("div");
          popupContent.classList.add("popup-content");
          const address = response["addresses"];
          popupContent.innerHTML =
            address.length !== 0 ? address[0]["address"]["freeformAddress"] : "No address for that location!";
          popup.setOptions({
            position: e.position,
            content: popupContent
          });
          // render the popup on the map
          popup.open(map);
        });
    });
  });
};

document.body.onload = onload;
上記のコード例において、コードの最初のブロックはマップ オブジェクトを構築し、Microsoft Entra ID を使用するための認証メカニズムを設定します。 手順については、「マップの作成」を参照してください。
2 番目のコード ブロックでは、マウス カーソルのスタイルがポインターに更新されます。 これによって popup オブジェクトがインスタンス化されます。 詳細については、マップへのポップアップの追加に関するページを参照してください。
3 つ目のコード ブロックでは、マウス クリック用のイベント リスナーが追加されます。 マウスをクリックすると、Fetch API を使用して、選択した座標アドレスを見つけるために Azure Maps Reverse Address Search API に対してクエリが実行されます。 応答が成功すると、選択された場所のアドレスが収集されます。 これにより、popup クラスの setOptions 関数を使用して、ポップアップのコンテンツと位置が定義されます。
カーソルの変更、ポップアップ オブジェクト、およびclick イベントは、いずれもマップのロード イベント リスナーで作成されます。 このコード構造により、座標情報を取得する前にマップ全体が確実に読み込まれます。
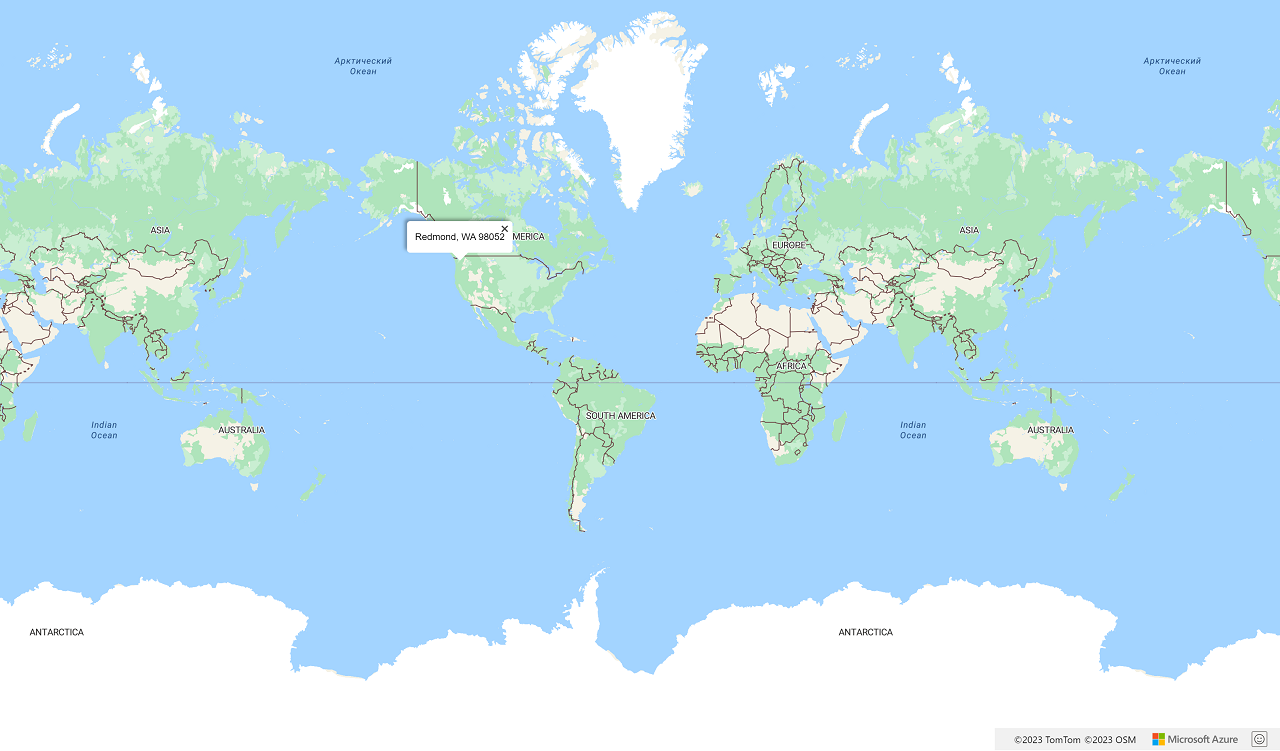
次の図は、2 つのコード サンプルの結果を示すスクリーンショットです。
次のステップ
この記事で使われているクラスとメソッドの詳細については、次を参照してください。
完全なコードの例については、次の記事を参照してください。