適用対象:  従業員テナント 外部テナント (詳細)
このチュートリアルは、Angular シングルページ アプリケーション (SPA) の構築と、Microsoft ID プラットフォームを使用した認証の追加を示すシリーズの最後の部分です。 このシリーズのパート 2 では、Angular SPA を作成し、従業員テナントでの認証用に準備しました。
このチュートリアルでは、次のことを行いました。
- Angular アプリケーションにデータ処理を追加します。
- アプリケーションをテストし、ユーザー データを抽出します。
前提条件
アプリケーション UI で表示するデータを抽出する
Microsoft Graph API と対話するように Angular アプリケーションを構成するには、次の手順を実行します。
src/app/profile/profile.component.tsファイルを開き、内容を次のコード スニペットに置き換えます。// Required for Angular import { Component, OnInit } from '@angular/core'; // Required for the HTTP GET request to Graph import { HttpClient } from '@angular/common/http'; type ProfileType = { businessPhones?: string, displayName?: string, givenName?: string, jobTitle?: string, mail?: string, mobilePhone?: string, officeLocation?: string, preferredLanguage?: string, surname?: string, userPrincipalName?: string, id?: string } @Component({ selector: 'app-profile', templateUrl: './profile.component.html' }) export class ProfileComponent implements OnInit { profile!: ProfileType; tokenExpiration!: string; constructor( private http: HttpClient ) { } // When the page loads, perform an HTTP GET request from the Graph /me endpoint ngOnInit() { this.http.get('https://graph.microsoft.com/v1.0/me') .subscribe(profile => { this.profile = profile; }); this.tokenExpiration = localStorage.getItem('tokenExpiration')!; } }Angular の
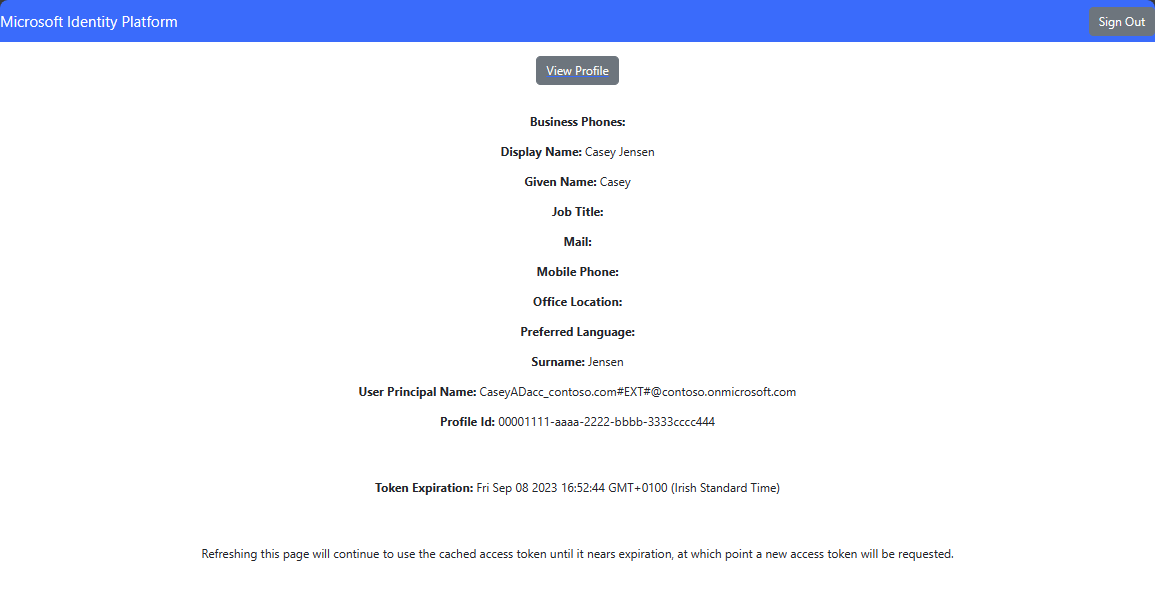
ProfileComponentは、Microsoft Graph の/meエンドポイントからユーザー プロファイル データをフェッチします。ProfileTypeやdisplayNameなどのプロパティの構造にmailを定義します。ngOnInitでは、HttpClientを使用して GET 要求を送信し、応答をprofileに割り当てます。 また、localStorageからトークンの有効期限を取得してtokenExpirationに格納します。src/app/profile/profile.component.htmlファイルを開き、内容を次のコード スニペットに置き換えます。<div class="profile"> <p><strong>Business Phones:</strong> {{profile?.businessPhones}}</p> <p><strong>Display Name:</strong> {{profile?.displayName}}</p> <p><strong>Given Name:</strong> {{profile?.givenName}}</p> <p><strong>Job Title:</strong> {{profile?.jobTitle}}</p> <p><strong>Mail:</strong> {{profile?.mail}}</p> <p><strong>Mobile Phone:</strong> {{profile?.mobilePhone}}</p> <p><strong>Office Location:</strong> {{profile?.officeLocation}}</p> <p><strong>Preferred Language:</strong> {{profile?.preferredLanguage}}</p> <p><strong>Surname:</strong> {{profile?.surname}}</p> <p><strong>User Principal Name:</strong> {{profile?.userPrincipalName}}</p> <p><strong>Profile Id:</strong> {{profile?.id}}</p> <br><br> <p><strong>Token Expiration:</strong> {{tokenExpiration}}</p> <br><br> <p>Refreshing this page will continue to use the cached access token until it nears expiration, at which point a new access token will be requested.</p> </div>このコードでは、Angular の補間構文を使用して、
profileオブジェクト (たとえば、businessPhones、displayName、jobTitle) からプロパティをバインドして、ユーザー プロファイル情報を表示する HTML テンプレートを定義します。 また、tokenExpiration値も表示され、ページを更新すると、有効期限が近くまでキャッシュされたアクセス トークンが使用され、その後新しいトークンが要求されることを示すメモが含まれています。
アプリケーションをテストする
アプリケーションを機能させるには、Angular アプリケーションを実行し、サインインして Microsoft Entra テナントで認証し、ユーザー データを抽出する必要があります。
アプリケーションをテストするには、次の手順を実行します。
ターミナルで次のコマンドを実行して、Angular アプリケーションを実行します。
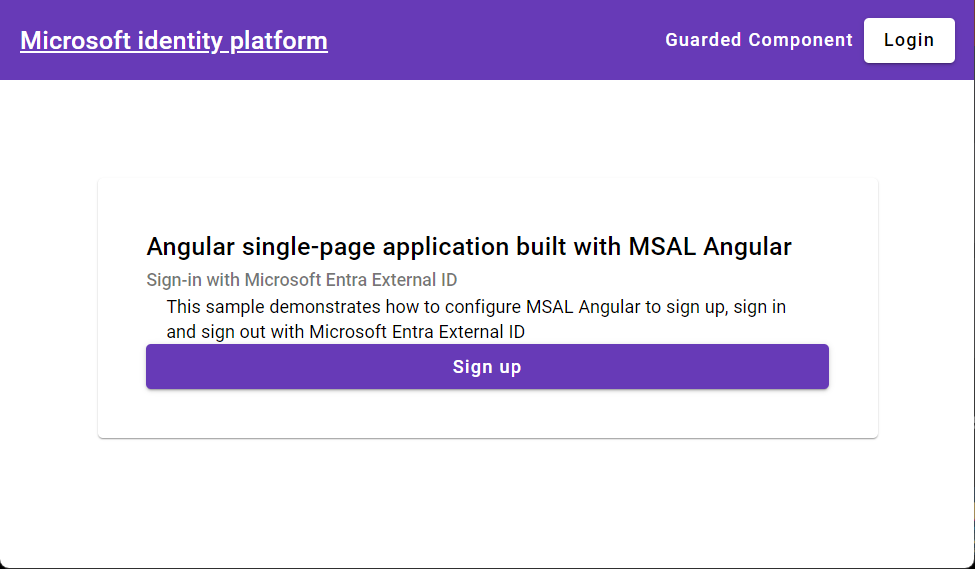
ng serve --open[ サインイン ] ボタンを選択して、Microsoft Entra テナントで認証します。
サインインしたら、[ プロファイルの表示 ] リンクを選択して [ プロファイル ] ページに移動します。 ユーザーの名前、電子メール、役職、その他の詳細など、ユーザー プロファイル情報が表示されていることを確認します。
[ サインアウト ] ボタンを選択して、アプリケーションからサインアウトします。
次のステップ
Web API を構築する方法に関する次のチュートリアル シリーズを試して、Microsoft ID プラットフォームを使用する方法について説明します。