適用対象:✅ Microsoft Fabric でのデータ エンジニアリングとデータ サイエンス
Livy API for Fabric Data Engineering を使用して Spark バッチ ジョブを送信する方法について説明します。 Livy API は現在、Azure サービス プリンシパル (SPN) をサポートしていません。
前提条件
Jupyter Notebooks、PySpark、Microsoft Authentication Library (MSAL) for Python を備えた Visual Studio Code などのリモート クライアント。
Fabric REST API にアクセスするには、Microsoft Entra アプリ トークンが必要です。 Microsoft ID プラットフォームにアプリケーションを登録する。
レイクハウス内のデータ。この例では、NYC Taxi & Limousine Commission の green_tripdata_2022_08 (レイクハウスに読み込まれた parquet ファイル) を使用します。
Livy API は、操作用に統合エンドポイントを定義します。 この記事の例に沿って進める際は、プレースホルダー {Entra_TenantID}、{Entra_ClientID}、{Fabric_WorkspaceID}、{Fabric_LakehouseID} を適切な値に置き換えてください。
Livy API バッチの Visual Studio Code を構成する
Fabric Lakehouse で [Lakehouse の設定] を選択します。

[Livy エンドポイント] セクションに移動します。
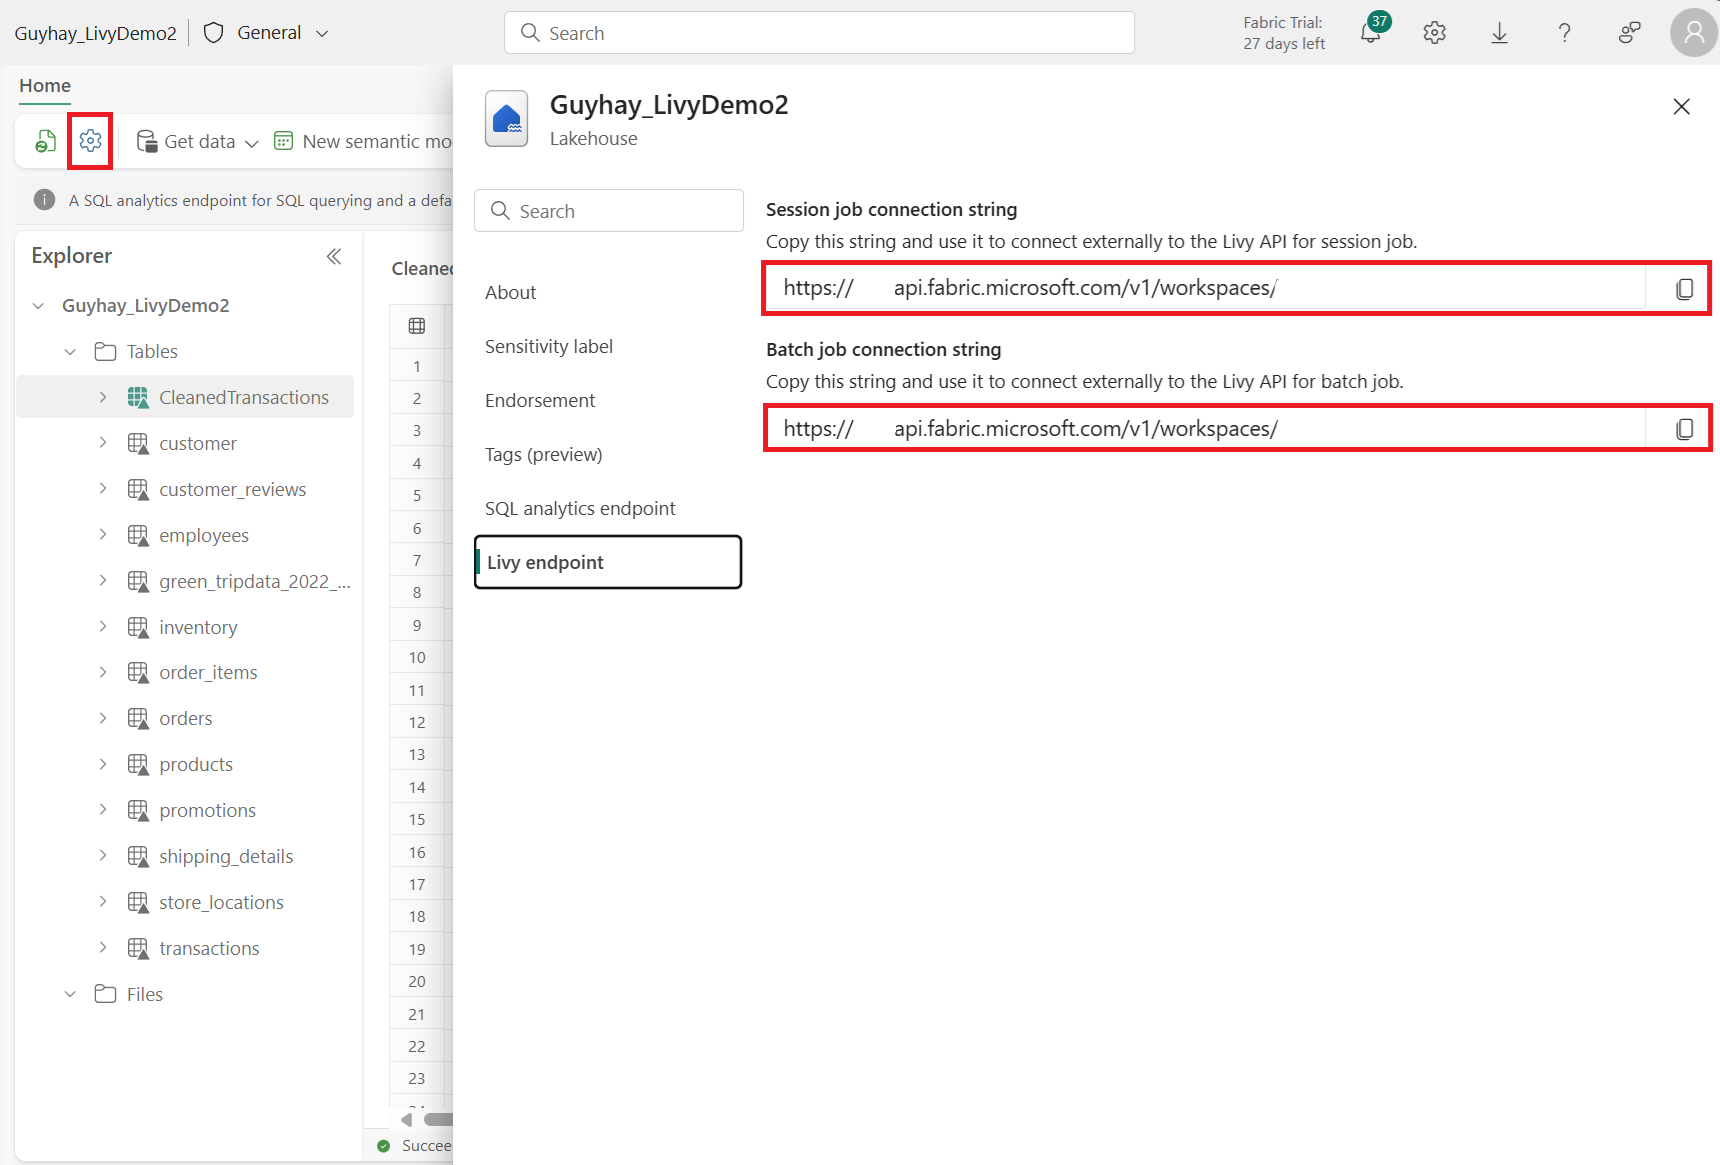
バッチ ジョブ接続文字列 (画像の 2 番目の赤いボックス) をコードにコピーします。
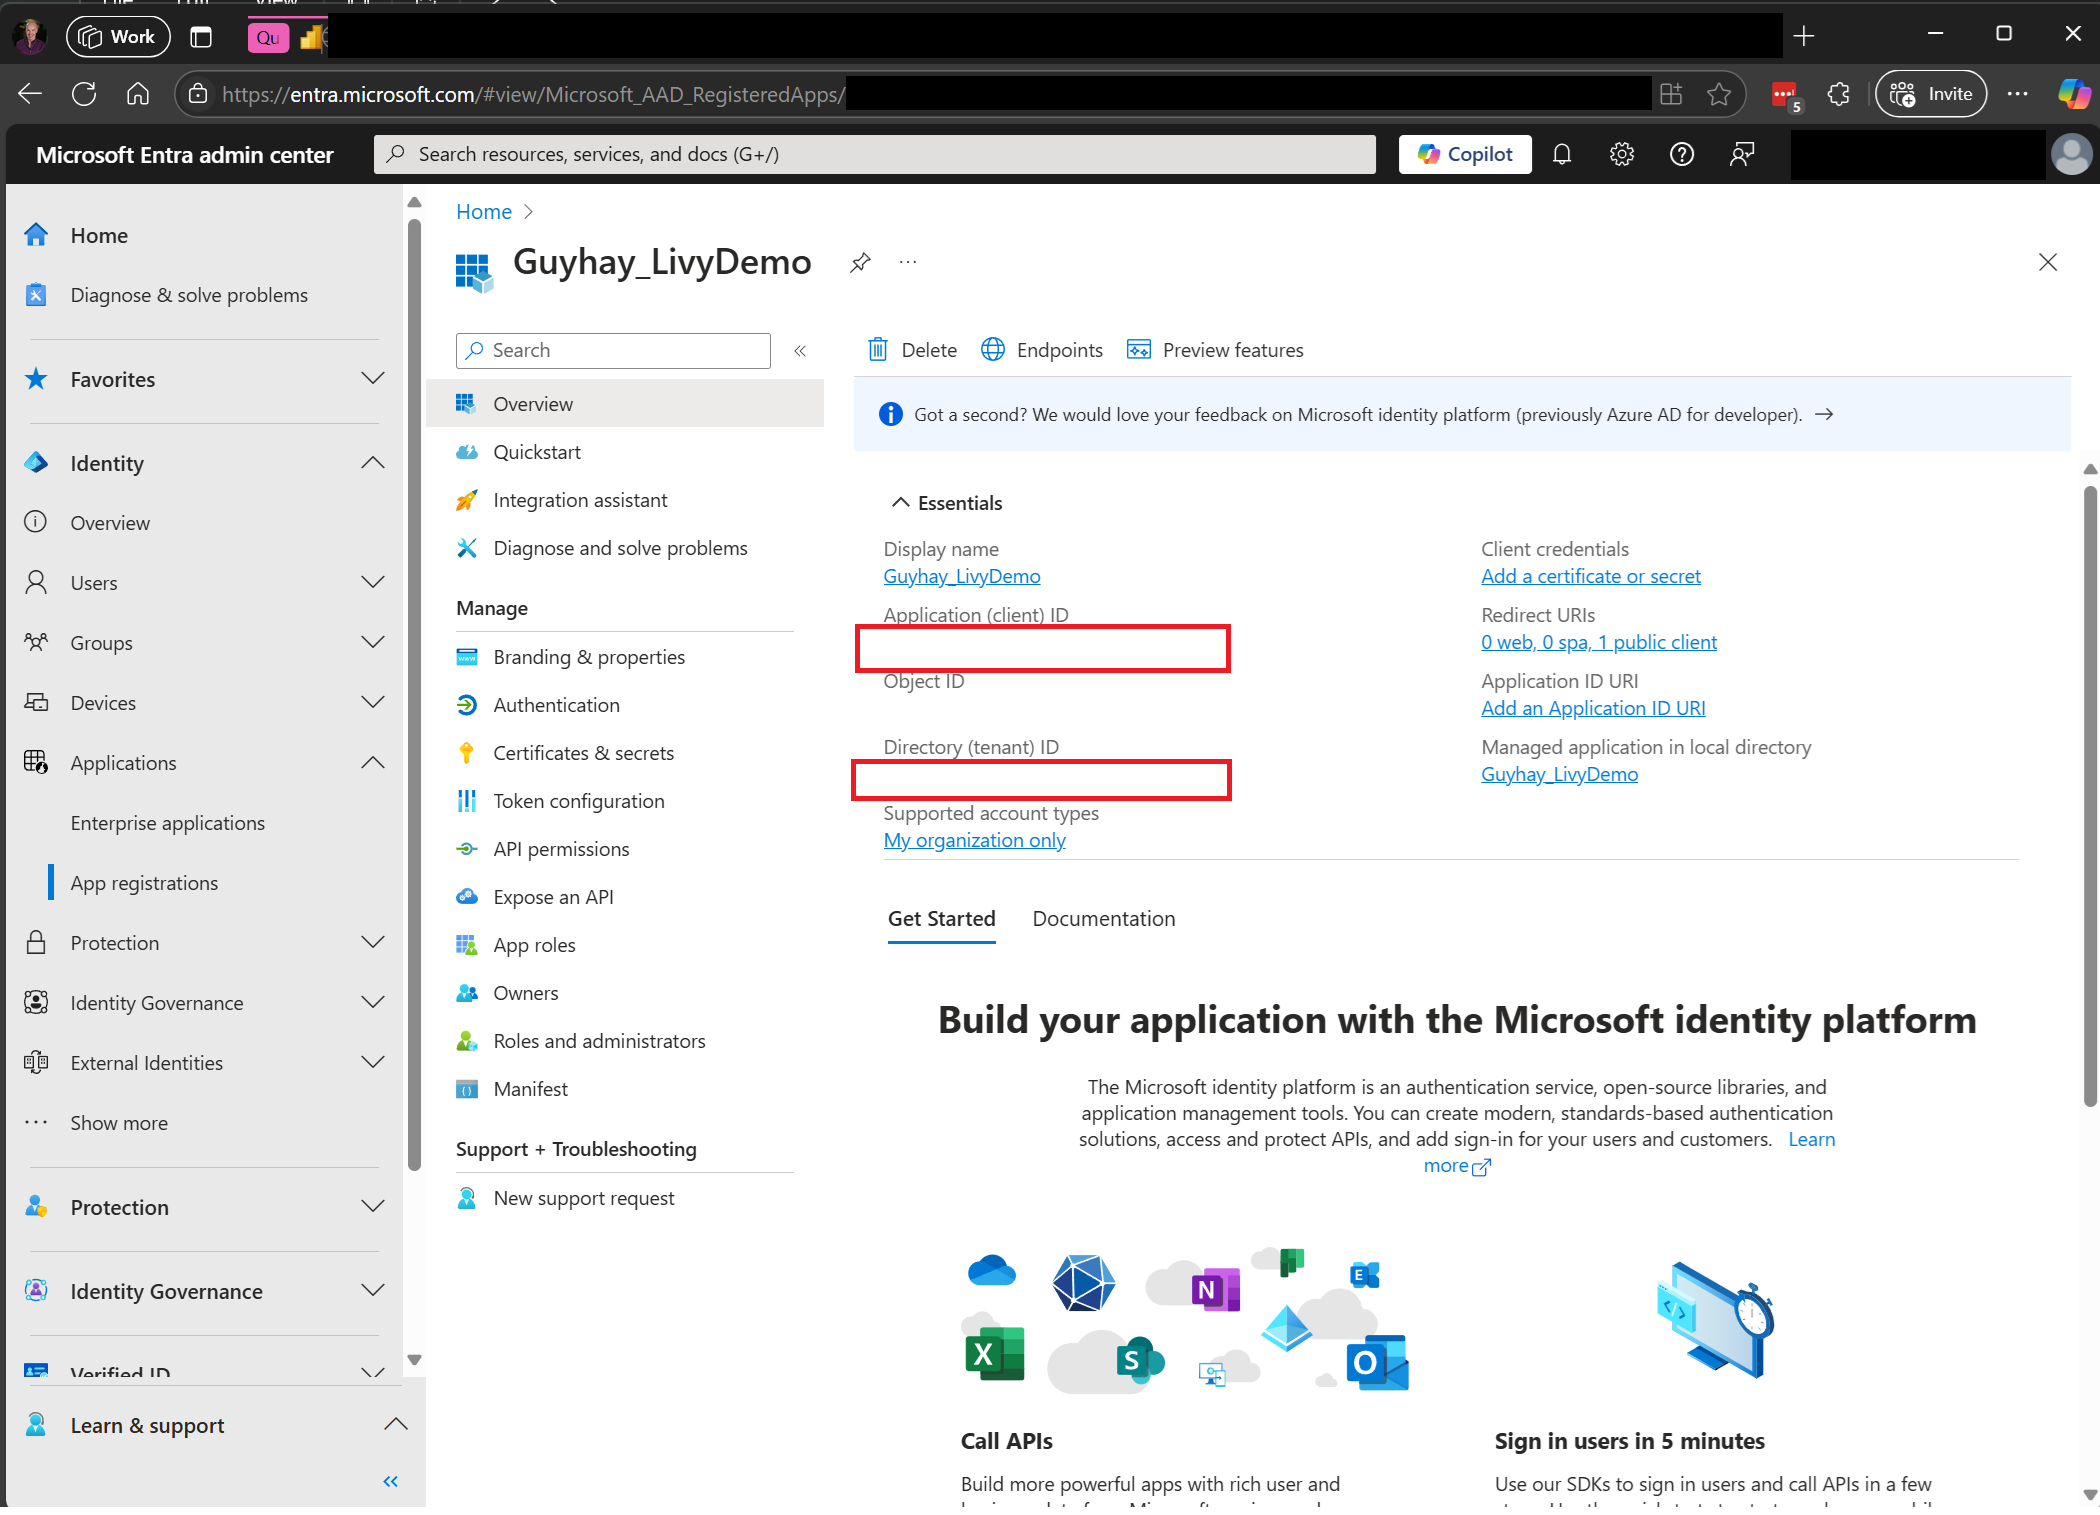
Microsoft Entra 管理センターに移動し、アプリケーション (クライアント) ID とディレクトリ (テナント) ID の両方をコードにコピーします。


Spark Batch コードを作成して Lakehouse にアップロードする
Visual Studio Code で
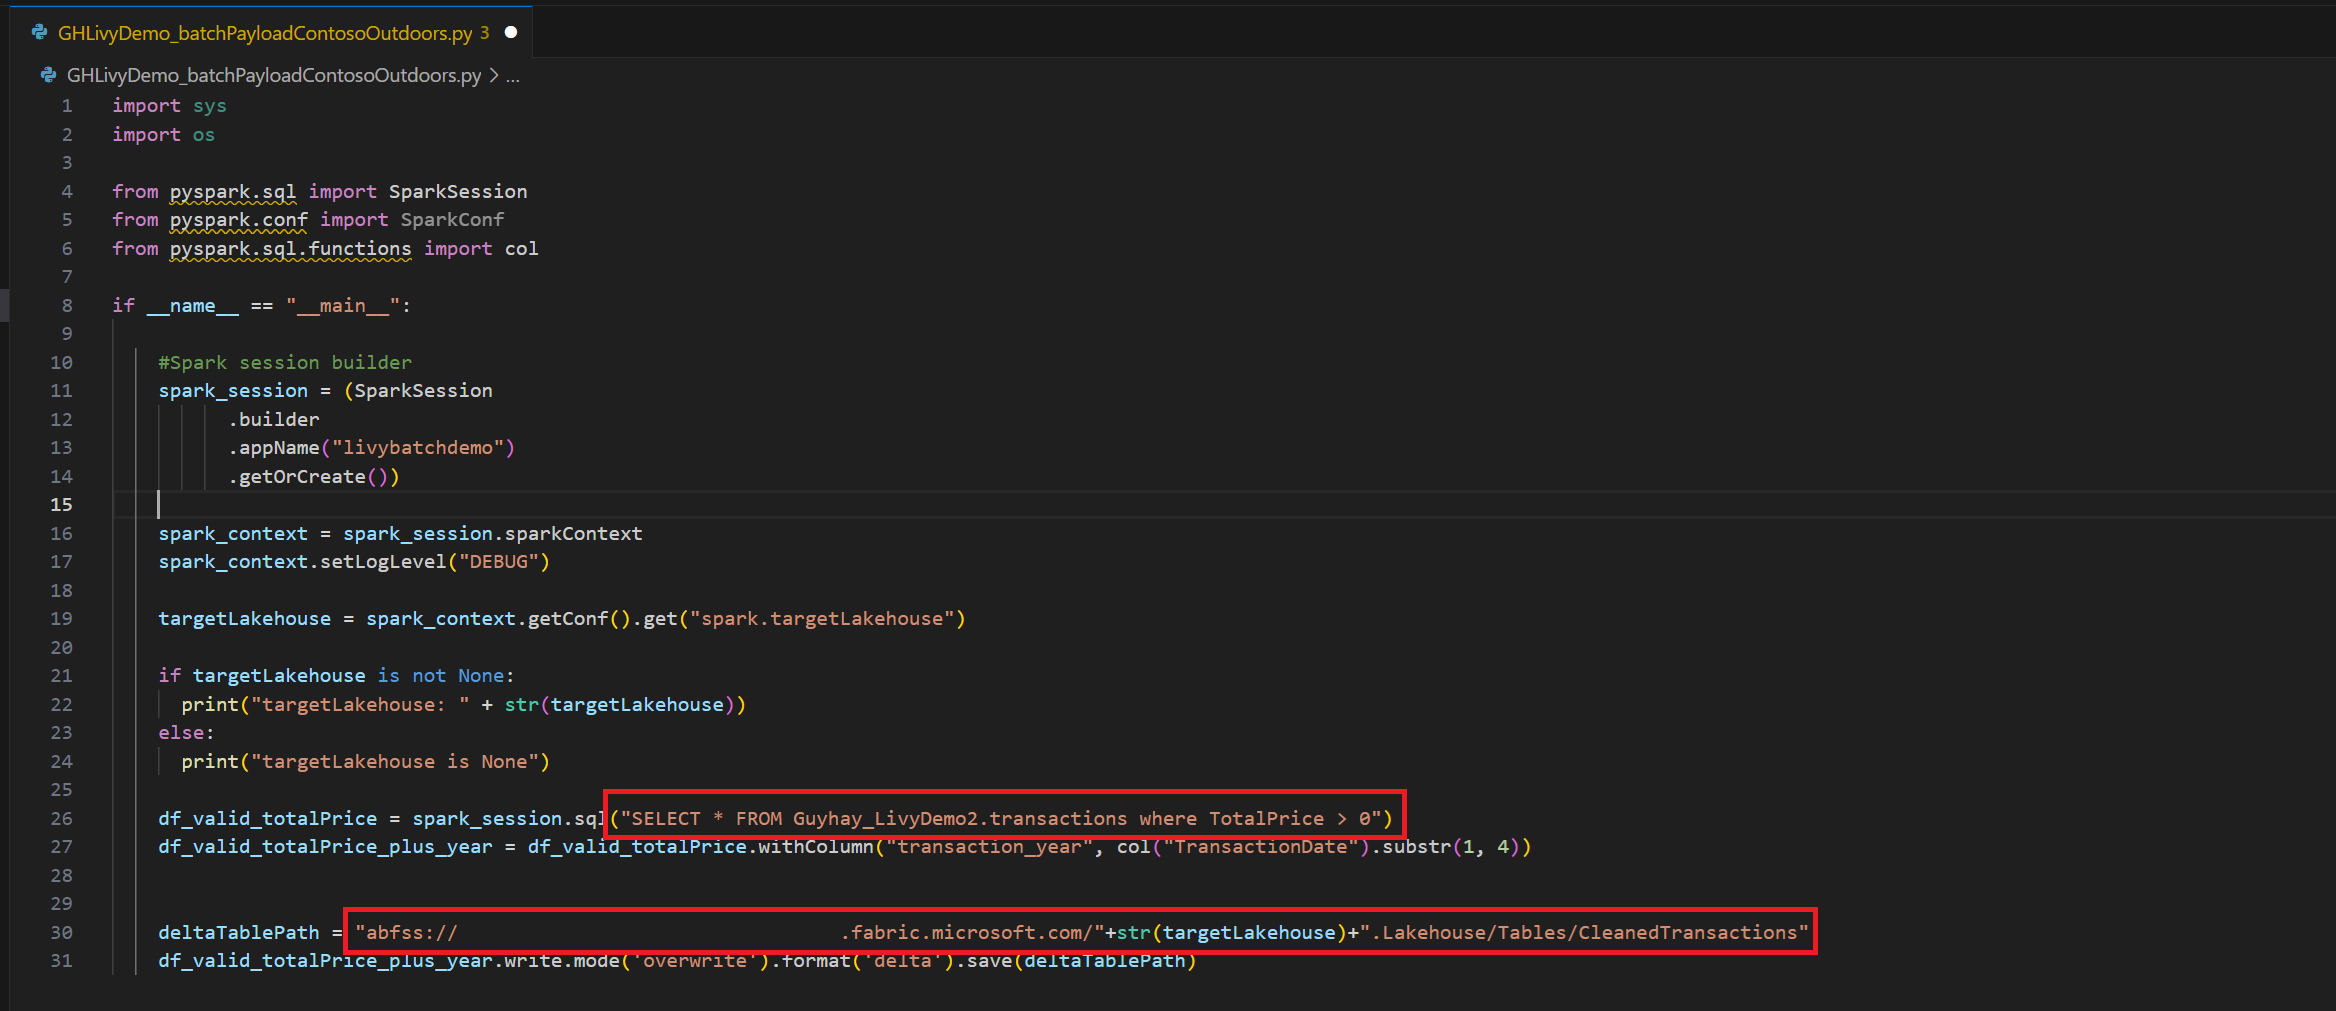
.ipynbノートブックを作成し、次のコードを挿入します。import sys import os from pyspark.sql import SparkSession from pyspark.conf import SparkConf from pyspark.sql.functions import col if __name__ == "__main__": #Spark session builder spark_session = (SparkSession .builder .appName("batch_demo") .getOrCreate()) spark_context = spark_session.sparkContext spark_context.setLogLevel("DEBUG") tableName = spark_context.getConf().get("spark.targetTable") if tableName is not None: print("tableName: " + str(tableName)) else: print("tableName is None") df_valid_totalPrice = spark_session.sql("SELECT * FROM green_tripdata_2022 where total_amount > 0") df_valid_totalPrice_plus_year = df_valid_totalPrice.withColumn("transaction_year", col("lpep_pickup_datetime").substr(1, 4)) deltaTablePath = f"Tables/{tableName}CleanedTransactions" df_valid_totalPrice_plus_year.write.mode('overwrite').format('delta').save(deltaTablePath)Python ファイルをローカルに保存します。 この Python コード ペイロードには、Lakehouse 内のデータに対して動作し、Lakehouse にアップロードする必要がある 2 つの Spark ステートメントが含まれています。 Visual Studio Code の Livy API バッチ ジョブで参照するペイロードの ABFS パスと、Select SQL ステートメントの Lakehouse テーブル名が必要です。
Python ペイロードを Lakehouse の [ファイル] セクションにアップロードします。 Lakehouse エクスプローラーで、[ファイル] を選択 します。 次に、 >データの取得>ファイルのアップロードを選択します。 ファイル ピッカーを使用してファイルを選択します。
![Lakehouse の [ファイル] セクションにあるペイロードを示すスクリーンショット。](media/livy-api/livy-batch-payload-in-lakehouse-files.png)
ファイルが Lakehouse の [ファイル] セクションに表示されたら、ペイロード ファイル名の右側にある 3 つのドットをクリックし、[プロパティ] を選択します。
![Lakehouse の [ファイル] にある [プロパティ] のペイロード ABFS パスを示すスクリーンショット。](media/livy-api/livy-batch-abfs-path.png)
手順 1 で、この ABFS パスをノートブック セルにコピーします。

![Lakehouse の [ファイル] セクションにあるペイロードを示すスクリーンショット。](media/livy-api/livy-batch-payload-in-lakehouse-files.png#lightbox)
![Lakehouse の [ファイル] にある [プロパティ] のペイロード ABFS パスを示すスクリーンショット。](media/livy-api/livy-batch-abfs-path.png#lightbox)
Microsoft Entra ユーザー トークンまたは Microsoft Entra SPN トークンを使用して Livy API Spark バッチ セッションを認証する
Microsoft Entra SPN トークンを使用して Livy API Spark バッチ セッションを認証する
Visual Studio Code で
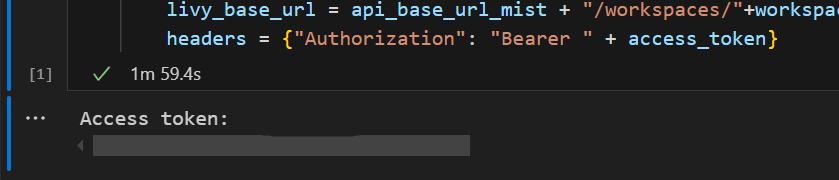
.ipynbノートブックを作成し、次のコードを挿入します。import sys from msal import ConfidentialClientApplication # Configuration - Replace with your actual values tenant_id = "Entra_TenantID" # Microsoft Entra tenant ID client_id = "Entra_ClientID" # Service Principal Application ID # Certificate paths - Update these paths to your certificate files certificate_path = "PATH_TO_YOUR_CERTIFICATE.pem" # Public certificate file private_key_path = "PATH_TO_YOUR_PRIVATE_KEY.pem" # Private key file certificate_thumbprint = "YOUR_CERTIFICATE_THUMBPRINT" # Certificate thumbprint # OAuth settings audience = "https://analysis.windows.net/powerbi/api/.default" authority = f"https://login.windows.net/{tenant_id}" def get_access_token(client_id, audience, authority, certificate_path, private_key_path, certificate_thumbprint=None): """ Get an app-only access token for a Service Principal using OAuth 2.0 client credentials flow. This function uses certificate-based authentication which is more secure than client secrets. Args: client_id (str): The Service Principal's client ID audience (str): The audience for the token (resource scope) authority (str): The OAuth authority URL certificate_path (str): Path to the certificate file (.pem format) private_key_path (str): Path to the private key file (.pem format) certificate_thumbprint (str): Certificate thumbprint (optional but recommended) Returns: str: The access token for API authentication Raises: Exception: If token acquisition fails """ try: # Read the certificate from PEM file with open(certificate_path, "r", encoding="utf-8") as f: certificate_pem = f.read() # Read the private key from PEM file with open(private_key_path, "r", encoding="utf-8") as f: private_key_pem = f.read() # Create the confidential client application app = ConfidentialClientApplication( client_id=client_id, authority=authority, client_credential={ "private_key": private_key_pem, "thumbprint": certificate_thumbprint, "certificate": certificate_pem } ) # Acquire token using client credentials flow token_response = app.acquire_token_for_client(scopes=[audience]) if "access_token" in token_response: print("Successfully acquired access token") return token_response["access_token"] else: raise Exception(f"Failed to retrieve token: {token_response.get('error_description', 'Unknown error')}") except FileNotFoundError as e: print(f"Certificate file not found: {e}") sys.exit(1) except Exception as e: print(f"Error retrieving token: {e}", file=sys.stderr) sys.exit(1) # Get the access token token = get_access_token(client_id, audience, authority, certificate_path, private_key_path, certificate_thumbprint)ノートブック のセルを実行すると、Microsoft Entra トークンが返されます。


Microsoft Entra ユーザー トークンを使用して Livy API Spark セッションを認証する
Visual Studio Code で
.ipynbノートブックを作成し、次のコードを挿入します。from msal import PublicClientApplication import requests import time # Configuration - Replace with your actual values tenant_id = "Entra_TenantID" # Microsoft Entra tenant ID client_id = "Entra_ClientID" # Application ID (can be the same as above or different) # Required scopes for Microsoft Fabric API access scopes = [ "https://api.fabric.microsoft.com/Lakehouse.Execute.All", # Execute operations in lakehouses "https://api.fabric.microsoft.com/Lakehouse.Read.All", # Read lakehouse metadata "https://api.fabric.microsoft.com/Item.ReadWrite.All", # Read/write fabric items "https://api.fabric.microsoft.com/Workspace.ReadWrite.All", # Access workspace operations "https://api.fabric.microsoft.com/Code.AccessStorage.All", # Access storage from code "https://api.fabric.microsoft.com/Code.AccessAzureKeyvault.All", # Access Azure Key Vault "https://api.fabric.microsoft.com/Code.AccessAzureDataExplorer.All", # Access Azure Data Explorer "https://api.fabric.microsoft.com/Code.AccessAzureDataLake.All", # Access Azure Data Lake "https://api.fabric.microsoft.com/Code.AccessFabric.All" # General Fabric access ] def get_access_token(tenant_id, client_id, scopes): """ Get an access token using interactive authentication. This method will open a browser window for user authentication. Args: tenant_id (str): The Azure Active Directory tenant ID client_id (str): The application client ID scopes (list): List of required permission scopes Returns: str: The access token, or None if authentication fails """ app = PublicClientApplication( client_id, authority=f"https://login.microsoftonline.com/{tenant_id}" ) print("Opening browser for interactive authentication...") token_response = app.acquire_token_interactive(scopes=scopes) if "access_token" in token_response: print("Successfully authenticated") return token_response["access_token"] else: print(f"Authentication failed: {token_response.get('error_description', 'Unknown error')}") return None # Uncomment the lines below to use interactive authentication token = get_access_token(tenant_id, client_id, scopes) print("Access token acquired via interactive login")ノートブック セルを実行すると、ブラウザーにポップアップが表示され、サインインに使用する ID を選択できます。
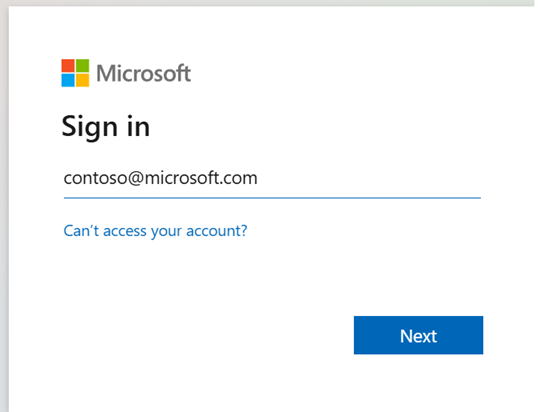
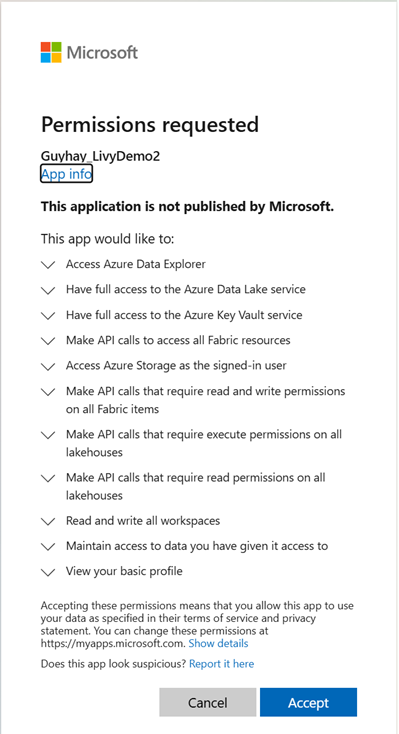
サインインに使用する ID を選択したら、Microsoft Entra アプリ登録 API のアクセス許可を承認する必要があります。
認証が完了したら、ブラウザー ウィンドウを閉じます。

Visual Studio Code で、Microsoft Entra トークンが返されていることがわかります。


Livy Batch を送信し、バッチ ジョブを監視します。
別のノートブック セルを追加し、このコードを挿入します。
# submit payload to existing batch session

import requests
import time
import json

api_base_url = "https://api.fabric.microsoft.com/v1"  # Base URL for Fabric APIs

# Fabric Resource IDs - Replace with your workspace and lakehouse IDs
workspace_id = "Fabric_WorkspaceID"
lakehouse_id = "Fabric_LakehouseID"

# Construct the Livy Batch API URL
# URL pattern: {base_url}/workspaces/{workspace_id}/lakehouses/{lakehouse_id}/livyApi/versions/{api_version}/batches
livy_base_url = f"{api_base_url}/workspaces/{workspace_id}/lakehouses/{lakehouse_id}/livyApi/versions/2023-12-01/batches"

# Set up authentication headers
headers = {"Authorization": f"Bearer {token}"}

print(f"Livy Batch API URL: {livy_base_url}")

new_table_name = "TABLE_NAME"  # Name for the new table

# Configure the batch job
print("Configuring batch job parameters...")

# Batch job configuration - Modify these values for your use case
payload_data = {
    # Job name - will appear in the Fabric UI
    "name": f"livy_batch_demo_{new_table_name}",

    # Path to your Python file in the lakehouse
    "file": "<ABFSS_PATH_TO_YOUR_PYTHON_FILE>",  # Replace with your Python file path

    # Optional: Spark configuration parameters
    "conf": {
        "spark.targetTable": new_table_name,  # Custom configuration for your application
    },
}

print("Batch Job Configuration:")
print(json.dumps(payload_data, indent=2))

try:
    # Submit the batch job
    print("\nSubmitting batch job...")
    post_batch = requests.post(livy_base_url, headers=headers, json=payload_data)

    if post_batch.status_code == 202:
        batch_info = post_batch.json()
        print("Livy batch job submitted successfully!")
        print(f"Batch Job Info: {json.dumps(batch_info, indent=2)}")

        # Extract batch ID for monitoring
        batch_id = batch_info['id']
        livy_batch_get_url = f"{livy_base_url}/{batch_id}"

        print(f"\nBatch Job ID: {batch_id}")
        print(f"Monitoring URL: {livy_batch_get_url}")

    else:
        print(f"Failed to submit batch job. Status code: {post_batch.status_code}")
        print(f"Response: {post_batch.text}")

except requests.exceptions.RequestException as e:
    print(f"Network error occurred: {e}")
except json.JSONDecodeError as e:
    print(f"JSON decode error: {e}")
    print(f"Response text: {post_batch.text}")
except Exception as e:
    print(f"Unexpected error: {e}")
ノートブック セルを実行すると、Livy バッチ ジョブが作成、実行されたときに数行が印刷されるはずです。

変更を確認するには、Lakehouse に戻ります。

Fabric 環境との統合
既定では、この Livy API セッションはワークスペースの既定のスターター プールに対して実行されます。 または、Microsoft Fabric の 環境を作成、構成、使用して、 Livy API セッションがこれらの Spark ジョブに使用する Spark プールをカスタマイズすることもできます。 Fabric Environment を使用するには、前のノートブック セルをこの 1 行の変更で更新します。
payload_data = {
    "name":"livybatchdemo_with"+ newlakehouseName,
    "file":"abfss://YourABFSPathToYourPayload.py",
    "conf": {
        "spark.targetLakehouse": "Fabric_LakehouseID",
        "spark.fabric.environmentDetails" : "{\"id\" : \""EnvironmentID"\"}"  # remove this line to use starter pools instead of an environment, replace "EnvironmentID" with your environment ID
        }
    }
監視ハブであなたのジョブを確認する
左側のナビゲーション リンクの [監視] を選択して監視ハブにアクセスすると、さまざまな Apache Spark アクティビティを表示できます。
バッチ ジョブが完了の状態になったら、[監視] に移動してセッションの状態を確認できます。

最新のアクティビティ名を選択して開きます。

この Livy API セッションのケースでは、以前のバッチ送信、実行の詳細、Spark のバージョン、構成を確認できます。 右上の停止状態に注目してください。


プロセス全体をまとめると、Visual Studio Code などのリモート クライアント、Microsoft Entra アプリ トークン、Livy API エンドポイント URL、Lakehouse に対する認証、Lakehouse の Spark ペイロード、そしてバッチ Livy API セッションが必要です。