このクイック スタートでは、Microsoft Dataverse 環境に接続し、単純な関数を呼び出すコンソール アプリケーションを作成します。 ここで説明する基本的な機能を理解したら、Dataverse テーブル行の作成、取得、更新、削除など、他の Web API 操作を調べることができます。
このプログラムは、認証を行い、HttpClientを使用して、GETに要求を送信します。 この関数は、サインインしている Dataverse ユーザーに関する情報を取得します。 応答は WhoAmIResponse ComplexType です。 プログラムは、応答から取得した UserId プロパティ値を表示します。
この .NET 10 プロジェクトの完全な Visual Studio ソリューションは、 PowerApps-Samples リポジトリの dataverse/webapi/C#-NETx/QuickStart にあります。
前提条件
- Visual Studio 2026 以降
- インターネット接続
- Dataverse 環境に有効なユーザー アカウント
- 接続に使用したい Dataverse 環境への URL
- C# 言語に関する基本的な理解
Note
認証するには、Microsoft Entra ID に登録されているアプリが必要です。 このクイック スタートの例では、Microsoft によって発行されたサンプル コードの実行に使用できるアプリ登録 clientid 値を提供します。 ただし、独自のカスタム アプリケーションの場合は、それを AD に登録する必要があります。 詳細情報: チュートリアル: Microsoft Entra ID でアプリを登録する
Visual Studio プロジェクトの作成
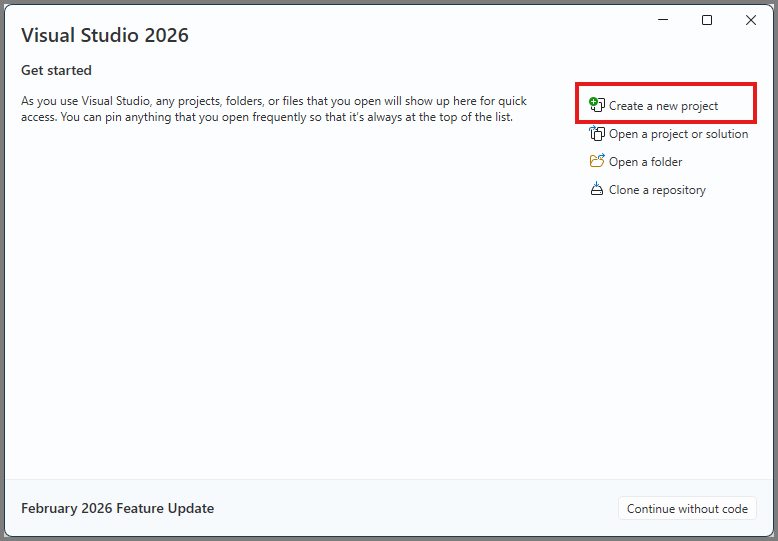
Visual Studio 2026 を起動し、[ 新しいプロジェクトの作成] を選択します。
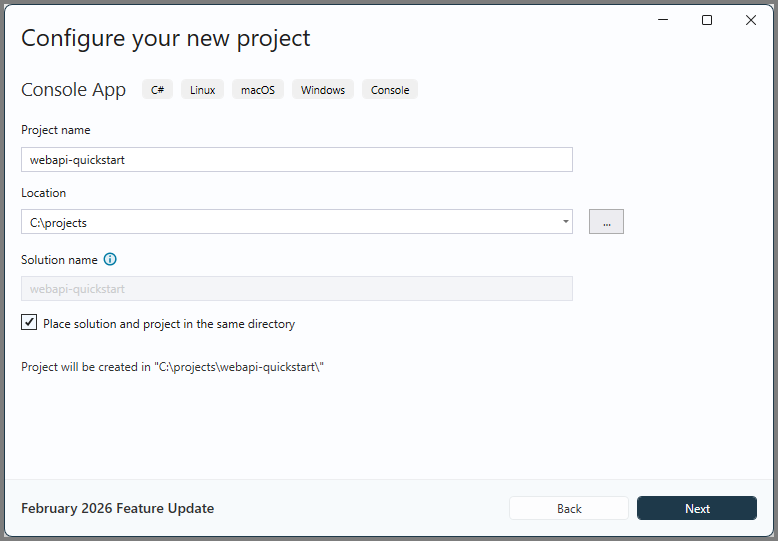
新しい コンソール アプリ プロジェクトを作成します。

場所 と プロジェクト名 を設定して、プロジェクトを構成します。
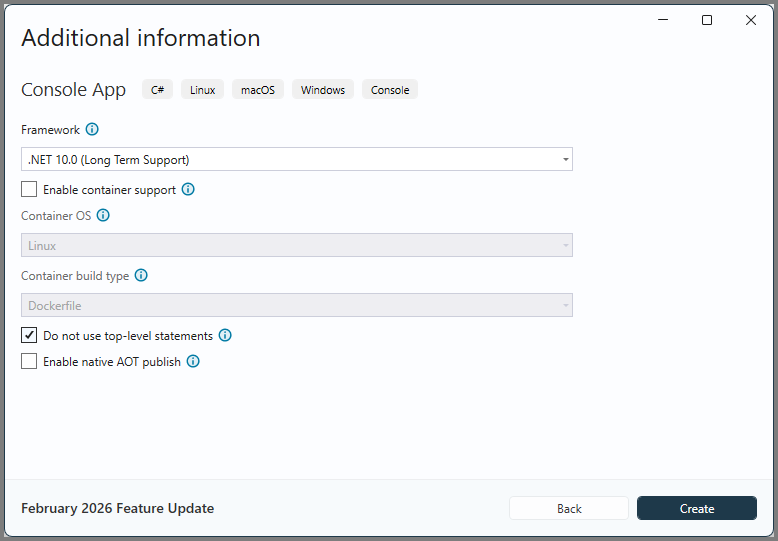
.NET 10.0 (長期サポート) を選択してプロジェクトを構成し、最上位レベルのステートメントを使用しないでください。 次に作成 を選択します。
Solution Explorer で、作成したプロジェクトを右クリックして、コンテキスト メニューで NuGet パッケージの管理... を選択します。 NuGet では、必要なアセンブリをプロジェクトに取り込むことができます。
Microsoft.Identity.Clientという名のの Microsoft 認証ライブラリ (MSAL) NuGet パッケージを選び、インストールを選択します。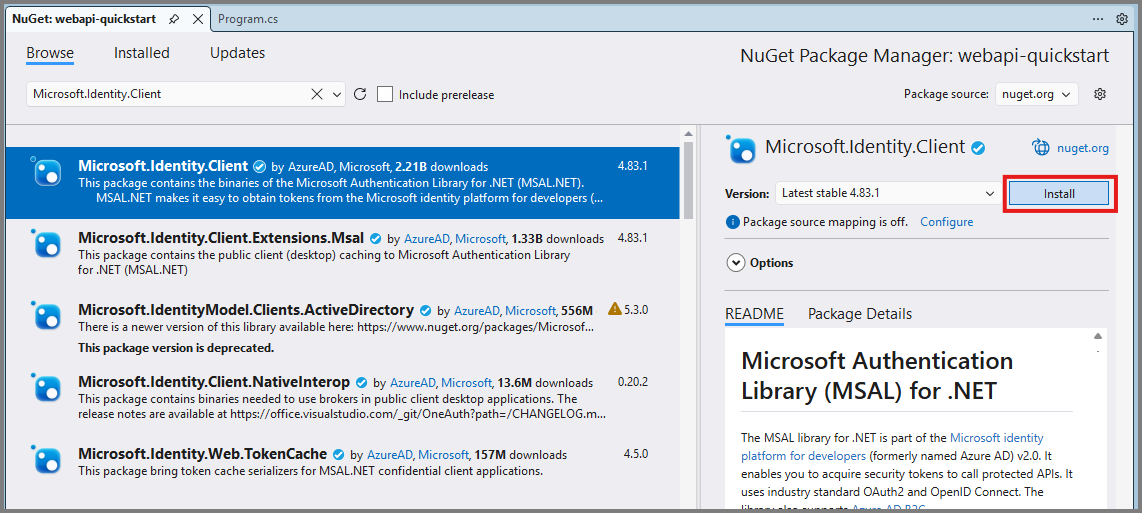
Note
インストールする前に、ライセンス条項に同意するように求められます。 [ライセンスへの同意] ダイアログで [同意する] を選択します。

Program.cs を編集する
次の手順に従って、メイン プログラムのコードを追加します。
Program.csのコンテンツ全体を次のコードに置き換えます。using Microsoft.Identity.Client; // Microsoft Authentication Library (MSAL) using System; using System.Net.Http; using System.Net.Http.Headers; using System.Text.Json; using System.Threading.Tasks; namespace PowerApps.Samples { /// <summary> /// Demonstrates Azure authentication and execution of a Dataverse Web API function. /// </summary> class Program { static async Task Main() { // TODO Specify the Dataverse environment name to connect with. // See https://learn.microsoft.com/power-apps/developer/data-platform/webapi/compose-http-requests-handle-errors#web-api-url-and-versions string resource = "https://<env-name>.api.<region>.dynamics.com"; // Microsoft Entra ID app registration shared by all Power App samples. var clientId = "51f81489-12ee-4a9e-aaae-a2591f45987d"; var redirectUri = "http://localhost"; // Loopback for the interactive login. // For your custom apps, you will need to register them with Microsoft Entra ID yourself. // See https://docs.microsoft.com/powerapps/developer/data-platform/walkthrough-register-app-azure-active-directory #region Authentication var authBuilder = PublicClientApplicationBuilder.Create(clientId) .WithAuthority(AadAuthorityAudience.AzureAdMultipleOrgs) .WithRedirectUri(redirectUri) .Build(); var scope = resource + "/user_impersonation"; string[] scopes = { scope }; AuthenticationResult token = await authBuilder.AcquireTokenInteractive(scopes).ExecuteAsync(); #endregion Authentication #region Client configuration var client = new HttpClient { // See https://docs.microsoft.com/powerapps/developer/data-platform/webapi/compose-http-requests-handle-errors#web-api-url-and-versions BaseAddress = new Uri(resource + "/api/data/v9.2/"), Timeout = new TimeSpan(0, 2, 0) // Standard two minute timeout on web service calls. }; // Default headers for each Web API call. // See https://docs.microsoft.com/powerapps/developer/data-platform/webapi/compose-http-requests-handle-errors#http-headers HttpRequestHeaders headers = client.DefaultRequestHeaders; headers.Authorization = new AuthenticationHeaderValue("Bearer", token.AccessToken); headers.Add("OData-MaxVersion", "4.0"); headers.Add("OData-Version", "4.0"); headers.Accept.Add( new MediaTypeWithQualityHeaderValue("application/json")); #endregion Client configuration #region Web API call // Invoke the Web API 'WhoAmI' unbound function. // See https://docs.microsoft.com/powerapps/developer/data-platform/webapi/compose-http-requests-handle-errors // See https://docs.microsoft.com/powerapps/developer/data-platform/webapi/use-web-api-functions#unbound-functions var response = await client.GetAsync("WhoAmI"); if (response.IsSuccessStatusCode) { // Parse the JSON formatted service response (WhoAmIResponse) to obtain the user ID value. // See https://learn.microsoft.com/power-apps/developer/data-platform/webapi/reference/whoamiresponse Guid userId = new(); string jsonContent = await response.Content.ReadAsStringAsync(); // Using System.Text.Json using (JsonDocument doc = JsonDocument.Parse(jsonContent)) { JsonElement root = doc.RootElement; JsonElement userIdElement = root.GetProperty("UserId"); userId = userIdElement.GetGuid(); } // Alternate code, but requires that the WhoAmIResponse class be defined (see below). // WhoAmIResponse whoAmIresponse = JsonSerializer.Deserialize<WhoAmIResponse>(jsonContent); // userId = whoAmIresponse.UserId; Console.WriteLine($"Your user ID is {userId}"); } else { Console.WriteLine("Web API call failed"); Console.WriteLine("Reason: " + response.ReasonPhrase); } #endregion Web API call } } /// <summary> /// WhoAmIResponse class definition /// </summary> /// <remarks>To be used for JSON deserialization.</remarks> /// <see cref="https://learn.microsoft.com/power-apps/developer/data-platform/webapi/reference/whoamiresponse"/> public class WhoAmIResponse { public Guid BusinessUnitId { get; set; } public Guid UserId { get; set; } public Guid OrganizationId { get; set; } } }前のコードの TODO コメントのすぐ下で、
resource変数の値を Dataverse テスト環境の実際の URL に置き換えます。 テスト環境の URL 値を見つけるには、次の手順に従います。- Power Apps に移動します。
- (検索フィールドの右側にある) 環境アイコンを選択し、テスト環境を選択します。
- 設定アイコン
 を選択して、開発者リソースを選択します。
 - 末尾の
https:を使用せずに、.comから/api/data/v9.2に Web API エンドポイント URL をコピーします。 - プログラム コードのリソース文字列値を、そのエンドポイント URL 値に置き換えます。 例:
string resource = "https://contoso.api.crm.dynamics.com";
プログラムの実行
F5 キーを押してプログラムをビルドして実行します。
ブラウザー ウィンドウが開き、アカウントの選択を求められます。 Dataverse 環境へのアクセスに使用するアカウントを選択します。 そのアカウントが一覧に表示されない場合は、[ 別のアカウントを使用] を選択します。
アカウントを選択したら、パスワードを入力し、[ サインイン] を選択します。
コンソール アプリケーション ウィンドウを参照します。 出力は次のようになります。
Your user ID is 22cc22cc-dd33-ee44-ff55-66aa66aa66aa

C:\projects\webapi-quickstart\bin\Debug\net10.0\webapi-quickstart.exe (process 21524) exited with code 0.
To automatically close the console when debugging stops, enable Tools->Options->Debugging->Automatically close the console when debugging stops.
Press any key to close this window . . .
お疲れさまでした。
Web API に接続しました。
このクイック スタート サンプルでは、例外処理やアクセス トークンを更新するメソッドなしで Visual Studio プロジェクトを作成する簡単な方法を示します。 この方法では、接続してさまざまな操作を試すことができるかどうかを確認するのに十分です。
.NET サンプル コード
推奨される設計パターンを示す完全な例については、 WebAPIService クラス ライブラリ (C#) を参照してください。 実演します:
- .NET の回復性と一時的なエラー処理ライブラリ Polly による Dataverse サービス保護 API 制限の管理。
- IHttpClientFactory を使用した .NET での HttpClient の管理。
- 構成データを使用したクライアントの動作の管理。
- Dataverse Web API によって返されるエラーの管理。
- コード再利用のパターン:
- HttpRequestMessage と HttpResponseMessage を継承するクラスの作成。
- これらのクラスを使用するメソッド。
- 必要に応じて新しい機能を追加するためのモジュール パターン。
The [Web API Data operations Samples (C#)](web-api-samples-csharp.md) use theWebAPIService' クラス ライブラリ。
次のステップ
Web アプリケーションの作成を試みます。
サービス ドキュメントを理解することで、Dataverse Web API 機能の詳細を学びます。
Dataverse Web API の機能の詳細については、サンプル コードを実行して調査します。