このチュートリアルの前の段階では、お使いのコンピューターに PyTorch をインストールしました。 ここでは、それを使用して、モデルの作成に使用するデータを用いてコードを設定します。
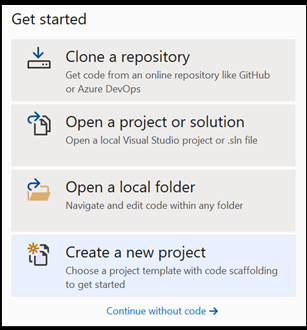
Visual Studio 内で新しいプロジェクトを開く
- Visual Studio を開き、
create a new projectを選択します。
- 検索バーに「
Python」と入力し、プロジェクト テンプレートとして [Python Application] を選択します。
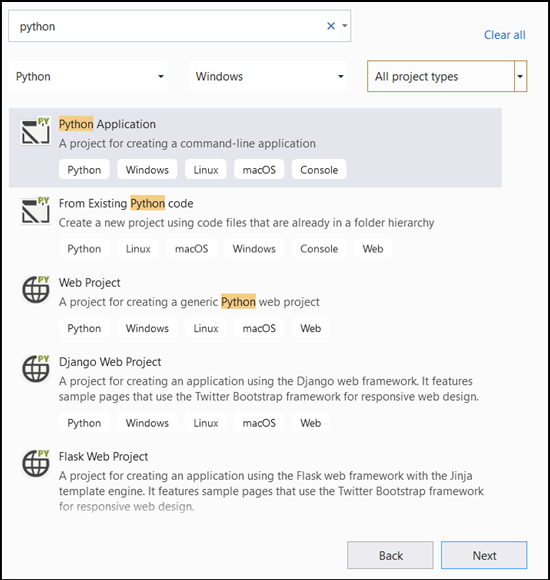
- 構成ウィンドウで:
- プロジェクトに名前を付けます。 ここでは、PyTorchTraining と名付けます。
- プロジェクトの場所を選択します。
- VS 2019 を使用する場合は、[
Create directory for solution] がオンになっていることを確認します。 - VS 2017 を使用する場合は、[
Place solution and project in the same directory] がオフになっていることを確認します。

[create] を選択してプロジェクトを作成します。
Python インタープリターを作成する
次に、新しい Python インタープリターを定義する必要があります。 これには、インストールしたばかりの PyTorch パッケージが含まれている必要があります。
- インタープリターの選択に移動し、[
Add environment] を選択します。
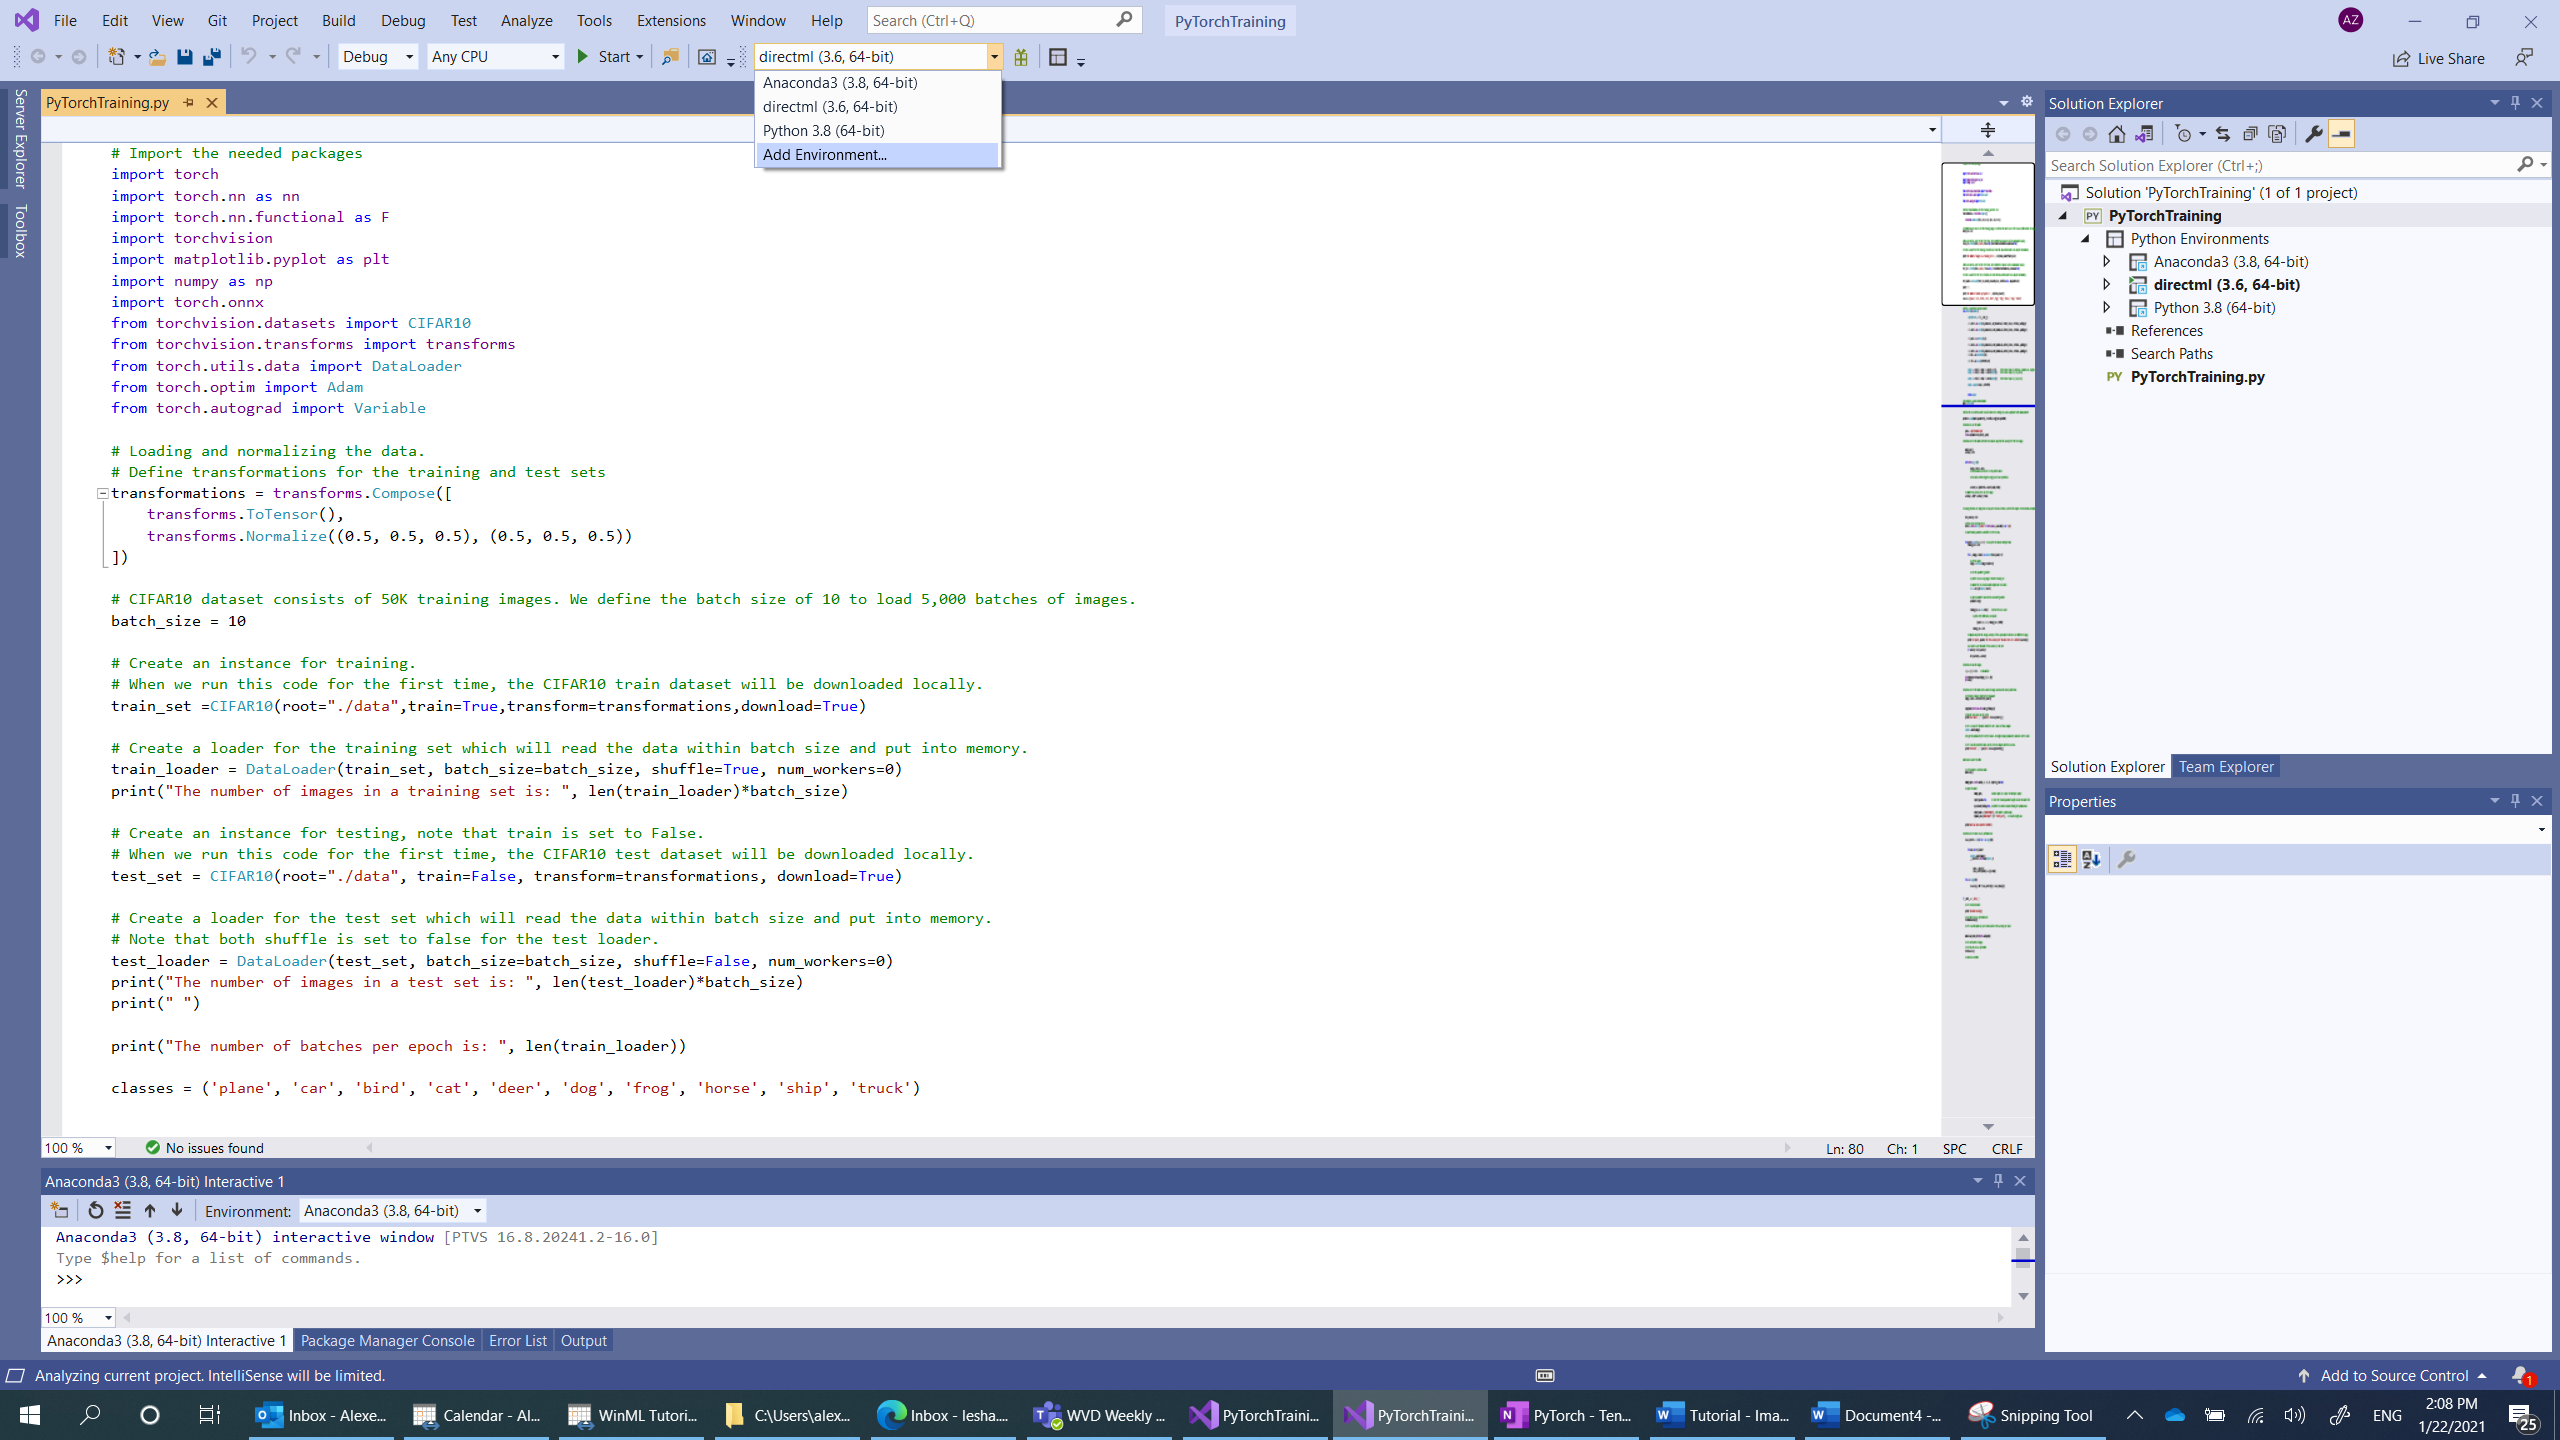
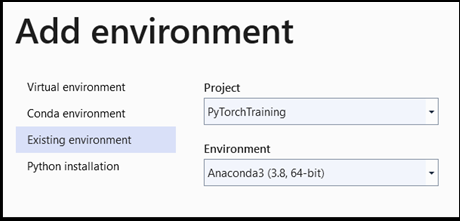
- [
Add environment] ウィンドウで、[Existing environment]、[Anaconda3 (3.6, 64-bit)] の順に選択します。 この中に、PyTorch パッケージが含まれています。
新しい Python インタープリターと PyTorch パッケージをテストするには、次のコードを PyTorchTraining.py ファイルに入力します。
from __future__ import print_function

import torch

x=torch.rand(2, 3)

print(x)
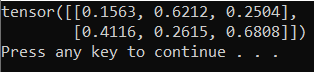
出力は、次のようなランダムな 5 x 3 のテンソルになります。
注
もっと詳しく知りたいですか? PyTorch の公式 Web サイトを参照してください。
データセットの読み込み
PyTorch の torchvision クラスを使用してデータを読み込みます。
Torchvision ライブラリには、Imagenet、CIFAR10、MNIST などのいくつかの一般的なデータセット、モデル アーキテクチャ、およびコンピューター ビジョン用の一般的な画像変換が含まれています。 これにより、PyTorch でのデータの読み込みが非常に簡単なプロセスになります。
CIFAR10
ここでは、CIFAR10 データセットを使用して、画像分類モデルの構築とトレーニングを行います。 CIFAR10 は、機械学習研究で広く使用されているデータセットです。 それは、50,000 枚のトレーニング画像と 10,000 枚のテスト画像で構成されています。 それらは、すべて 3 x 32 x 32 のサイズになっています。つまり、サイズが 32 x 32 ピクセルの 3 チャネル カラー画像です。
画像は、次の 10 クラスに分割されています。'airplane’ (0)、‘automobile’ (1)、‘bird’ (2)、‘cat’ (3)、‘deer’ (4)、‘dog’ (5)、‘frog’ (6)、‘horse’ (7)、‘ship’ (8)、‘truck’ (9)。
次の 3 つの手順に従って、CIFAR10 データセットの PyTorch への読み込みと読み取りを行います。
- 画像に適用する変換を定義する: モデルをトレーニングするには、画像を正規化された範囲のテンソル [-1,1] に変換する必要があります。
- 使用可能なデータセットのインスタンスを作成してデータセットを読み込む: データを読み込むには、
torch.utils.data.Datasetクラス (データセットを表す抽象クラス) を使用します。 データセットは、コードの初回の実行時にのみ、ローカルにダウンロードされます。 - DataLoader を使用してデータにアクセスする: データにアクセスし、データをメモリに格納するには、
torch.utils.data.DataLoaderクラスを使用します。 PyTorch の DataLoader によって、データセットがラップされ、基になるデータへのアクセスが提供されます。 このラッパーでは、定義されたバッチ サイズごとに画像のバッチが保持されます。
トレーニング セットとテスト セットの両方に対して、これら 3 つの手順を繰り返します。
- Visual Studio で
PyTorchTraining.py fileを開き、次のコードを追加します。 これにより、CIFAR10 データセットからのトレーニング データ セットとテスト データ セットに対して上記の 3 つの手順が処理されます。
from torchvision.datasets import CIFAR10
from torchvision.transforms import transforms
from torch.utils.data import DataLoader

# Loading and normalizing the data.
# Define transformations for the training and test sets
transformations = transforms.Compose([
    transforms.ToTensor(),
    transforms.Normalize((0.5, 0.5, 0.5), (0.5, 0.5, 0.5))
])

# CIFAR10 dataset consists of 50K training images. We define the batch size of 10 to load 5,000 batches of images.
batch_size = 10
number_of_labels = 10

# Create an instance for training.
# When we run this code for the first time, the CIFAR10 train dataset will be downloaded locally.
train_set =CIFAR10(root="./data",train=True,transform=transformations,download=True)

# Create a loader for the training set which will read the data within batch size and put into memory.
train_loader = DataLoader(train_set, batch_size=batch_size, shuffle=True, num_workers=0)
print("The number of images in a training set is: ", len(train_loader)*batch_size)

# Create an instance for testing, note that train is set to False.
# When we run this code for the first time, the CIFAR10 test dataset will be downloaded locally.
test_set = CIFAR10(root="./data", train=False, transform=transformations, download=True)

# Create a loader for the test set which will read the data within batch size and put into memory.
# Note that each shuffle is set to false for the test loader.
test_loader = DataLoader(test_set, batch_size=batch_size, shuffle=False, num_workers=0)
print("The number of images in a test set is: ", len(test_loader)*batch_size)

print("The number of batches per epoch is: ", len(train_loader))
classes = ('plane', 'car', 'bird', 'cat', 'deer', 'dog', 'frog', 'horse', 'ship', 'truck')
このコードの初回の実行時に、CIFAR10 データセットがお使いのデバイスにダウンロードされます。

次のステップ
データの準備ができたので、次は PyTorch モデルのトレーニングを行う