Messing Around With Power BI Bookmarks (Part 3)
Series
- Messing Around With Power BI Bookmarks - Part 1
- Messing Around With Power BI Bookmarks - Part 2
- Part 3 (this part)
Intro
Hello Data Warriors and welcome to the last part of our three-part article series about Power BI Bookmarks!
Let’s do a quick recap!
In our previous articles what we have done was to construct a pop-up filter pane and a pop-up navigation pane which we used to navigate between the two report pages. Also, along with building the bookmarks, we have mentioned tips and best practices so that bookmarks can be used as efficiently as possible.
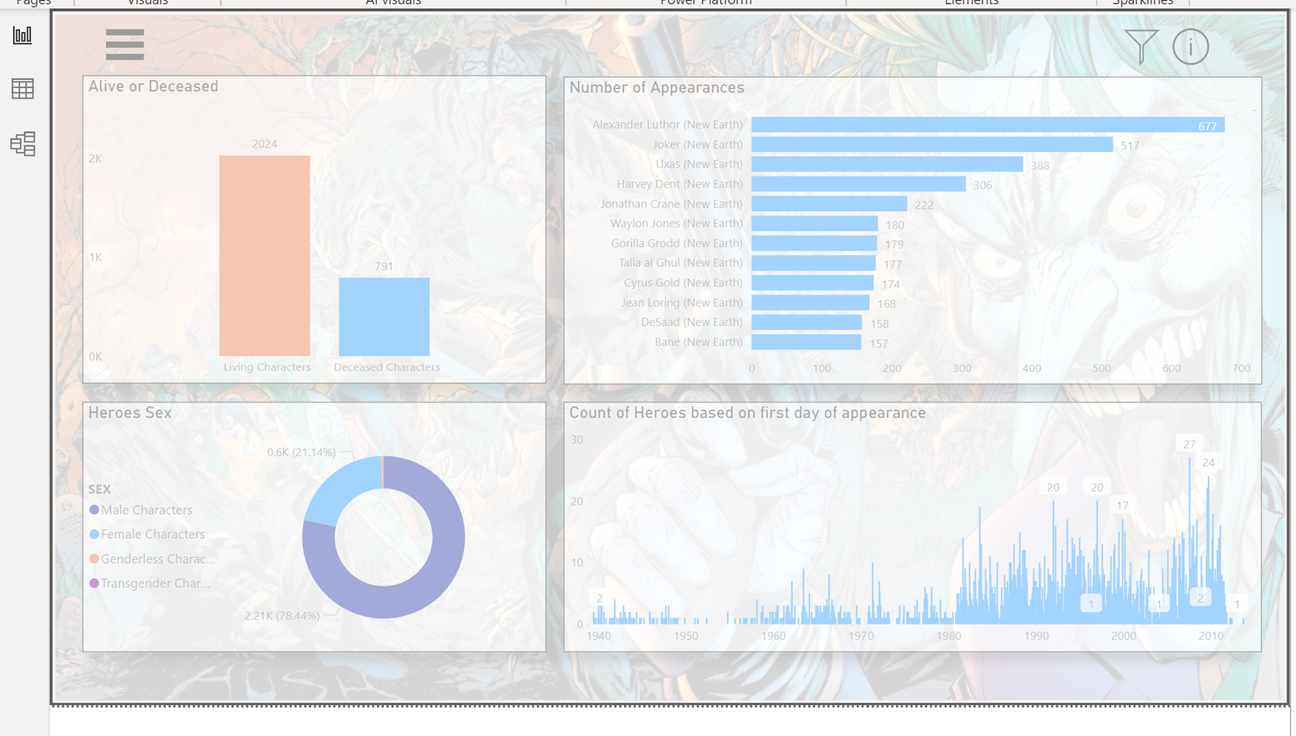
The result was this:
You can also check out the previous articles here & here
The last thing we are going to show is how we can use Power BI Bookmarks to enhance user experience is adding an information button and a reset filter button. The former will help us make the report more self – explanatory for the user and the latter will help reset any filters we applied on the report pages and start fresh. We all need a reset after all .
Let’s start once again the super fun procedure of building the bookmark for the information button .
Adding the Reset Filter Button
The first thing we are going to construct as it is slightly different from what we have seen until now is the Reset Filters button. The procedure of constructing the reset bookmark is the same as before (one for each report page) but here we have to check a little option while constructing the bookmark called Data as you can see below.
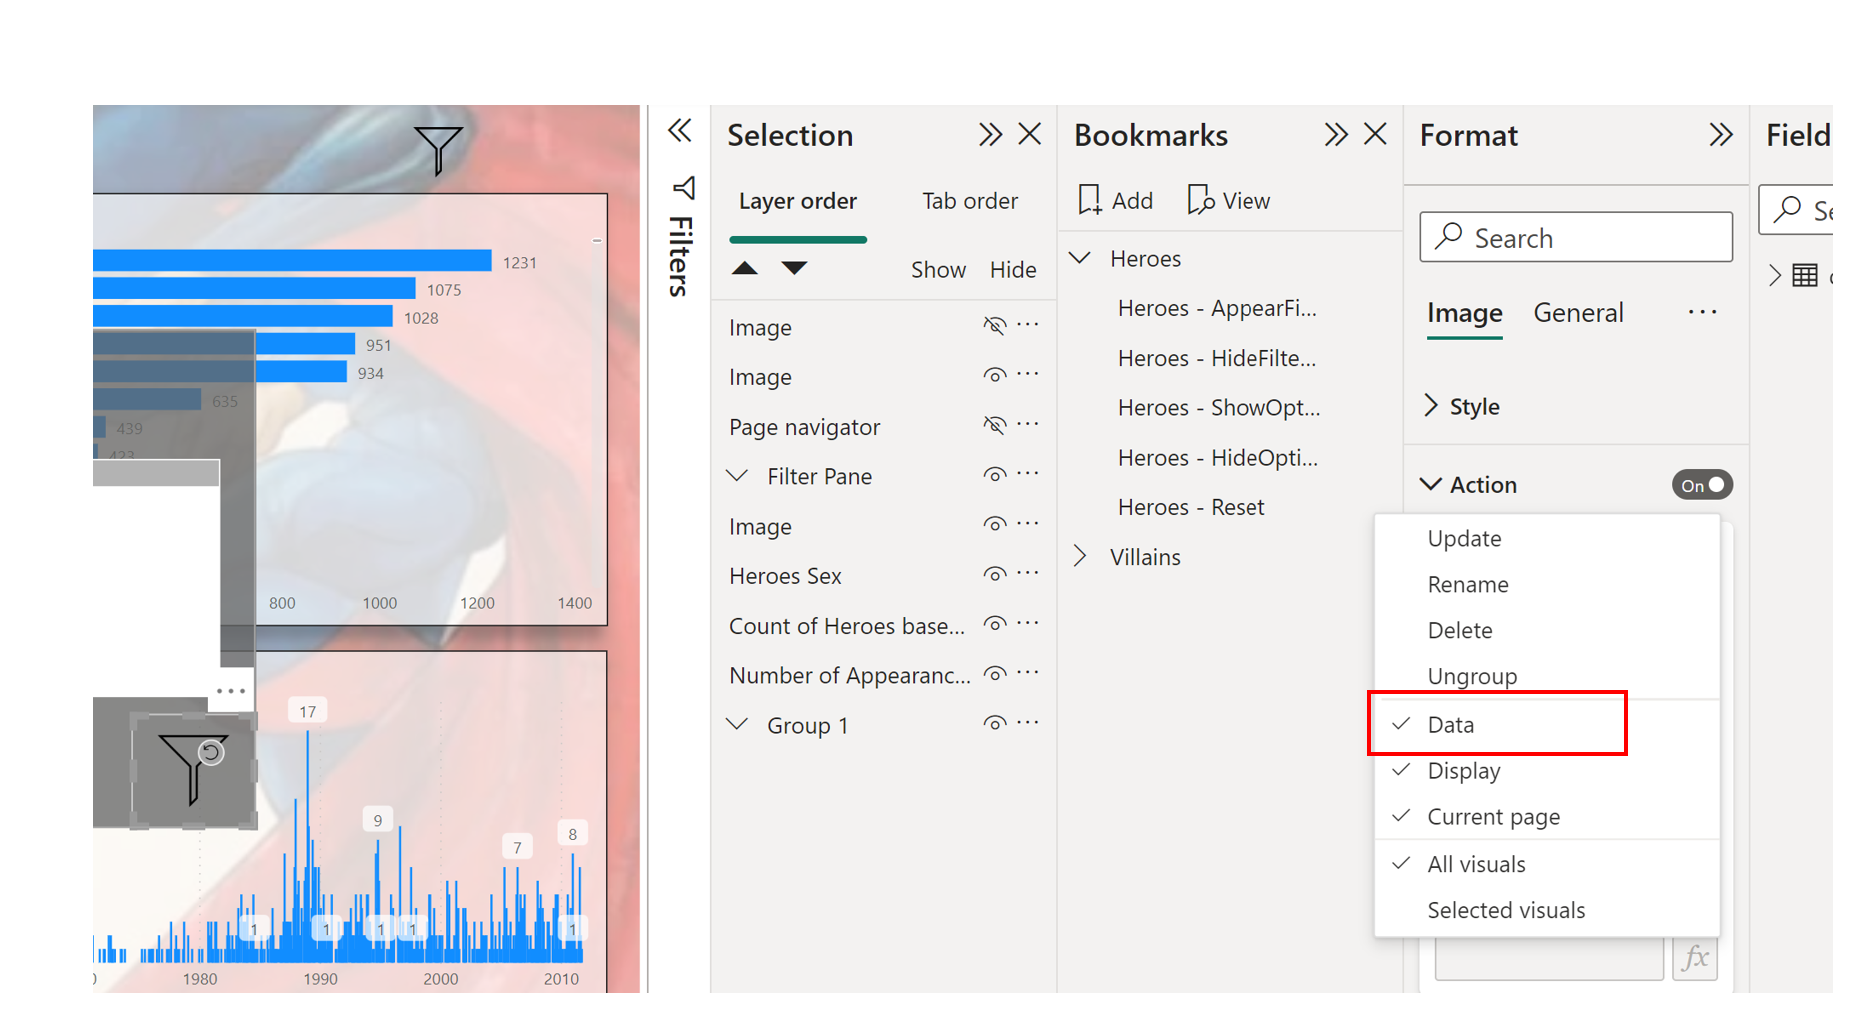
By keeping the Data option, basically what we are doing is capturing the data state of the report as well. By doing so, when we hit the reset filter button, the report page will come back to the status which we defined when constructing the bookmark (in our case no filters applied).
| Tip |
|---|
Keep in mind that when have the Data option we capture the state of the filters in the Power BI filter pane as well (please see below), so we should be careful not to lose any filters when we set up the bookmark for the reset button. |

Adding the Information Button
The last thing that we want to do is adding an information button that will help the user a little bit more to navigate across the report. For this we will use the Blank Button Option which is found under Buttons.
So the first thing is to insert a blank button that is covering the whole report area and reducing the transparency of the Fill option under Style under the available options for Button in the Format pane. This works as an extra layer on top of the report page.
The result will be something like the one below.
Moving forward we will use the shapes option to construct “information” boxes and arrows which will indicate what is the function of each button.
You can see the result below:

Now the only thing is to do this for both the report pages and create the appropriate bookmarks in order to appear the information when hitting the info button and disappearing the information when hitting anywhere in the information layer.
Once again the procedure is the same as the other bookmarks we have constructed in the two previous articles. The only tricky part that we are going to show is how to close the information layer while hitting anywhere on the screen. Actually, the idea is pretty simple. We simply link the same bookmark to the blank button as well as the two text boxes and arrows. (reminder! We should do that for both the report pages.)

We assign the bookmark for Showing our Information Pane in the info button (red line) and the bookmark for hiding our Information Pane to all the other elements on our Information layer (blue line).
| Tip |
|---|
Give a little bit of attention to naming each element in the Selection Pane. This gives you the flexibility to select instantly any of the elements without looking for it in the report page and of course you can copy/paste elements or whole groups of elements with ease. |
Final Result
Let’s see how the whole thing works, now that it is done.
With this, we conclude the 3 part articles for Power BI bookmarks. You can find the .pbix file and the datasets used here.
Of course any feedback is more than welcome!